
You just ordered some baby chicks, but now what? What do they eat? How much heat do they require? How big of a brooder box will they need? You likely have a lot of questions (I did too when I first started out!), but, rest assured, my article will help answer all of them.
Thankfully, baby chicks don’t need a ton of equipment, but providing a few essentials and care is essential to their health and well-being. Once you get a handle on the basics, you’ll be wishing you had ordered a few more – they are pretty easy!
I’ve been perfecting my methods for raising baby chicks since we started in 2014 and can’t wait to share all of my best tips with you! Let’s jump in!

*Disclosure: This post may contain affiliate links to products (including Amazon). I’ll earn a small commission if you make a purchase through my link, at no additional cost to you! Regardless, I only link to products that I personally use on our homestead or believe in.
The Brooder
First things first, let’s talk about the brooder. A brooder is a man-made space that provides an environment as close to nature (a mama hen) as possible.
This created space typically includes a container, bedding, heat, light, food, water, and grit. Whether you’re ordering chicks or hatching them yourself in an incubator, they’ll require the same thing and will live in this space until they are fully feathered and large enough to graduate to the big coop.
Brooder Container
Finding a suitable container is the first step. A container is important to not only keep chicks from wandering away from their food and heat source, but to keep predators out as well (I’m looking at you, barn cats!).
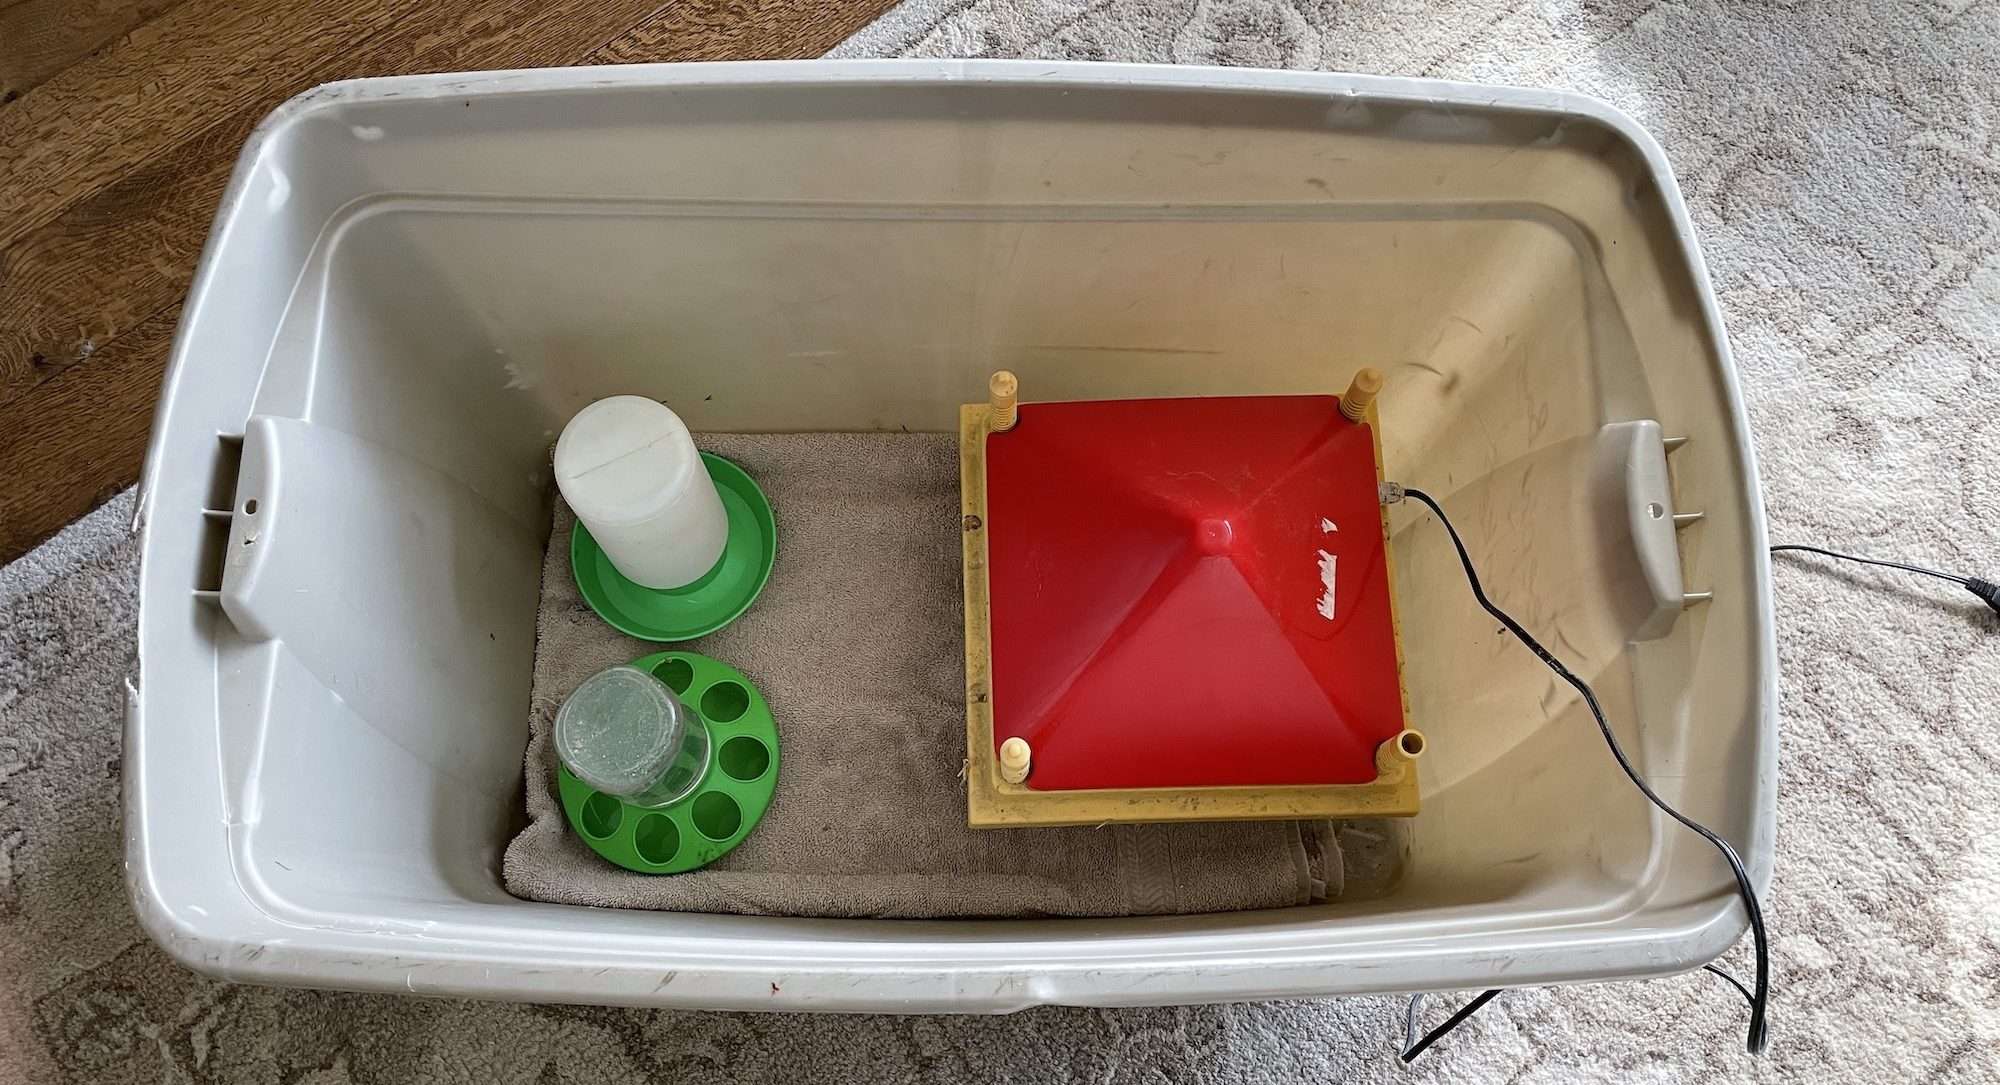
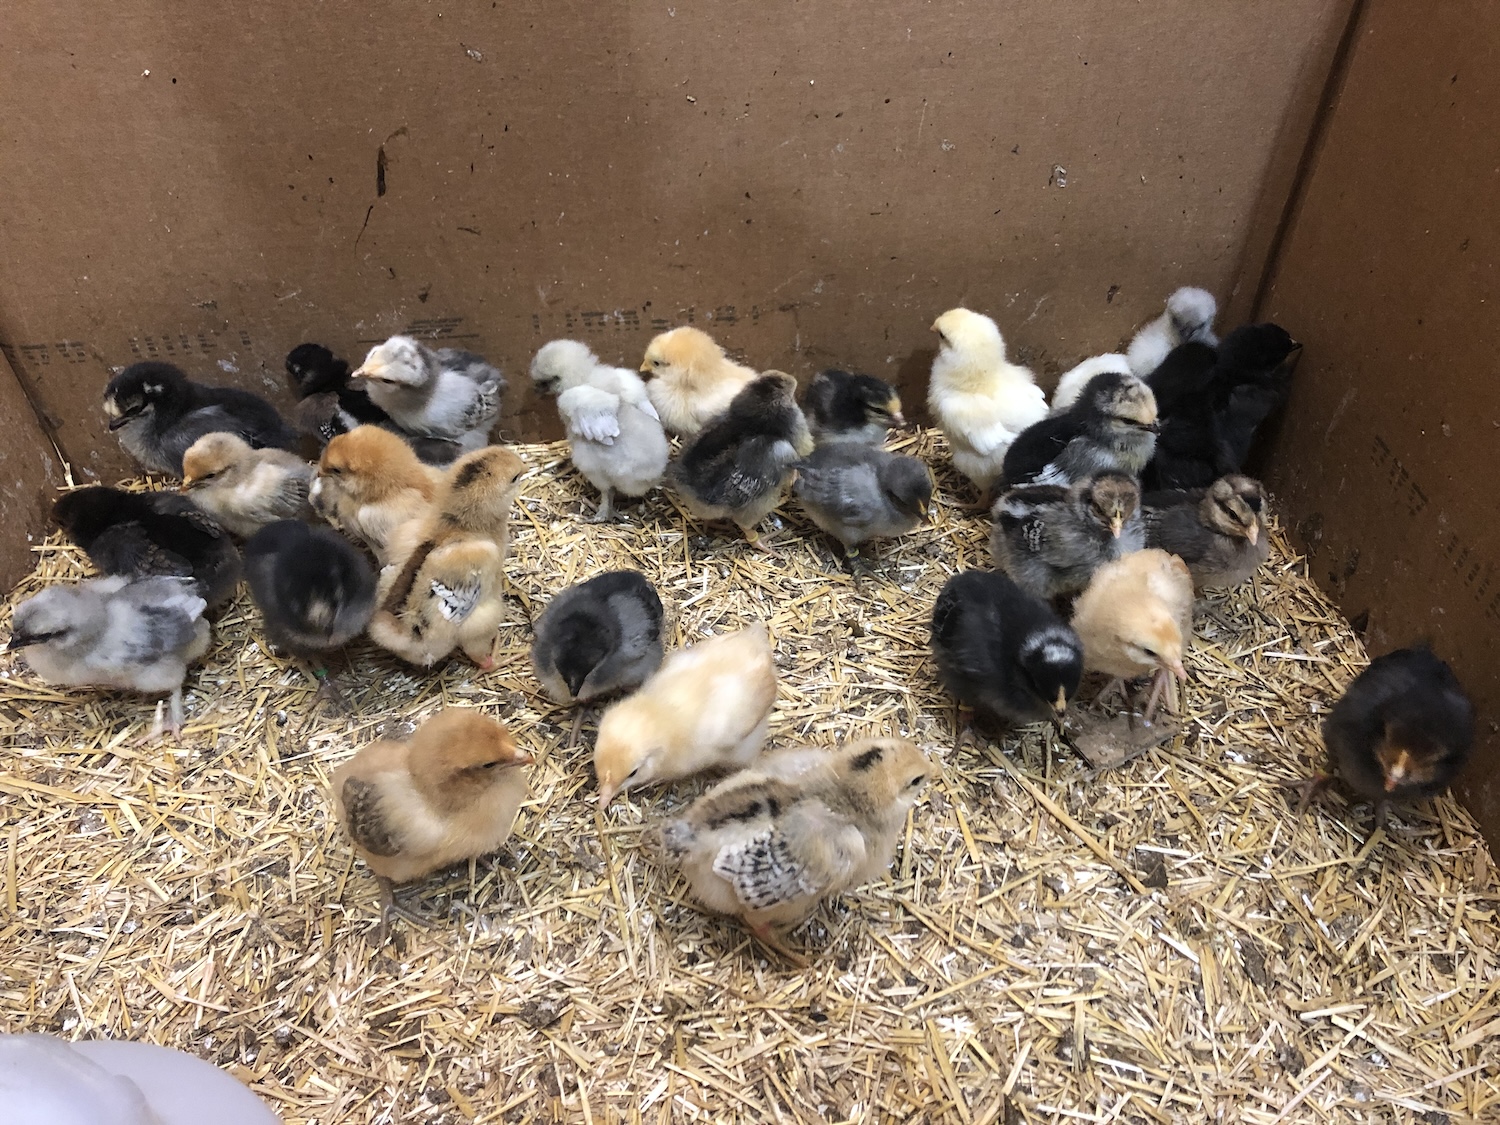
This container could be as simple as a cardboard box or plastic tub (as shown below) as elaborate as a custom-made wooden structure or a purchased battery brooder (more on these later!).
Size
The first step in choosing a brooder container is deciding how big it needs to be. A general rule of thumb is to provide the following amount of floor space based on the age of the chicks:
- 0-1 week: 6 square inches of floor space per chick
- 2-11 weeks: 2.5 square feet of floor space per chick
- 12-20 weeks: 5 square feet of floor space per chick
- 21+ weeks: 7.5 square feet of floor space per chick
Therefore, if you have 10 baby chicks, you’ll need to start with a minimum of 60 square inches (10” x 6” space). Just make sure that the space isn’t too large when the chicks are young, otherwise they can get lost from the heater and freeze.
To accommodate their increasing need for space, you can simply plan to upgrade their box size as they grow. Another alternative is to start with a large brooding space, but block off a smaller section to confine them to when they are small and gradually expand the space as they grow.
Design
Now that you know how much space you need, it’s time to decide what kind of brooder design you want to use. This is a great time to get creative!
Cardboard Box or Plastic Storage Tub
Using a cardboard box or plastic tub is the simplest and most common option for a brooder container. These tend to be a great size for the backyard chicken keeper or homesteader. A bonus is that these materials are something that most everyone already has on hand.
- Plastic storage tubs: Easy to wash, accessible, and inexpensive. However, they are fairly limited in size and can trap heat, so be careful with your temps!
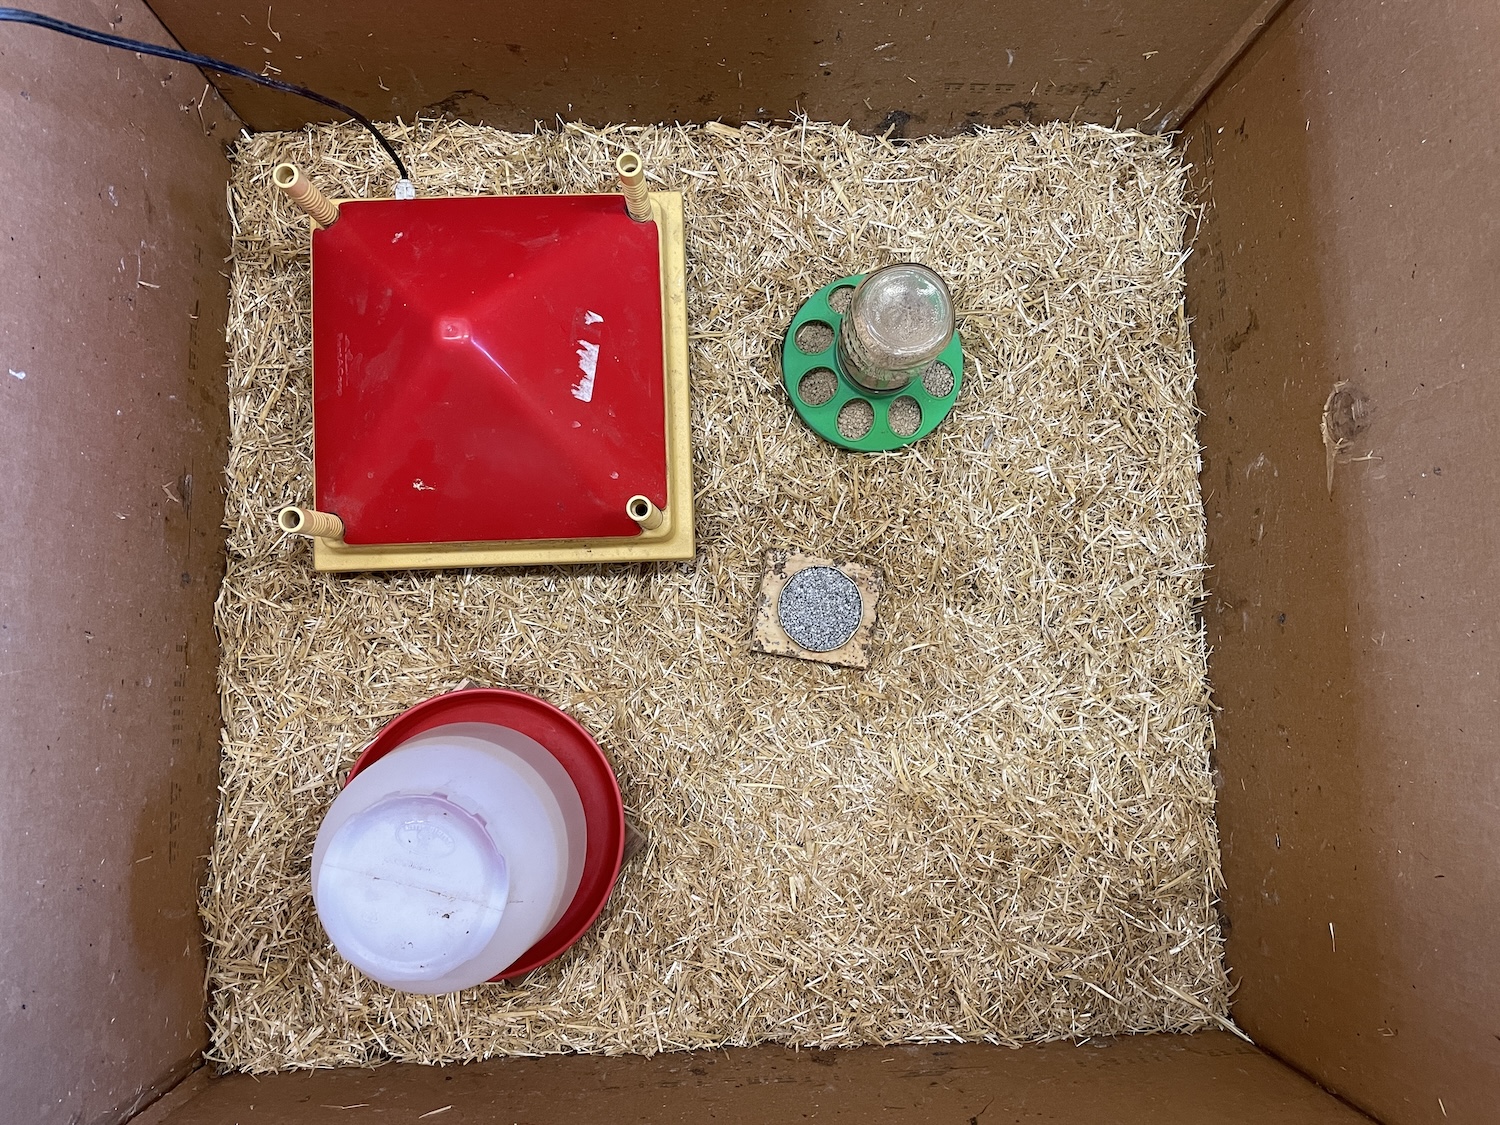
- Cardboard boxes: Available in many sizes, easy to find, and inexpensive. You could start with a small moving box and graduate to an appliance size box. Swing by Home Depot or Lowes sometime and see what they have laying around!
The ideas don’t stop here either! You could use an animal play pen, a stock tank, a dog kennel, an empty fish tank, a tent, or even a kiddie pool!
If you have potential predators around (or even curious children), you will need to craft some sort of a breathable cover to lay on top of your box. It doesn’t need to be fancy! I just use a screen door and secure it in place. Easy peasy!
DIY Brooder Design
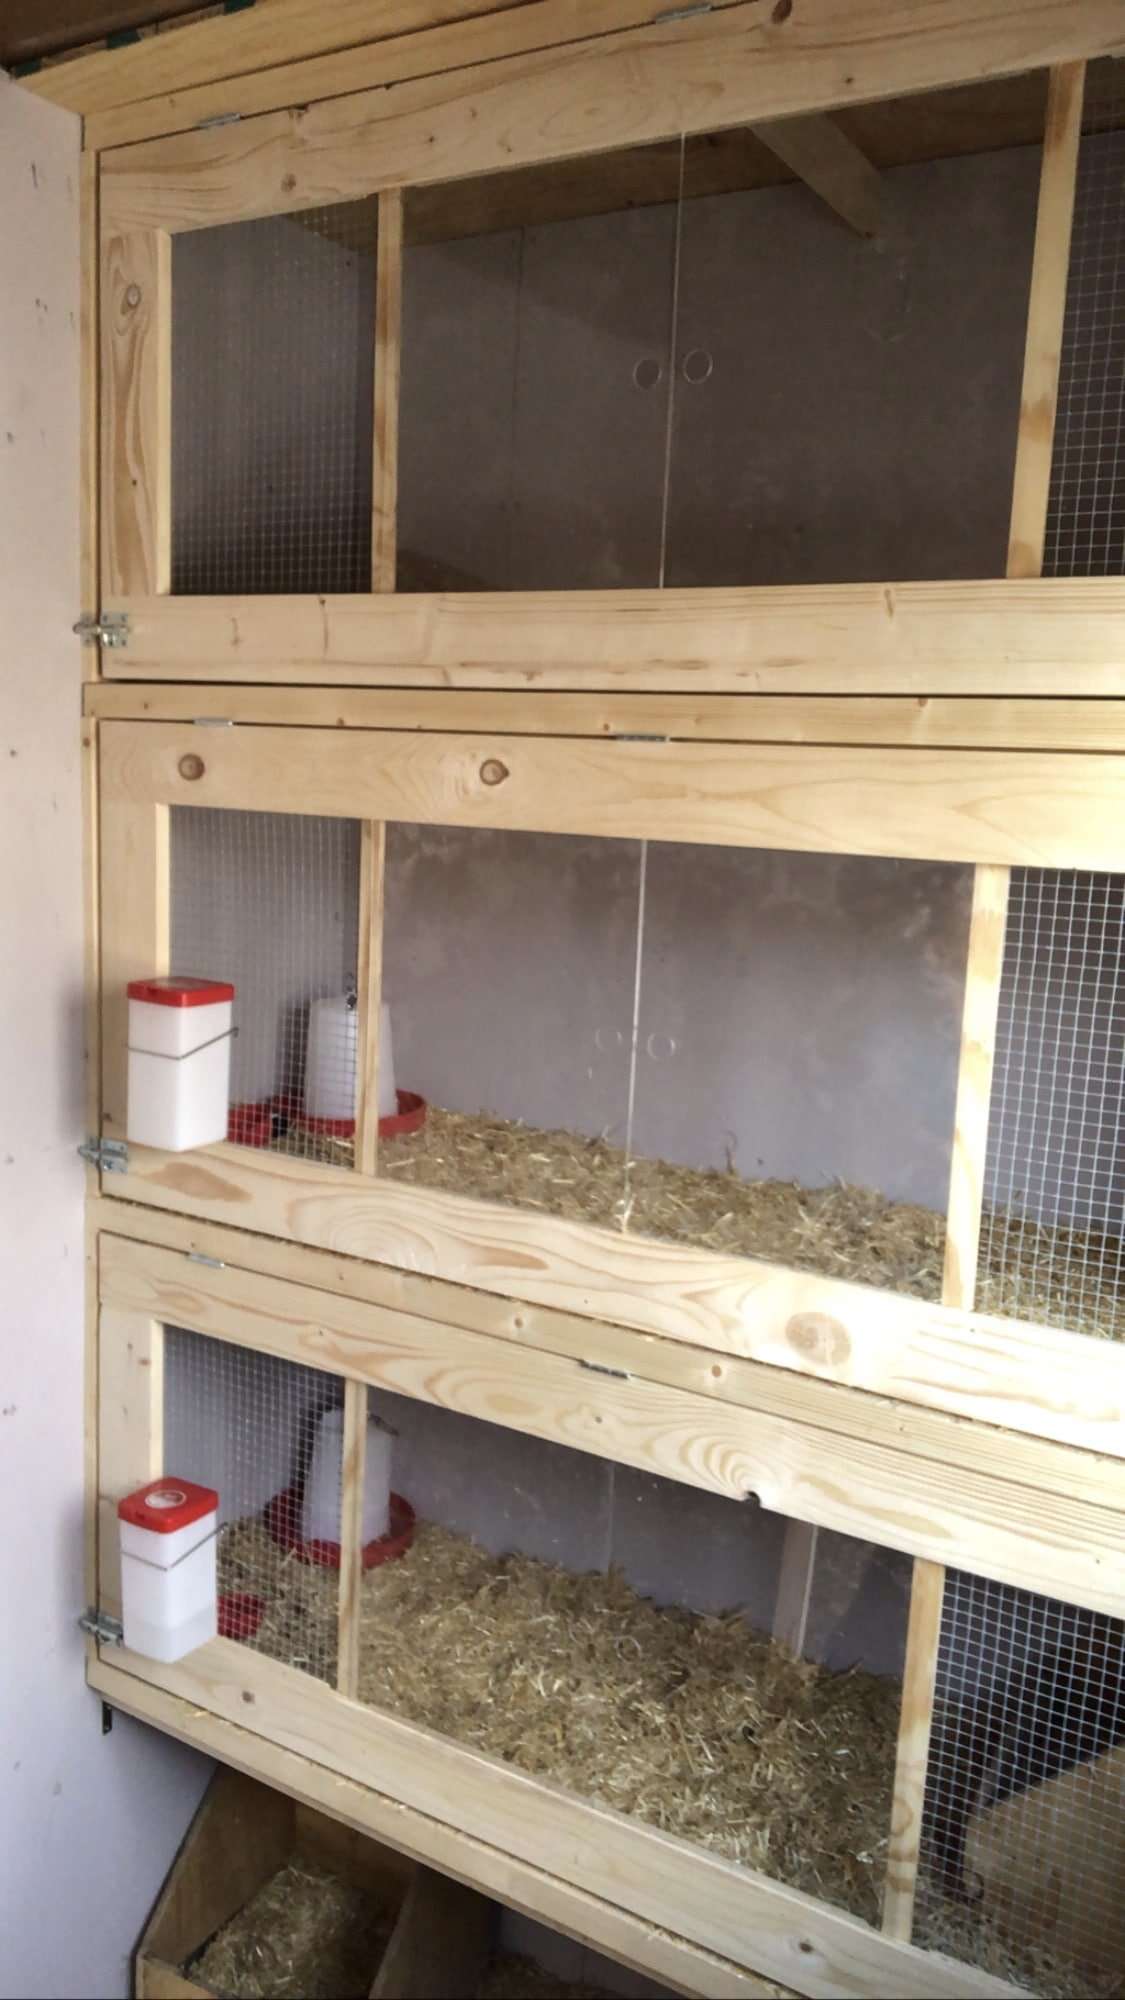
If you’re getting serious about raising baby chicks and plan to do it year after year, you may want to invest in making your own permanent brooder that has more functionality than a basic cardboard box.
One option is to build a brooder right into your chicken coop, which is what we’ve done on our homestead. It’s a great way to utilize free wall space and get your chickens accustomed to each other! I also find that accessing the chicks from the side, rather than coming in from the top of a box, is less stressful for them (think aerial predators, like hawks!).
Battery Brooder
Purchased battery brooders tend to be the best option for those who are operating on a large scale. They can be pricey, but super nice to use! Check out this amazing battery brooder from Tractor Supply.
Brooder Flooring
Now that you have your brooder container figured out, you’ll need to develop a game plan to handle all of the poop (yep, chicks poop pretty much non-stop!) and ensure that it stays warm and dry.
Absorbent Bedding
Using some form of absorbent bedding (such as pine shavings or chopped straw) is recommended. Other alternatives include crushed corn cobs, peat moss, crushed cane, shredded dried leaves, vermiculite and coarse sand. Just make sure that it isn’t slippery, super fine, or resembles food.
*Baby Chick Flooring Tip #1: Make sure to stir the bedding up daily to keep it loose and absorbent. You can add a new layer of bedding on top to keep it fresh, too! When the bedding gets fully soiled (or wet from a spilled waterer), remove it all and start with a new layer. Avoid wet bedding because this can lead to mold growth and brooder pneumonia.
*Baby Chick Flooring Tip #2: For the first week, I recommend using an old bath towel or paper towels as your flooring. This is because the baby chicks are still learning what is food and what isn’t and can often end up eating the bedding materials by mistake.
Wire Flooring
You’ll often see wire flooring with a droppings tray below as an option in DIY brooders or battery brooders. They have some benefits such as easy clean up and less risk of brooder pneumonia. However, there are some disadvantages as well such as an increased risk of cannibalism and coccidiosis.
Heat in the Brooder
Providing a heat source is absolutely necessary because the fluffy down on baby chicks is insufficient to keep them warm. They will need a heat source until they are fully feathered and able to maintain their own body temperature.
Chicks have different heat requirements as they grow. They need their space to be 95 degrees at the beginning, then reduced by 5 degrees every week. This process continues until room temperature is reached, or the chicks are fully feathered; whichever one comes first!
Watching your chicks’ behavior is best:
- Happy chicks will be evenly spaced out and happily cheeping or sleeping comfortably.
- Cold chicks will be huddled together under the heat source and chirping loudly. If they are cold enough, they will pile on top of each other, smothering the ones on the bottom.
- Hot chicks will move away from the heat source and pant. If temperatures reach 117 degrees, it can be lethal.
Making sure that they’re at the exact right temperature (and without burning down the house in the process!) is the most stressful part of raising baby chicks, in my opinion. Thankfully, there are some great gadgets out there that can make it a breeze!
Heat Lamp
This is the cheapest and most traditional option, however, it is the hardest to get right, is energy-inefficient and is a fire risk. If you are using a heat lamp over a plastic storage tub, it’s very easy to overheat your chicks and requires close monitoring.
To adjust the temperature as the chicks get older, simply raise the bulb further away from the brooder. A general rule is to start with the lamp 18” above the chicks and raise it by 3” every week. However, always watch your chicks’ behavior and use that as a guide.
If you decide to use one, be very careful about how you are securing them and that there is nothing flammable nearby. Of course, all of your chicken bedding is entirely flammable, so triple-check how it is secured.
A red heat bulb is recommended over white heat bulbs because white light stresses the chicks and can causes to them to pick on each other.
The Homesteading RD's Product Picks | |
 | Easily hangs with built-in integrated hook hanger or positions flat. Accepts up to 250-watt bulb with porcelain socket. |
 | Color: Red. |
Brooder Heat Plate
Using a brooder heat plate (or a “mama hen heater” as I like to call them) is my very favorite option. It’s a little more expensive than your traditional heat lamp, but it’s safer, more energy-efficient, easier to manage, and results in happier chicks.
The brooder heat plate mimics an environment similar to a mama hen in nature. The chicks quickly learn to go in and out from under the heat plate as they need instead of enduring whatever temperature the heat lamp is set up to. It has adjustable legs so you can raise the height as the chicks grow.
I’ve found the chicks to be much healthier and happier using this method, too. They find comfort in being able to hide and sleep in the dark like they would with mama hen, rather than having a heat lamp shine down on them 24-hours a day.
Lastly, this method is much safer in terms of fire risk and uses much less electricity in the long run compared to traditional heat lamps. I think it definitely pays off going this route!
The Homesteading RD's Product Picks | |
 | This 12" x 12" model enables 1-25 chicks to snuggle under a warm surface without burning themselves. Easily adjustable legs to allow it to ‘grow’ alongside your chicks. It uses a low power 20W consumption which is a whopping 92% lower than a typical 250W heat lamp! |
 | This heating plate cover is optional, but keeps your brooder plate clean! As your chicks get older, they'll love jumping on top (and pooping on) your heating plate. Easily removable for washing. |
Light in the Brooder
Proper use of light is essential to proper chick development, especially if you are using a brooding heat plate (which provides no light). Chicks have circadian rhythms just like humans; thus, they function best with light during the day and dark at night (another reason why I’m not a fan of heat lamps).
As with most things, mimicking what happens in nature is the best strategy. Having your brooder next to a window (but out of direct sunlight) will allow the sun to do the work for you.
If your brooder is in a garage or basement with limited light, make sure you have a light on during the day. This will allow the chicks to get busy doing their thing and of course, see where their food and water are. Putting a light on a timer can make this a breeze!
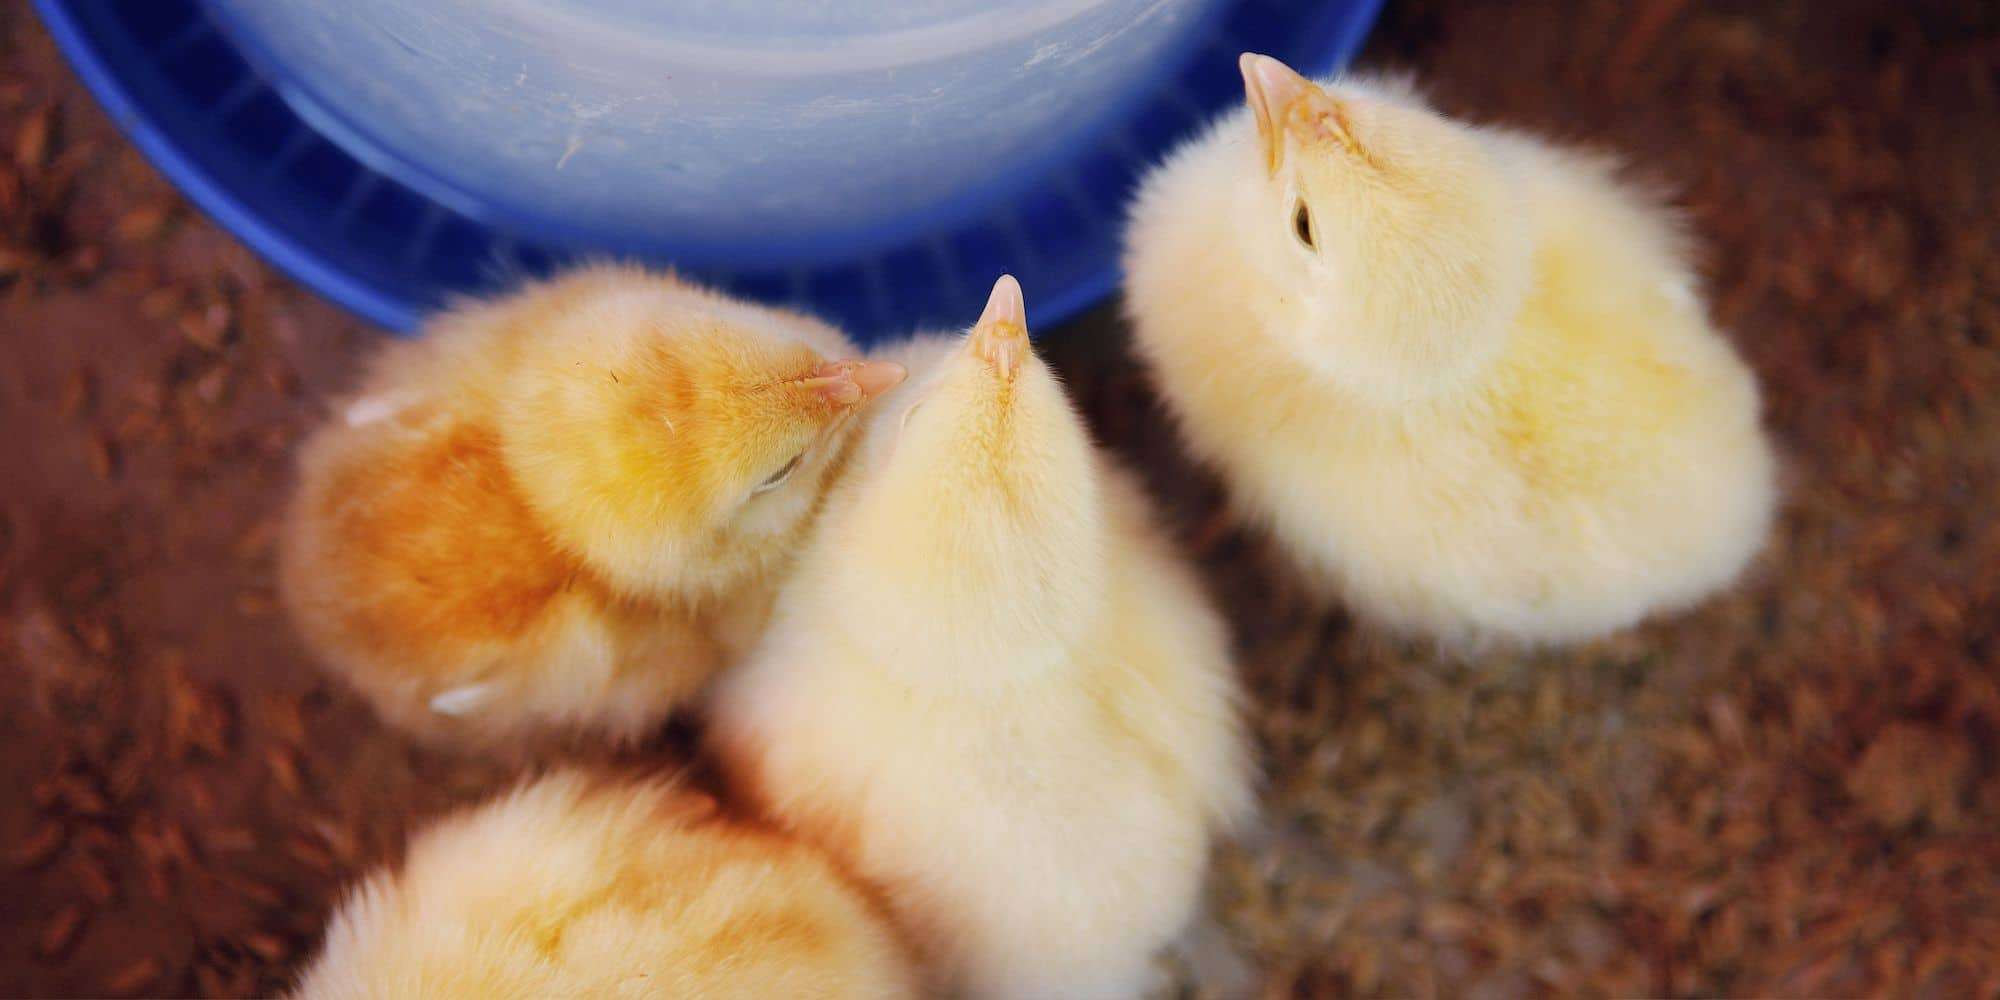
Water Options for Baby Chicks
Having clean water available at all times is essential for chick health. Signs that your chicks aren’t finding water are bluish beaks and sluggish behavior. Deaths typically occur after 4 days of limited or no water.
Water Introduction
Teach your chicks where the water is by dipping each of their beaks into it as you add them to the brooder for the first time. They may not drink on their own right away, but after a few chicks figure it out, the rest will follow. Start with the waterer fairly close to the heat source, then gradually move it away as the chicks get older.
Waterers
Newly hatched chicks will need chick-size waterers to start and then graduate to larger ones as they grow, so be prepared to have several sizes on hand. See my recommendations below!
The Homesteading RD's Product Picks | |
 | I love a good combo deal! This set will feed up to 15 chicks until they are 3 weeks old. A great starter set with a shallow waterer base to keep the chicks from drowning. |
 | This is the perfect size for when chicks are 3+ weeks old and need an upgrade. I like this model because it has a handle for easy moving and stringing up if you want to hang it to keep the mess down. |
 | While 5 gallons feels like a lot, this is a great size for when your chickens are big enough to move out to the coop. A larger waterer means you have to fill it less often, which is great when you leave for a weekend get away! |
Water Additives
There are several additives you can buy to mix into water such as chick electrolytes and chick probiotics, however, I’ve always had good luck with plain ol’ water. Now, if you had a rough hatch or if you are ordering hatchery chicks who have been mailed over a long distance, you may want to add one of these. Another option is to perk them up with a little sugar water (½ cup per quart of water).
Food Options for Baby Chicks
Now that we have water covered, it’s time to talk about food! While chicks can survive for 2 days off of the nutrients they absorb from the yolk right after hatching, it’s best to offer them food right away (after they’ve had their first drink of water).
Starter Feed
When your baby chicks are just days old, it’s best to start with chick starter feed. This will provide all the nutrients that your baby chicks need, including a higher protein content to support their rapid growth in the beginning. Chick starter is typically in a “crumble” form, so grit isn’t necessary yet.
*Check out Scratch and Peck for some awesome, high-quality, and organic chicken feed! You can use my code homesteadingrd15 for 15% off!
Grower Feed
When your baby chicks have reached 5 weeks old, then it’s time to move to a grower feed. Grower feed has a slightly lower protein content since the chicks’ growth won’t be quite as fast. Less protein typically means less expensive, too! If your grower feed formulation includes whole grains, make sure to offer chick grit at this point so that they can properly digest their food.
*Check out Scratch and Peck for some awesome, high-quality, and organic chicken feed! You can use my code homesteadingrd15 for 15% off!
Medicated Feed
You may find that some starter feed says that it is medicated. This is to prevent the chicks from getting coccidiosis, which is an intestinal disease caused by parasites. I’ve personally never used medicated feed and have never had an issue.
*Baby Chick Feed Tip #1: Not sure how much chick feed to buy? Each chick will consume roughly 10 lbs of feed during the first 10 weeks of life.
*Baby Chick Feed Tip #2: Do not switch your chicks to layer feed until they are ready to star laying (18-20 weeks old). The calcium content in layer feed is much too high for chicks and can damage their kidneys.
The Homesteading RD's Product Picks | |
| | I love a good combo deal! This set will feed up to 15 chicks until they are 3 weeks old. A great starter set with a shallow waterer base to keep the chicks from drowning. |
 | This is the perfect size for when chicks are 3+ weeks old and need an upgrade. I like this model because it has legs to keep the feed elevated from messy bedding, plus it has a loop on top to allow it to be hung, if desired. |
 | After going through MANY different feeder designs over the years, this is the absolute best for teenage or adult chicksn. It holds a lot of feed (making vacations a breeze), plus it eliminates waste from spilled feed. It'll pay for itself in the long run! |
Grit
Chickens don’t have teeth to chew their food, so they need to eat small rocks (or grit) to do the chewing for them! Grit is stored in a highly muscular organ called the gizzard. The food is then ground up into a smooth paste, allowing for proper digestion.
When chicks are given “crumbled feed, ”this easily turns into mush so grit isn’t necessary. However, chicks do go crazy for grit and it can still aid in overall digestion, so providing it early certainly won’t hurt!
Once you transition your chicks to a whole grain feed, fresh greens, or any other food beyond crumbled feed, they absolutely need to have grit available! I put it in a small dish by the feeder.
The Homesteading RD's Product Picks Crushed granite in a small size that is suitable for growing poultry and bantam breeds. This product even contains probiotics for healthy gut development!
Extra Tips for Raising Baby Chicks
Happy chick behavior signs
Raising baby chicks is easy once you know how to read their behavior. They should fluctuate between sleeping soundly and being energetic and curious. They should be freely eating and drinking without picking on each other. A chick who is unwell has poor growth, is weak, has diarrhea, and stands with a droopy head and wings with its eyes closed.
If you find that your chicks are picking on each other, provide more brooder space, increase the feeder/waterer size, and reduce the amount of light. Make sure that you are using high-quality starter feed and consider reducing the brooder temperature by 5 degrees as well.
The chicks should be spread evenly throughout the brooder (see temperature section above for more details), and providing soft peeping noises. Shrill, loud calls are a concerning sign – either they are too cold, stuck, or had something placed on their foot (a waterer that was set down). Sleeping is common, however, they shouldn’t be sleeping an excessive amount and be able to wake easily.
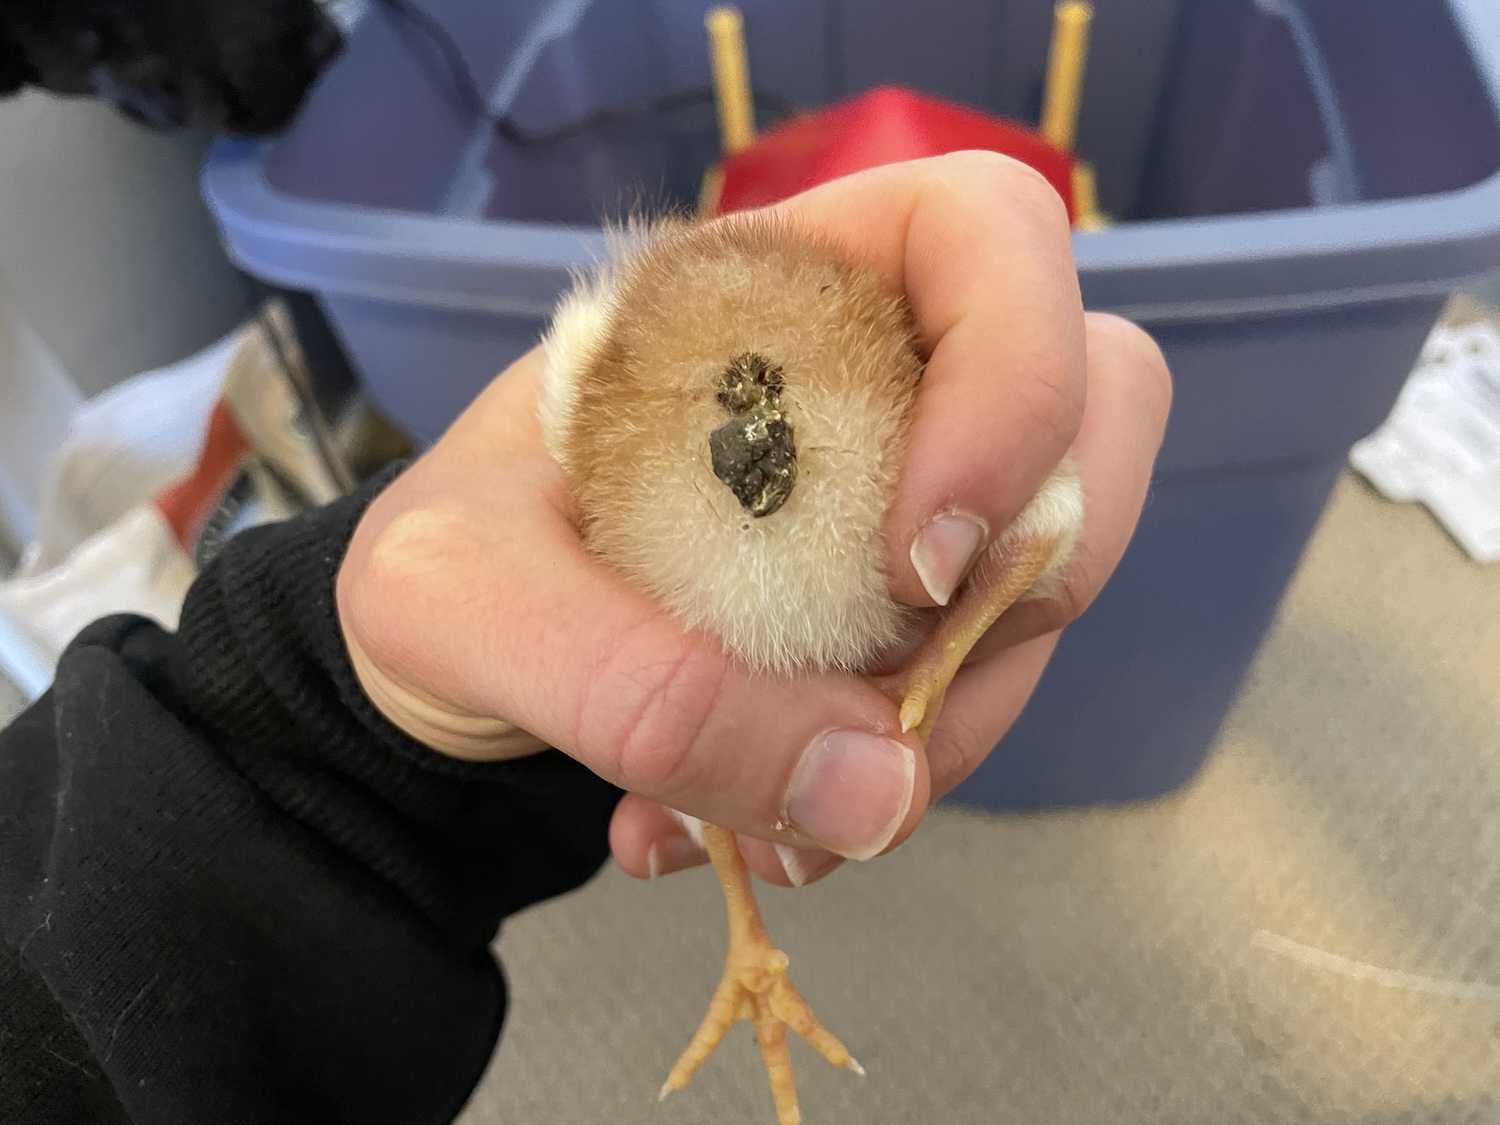
Check for pasty butt
This is the biggest thing to be on the lookout for during the first 2 weeks of life. Pasty butt is where the chick’s droppings “paste” over their vent, causing a blockage. If left untreated, the chicks become toxic resulting in death. Pasty butt is more common if the chicks are chilled, overheated, or eat more than they drink.
Every morning, take a look at each of your chick’s vents to see if they need an intervention. If you notice it developing, here’s what to do:
- Run lukewarm water over their bottom until the hardened stool softens up and falls off.
- Do not attempt to pull it off prematurely as this can pull off feathers and potentially tear their delicate skin!
- Once the area is clean, gently blot the area with a towel and apply a little vaseline. The vaseline protects the delicate area and keeps future stool from sticking.
- Continue checking daily. The same chicks tend to be repeat offenders!
*Pasty butt tip: When returning chick back to the brooder, make sure that other chicks don’t peck at the area. Chicks are curious creatures and are drawn to peck at anything that is red in color. They seem to go for freshly washed bottoms. This is another reason why I love to use the chick heating plate rather than a heat lamp; they can hide under there where it’s dark and dry off quickly.
Add roosting bars
Once your chicks reach 3-4 weeks of age, provide them with a low perch to roost on. This will provide good entertainment during the day, plus they’ll naturally want to start roosting at night as well.
You can make your own chick roosting bars out of scrap wood lying around, otherwise, there are some pre-made options out there, too!
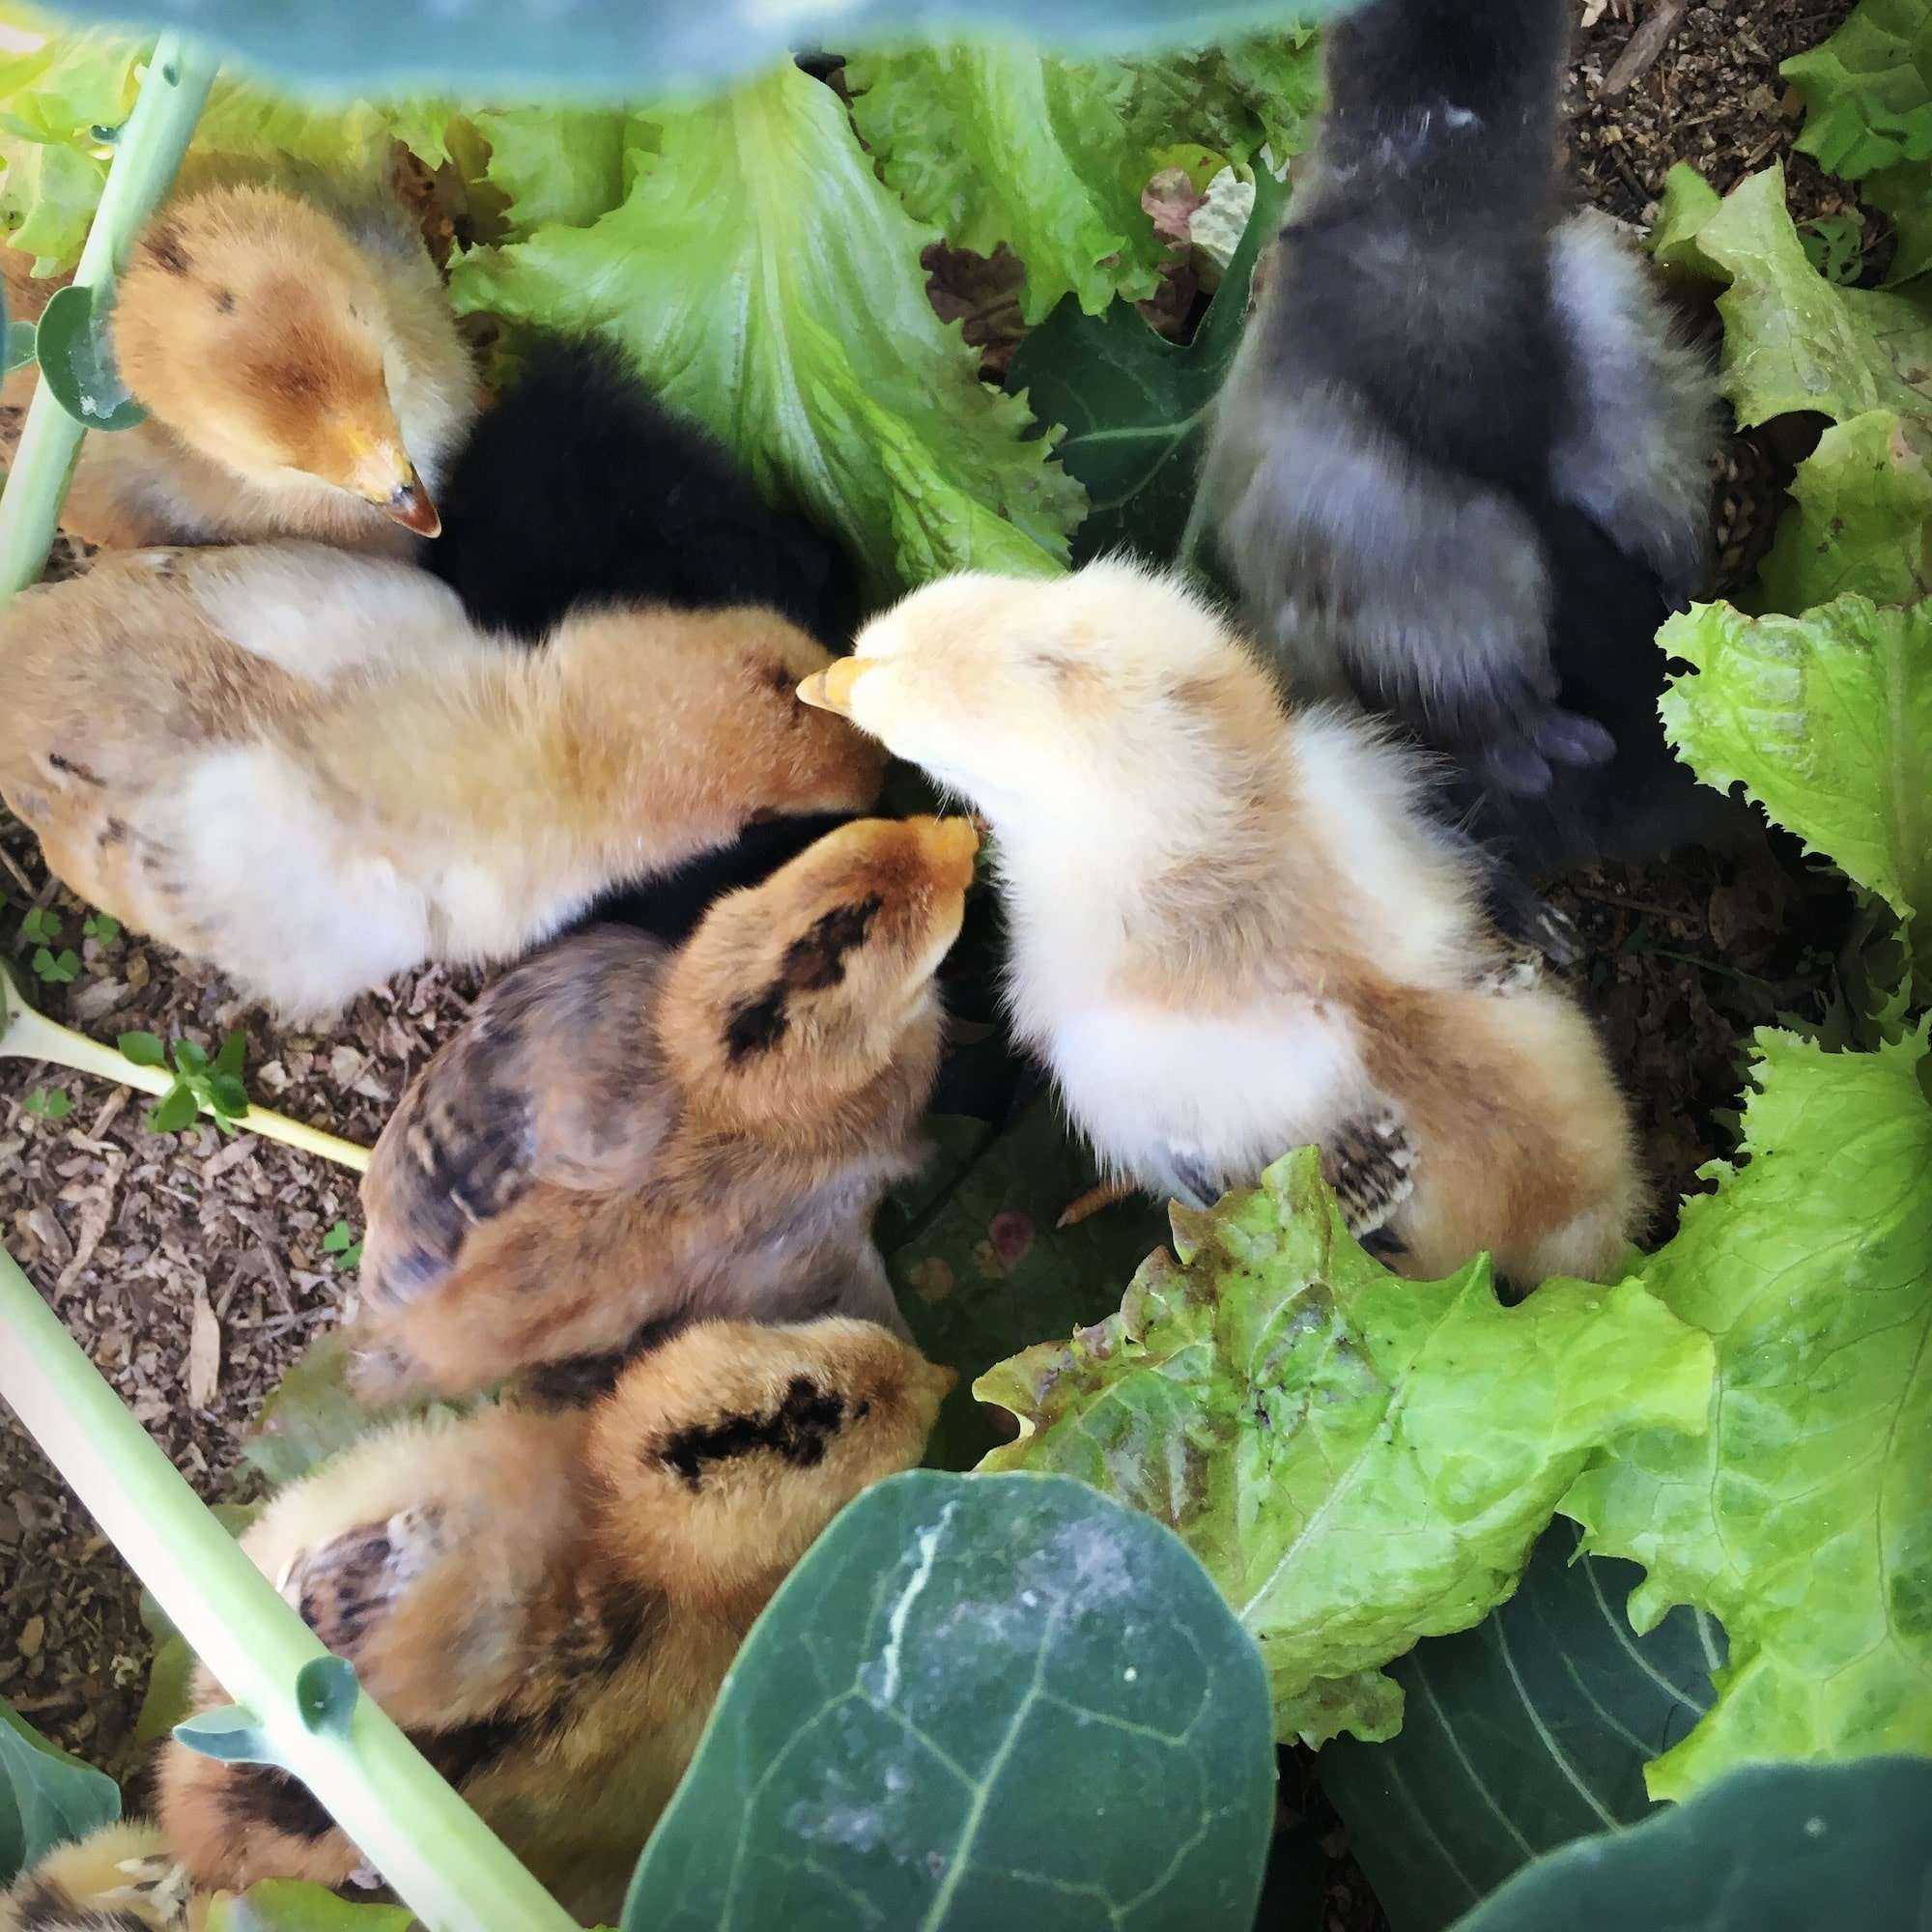
Provide treats
The majority of your chicks’ intake should be their well-balanced feed, but a few treats given sparingly can be fun! The chicks enjoy the variety and treats can be a great boredom-buster. Some great chick treats would be crushed meal worms, alfalfa sprouts or scrambled eggs.
Remember to provide chick grit anytime you’re providing treats and never throw large weeds or blades of grass in the brooder as they can develop crop impaction.
FAQ About Brooding in Poultry
How long is the brooding period?
The brooding period typically lasts until the chicks are fully feathered, which is around 6 weeks old. Having feathers instead of down will help the chicks trap warm air against their bodies and no longer need a heat source. At this point, as long as the ambient temperature remains above 65 degrees, the heat source can be removed.
If you move them outside to the coop and the temps drop, I’d still provide a heat source in the coop for a few weeks when they are sleeping. If you don’t have electricity wired into your coop, an extension cord or two strung from your house will work.
Observe them and notice their behavior just like when they were in the brooder. If they are huddled together and cheeping noisily, they’re too cold.
Can I bring my chicks outside on a warm day?
Once they are 2 weeks old and it’s a warm (70+ degrees), sunny day then absolutely! They will love the opportunity to enjoy some sunshine and scratch around for treats. Just keep an eye on them and make sure they aren’t chirping loudly or piling on top of each other. If this happens, bring them in right away to their heat source.
Another thing to make sure is that they are in a confined, safe place. Baby chicks draw in all sorts of curious creatures. You could bring out your brooder pen if it’s mobile, otherwise, check out the portable chicken run option below!
The Homesteading RD's Product Picks | |
 | The mesh walls allow for a 360-degree view for your chicks, while the open bottom design allows them to enjoy the grass for comfort and foraging and to keep you from having to wipe out messes! |
How do I keep their water clean?
This may seem simple at first, but once you have some rambunctious chicks in your care, you’ll realize what a feat this really is! With the waterer sitting directly on the bedding, chicks will often poop in there and kick in a bunch of bedding while they are scratching about.
My best trick to avoid this is to raise the waterer a couple of inches above the bedding, but not too far that the chicks can’t reach it. I don’t recommend doing this until the chicks are at least a week or two old, though.
If your waterer doesn’t have a hook on it, you can purchase a Hanging Harness. Suspending the waterer not only keeps it clean, but it keeps it from being knocked over as well. If hanging isn’t an option, then put down a block of wood or a few ceramic tiles and place the waterer on top of those.
How do I introduce chicks to my flock?
If you already have an adult flock, the idea of integrating your new chicks can be nerve-wracking. Thankfully, with a little planning, you can introduce them smoothly with very little ruffling of feathers. I’ve been introducing chicks to my flock for years and have never had any issues.
The best way to introduce your chicks to your adult chickens is to wait until the right age and to do it slowly. You never want to just throw them all in together and hope for the best!
The best age to introduce them is when the chicks are teenagers (~2 months old). That way they are old enough to be able to hold their own if they have to, but they are not so large that they pose a threat to the existing pecking order.
Next, find a way to have them exposed to each other for a week or two before letting them interact directly. For me, my coop and run are divided in half so it’s easy to keep the adults on one side and the chicks on the other. Placing a dog kennel (see photo below) or chicken tractor near your coop would work, too. Same with building out a corner of your run into a brooding cage!
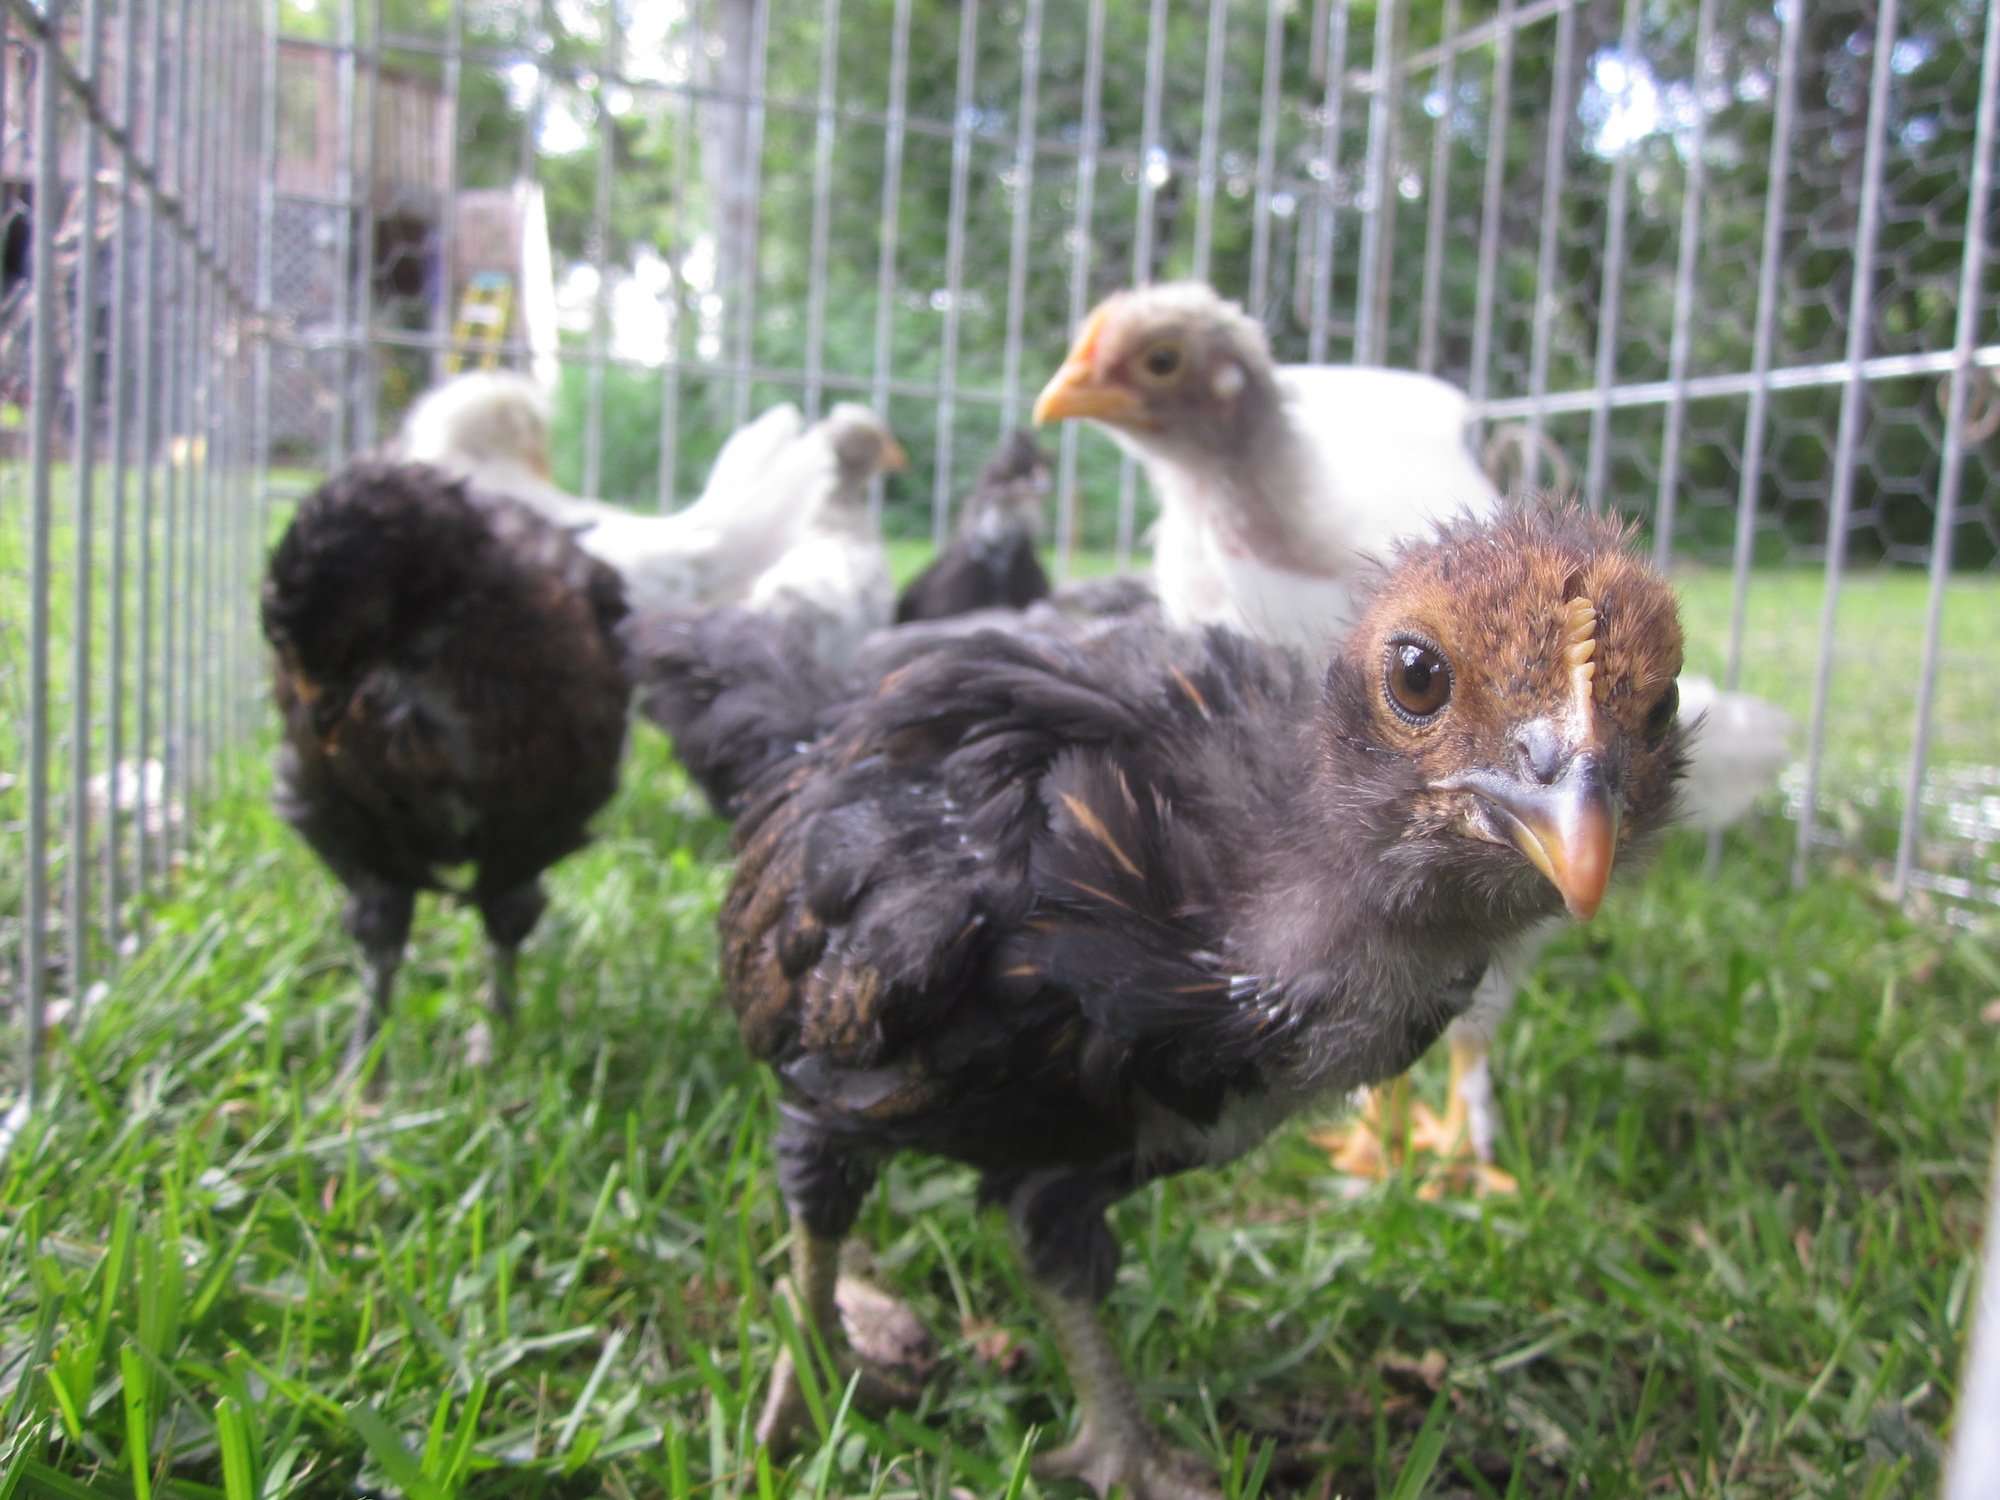
This method allows the adults and chicks to get accustomed to each other while keeping the chicks safely protected behind the fencing. It also helps to keep the chicks confined to their new coop area so that they identify it as home before letting them free range. You know they are ready to mingle together when they’ve lost interest in each other and go on about their business.
Other Chicken Articles You’ll Love
- The 8 Best Egg Incubators
- Hatching Chicken Eggs: The Ultimate Beginner’s Guide
- Candling Chicken Eggs: Day-By-Day Development
- How to Care for Chickens: A Beginners Guide
Final Thoughts
Well, that was fun! Having baby chicks around is one of my favorite parts of the year! With the right care, it can be an uneventful and smooth process. Baby chicks don’t need much in terms of equipment, but having the right things will make it much easier for you and the chicks.
I hope you are feeling more confident about raising baby chicks now! Please send any questions my way in the comments section below.
*The information in this article was referenced from personal experience, Storey’s Guide to Raising Chickens, and The Chicken Chick’s Guide to Backyard Chickens. I highly recommend buying these books if you don’t own them already!


Thank you so much for sharing this wealth of information! We hope to start with chickens in the next year and your article has made it feel a lot less daunting.
I’m so glad to hear it and best of luck!
Those little chicks are so adorable. I would love to have chickens, but our boro won’t allow it. I love how your post is very detailed & informative!
Thank you! I love having little chicks around 🙂 Hopefully you can get some someday, too!
We really want chickens, eventually. This is great information! So much to do, thanks for sharing it all!
They are great animals to have around and so easy to care for compared to most livestock. I hope you can have them someday! 🙂
Obsessing over all things chicks right now – thanks for sharing. Hope to have my own flock soon!
That’s so exciting! Chickens are so great to have around 🙂