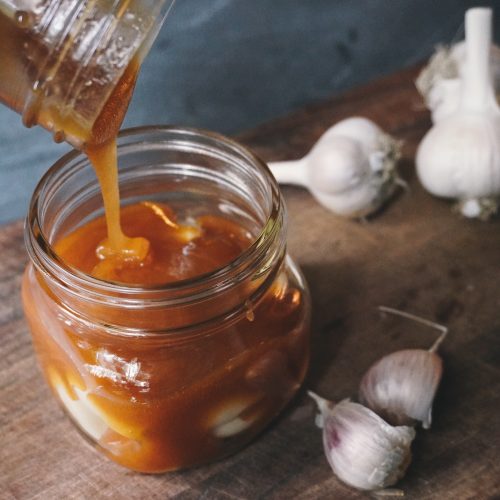
Fermented Honey Garlic
Raw honey and garlic are well known for their immune-boosting properties and the best part is that you likely already have both on hand making this super easy to whip up.
Equipment
- 1 Cutting Board
- 1 Knife
- 1 glass jar
- 1 Lid
Ingredients
- Garlic cloves whole, raw
- Raw honey
Instructions
- Peel the garlic by laying a chef's knife over each clove (flat side down) and give it a firm wack with your hand. This will lightly soften the garlic and let the skins slide off. It will also release some of its natural juices, which will aid in fermentation. Don’t do it too hard, though! You don’t want to bust the garlic up into pieces.
- Peel enough to fill your desired jar ⅔ of the way up.
- Pour in raw honey to cover all of the cloves, give it a stir and cover with a lid.
- Tuck the jar away in a dark location (like your cupboard), but not too far out of sight that you forget about it. I like to keep it in my coffee or spice cupboard since I go in there daily.
- Give the mixture a stir (or flip the jar) every day or two to make sure that the cloves stay covered. If you decide to just flip the jar, make sure to briefly open (or "burp") the lid to let the gasses from fermentation release.
- Keep an eye on your fermented honey garlic and after a week or so, you should notice some little bubbles forming. Hooray! After 1 month, it should be complete.
- Fermented honey garlic is one of the few ferments out there that shouldn’t be stored in the refrigerator. Store in your cabinet or cupboard instead. Coolish temps are great (55-65 degrees). This should last 6 months!
Notes
The most common way to use fermented honey garlic is to pop a clove and a bit of honey in your mouth anytime you feel under the weather. You can chop up the clove into smaller pieces, too, if you prefer less at one time.
Fermented honey garlic can also be used as a wonderful culinary addition!
- Drizzle some of the honey on pizza
- Add some of the honey to homemade salad dressing
- Chop up the garlic and add it to sauces and marinades
- Add some of the honey to tea
Did you try my recipe?Let me know how it was!