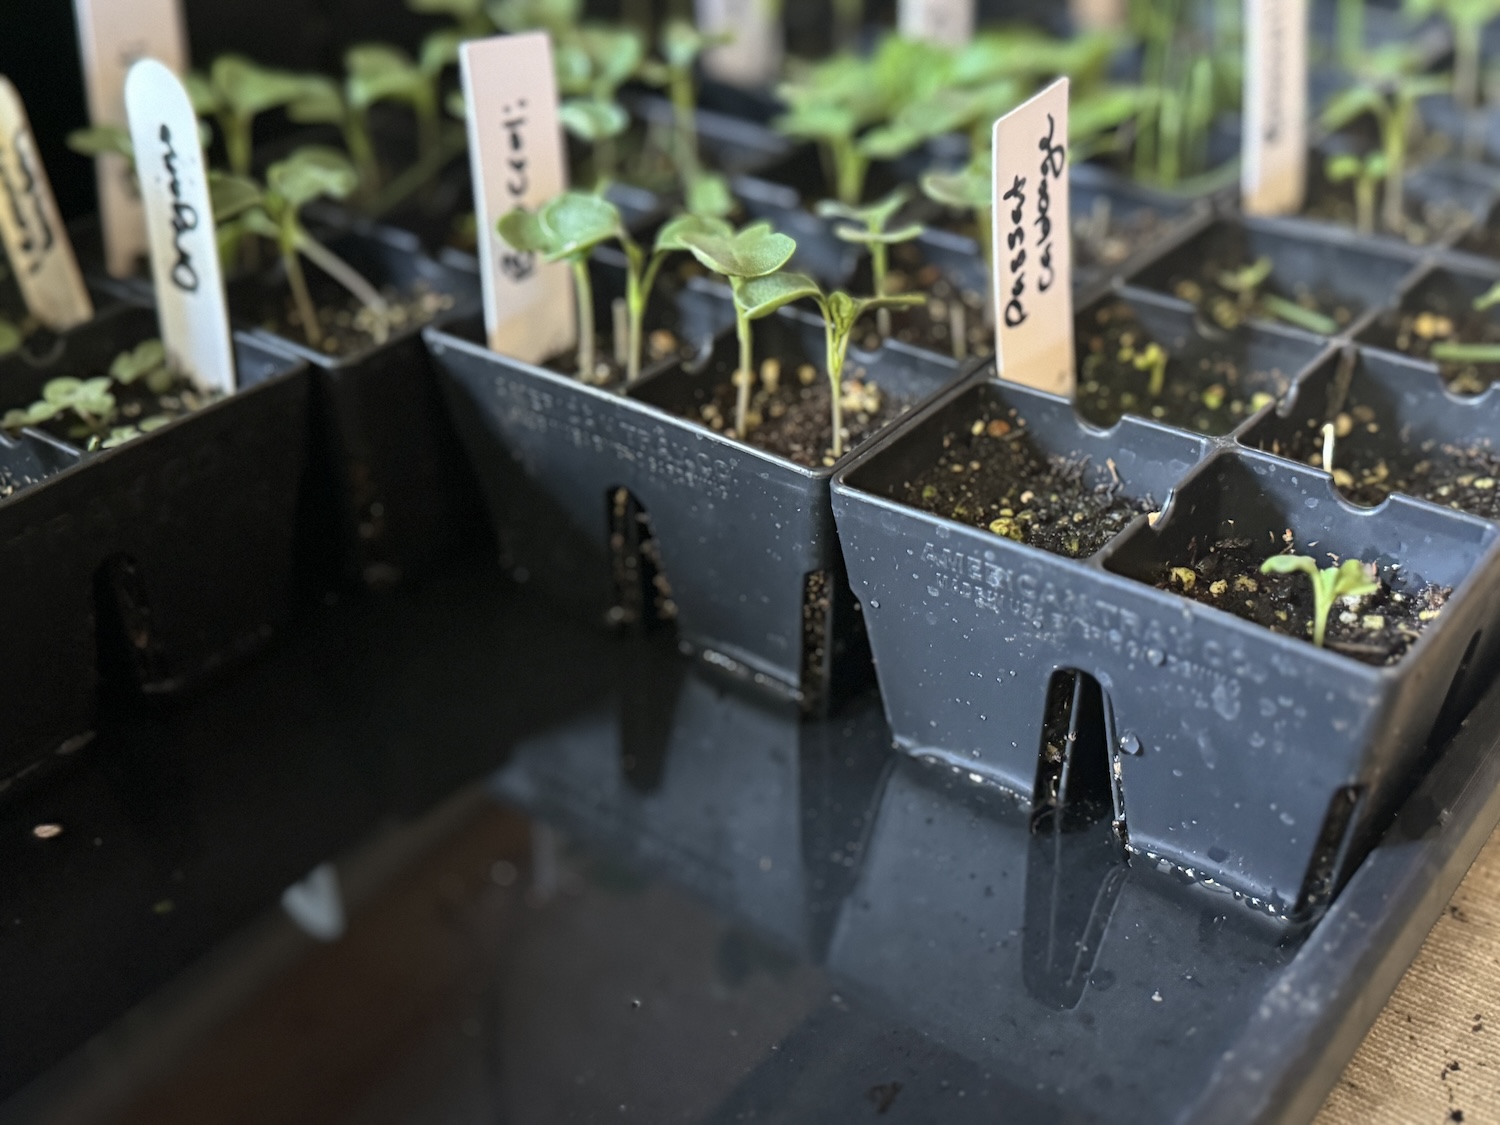
So, you’ve started your little seeds and are patiently (or impatiently, if you’re like me!) waiting for them to sprout. You’re likely struggling with the classic question, “How often should I water my seedlings?”
Watering seedlings properly is one of the most challenging things to get right as a gardener. I still doubt myself from time to time! Thankfully, once you understand some key concepts about seedlings and their moisture needs, it’ll become second nature to you.
If you’ve already noticed some negative effects from overwatering or underwatering, don’t fret! I’ll also cover some steps you can take to save your seedlings. Let’s dive in!
*Disclosure: This post may contain affiliate links to products (including Amazon). I’ll earn a small commission if you make a purchase through my link, at no additional cost to you! Regardless, I only link to products that I personally use on our homestead or believe in.
General Guidelines for Watering Seedlings
The goal of watering seedlings is to achieve that perfect balance of providing enough moisture to support growth without overdoing.
- Too little water can cause poor germination or wilty seedlings
- Too much water can cause fungal issues like dampening off
- But, If you get it juuuust right, your plants will thank you with strong and vigorous growth!
So, how do you do that?
Below, we’ll chat about the factors that affect watering needs, and based on this, you’ll be able to figure out the right schedule for YOUR seedlings, setup, and environment. Ultimately, consistency is KEY, so write it into your schedule if you need to!
Factors that affect watering frequency
I wish it was a simple enough topic to be able to list a standard “seedling watering schedule,” but it’s more complicated than that. Every home (and climate) has a different environment. Different plants have different watering needs, too!
Someone living in warm and humid Florida is going to have drastically different watering needs than I do living in cold and dry Minnesota (especially with my wood stove cranking away nearby!).
Growing medium
While it may be tempting to drag some garden soil inside to start your seeds, it’s best to use a mix designed specifically for seed starting. Seed starting mixes are designed to be excellent at retaining moisture.
The Homesteading RD's Product Picks | |
Specifically designed for seed germination and rooting plant cuttings. Provides natural moisture retention and aeration. Includes blended sphagnum peat moss, perlite, kelp meal, worm castings and well-aged compost. Certified organic! | |
One of the main reasons that seeds don’t sprout is that they dry out between waterings. Seeds should be kept evenly moist to germinate well, so these mixes do everything they can to help you achieve that.
Once your seedlings develop their first set of true leaves, it’s time to graduate them to a 1-1-1 mix of seedling mix, compost, and your garden soil. This is where things can get interesting.
- If you have sandy soil, you’ll need to water your seedlings more often
- If you have clay soil, you’ll need to water your seedlings less often
- If you have something in the middle (lucky you!), you may not notice a drastic difference in your watering needs after repotting
Environmental conditions
Factors such as temperature, humidity, and light levels significantly influence seedling water requirements. Hot and dry conditions increase evaporation rates, necessitating more frequent watering, while cool and humid conditions may allow seedlings to go longer between waterings.
When I had my seedlings growing in a spare bedroom with the door closed, it felt like a tropical oasis when I walked in! It was humid from all the damp soil and warm from the grow lights. I didn’t have to water nearly as often as I do now that I’m growing my seedlings next to our heat stove in our main living area.
Similarly, exposure to direct sunlight can lead to faster soil drying, while low light conditions may slow down water uptake by the plants. However, seedlings have high light needs, so you should have some high-powered grow lights available to them no matter what.
One of the most common mistakes I see with beginner gardeners is using inadequate lighting. A window won’t cut it! I know that grow lights are expensive, but they are well worth the investment.
The Homesteading RD's Product Picks | |
This is the LED grow light that I use (I have 3 of them!) and it's amazing. I like that I can set it up anywhere and it will easily cover 2 growing trays (10"x20"); you could even cover 4 if you're good about rotating them. | |
Type of seedling
Different plants have varying watering needs, but thankfully there isn’t a dramatic difference when it comes to vegetables and herbs. Houseplants, on the other hand, can have very different watering needs!
Tender vegetables like lettuce, spinach, cucumbers, and squash are sensitive to being dry and appreciate a bit more watering than most woody herbs (think rosemary, thyme, sage, etc.), which can tolerate being on the dry side from time to time.
What do I do? Personally, I water all of my herbs and vegetables on the same schedule. It’s simpler for me and it works well enough!
Size of container
When your seedlings start off in those tiny little cells, they are MUCH more prone to drying out than when they’ve graduated to bigger pots down the road.
Another thing to consider is how mature that seedling is in the container. A tiny seedling that was freshly up-potted will soak up much less water than a mature one with an extensive root system.
Consequences of overwatering and underwatering
While water is essential for seedling growth, overwatering can lead to root rot, fungal growth, and other diseases, while underwatering can stunt growth and cause wilting. Neither is great for seedling health, so finding a balance is key.
If it happens, don’t panic! If you catch it early, there are some things you can do to save your seedlings, which we’ll chat about further down in this article
Monitoring Seedling Watering Needs
Okay, so let’s bring all of this together now into a practical application. How do you actually know when it’s time to water? There are a few ways to go about it from simple to complex.
Visual Test
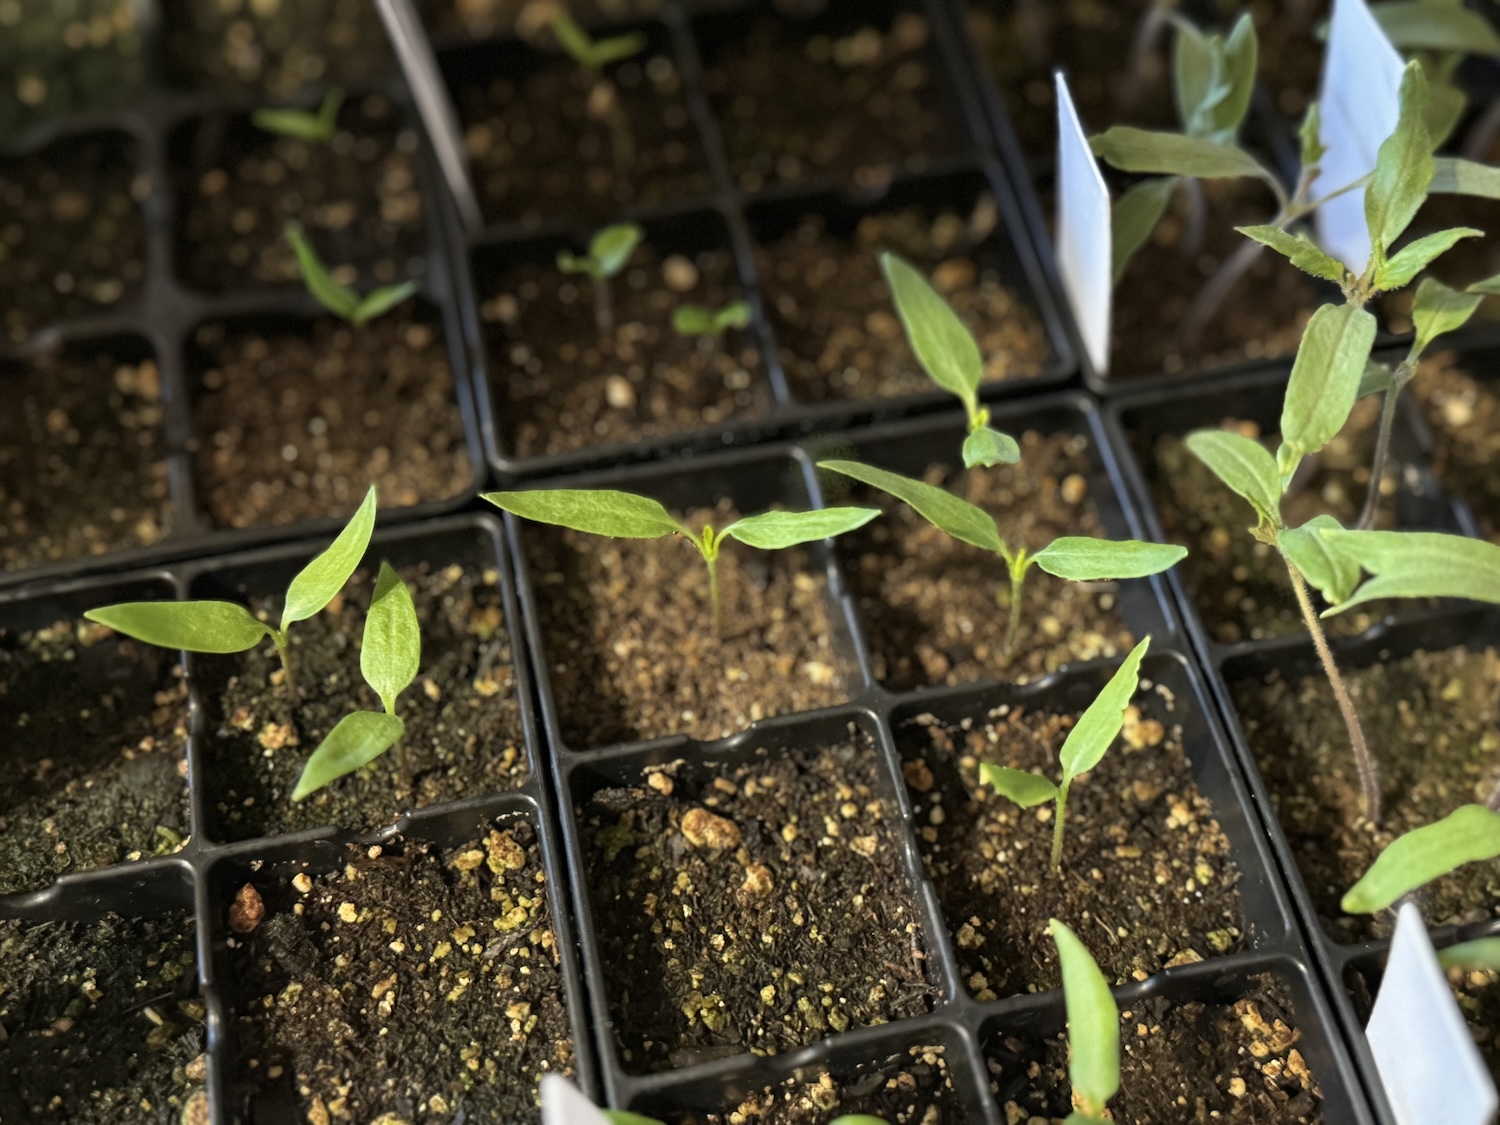
I’m a simple gal, so my favorite way is just observing the soil. When soil is wet, it’s dark. When soil is dry, it’s light. The key is to water when it’s on its way to becoming light.
- If the soil is very light, you’ve waited too long.
- If the soil is still dark, wait a bit longer! It’s not time yet.
Finger Test
Another method is the simple finger test. Gently press your finger into the soil and observe what happens.
- If it’s dry and crumbly, and nothing sticks to your finger, it’s time to water!
- If it’s soggy and soil sticks to your finger, then wait a bit longer!
- If it’s somewhere in the middle, then congratulations! Your plants are happy. You could do a light watering, or check back again soon to do a full watering.
*However, this method is best used when your seedlings have graduated to bigger pots. There likely won’t be room for you to stick your finger into the small 6-cell starter pots without damaging the little seedling.
Scientific Test
If you’d like a straightforward answer, try a soil moisture meter! These are handy tools that I love to use on my houseplants, but they work great for seedlings as well as long as they are in a pot that’s large enough to accommodate the tool.
The Homesteading RD's Product Picks | |
Have you been sticking your finger in the soil hoping to feel when it's time to water? Why not eliminate the guesswork and use the Dr. Meter Soil Moisture Sensor Meter! Know the right time to water your garden, farm, lawn and houseplants, anytime. | |
The Best Way to Water Seedlings
Now that you understand when to water seedlings, let’s talk about how to water them! There are two main methods: overhead and bottom watering. Let’s break them down!
Overhead watering
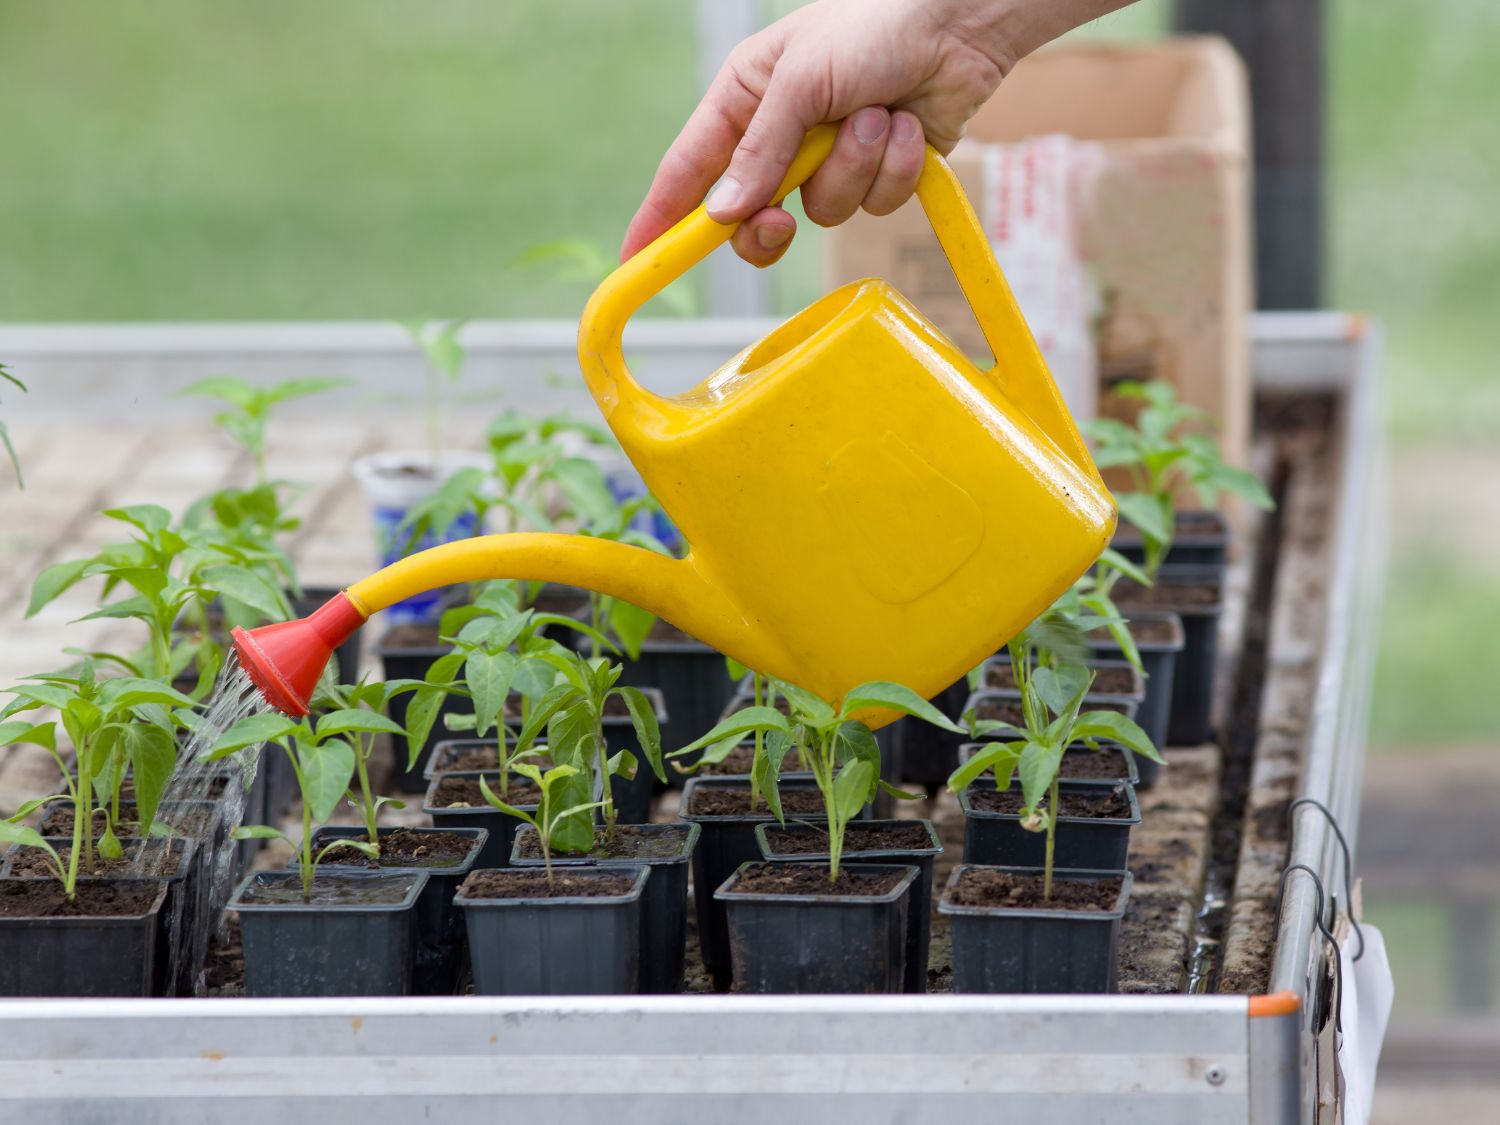
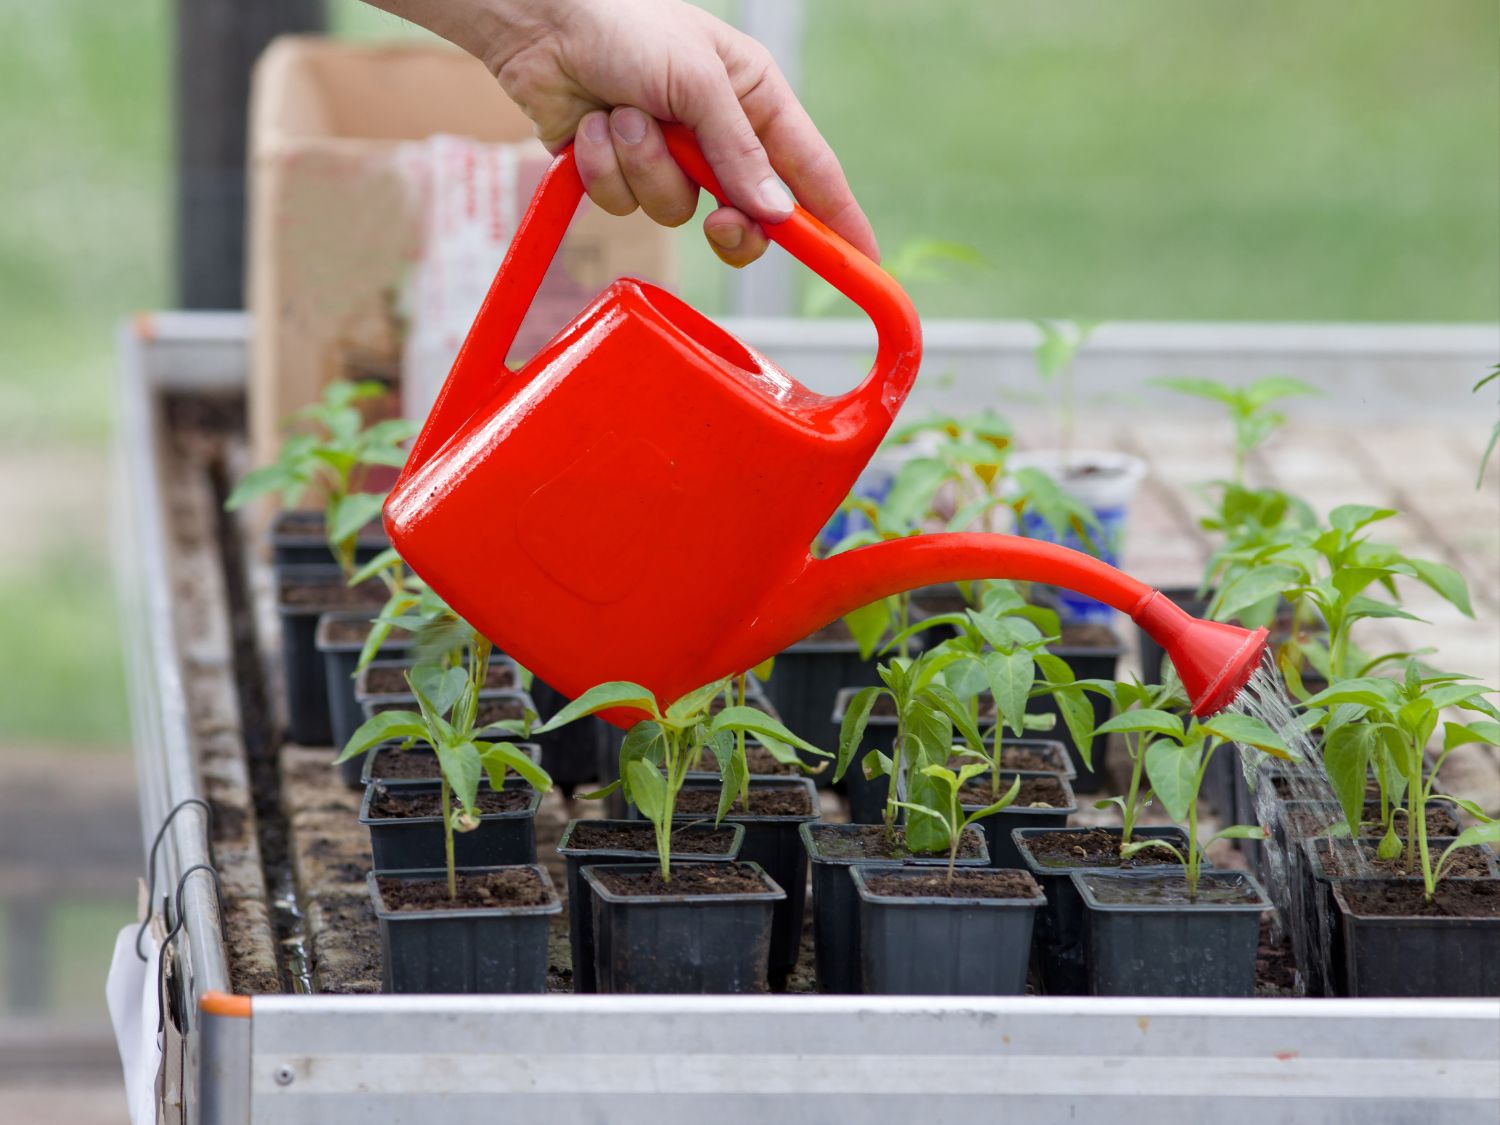
This type of watering is the most common and it’s exactly what it sounds like – watering the seedlings from overhead with a watering pail. The best application for this type of watering is when you’re waiting for your seeds to germinate. Germination is highly dependent on the seeds staying moist, so watering overhead will help ensure that.
I enjoy this type of watering because it forces me to slow down and simply enjoy spending some time with my seedlings. It’s kind of therapeutic!
If you plan to use overhead watering from beginning to end, ensure good air movement in the room because if the leaves are wet from daily watering, this can lead to fungal issues. I have an overhead fan that I turn on daily, but a box fan works well, too!
*Bonus tip: If you have some freshly planted seeds, make sure that your pail has a very fine stream so that your seeds aren’t disrupted.
Bottom watering
This is the easiest and most effective way to water with established seedlings. All this method involves is adding water to the bottom tray until it’s 1/2″ deep and then the seedlings will draw up what they need. Just make sure there are no holes in that bottom tray!
I utilize this method anytime my seedlings are mature (don’t use this method when waiting for seeds to germinate!), and especially when we are out of town. It works great and allows the seedlings to self-regulate their hydration needs for a few days without me there. It also supports deep-root development!
*Bonus tip: The key is to use a sturdy bottom tray that can handle the extra water. I’ve finally switched over entirely to the EPIC 1020 Universal Bottom Trays and they are worth every penny. They’ll last a lifetime! Use my code THRD5 for 5% off!
Troubleshooting Common Watering Issues
So, you pushed the limits as far as underwatering or overwatering goes. What goes wrong in these conditions? How can you fix it?
Overwatering
Underwatering
While overwatering is an issue, underwatering isn’t great, either! The first sign of underwatering is a limp seedling, but there’s more going on under the surface. Insufficient water supply restricts the seedling’s ability to absorb nutrients, which can lead to stunted growth, poor fruit/flower development, and even reduced resilience to environmental stressors.
If you notice this happening, give your seedlings a deep watering utilizing both overhead and bottom watering. Overhead watering will provide some immediate moisture while bottom watering will provide continued moisture as the seedling recovers. Alter your watering schedule to one that is more frequent to prevent further issues.
Other Gardening Articles You’ll Love:
- 10 Tips for Starting Pepper Seeds Indoors
- The BEST (and worst) Vegetables to Grow in Raised Beds
- How to Grow Broccoli Microgreens: A Complete Guide
- The Best Compost for Your Vegetable Garden

