
Broccoli microgreens are rapidly becoming popular because they are delicious, nutritious, and super easy to grow! These flavorful little plants can be grown for your own enjoyment, or for a lucrative side hustle.
Not only are they fun to grow, but they also offer many health benefits that make them a must-try for anyone looking to improve their health. Even if you’re not an experienced gardener, you’ll excel at these and enjoy the satisfaction of growing your own fresh and nutritious food.
Let’s give it a try!
*Disclosure: This post may contain affiliate links to products (including Amazon). I’ll earn a small commission if you make a purchase through my link, at no additional cost to you! Regardless, I only link to products that I personally use on our homestead or believe in.
What Are Broccoli Microgreens?
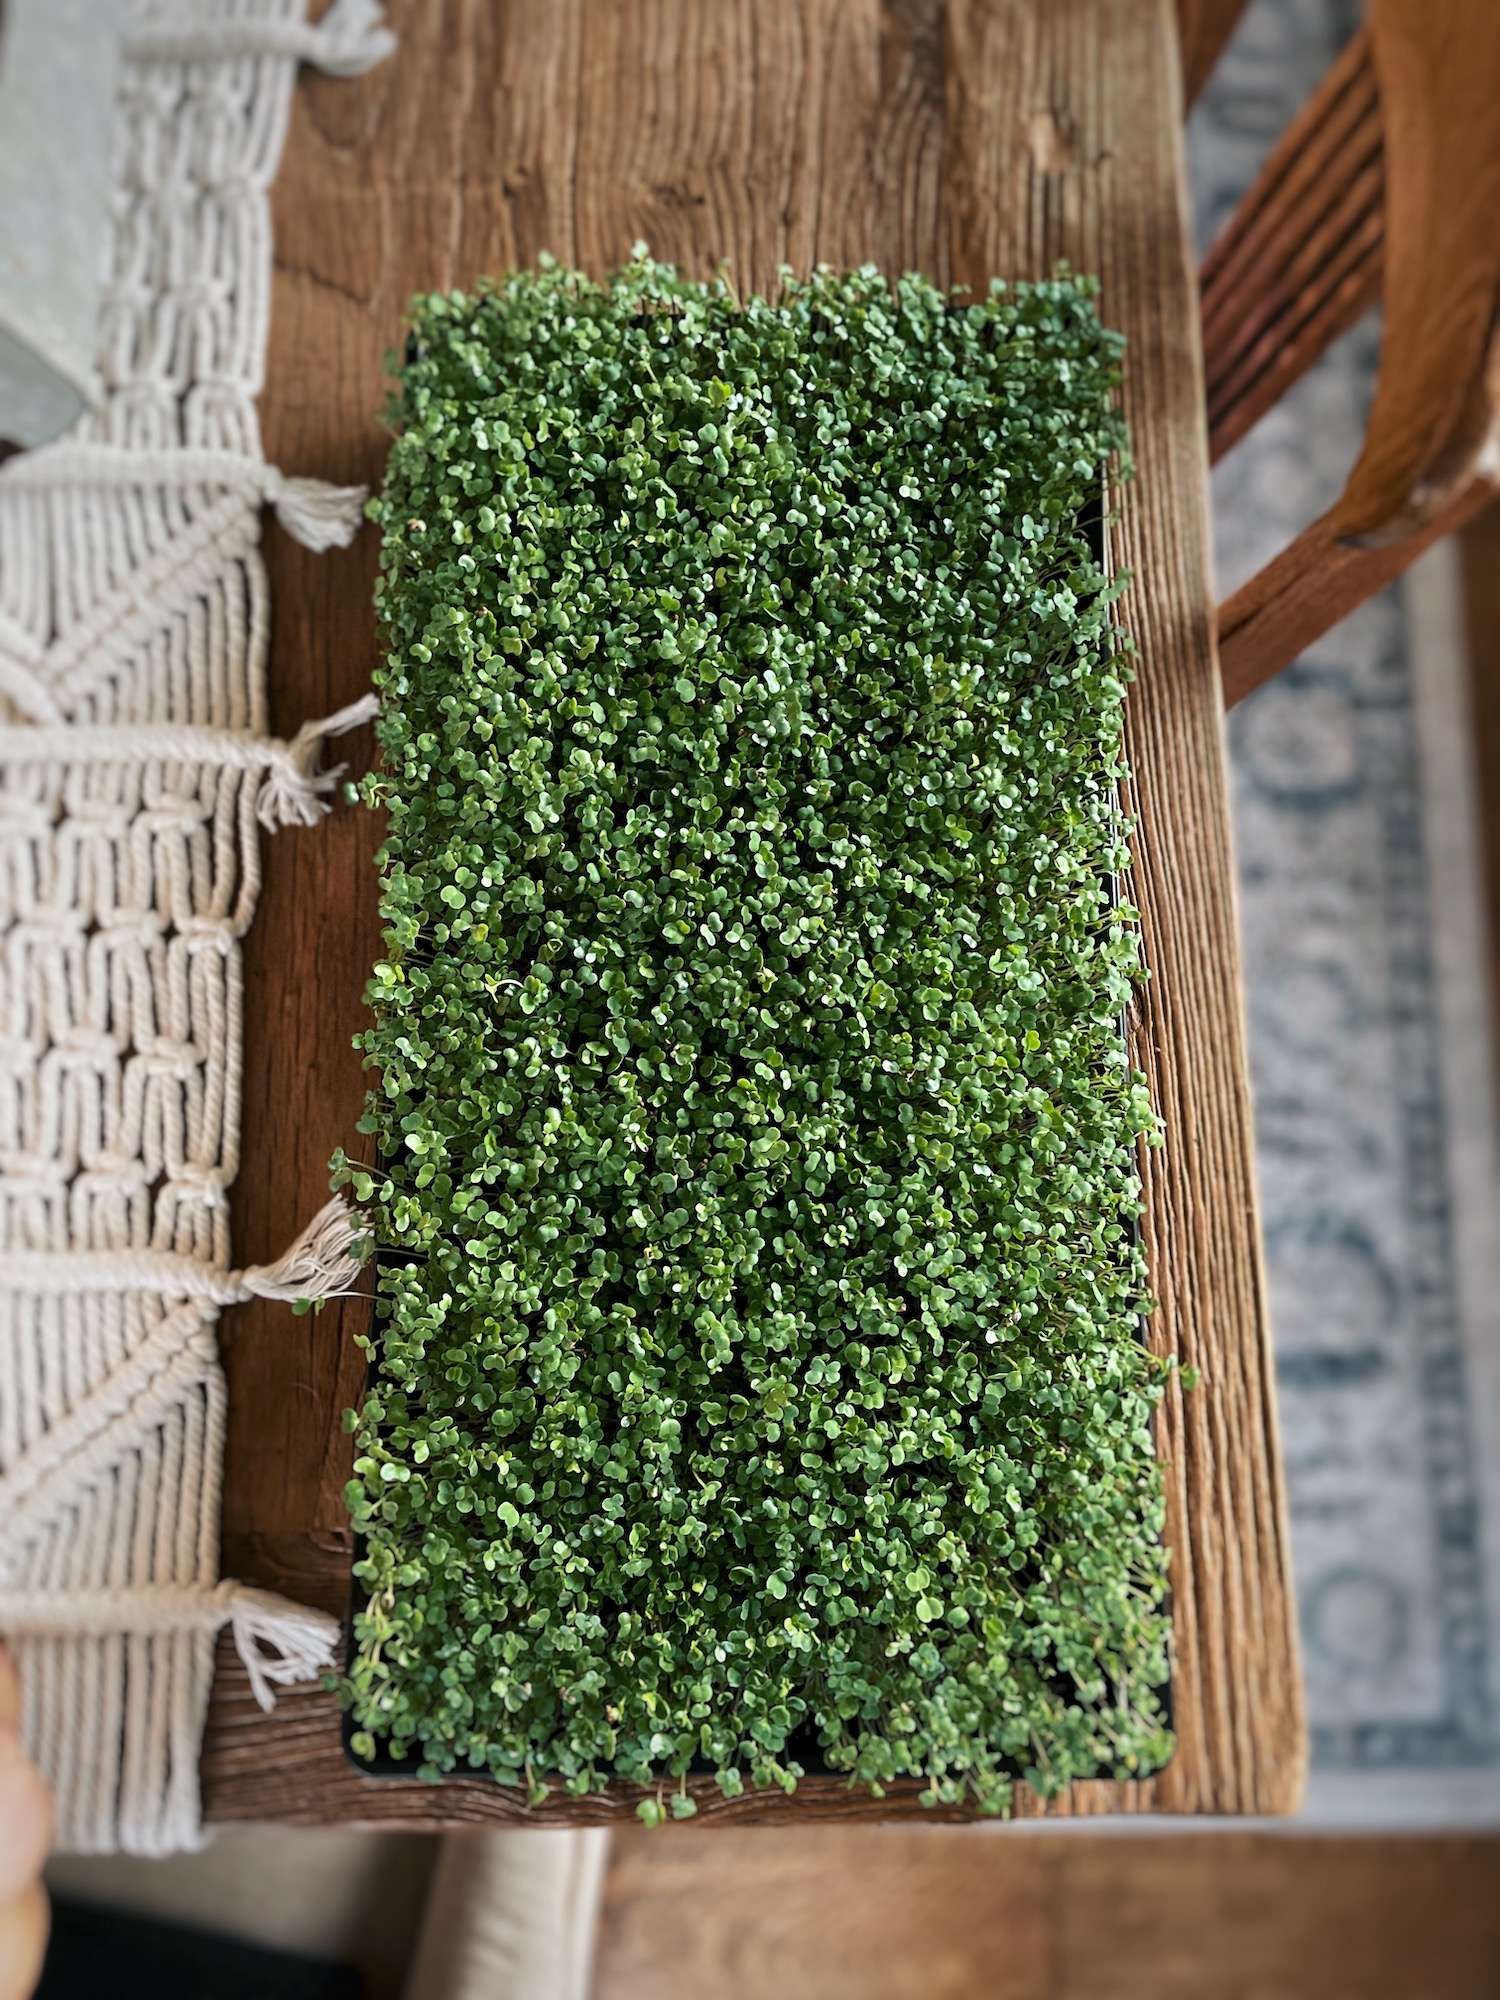
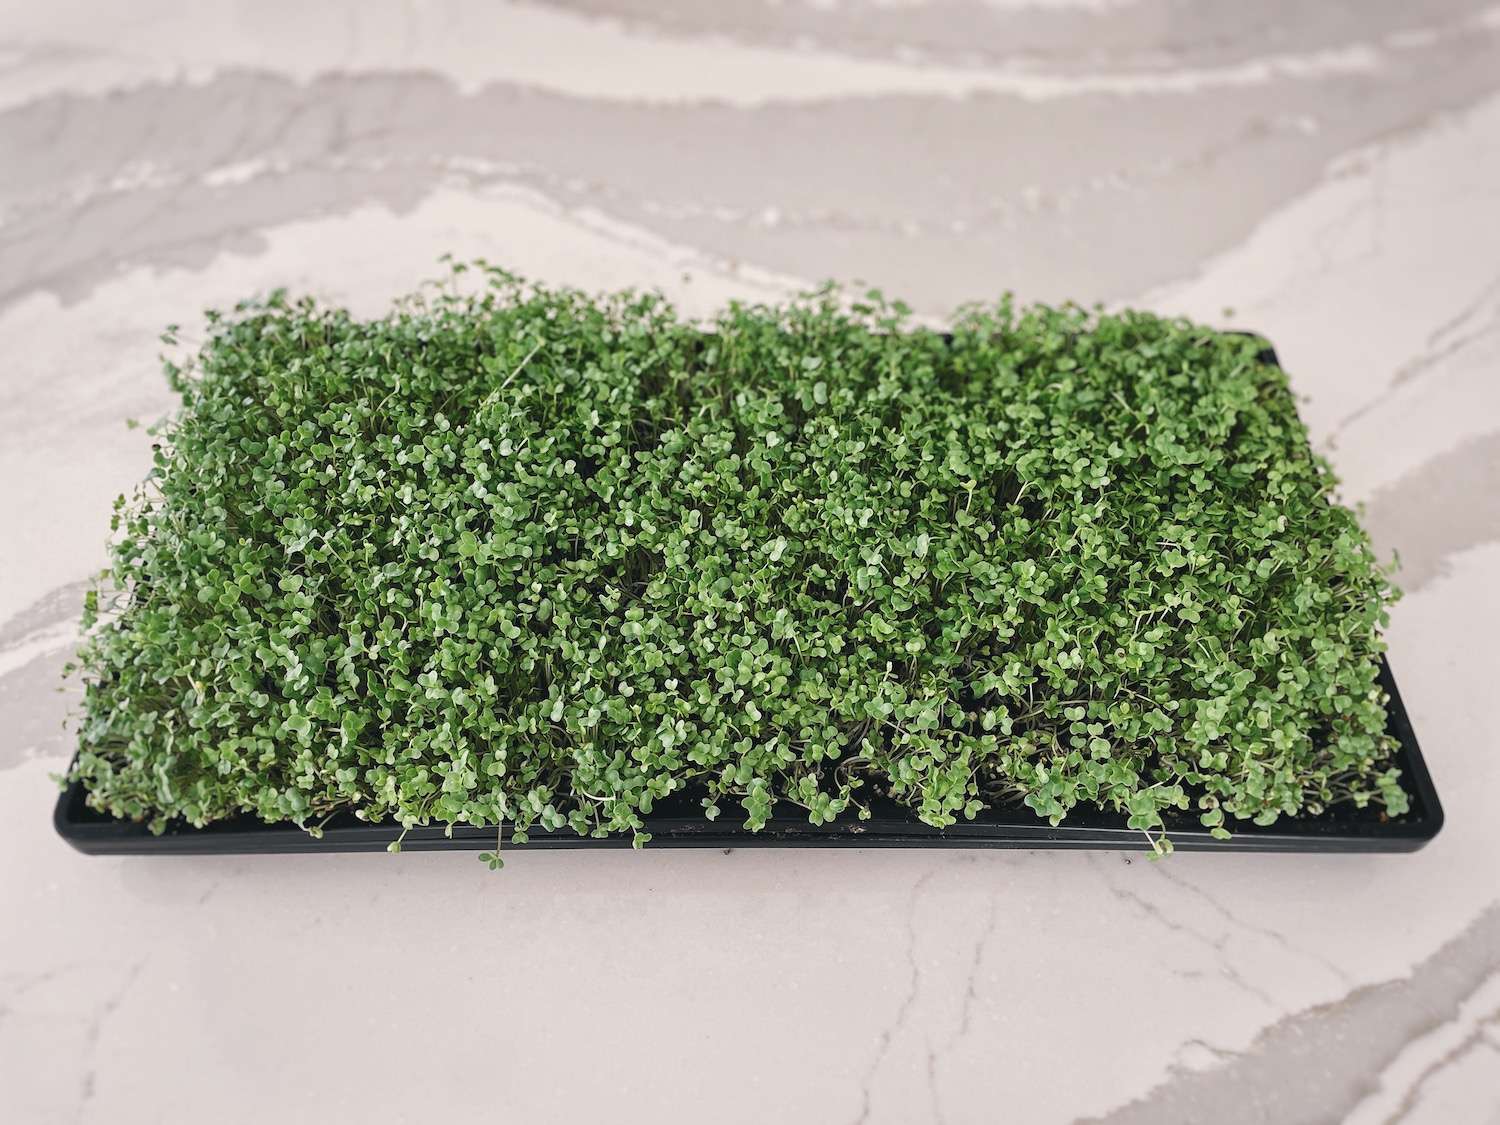
Broccoli microgreens are tender, baby versions of the mature broccoli head that we are used to eating. They are grown clustered together and harvested when they are just 8-12 days old! Microgreens were first identified in the 80’s and have been rapidly growing since then.
Microgreens are used a bit differently than mature vegetables. They are typically sprinkled onto dishes as a garnish – such as a topping on salads, tacos, burgers, eggs, you name it!
What sets microgreens apart from growing standard vegetables is that they require minimal equipment and can be grown in small spaces. If you live in an apartment, or just want to enjoy something fresh in the winter – microgreens will be a welcomed addition for sure!
Benefits of Broccoli Microgreens
Nutrient-dense
Broccoli is part of the brassica family, and microgreens within this family are loaded with nutrients such as phosphorus, calcium, iron, and zinc (Xiao 2016).
Broccoli microgreens are excellent sources of a compound called sulforaphane, which has antioxidant, anti-inflammatory, and colon-cancer-fighting properties as well as beneficially impacting our genes! Just 1 oz of broccoli microgreens has ~73mg of sulforaphane whereas ¾ cup of steamed broccoli only has ~40mg (Tse 2013)!
These nutrient-dense microgreens can even improve body weight, blood sugar control, blood lipid levels, and inflammation (Ma 2022, Le 2020)! Is there anything broccoli microgreens can’t do?
Boosts your microbiome
Did you know that plants and the soil each have their own diverse microbiome and we benefit from exposure to them? Research has found that those who garden have a more diverse microbiome than those who do not (Brown 2021). Let’s get our hands dirty!
Mental health
Feeling a bit blow? Growing some broccoli microgreens may give you the little boost that you need! A 2017 study revealed that gardening is associated with reductions in depression, anxiety, and BMI, as well as increases in life satisfaction, quality of life, and sense of community (Soga 2017). Sign me up!
Self-sufficiency
If you’ve been following me for a while, you know self-sufficiency is the ultimate driver in what I do along with maximizing nutrition intake. Anytime you can take control and grow something yourself it’s a BIG win, especially in the unstable world we live in today.
Microgreens are also becoming a HUGE small-business opportunity. You can sell them for $50 per pound! You can learn more about growing microgreens for profit if this is the avenue for you.
How to Grow Broccoli Microgreens
As I mentioned above, they are SUPER easy to grow and require minimal equipment. You’re going to love them! Let’s jump into what it takes to get started.
Materials
- 1 Growing tray with drainage holes
- 2 Growing trays without drainage holes
- Organic seed starting mix
- 1 oz Broccoli microgreen seeds – I like the 1 lb packages!
- Clean water (well, distilled, filtered, etc.)
- Spray misting bottle
- Digital scale
- A window (or a grow light if no window is available)
The Homesteading RD's Product Picks: | |
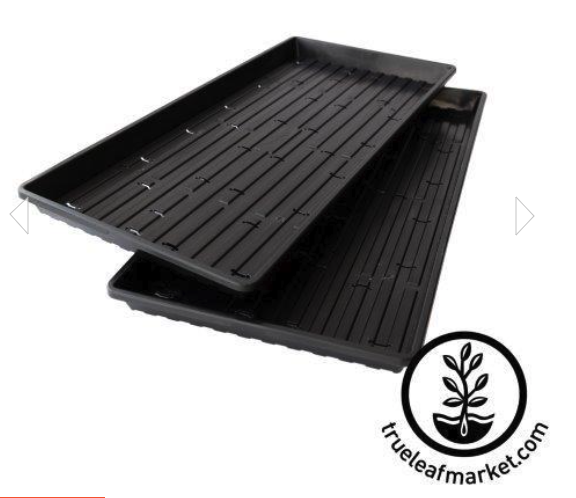
| I LOVE these trays! They are super strong, BPA free and even dishwasher safe. They are also shallower than your typical 1020 trays, making them perfect for microgreens! These are trays WITH holes - so place your soil and seeds into this one. |

| These are the same trays as above, except they feature NO holes. Use these trays for your blackout dome, and your bottom tray for holding water. |
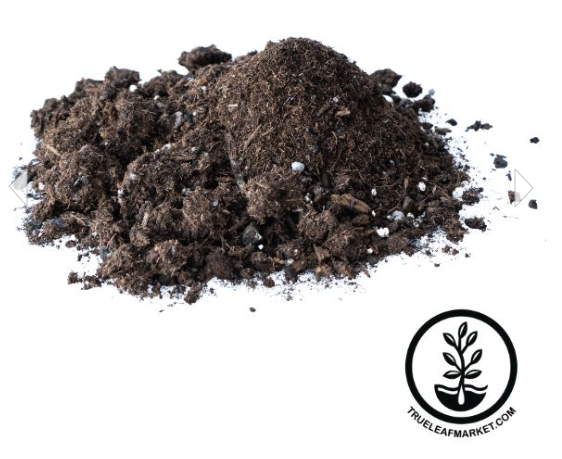
| This seed starting mix is light, smooth and fluffy - a perfect medium for growing microgreens! Plus, it's organic 🙂 |
| These are the same exact broccoli microgreens seeds that I love and have had great success with. Just check out those reviews! I like to purchase them by the 1 lb package. |
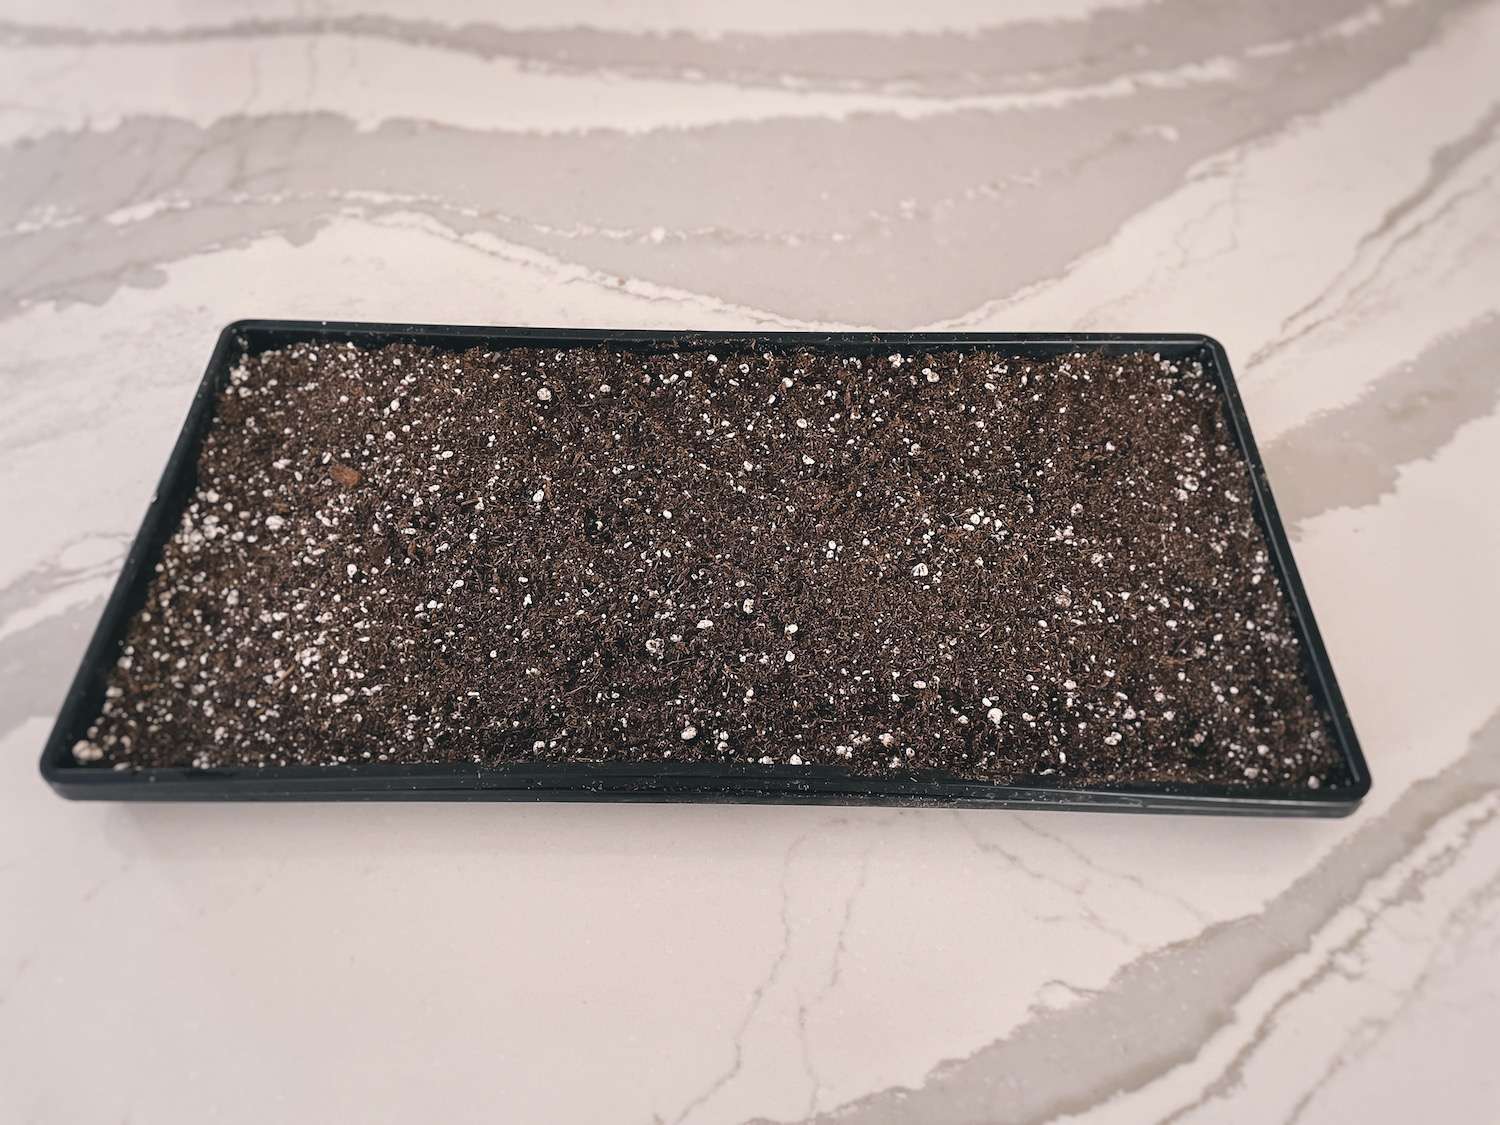
Step 1: Add soil
Fill your growing tray with drainage holes with seed starting mix. Gently compress it to get the air pockets out and to create a flat, even surface for seeding. Ensure that you still have a ¾ – ⅞” thick layer of soil. Then, mist with clean water until evenly moist.
Step 2: Spread seeds
Using a digital scale, weigh out 1 oz of your broccoli microgreen seeds. Using your fingers, gently sprinkle the seeds evenly throughout the tray. Then, gently tamp the seeds into the soil so that they don’t roll around. Mist again with clean water.
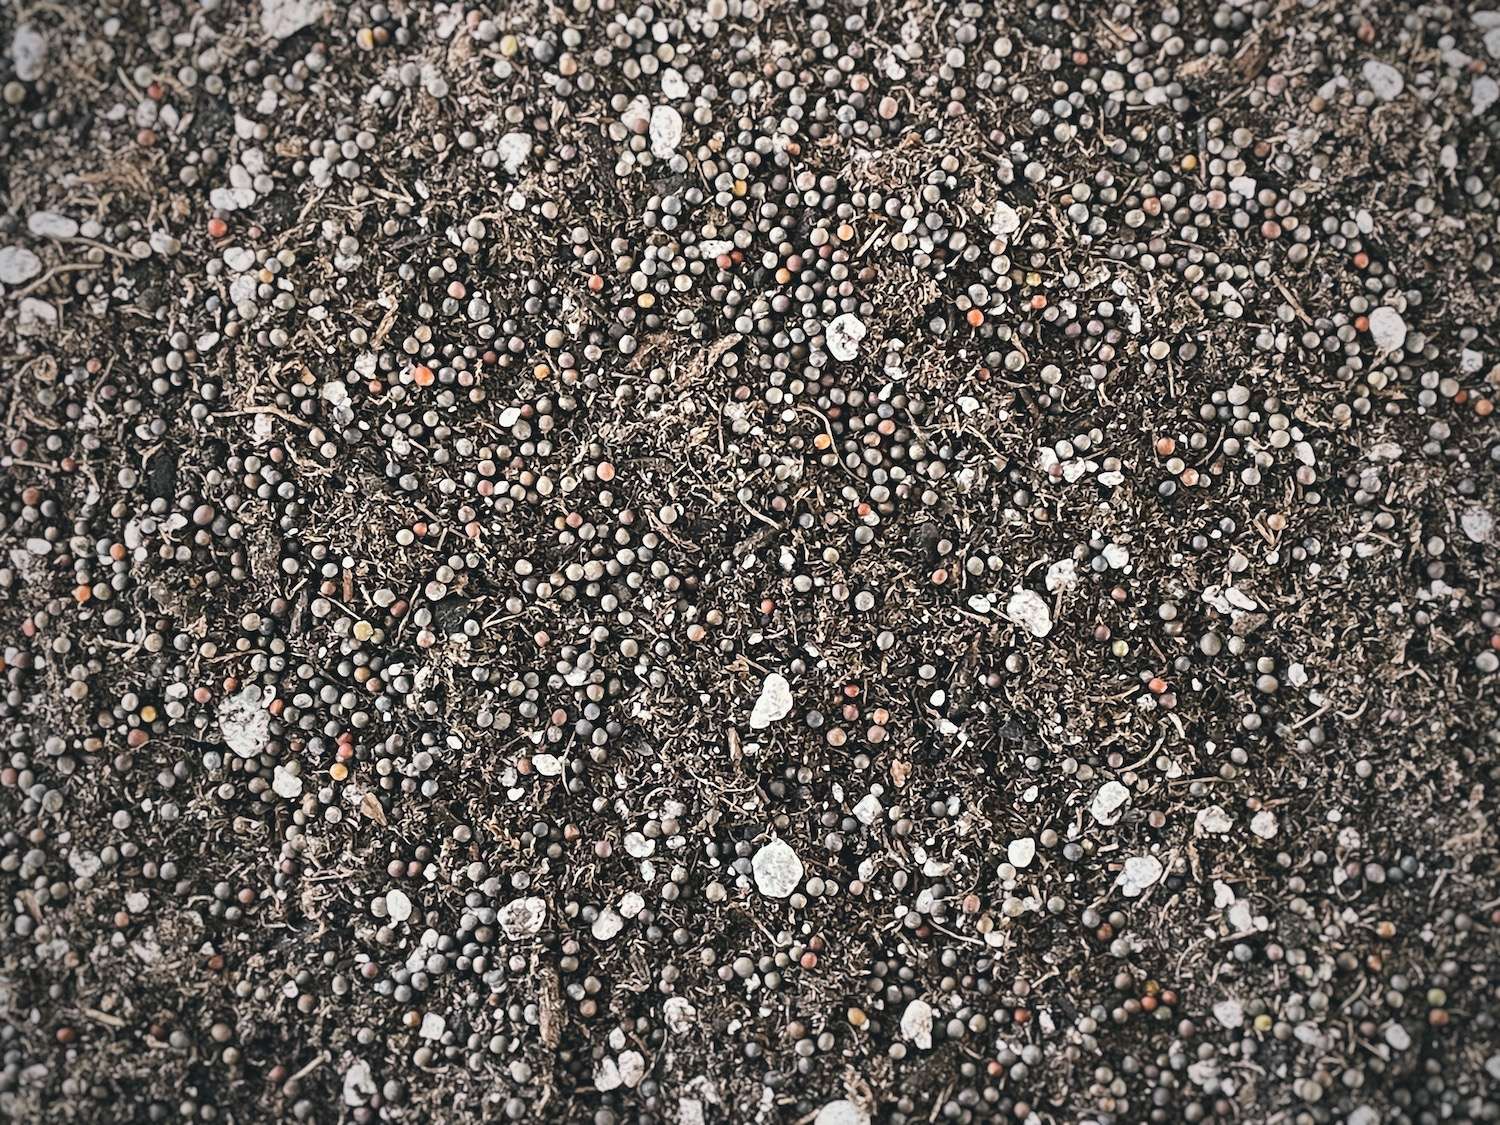
*Some resources say to use 1.5 oz of seeds, but I’ve found 1 oz to be perfect for me. Feel free to experiment with both and see which one works best for you.
Step 3: Add clean water
Then, take your growing tray without drainage holes and add 3 cups of clean water. Nest the growing tray with drainage holes (the one with your broccoli microgreens seeds) inside of it.

*This method will allow for bottom watering, which is ideal for microgreens and reduces the risk of mold growth.
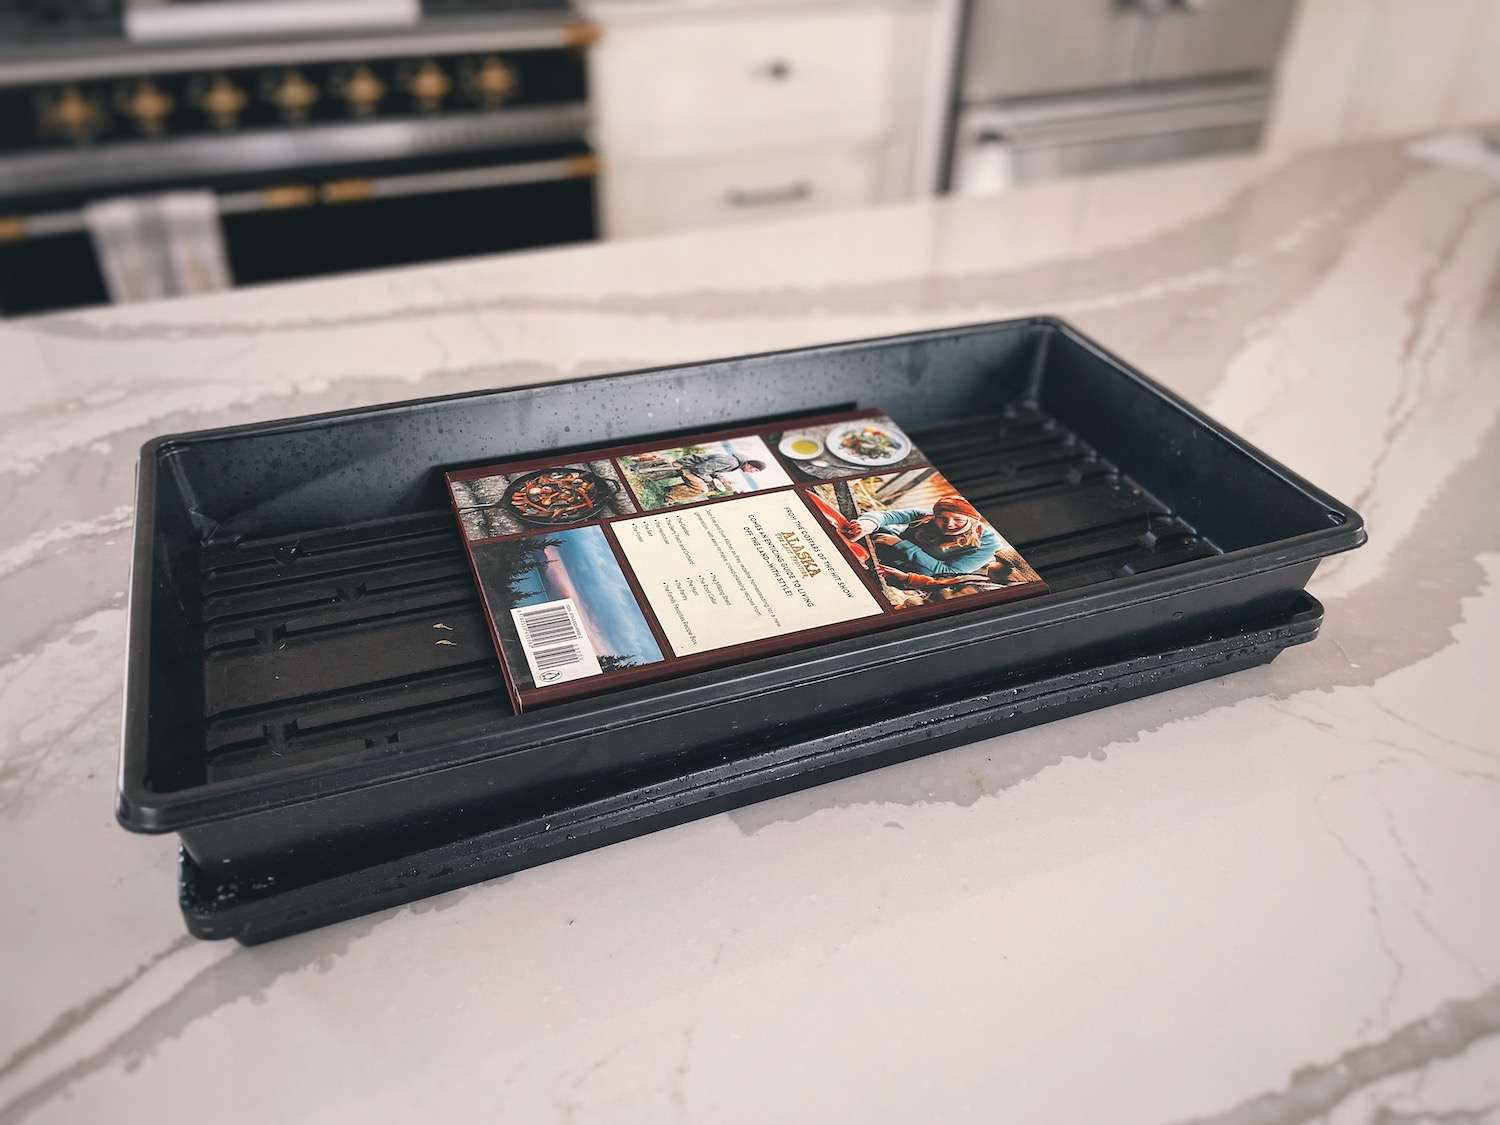
Step 4: Add the blackout dome
Next, add the second growing tray without drainage holes on top, so that all 3 trays are nestled together. This 3rd tray is what we call the “blackout dome.” It will temporarily provide a dark, humid environment that will help the seeds sprout.
Finally, add a book on top to provide some weight and pressure on the seeds. I know it sounds counterintuitive, but the pressure will help the seeds germinate! Don’t worry, they won’t get smashed 🙂
Step 5: Monitor your microgreens
In the following 3 days, monitor the water level in the bottom growing tray without holes. If all of the water is gone, top it off with 2 more cups of water. Also, take a peek at your seeds and if they look dry, give them another mist.
Step 6: Remove the blackout dome
After the 3 days are up, your seeds should have germinated. If you’re growing in a cooler location, they might need closer to 4-5 days.
Once germinated, remove the blackout dome and move your microgreen tray to a light source. A window is typically more than enough, unlike growing vegetable seedlings. If you don’t have access to a window, then I recommend using a grow light.
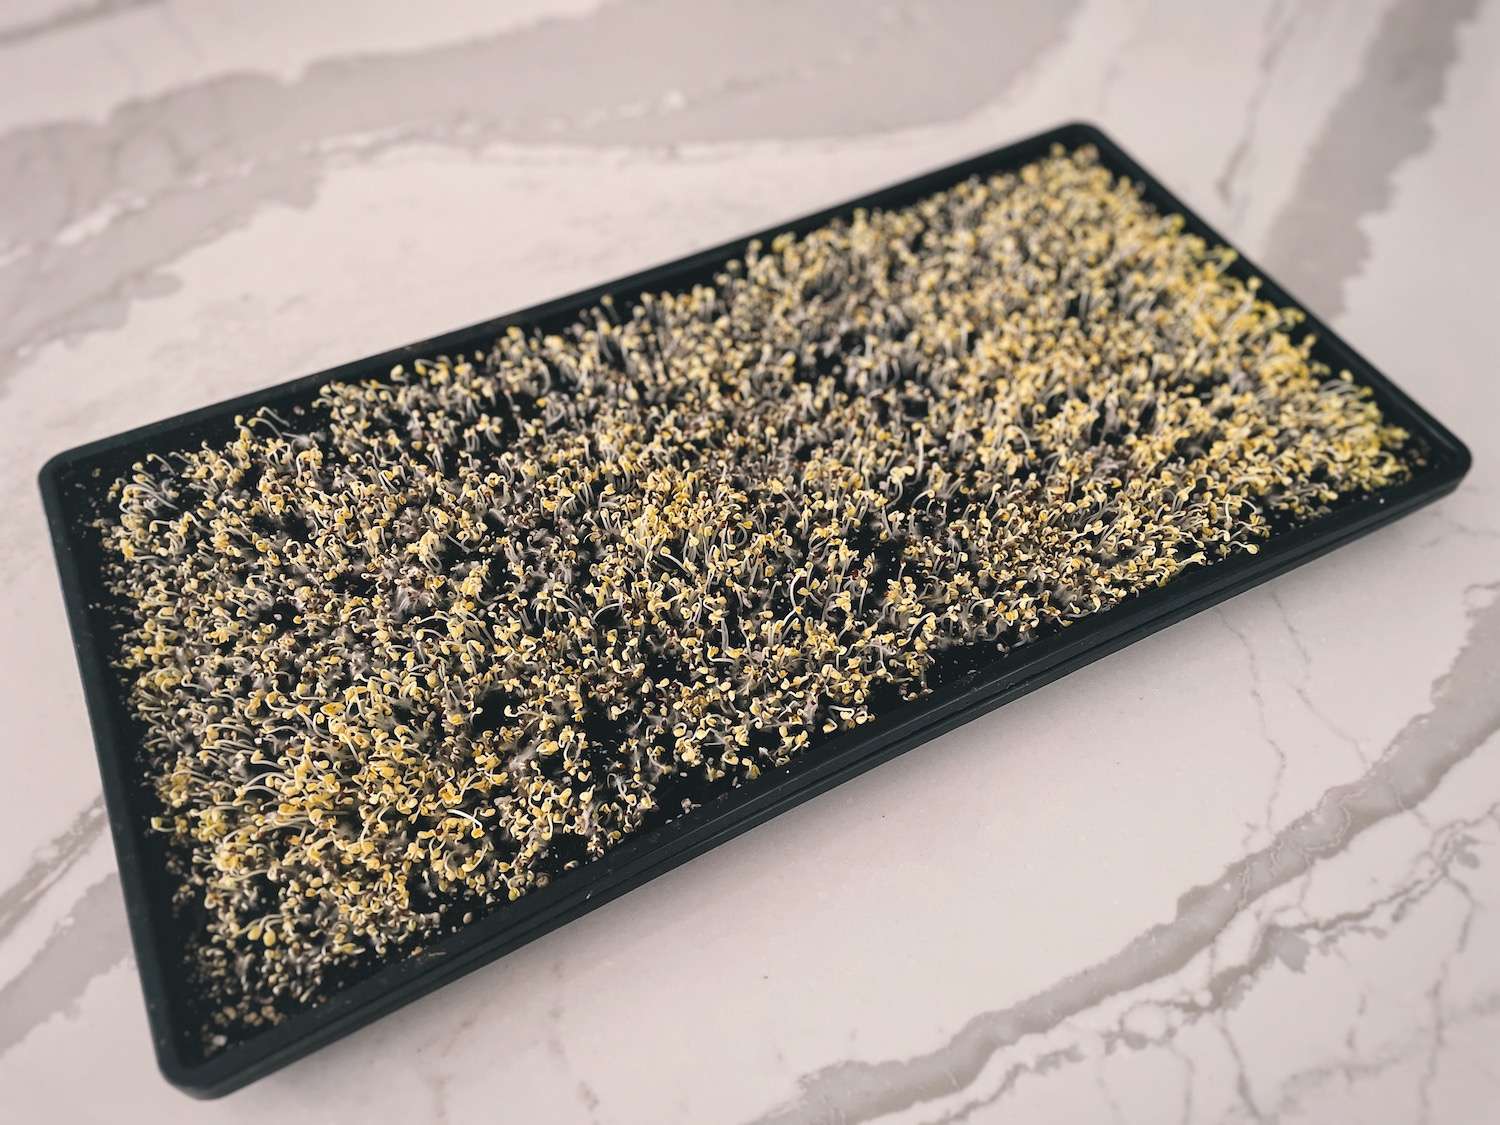
*The seedlings might be a bit yellow (like mine above) from the initial lack of light, but that’s okay! They’ll green up in a hurry with the blackout dome off.
Step 7: Monitor your microgreens & harvest
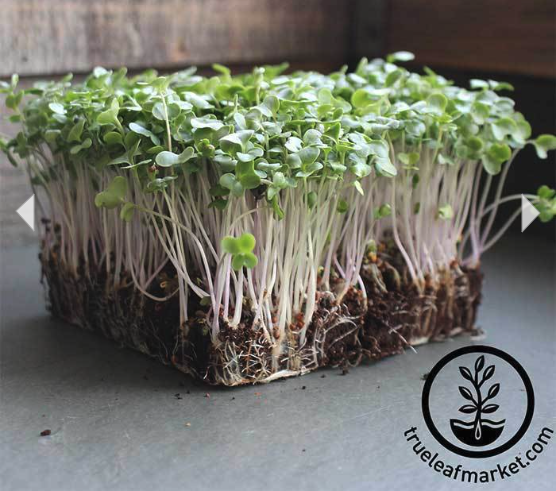
Once the blackout dome is off, stop misting the microgreens and only continue with bottom watering. Don’t let them dry out! They should be green and full once they reach 8-12 days old, depending on the growing conditions.
*If they get a bit dry and wilty, don’t worry! They should perk back up after refilling the bottom tray with water.
To harvest, simply trim them off just above the soil using a knife or scissors. You can choose to harvest them all at once or simply harvest them as you want to eat them. If you harvest them all at once, ensure that they are completely dry first and then store them in an airtight container (with a paper towel to absorb moisture) in the fridge.
*We prefer to harvest as we go, that way they are always fresh! We’ve found that the tray holds nicely for up to a week after they reach maturity, as long as we keep up with watering. After a week, they tend to lose quality.
How to Use Broccoli Microgreens
Gosh, there are so many ways to use broccoli microgreens – the possibilities are truly endless! One of the simplest ways is to add them as a garnish to your dishes. They add a pop of color and freshness to any meal while giving it a nutrient boost!
Here are some other ideas:
- Add to a fresh salad
- Top on a sandwich or wrap (kind of like sprouts, but better!)
- Sprinkle on an omelet or quiche (especially if you raise your own chickens!)
- Blend into a smoothie
- Top on pizza
- Sprinkle on soup
- Make homemade pesto

FAQ About Broccoli Microgreens
What if I don’t want to grow a full 1020 tray of broccoli microgreens?
No problem! You can use smaller containers. It could be as simple as washed sour cream containers, or you can experiment with some other tray sizes from True Leaf Market.
I particularly like their 5×5 growing trays, that way you can grow 8 different kinds of microgreens at once within a single 1020 base tray.
Can I grow broccoli microgreens hydroponically?
Sure! You can give it a try, but it is much harder to do and less forgiving. Without a stable soil medium, the microgreens are very prone to drying out.
Plus, the resulting microgreens will have fewer vitamins and minerals compared to those grown in a soil medium. I recommend sticking with soil as God intended!
What do broccoli microgreens taste like?
Broccoli microgreens taste very similar to a fully mature broccoli head, but a bit milder. It can be sweet and quite energizing!
What other microgreens can I grow?
I’m glad you asked! There are over 55 different types of microgreens you can grow, plus different varieties within each type!
Need help deciding? Definitely check out my article What Type of Microgreens Should I Grow?
Do I have to use microgreen seeds? Why can’t I use broccoli seeds?
This is a very common question and the answer is no, you do not have to use specific microgreen seeds. Actually, the seeds are exactly the same! The only difference is that you’ll get a much better deal buying them in the microgreens bulk packages.
For example, you can buy an entire pound of broccoli microgreens seeds for just $17.22, whereas 1 tiny packet of 25 broccoli seeds is $3.55. You’d need multiple packets just to fill 1 microgreen tray.
Other Articles You’ll Love:
- What Type of Microgreens Should I Grow?
- The 6 Best Vertical Garden Kits
- Lemon Balm vs Mint: Which One Should You Use and Grow?
Final Thoughts
Growing microgreens is easy and rewarding! Whether you’re looking to improve your diet, start a new hobby, or just enjoy the satisfaction of growing your own food, microgreens are a great option.
They’re easy to grow, don’t take up much space, and can be grown year-round indoors. Plus, they’re a fantastic source of vitamins, minerals, and antioxidants that can help boost your health and well-being.
So, if you haven’t already, give microgreens a try and discover the joy of growing your own tiny garden right in your own home.

Are you interested in starting a garden, but you’re overwhelmed with where to start? Or maybe you’ve tried a garden in the past, but it flopped? Definitely check out my NEW course How to Plan a Garden: Step-By-Step!


Hi Katie! Fellow nutritionist here (CNS). I wrote a newsletter on the benefits of eating microgreens, and I shared this post with my readers to provide them with a step-by-step guide if they wish to grow their own. I couldn’t have written it better myself, excellent post! You’re so thorough, and I appreciate your knowledge of nutrition and how it relates to gardening. Thank you.
It’s so great to hear from you and thank you for your kind words! 🙂
It’s crazy how something so tiny can be so beneficial! This is going into my garden this spring for sure!
Isn’t it amazing!?!
This is the perfect guide on how to grow your own broccoli microgreens. My mom grows them weekly and shares them with me. I add them to my salads and they’re the perfect texture and full of nutrients!
I love that your mom is growing them! They are so tasty!