
It can be overwhelming to figure out how to care for chickens when you’re first starting out. With my 6 easy steps, you’ll be well on your way to having a flourishing flock and doing it with confidence!
In this article, we’ll discuss everything from what breed to consider and how to build (or find) a coop to routine health care checks and essential coop tools.
I’ve been raising chickens since 2014 and have learned a lot along the way. I can’t wait to share my best tips with you!
Let’s dive in!
*Disclosure: This post may contain affiliate links to products (including Amazon). I’ll earn a small commission if you make a purchase through my link, at no additional cost to you! Regardless, I only link to products that I personally use on our homestead or believe in.
How to Care for Chickens – 6 Easy Steps!
Are you ready to have some chickens at your home or homestead? Before you jump in, let’s make sure to cover the 6 essential step that you need to take in order to have a flourishing flock.
Step #1: Determine if it’s legal for you to have chickens
This step is absolutely essential. There are still a lot of cities/counties out there (and even rural areas!) that prohibit chickens. You must do your research first to see if it’s even a possibility for you.
Start by looking up your city code using Municode. You can usually find information about chickens in sections like “livestock regulations,” “nuisance laws,” “noise ordinances,” or “zoning laws and allowed usages.” If you live in a rural area, you may have better luck searching on your county website.
Look for the following:
- Allowance of hens or roosters (usually roosters are prohibited in the city)
- How many chickens you are allowed to keep
- Whether you need to apply for a permit or not
- How large your chicken coop is allowed to be
- How close your chicken coop is allowed to be to the property line or other homes
Step #2: Determine if you have enough time & space for chickens
Okay, so you’ve figured out that you can legally keep chickens where you live, but should you actually do it? Chickens are technically livestock and they do require proper time and space to thrive. Ask yourself the following questions before you fully commit.
Do you have enough time for chickens?
Chickens are simple animals and don’t require much, but they still have basic needs that must be met.
- Daily: 5-10 minutes to let them in/out, check their feed/water, and gather eggs
- Weekly: 10-20 minutes to wash out their waterer and freshen up the bedding
- Monthly: 30-60 minutes to do a coop clean out and a flock health check
Do you have enough space for chickens?
This is especially important to consider if you live in town with a small yard. I recommend 3 square feet per chicken inside the coop and 7-8 square feet per chicken for outside space. The more, the better! If they are confined to a small area, be prepared for them to quickly eat down all vegetation to bare dirt.
What’s your plan for vacations?
You don’t want to be tied down because of your chickens, so what’s your plan when you go out of town? I’ve found it’s easy to convince a neighbor to help out in exchange for fresh eggs. Ask around and you’ll probably find some takers!
Are your neighbors on board?
There’s nothing worse than a crabby neighbor next door, even if chickens are legal in your area. Talk to your neighbors and see how they feel about it before you fully commit.
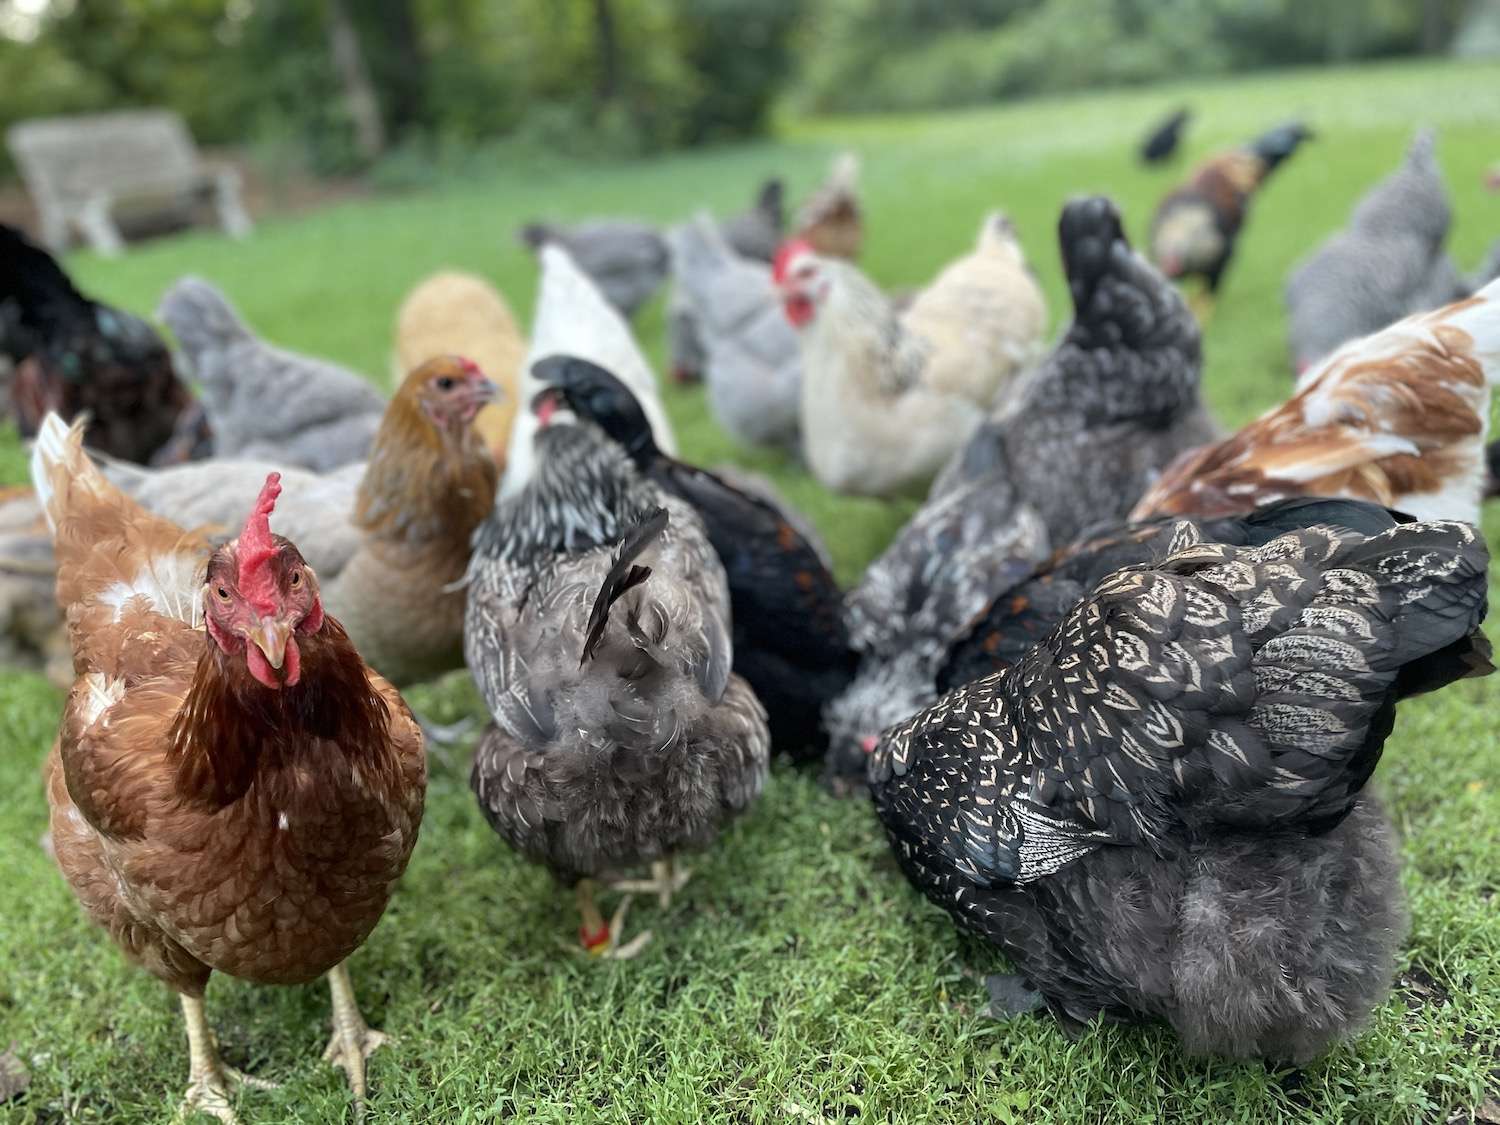
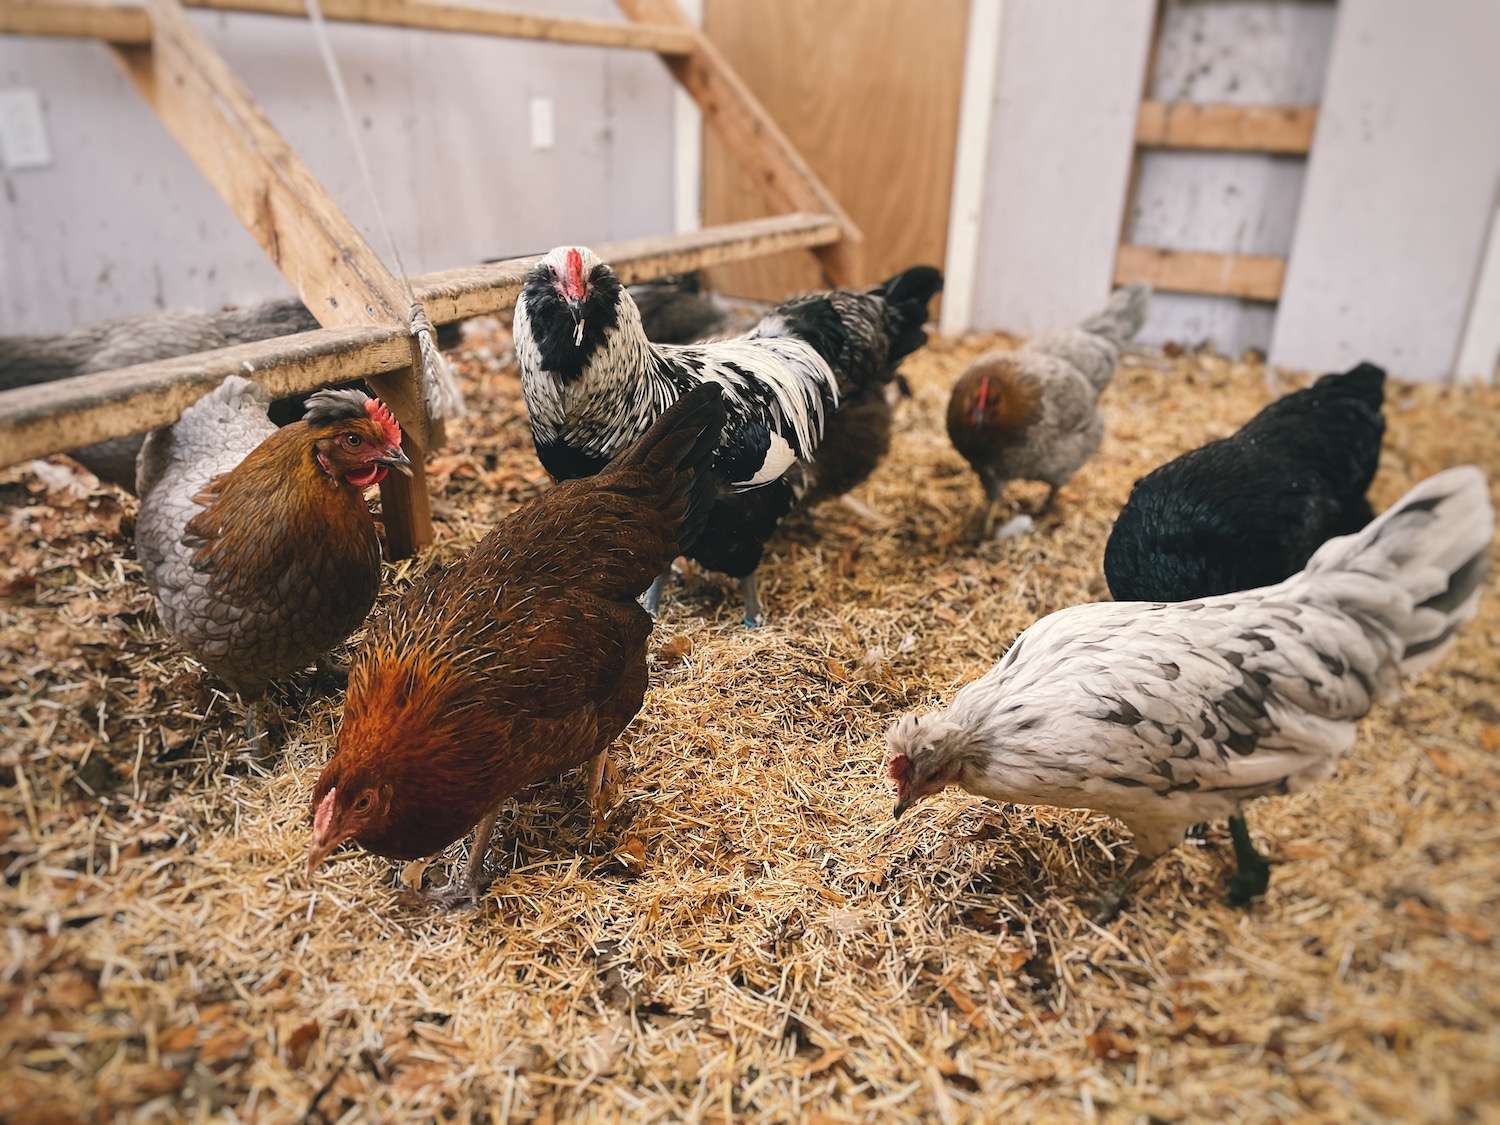
Step #3: Decide what kind of chickens you want
With over 1,600 chicken breeds to choose from and the option to buy fertile eggs all the way to full-grown chickens, it’s easy to get overwhelmed. In this section, I’ll help you decide what’s the best fit for you and your family.
Decision #1: Chicken age
This is the best place to start when narrowing down what chickens you want. Do you want full-grown chickens? Baby chicks? Or maybe you even want to hatch them yourself in an incubator! Let’s break it down.
Fertilized Eggs
Obtaining fertilized eggs to hatch yourself is a fun activity and a great way to bond with your flock from the very beginning. This is my favorite option!
Pros:
- The cheapest option (generally $1-5 per fertilized egg)
- You can bond with the chicks from day 0 (they can hear you from inside the eggs and will get to learn your voice!)
- No risk of weak or dead chicks being shipped in the mail
- An educational experience for you and your kids
- A great way to support local farmers and breeders, rather than large hatcheries
Cons:
- It can be a bit more challenging to find fertile eggs (Craig’s List or asking around on local Facebook Chicken groups is best; Facebook Marketplace prohibits animal sales)
- You need to buy an incubator
- Incubating takes more time and effort than simply buying chicks
- No ability to control gender: You will end up with ~50% roosters and ~50% hens
- Chicks require more intensive care than full-grown chickens and won’t start laying eggs until 18-22 weeks old.
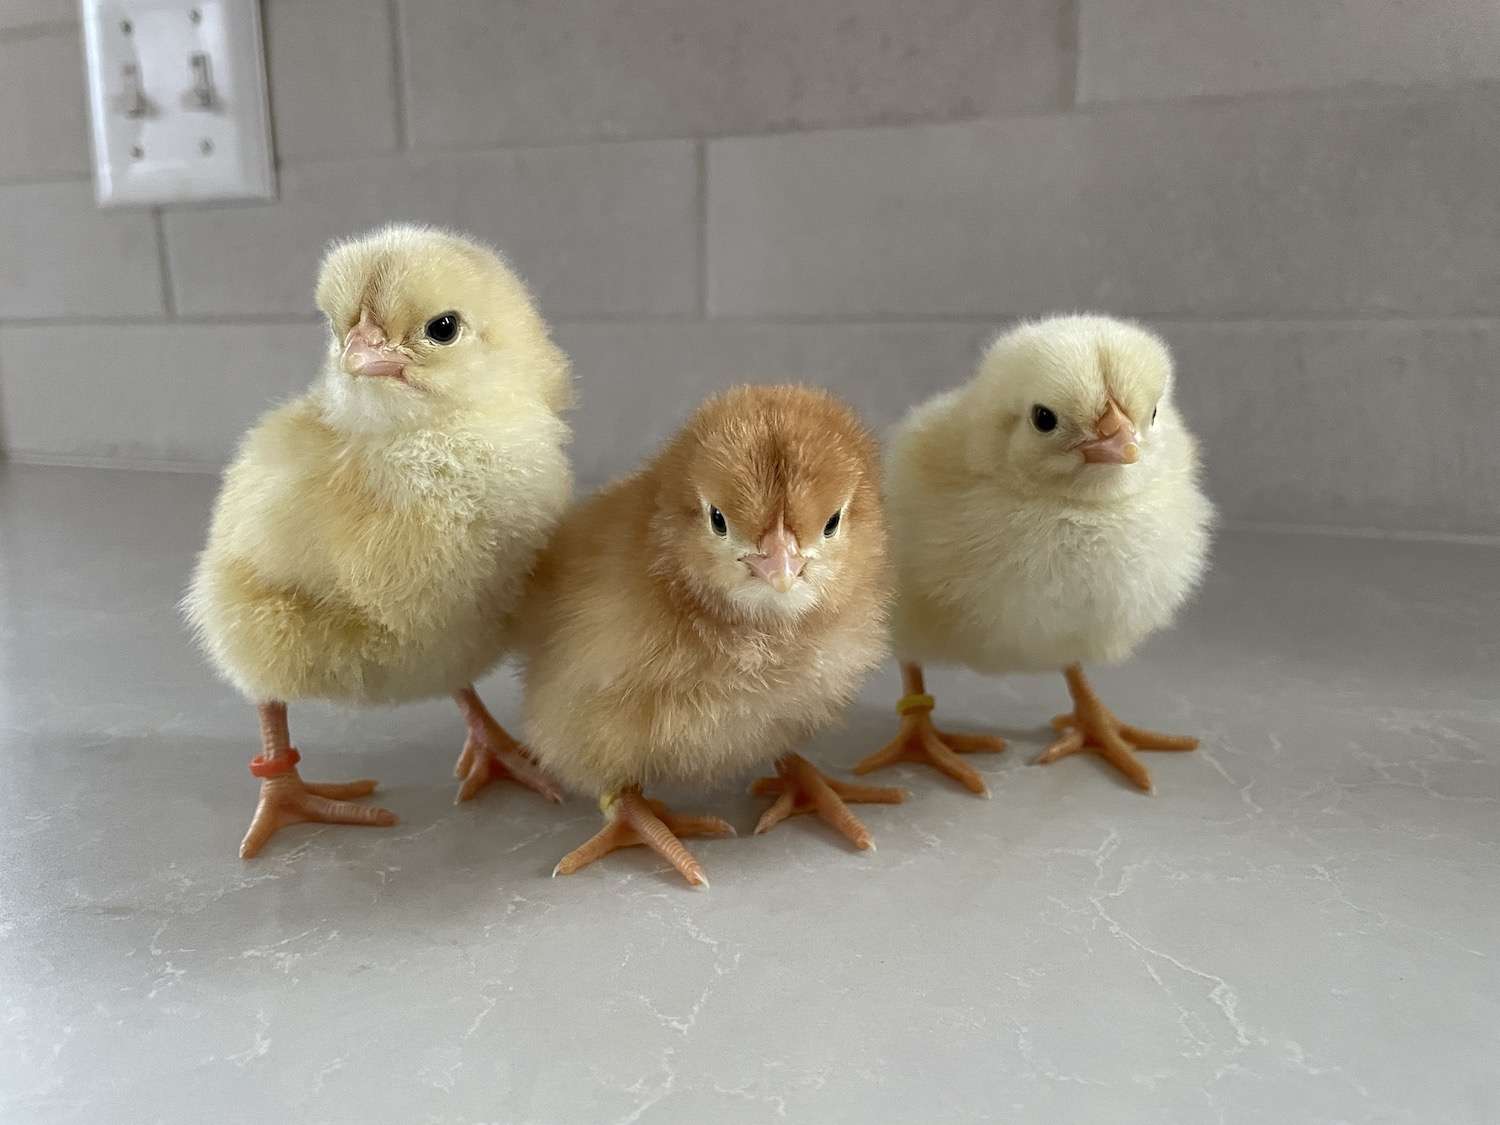
Chicks
Buying chicks is the most common way that people get started. They are easy to find, fairly inexpensive, and so cute! Learn more about baby chick care here!
Pros:
- Fairly inexpensive (generally $4-20 per chick)
- You can bond with the chicks from day 1
- Commonly available in many different breeds
- You can select gender (if purchasing from a hatchery; most breeders don’t have sexing equipment)
- A great way to support local farmers and breeders (look on Craig’s List or ask around on local Facebook Chicken groups; Facebook Marketplace prohibits animal sales)
Cons:
- More expensive than fertile eggs
- Sexing of chicks isn’t a 100% guarantee, you could still end up with a rooster or two and not know it until later. If this happens (and you can’t keep roosters where you live), check out my guide on how to cook a rooster for a nourishing meal.
- Risk of arriving weak (or dead) if purchased from a mail-order hatchery. However, this has rarely happened to me.
- Chicks require more intensive care than full-grown chickens and won’t start laying eggs until 18-22 weeks old.
Pullets and cockerels
Don’t want to mess with the baby chick phase and just keep it easy? No problem!
But first, what are pullets and cockerels? A pullet is a young hen and a cockerel is a young rooster (teenage years). They are fully feathered, but not sexually mature yet. The hens won’t be laying quite yet, but be close!
Pros:
- Pullets will start laying eggs within a month or two
- Cockerels will be sexually mature within a month or two and ready for breeding
- Guaranteed gender of the chicken
- Guaranteed age of the chicken (it’s harder to determine the age of a full-grown chicken; you could get tricked into buying a 5-year-old hen!)
- Pullets and cockerels require much less work than baby chicks
- Easier age to integrate into an existing flock than full-grown chickens
Cons:
- Pullets are more expensive than chicks and fertile eggs (generally $10-40 per pullet), however, you can often find cockerels for free!
- They won’t be bonded to you like baby chicks are and may take some socialization
- They may have adopted bad habits from their previous home
- Risk bringing pest and disease issues into your coop
- Can only be found locally (so your options may be more limited), I do not recommend buying shipped pullets or cockerels
Full-grown hens and roosters
Want eggs immediately? Going straight to full-grown chickens might be the way to go for you.
Pros:
- Hens are already laying eggs
- Roosters are sexually mature and ready for breeding
- Guaranteed gender of the chicken
- Full-grown hens and roosters require much less work than baby chicks
Cons:
- Hens are more expensive than chicks and fertile eggs (generally $10-40 per hen), however, you can often find roosters for free!
- Harder to tell the exact age compared to pullets/cockerels (you could get tricked into buying an old hen)
- They won’t be bonded to you like baby chicks are and may take some socialization
- They may have adopted bad habits from their previous home
- Risk bringing pest and disease issues into your coop
- Harder to integrate into an existing flock compared to pullets/cockerels
- Can only be found locally (so your options may be more limited), I do not recommend buying shipped hens or roosters
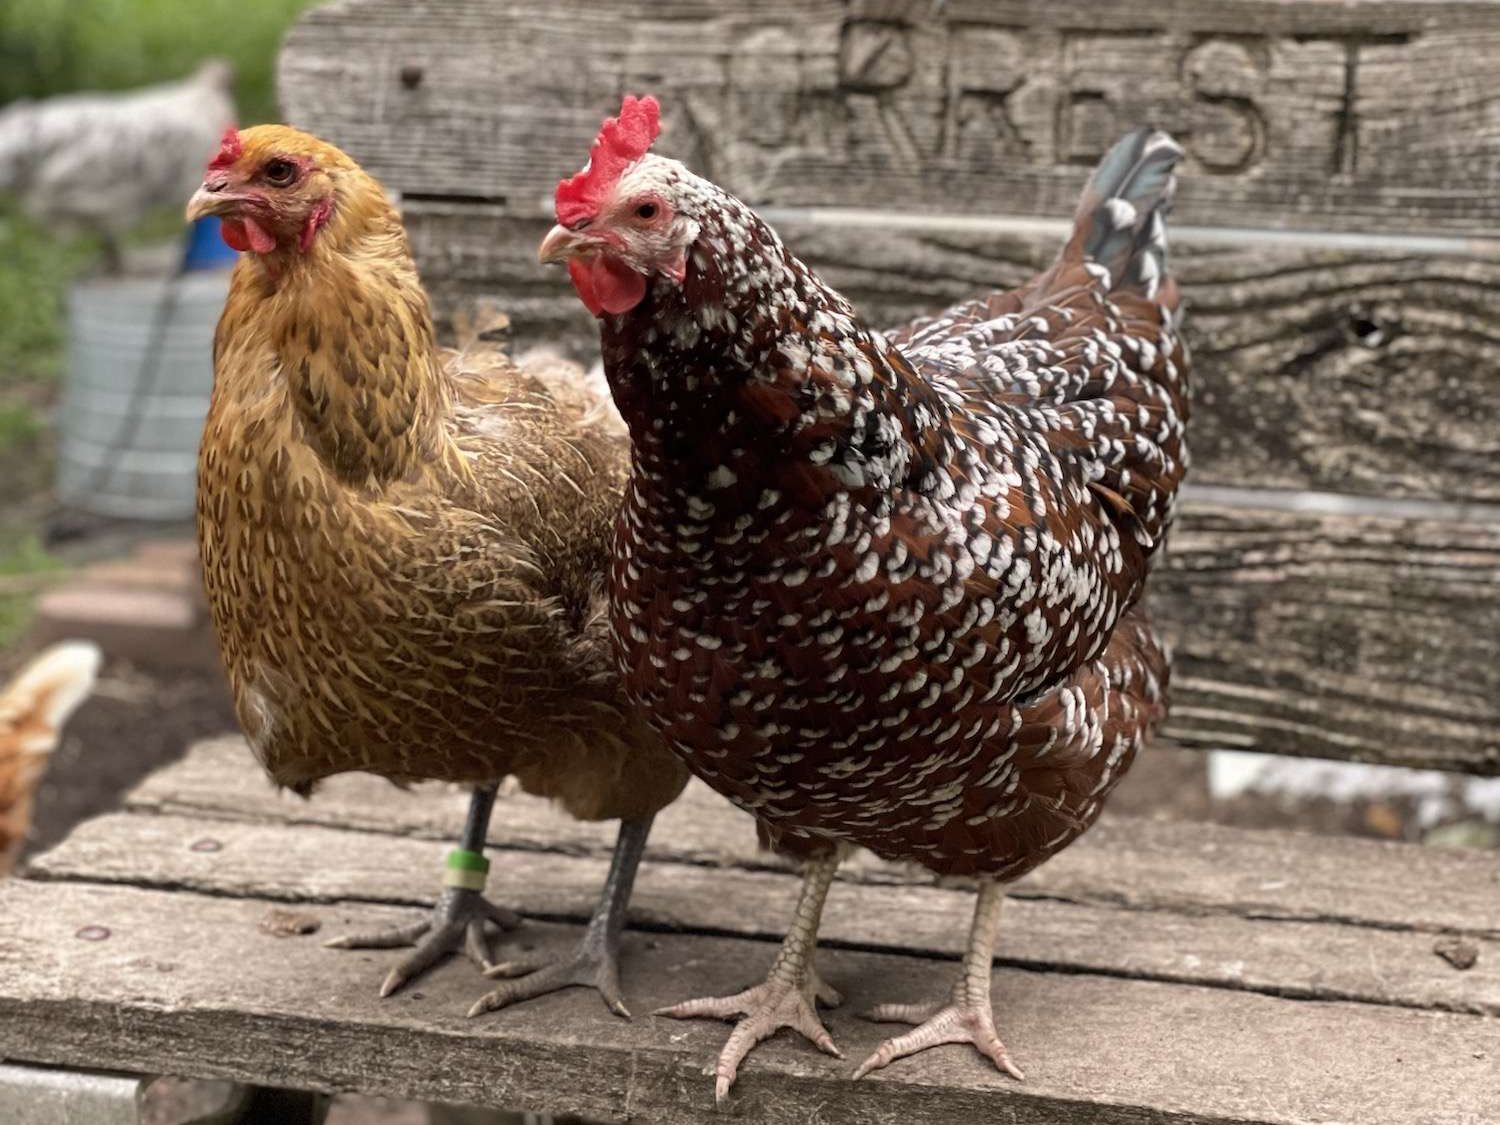
Decision #2: Breed/Purpose
Chickens are as diverse as dogs are with many different sizes, personalities, feather patterns, and purposes. We’ll cover the basics below, but if you want in-depth information about each chicken breed with beautiful photos, consider purchasing the book below!
The Homesteading RD's Product Picks: | |

| From the Manx Rumpy to the Redcap and the Ancona duck to his Aylesbury cousin, each breed is profiled with a brief history, detailed descriptions of identifying characteristics, and colorful photography. |
Bantam Size
Bantam breeds are “mini chickens” that are ⅕ to ¼ of the size of large breeds, often only weighing 1-2 lbs. Some are miniature versions of certain breeds while some bantams are a complete breed of their own.
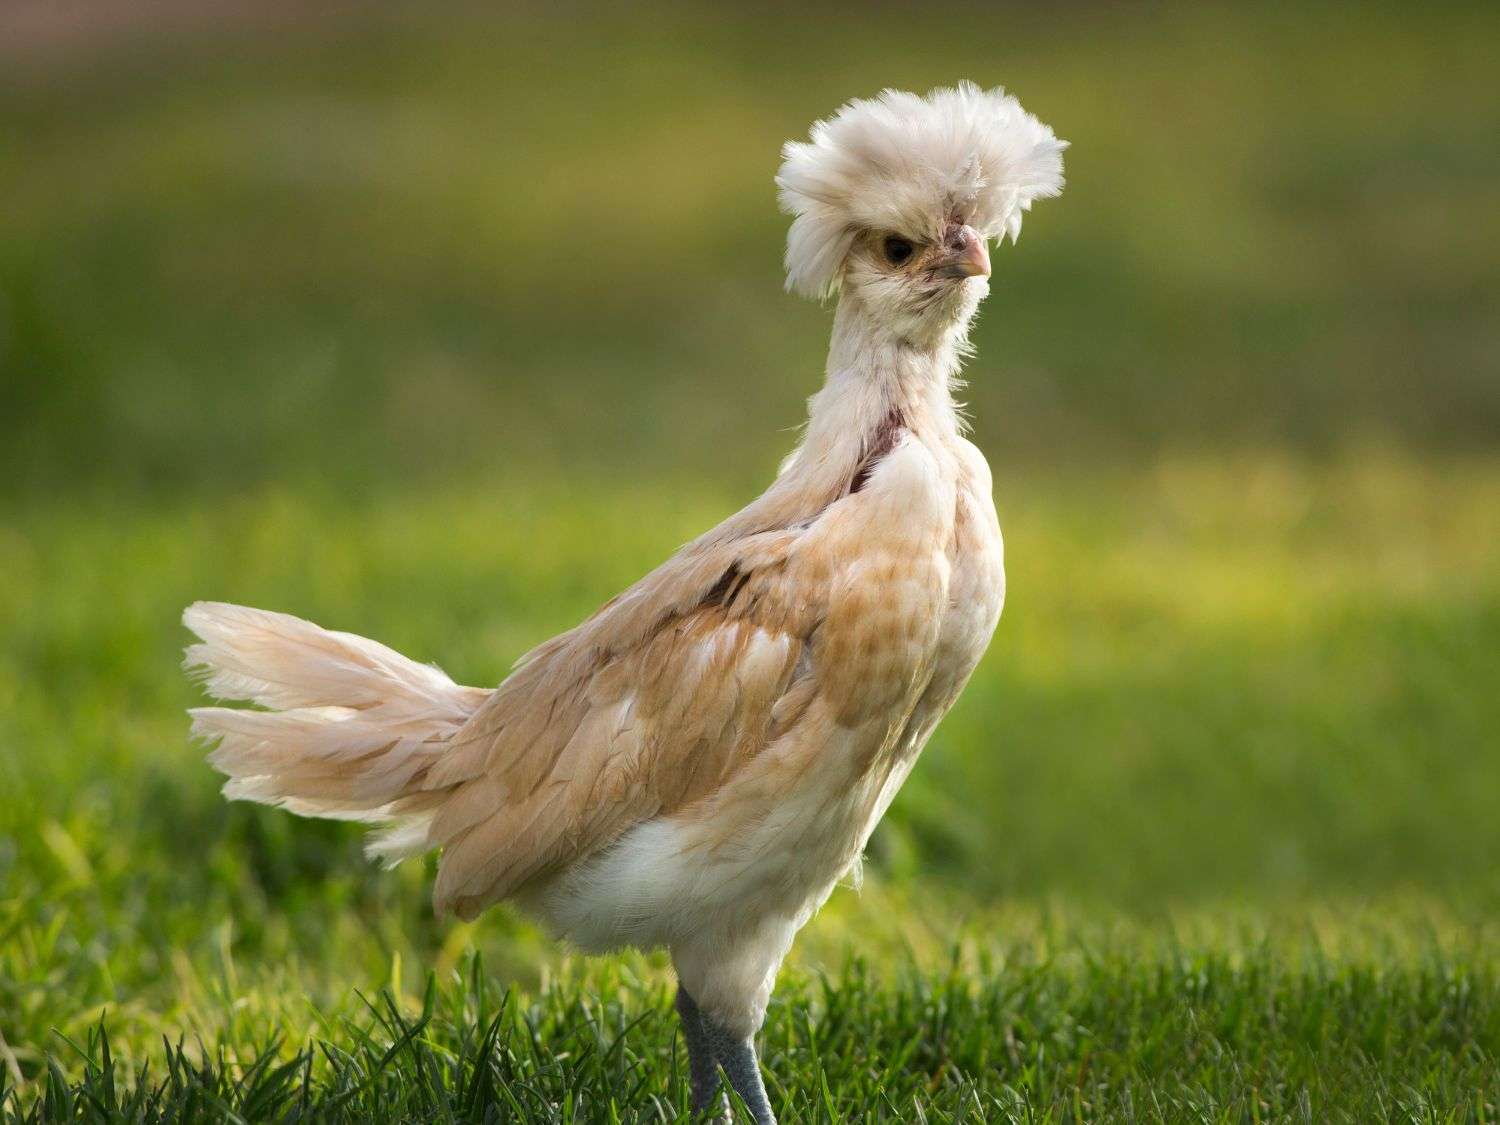
Pros:
- Great for small coops and confinement
- Very cute!
Cons:
- They lay small eggs
- Fewer breeds to choose from compared to standard breeds
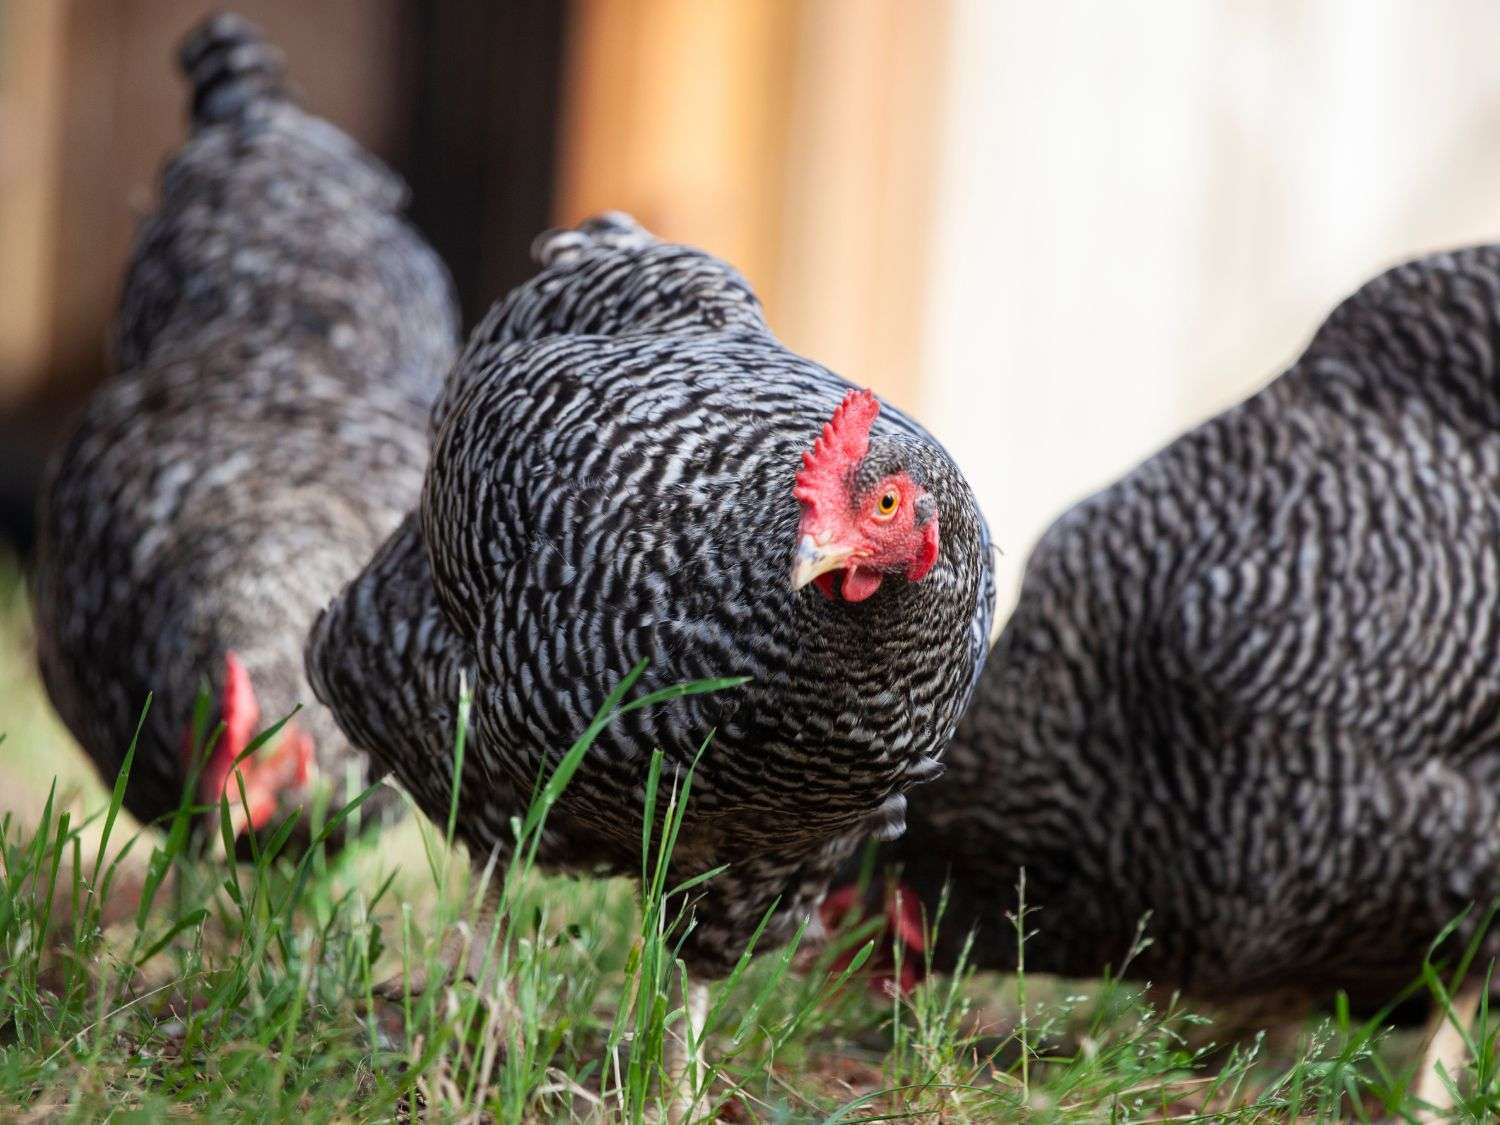
Standard Size
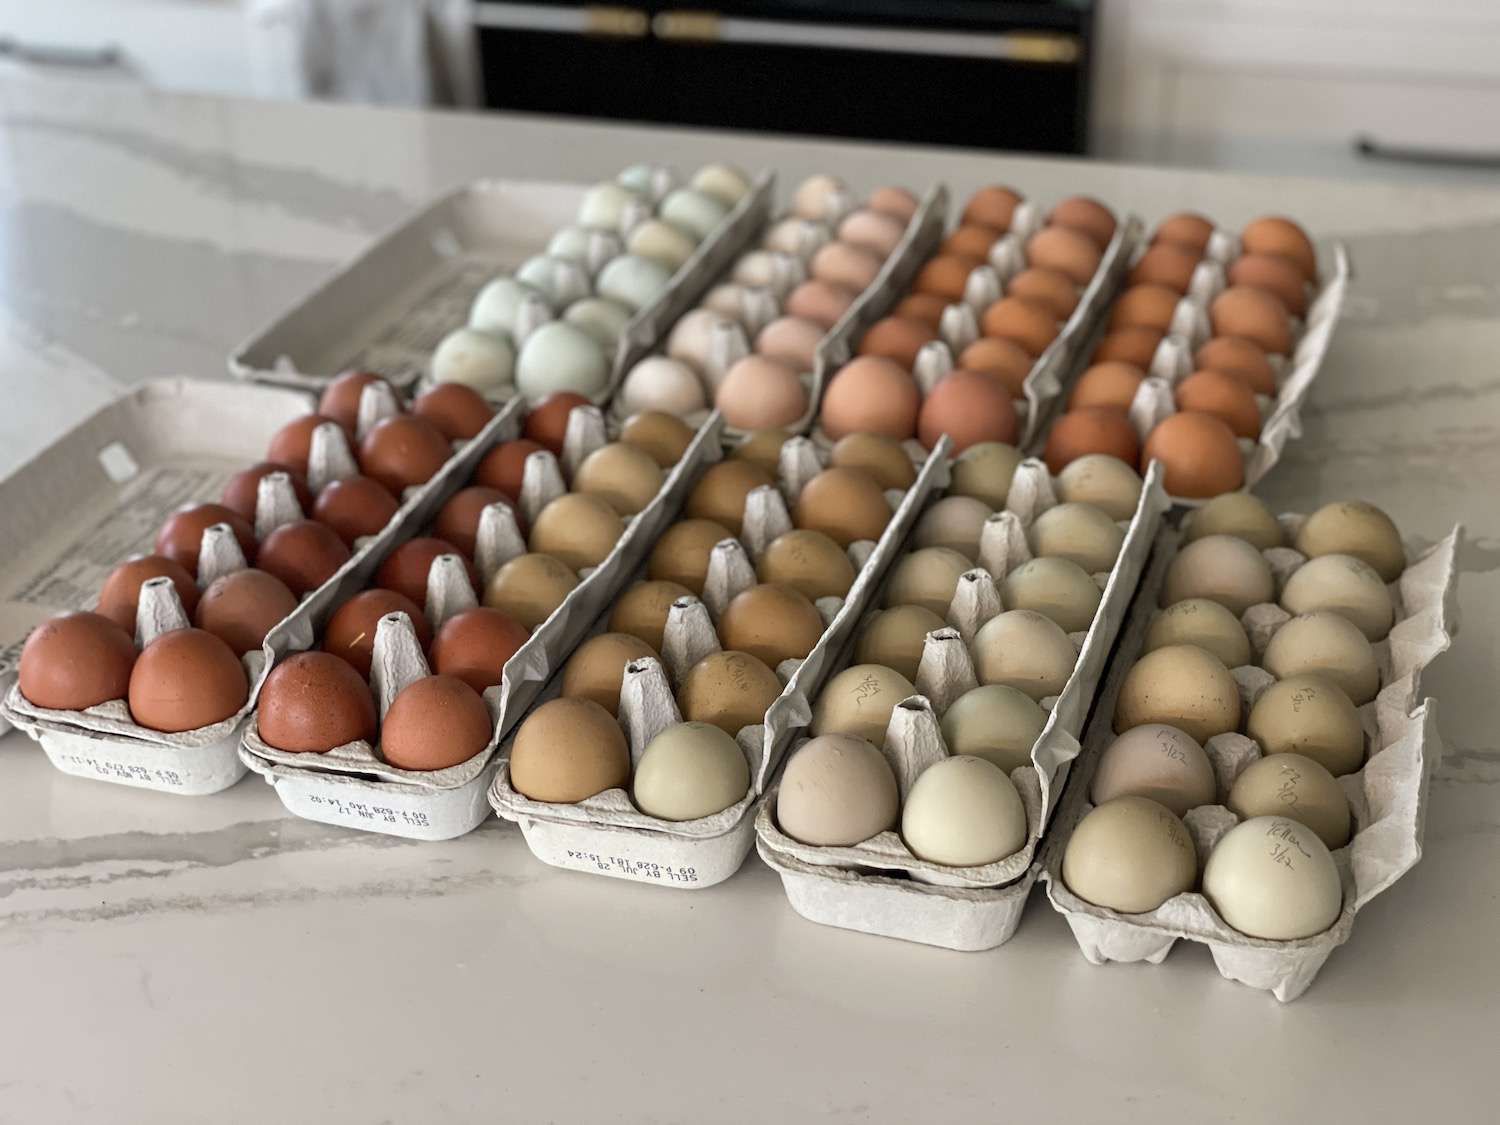
Standard-size layers are the most common group that you’ll find in backyards and homesteads. They are medium in size, are dependable layers, and come in many different breeds (and egg colors!).
Pros:
- Lay the most eggs compared to bantams and dual-purpose breeds
- Come in the most variety of breeds
- Less prone to health issues than dual-purpose breeds
- Move faster and more alert than dual-purpose breeds, making them less likely to fall prey to predators
- Eat less than dual-purpose breeds
Cons:
- They are a leaner bird, so not as great of a choice for eating (however, they make excellent soup!)
Dual Purpose
Dual-purpose breeds are just what they sound like – they serve two purposes. They lay eggs for eating, but they are a heavier breed so they are good for meat as well.
Pros:
- A great option for self-sufficiency. You can get a daily supply of eggs while utilizing roosters and old hens for meat.
- Tend to be more docile and relaxed
- Are a more sustainable breed for meat than true meat birds (meat bird breeds are a hybrid; they cannot be bred at home and can only be purchased from a hatchery)
Cons:
- More prone to health issues than standard breeds due to their large size (bumblefoot, mites/lice, etc.)
- They eat (and poop!) more than standard breeds
- Their feed conversion is less efficient than meat birds (resulting in a higher cost per pound of meat)
- Grow slower than meat chickens, often waiting until 18-24 weeks until reaching market weight
- They move slower and are less alert than standard breeds, making them more likely to fall prey to predators
- They typically lay fewer eggs overall compared to standard breeds
Meat Chickens
Meat chickens are known to grow big, and quickly. They are rarely raised to full maturity and instead harvested at 6-16 weeks, depending on the breed. My favorite breed is Red Rangers – we’ve been raising them for years!
Pros:
- Their feed conversion is very efficient, resulting in the least expensive $/lb for meat
- They grow quickly, putting meat on the table in just 6-16 weeks (depending on the breed and gender)
Cons:
- Typically are a hybrid and need to be purchased from a hatchery
- Some meat birds (like the cornish cross) grow VERY fast and can be prone to leg issues or heart attacks. I like Red Rangers because they are slower growing and have fewer issues.
- They eat a lot, so they poop a lot. Not a great choice for confined areas. If pasture-raised (which is my recommendation), they will need to be moved to fresh grass daily.
- Easy prey for predators and will need a strong infrastructure to keep them safe
- Generally not kept for egg production
Temperature hardiness
Lastly, it’s incredibly important to be mindful of your weather considerations when you are deciding on which chicken breeds to keep. Some are built for cold weather, while others are built for hot weather.
- Best cold weather breeds: brahma, wyandotte, ameraucana, buckeye, dominique, cochin, orpington, australorp, chantecler, faverolles
- Best hot weather breeds: anconas, andalusian, egyptian fayoumis, leghorns, naked necks, penedesenca, lakenvelder, golden campine
Decision #3: Gender
Alright, we’ve made it to the last decision – what gender of chicken will you be picking?
Straight run
Straight run is an option when buying chicks and is my personal preference. It means that the chicks are grabbed at random with no preference given to gender. You’ll likely end up with a 50/50 mix.
This is what you’ll most often find when buying from local farms and breeders who don’t have equipment or training for sexing chicks.
Pros:
- Cheaper than buying sexed chicks
- A great option for self-sufficiency! Roosters mean the ability to breed chickens in the future, or meat on the table.
- Having a rooster around keeps your flock safer
- If you’re buying from a hatchery, it saves a few roosters that are destined for the grinder. YUP. Most people order hens, so where do you think the yearly 300 million unwanted roosters go?
Cons:
- If you aren’t allowed roosters in your area, you will need to figure out a solution once the roosters start crowing
- No guarantee of how many hens you’ll receive
- With a likely 50/50 mix of hens and roosters, you will need to plan on thinning out some of the roosters regardless of where you live. An ideal ratio is 10 hens per 1 rooster.
Hens
Most people want chickens for eggs, so hens are common! They are generally quiet, docile, and easy animals to keep around.
Pros:
- They give you eggs!
- Quieter and less aggressive than roosters
Cons:
- More expensive than roosters
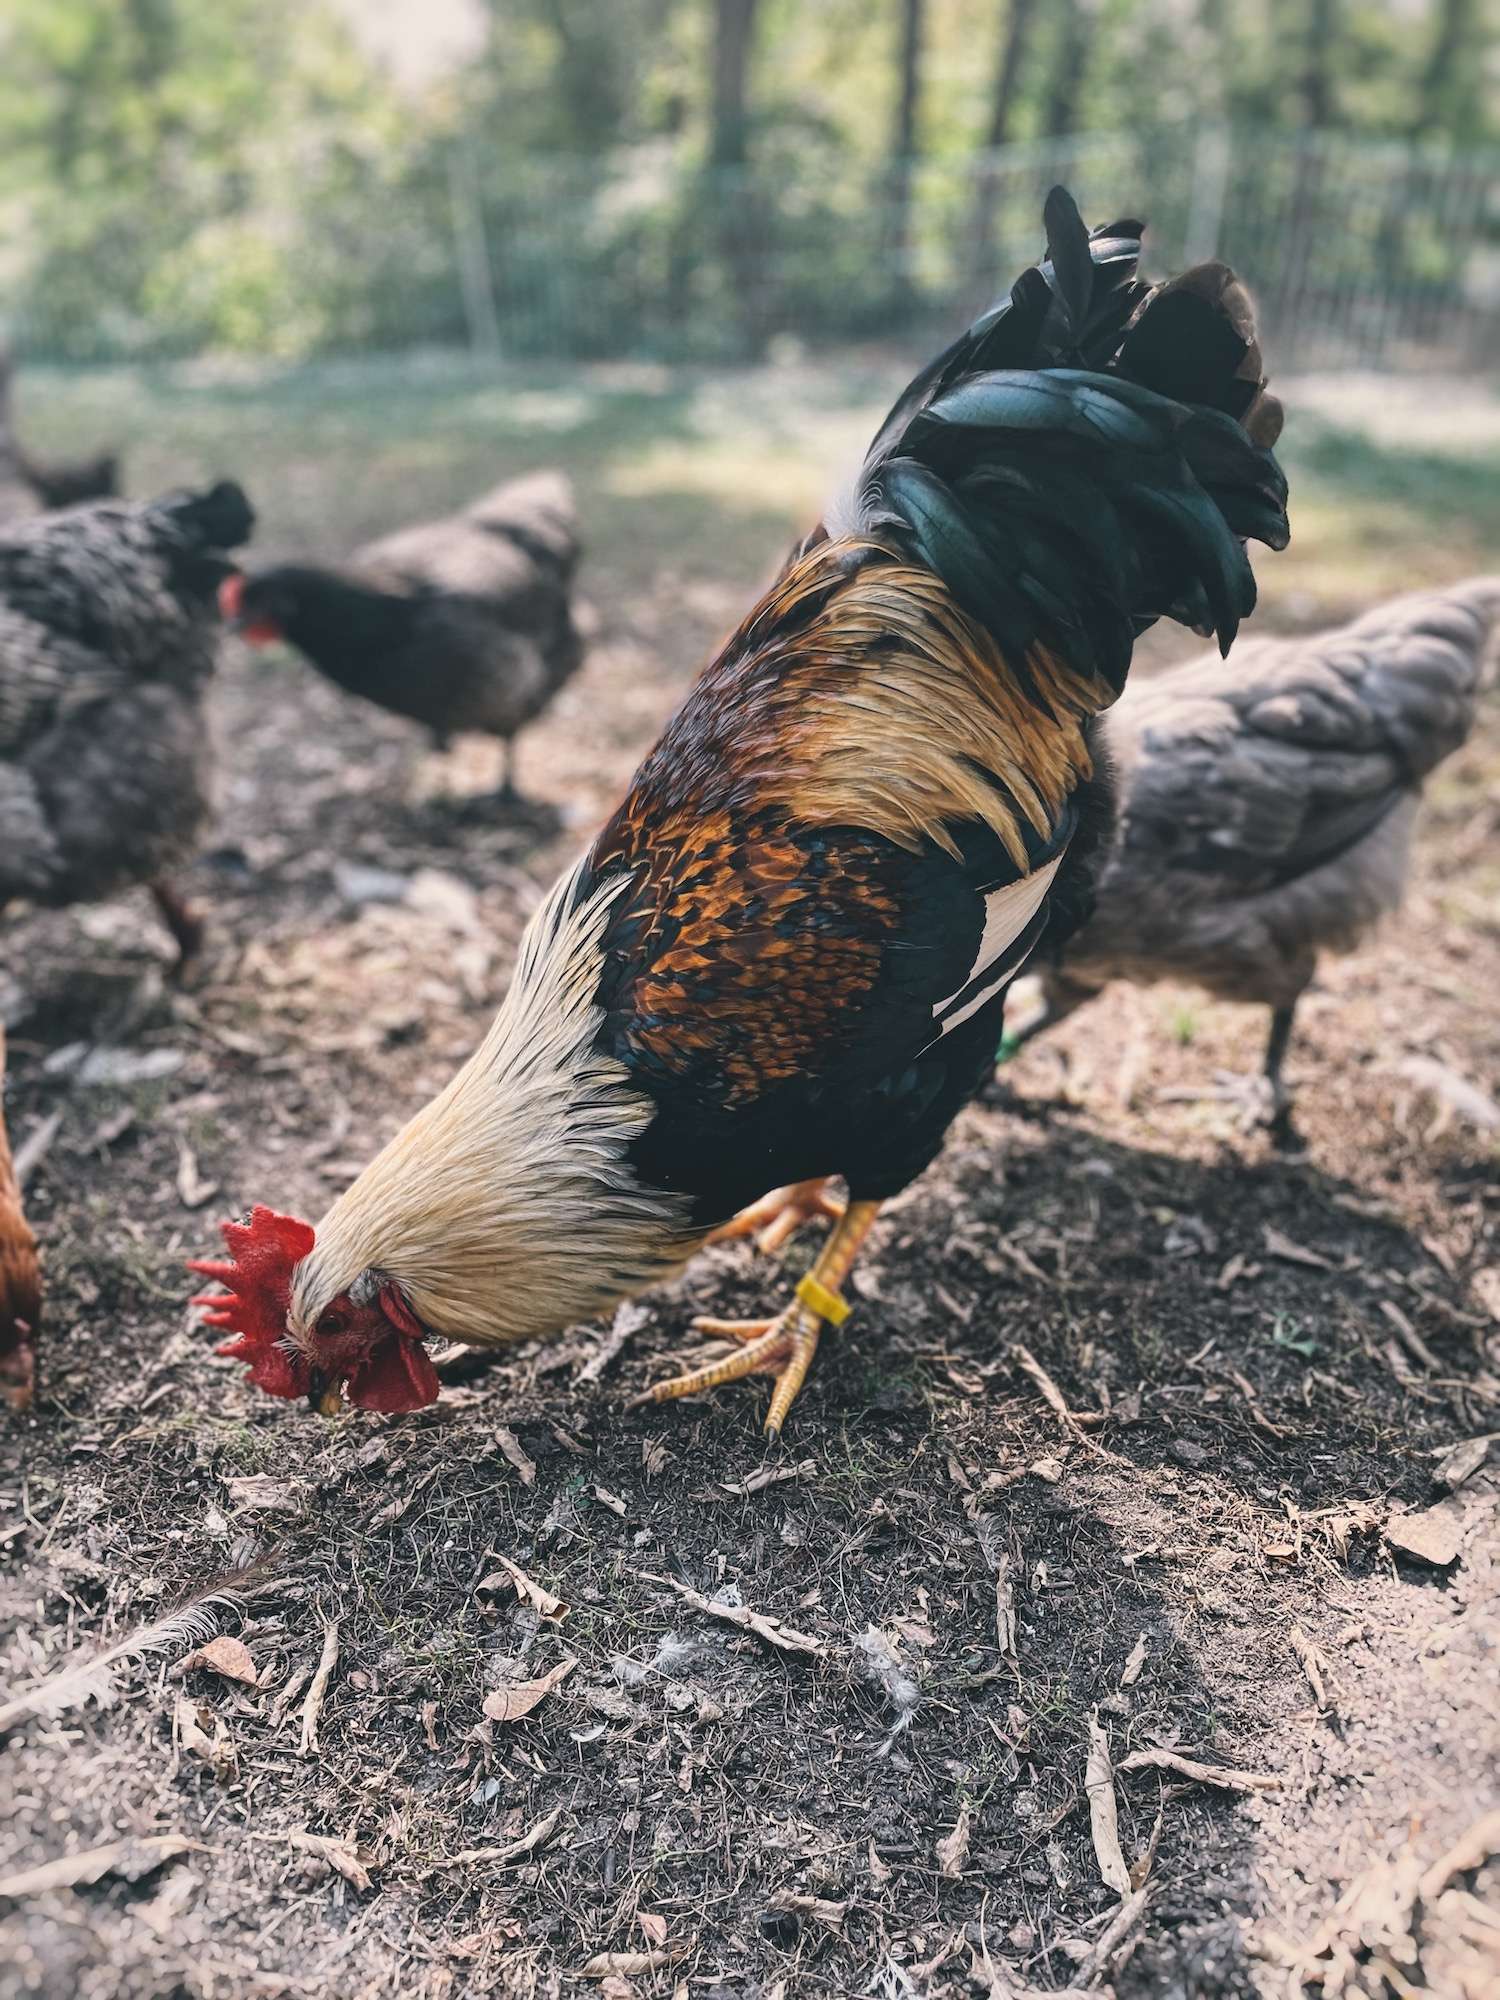
Roosters
When I first started with chickens, I thought I never wanted any roosters. Over the years, my mind has surely changed! I love keeping my (carefully selected) roosters around and they sure add some flare to our homestead.
Pros:
- They protect the hens and help them find treats
- A great move for self-sufficiency as they fertilize the eggs and/or can be butchered to put meat on the table
- If you’re buying from a hatchery, it saves a few roosters that are destined for the grinder. YUP. Most people order hens, so where do you think the yearly 300 million unwanted roosters go?
Cons:
- Inexpensive compared to hens
- Can be noisy and aggressive – however, most of my roosters have been sweethearts and I haven’t had a mean rooster in YEARS, so don’t let this scare you off!
Step #4: Set up your coop
The coop setup can be the most intimidating part, but it doesn’t have to be! Chickens are pretty basic animals, so as long as you include some key components, they’ll be happy!

*Live in a cold climate like me? Check out my tips on Chicken Coop Winterizing and watch me winterize my coop on YouTube!
*If you’re starting with baby chicks, the good news is that you don’t have to have a coop set up right away. Check out my article Brooding in Poultry to learn what kind of setup baby chicks need before they move out to the main coop!
Essential parts of a chicken coop
Chicken coops can be as basic as a pre-fabricated coop from Amazon (not recommended) or as complex as a custom poultry palace that looks similar to a house. No matter your design, below are the basic features that should be included.
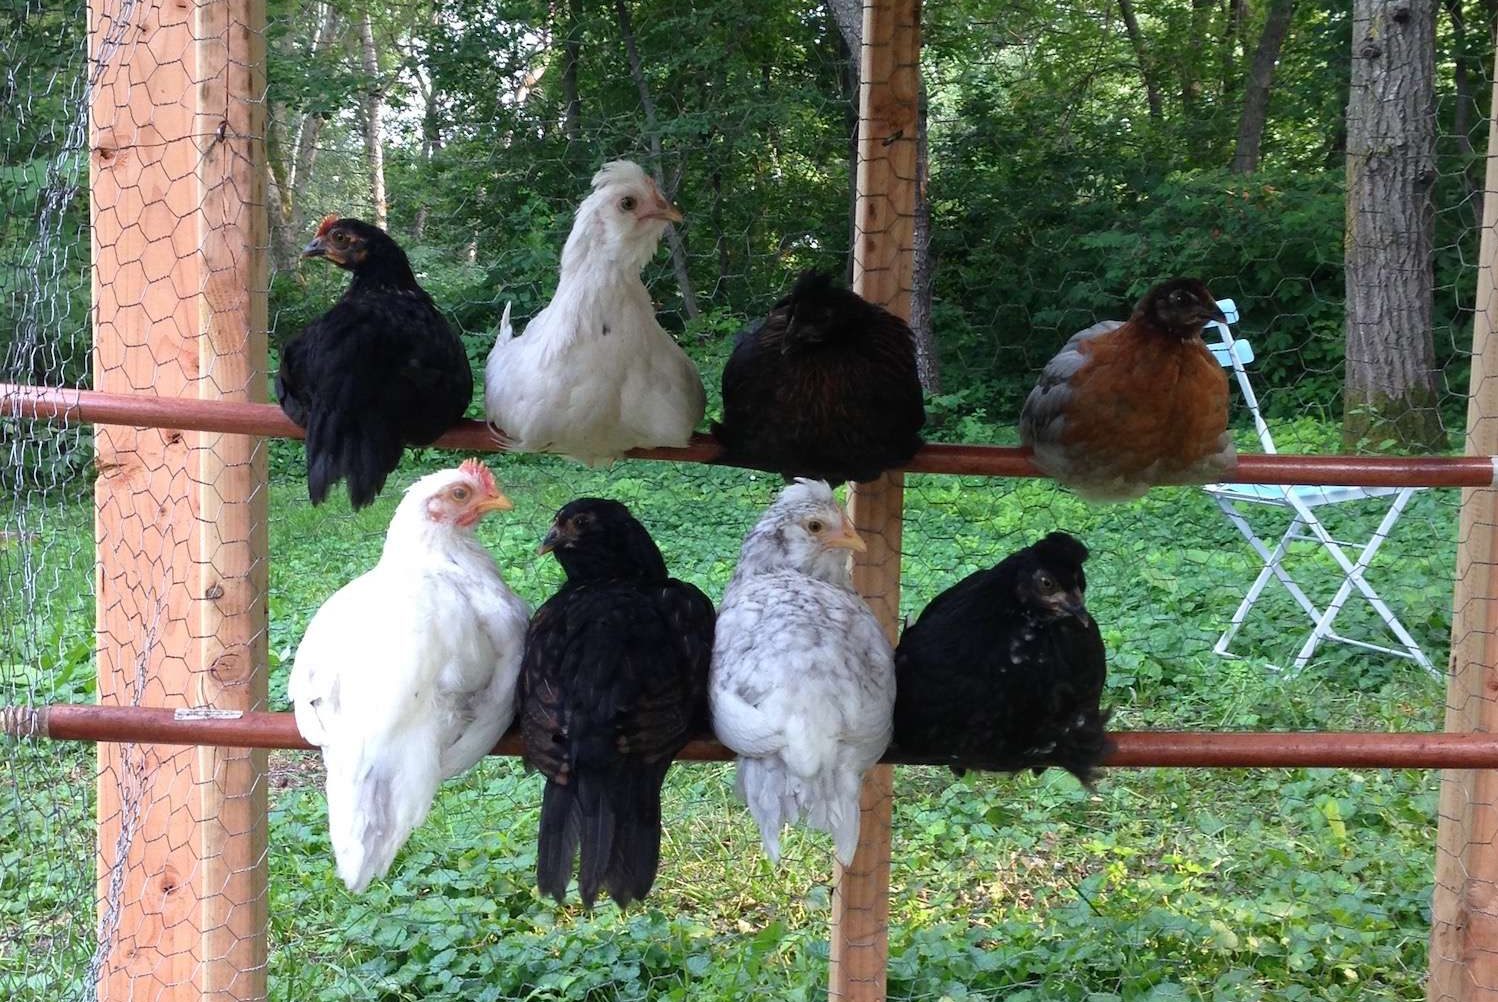
Roosting bars
Chickens naturally want to roost up high on anything that looks like a tree branch, so that’s what we want to simulate in the coop. It provides a safe place for them to sleep while keeping their feet warm in the winter.
- Allow 8-10” of roosting space per bird
- Place the lowest roosting bar 2 feed from the ground
- Use a 2×4 (with the flat side up) – this allows the chicken’s feet to stay flat and fully covered by their feathers in the winter (no frost-bitten toes!)
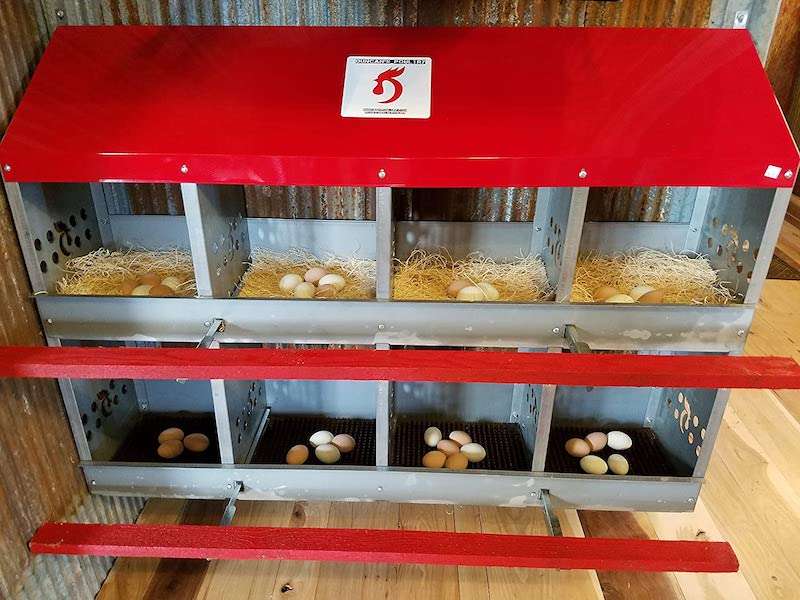
Laying boxes
If you plan to raise layers, then you’ll need some laying boxes to collect their eggs. Hens like dark, quiet, cozy locations to lay their eggs so try to simulate that when choosing a location.
- Provide 1 nest for every 4-5 hens
- Shoot for 12”-14” square (10” for bantams) – Read my article The Ultimate Guide to Chicken Nesting Box Size for details!
- Be sure to provide a perch in the front
The Homesteading RD's Product Picks: | |
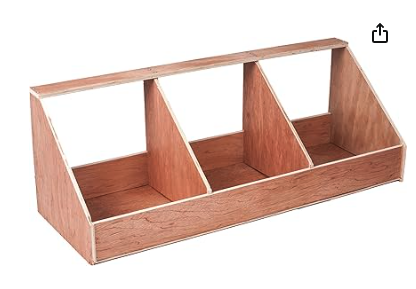
| This is about as basic as nesting boxes come, but they are cheap, moveable and still work fairly well. I don't even think you could build your own for this price! There's no perch in front, so the eggs may get broken/dirty. I use a few of these around my coop for temporary nests as needed (training new pullets, encouraging hens to go broody, etc.). |
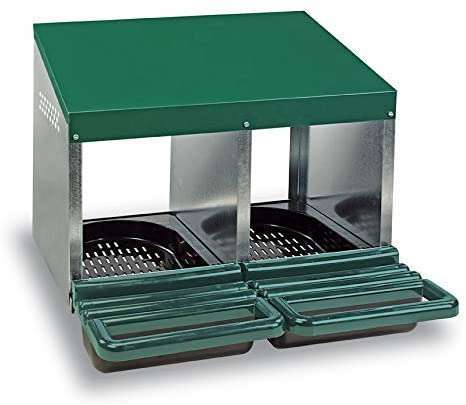
| If you have a flock size of 5-10 hens, then this is an awesome choice! It features a perch and rollaway design to keep your eggs clean. The removable trays and metal design makes this nesting box extremely simple to clean. The only negative is it would be challenging to heat each egg collection tray individually to keep eggs from freezing in the winter. |
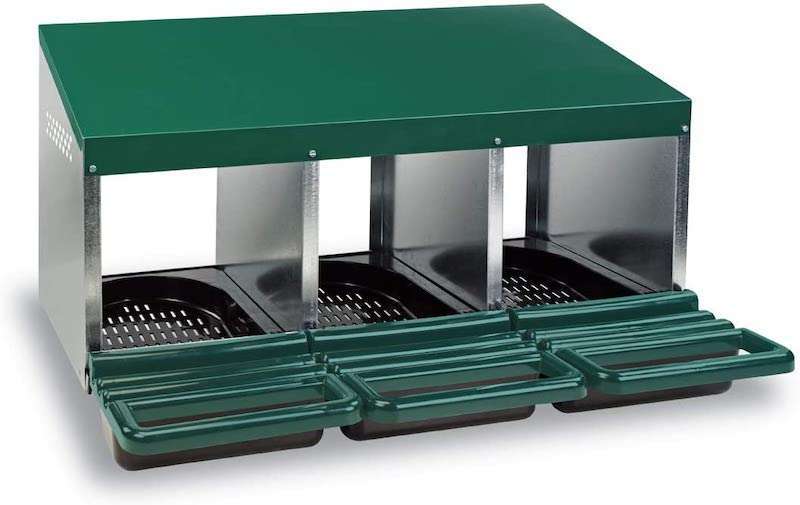
| This one is the same design as the 2 Compartment Roll Out Nesting Box above, but is a better fit if you have a flock size of 10-15 hens. |

| If you have a larger flock (20+) and have cold winters, this is the BEST option out there and the exact set-up that I have in my coop. It's a great space-saver, keeps eggs clean, plus you can easily heat the large roll out tray to keep your eggs from freezing in the winter. You can even flip up the perching bar to keep your hens from sleeping there at night. Super neat! |
| If you have a large flock (30+), then this is the best bang fror your buck! The perching bars in front make it easy for your hens to access the nest, however they do not flip up like the Best Nest Box. Also, the description says that it's a rollaway nest, but its not. This is a stationary nest. Made in the USA! |
Ventilation
Proper ventilation is essential to provide fresh air, remove moisture (hello frostbite!) and harmful gasses, and release heat in the summer. You may be tempted to board up everything in the winter, but don’t do it!
- Provide ventilation holes near the ceiling, on the south side
- Make sure to cover the holes with hardware mesh so that critters don’t get in
- Windows near the roosting bars provide great cross-ventilation in the summer but are too drafty in the winter. Close them when the temperature drops below 40 degrees.
Enclosed run
Once you have your coop set up, you’ll also need to include an attached, enclosed run. The run is the outdoor section of your coop area that allows your chickens to go outdoors in a protected space. I recommend keeping their feed and water in the run, not inside the coop!
- Use hardware mesh for the bottom 3 feet and bury it 6” under the ground – this protects against burrowing and pressing predators (think dogs, coyotes, foxes, etc.)
- Use inexpensive chicken wire for the upper portions of the run
- I highly recommend covering the run with a roof – this keeps the run dry and stink-free, plus protection from aerial predators
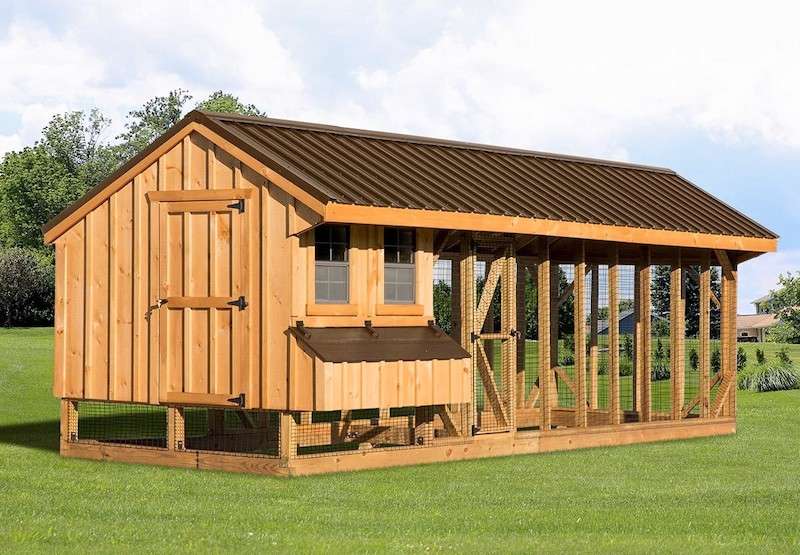
DIY Coop Options
I love a DIY option because it saves money, you can customize it to your needs, and it’s a great project – even for beginners! You can do this! Plan on 3 square feet per chicken inside the coop. I keep 40-50 chickens in my 168-square-foot coop and it feels right.
Here are some great chicken coop plans that you can use to build your coop (always go bigger than you think you’ll need!):
- Chicken Coop and Run (3-5 chickens)
- Chicken Coop and Run (4-8 chickens)
- Chicken Coop and Run (10-15 chickens)
- Chicken Coop and Run (15-20 chickens)
- Chicken Coop and Run (32-40 chickens)
Pre-Built Coop Options
Don’t have the time or ability to build your own? No problem! There are some pre-built (or minor assembly) options out there. However, you do get what you pay for.
Many of the coops on the market are made with flimsy materials that won’t last more than a season or two. Not to mention, minimal insulation to protect your birds in winter. Don’t be tempted by the $200-300 coops you find out there!
The Homesteading RD's Product Picks: | |
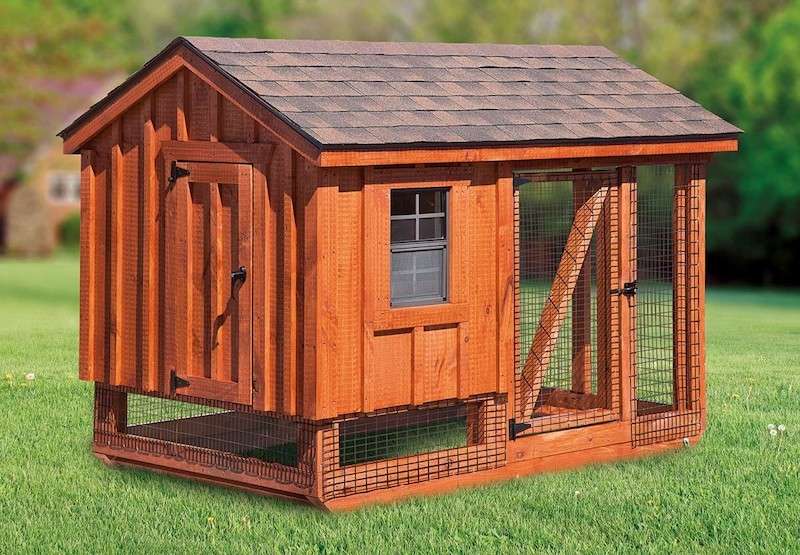
| Features 3 nesting boxes, roosting bars, 30 year shingles and is built to last! A decent setup for 4-6 chickens. I wish the run was larger, but the space underneath the coop is perfect for storing food and water. |

| Features 4 nesting boxes, roosting bars, 30 year shingles and is built to last! Basically a larger version of the IHS A-Frame above. A decent size for a flock size of 8 chickens. Again, I wish the run was larger. |
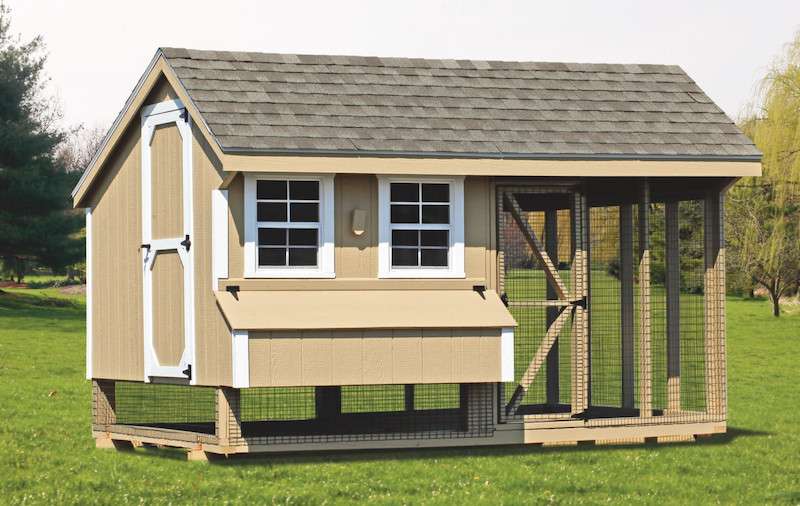
| Provides a 6x6 coop and 6x6 run area - a great size! Features 6 nesting boxes and is well-built. The run is a bit bigger, but of course, I still prefer a lager run for 10-12 birds, if possible 🙂 |
| This is the real deal! Features a large run area, 6 nesting boxes, roosting bars and a keyed entry door. An excellent setup! This is the coop to get if you can go for it. |
Step #5: Purchase your supplies
Now that you have your coop all set up, it’s time to add functional pieces like food, water, and bedding. There are A LOT of options and methods out there, so what I’m showing below is what I use and recommend.
Feed
Chickens have different nutritional requirements depending on their age and time of year. There are 3 forms and 5 types of feed that are generally available. Let’s break them down!
Feed forms
- Mash – this type of feed has been coarsely ground to bite size pieces, but the raw ingredients are still recognizable.
- Pellets – pelleted feed is made by pressing mash tightly together into pellets. This is typically more expensive but results in less waste.
- Crumbles – crumbles are made by crushing the pellets into small pieces. This form is typically provided for baby chicks.
Feed types
- Starter – Provides 18-20% protein and this feed type is used for baby chicks that are 0-6 weeks old. Typically in a crumble form and does not contain calcium.
- Grower – Provides 16-18% protein and is used for chicks that are 6-14 weeks old. Typically in a mash or crumble form and does not contain calcium.
- Layer – Provides 16-18% protein and should be used as soon as pullets start laying around 18-20 weeks. Available in mash, pellets and crumble forms and contains calcium to support egg laying.
- Broiler starter – Provides 20-24% protein to support heavy growth during the first 0-3 weeks of life. Typically in a mash or crumble form and does not contain calcium.
- Broiler finisher – Provides 16-20% protein to control growth until butcher. Typically in a mash or crumble form and does not contain calcium.
*Read more about their protein needs in my article 5 Protein Sources for Chickens (Especially While Molting!)
Mix your own
Did you know that you can mix your own chicken feed? However, you need to be careful to get your ratios just right. Check out the book below for a great recipe (p.104-105) if you’re interested in this route!
The Homesteading RD's Product Picks: This is THE chicken book to have! I've had my copy since the beginning and it's the one that I keep going back to time after time. It provides everything you need to know from coop design, hatching chicks, layer nutrition, and much more! 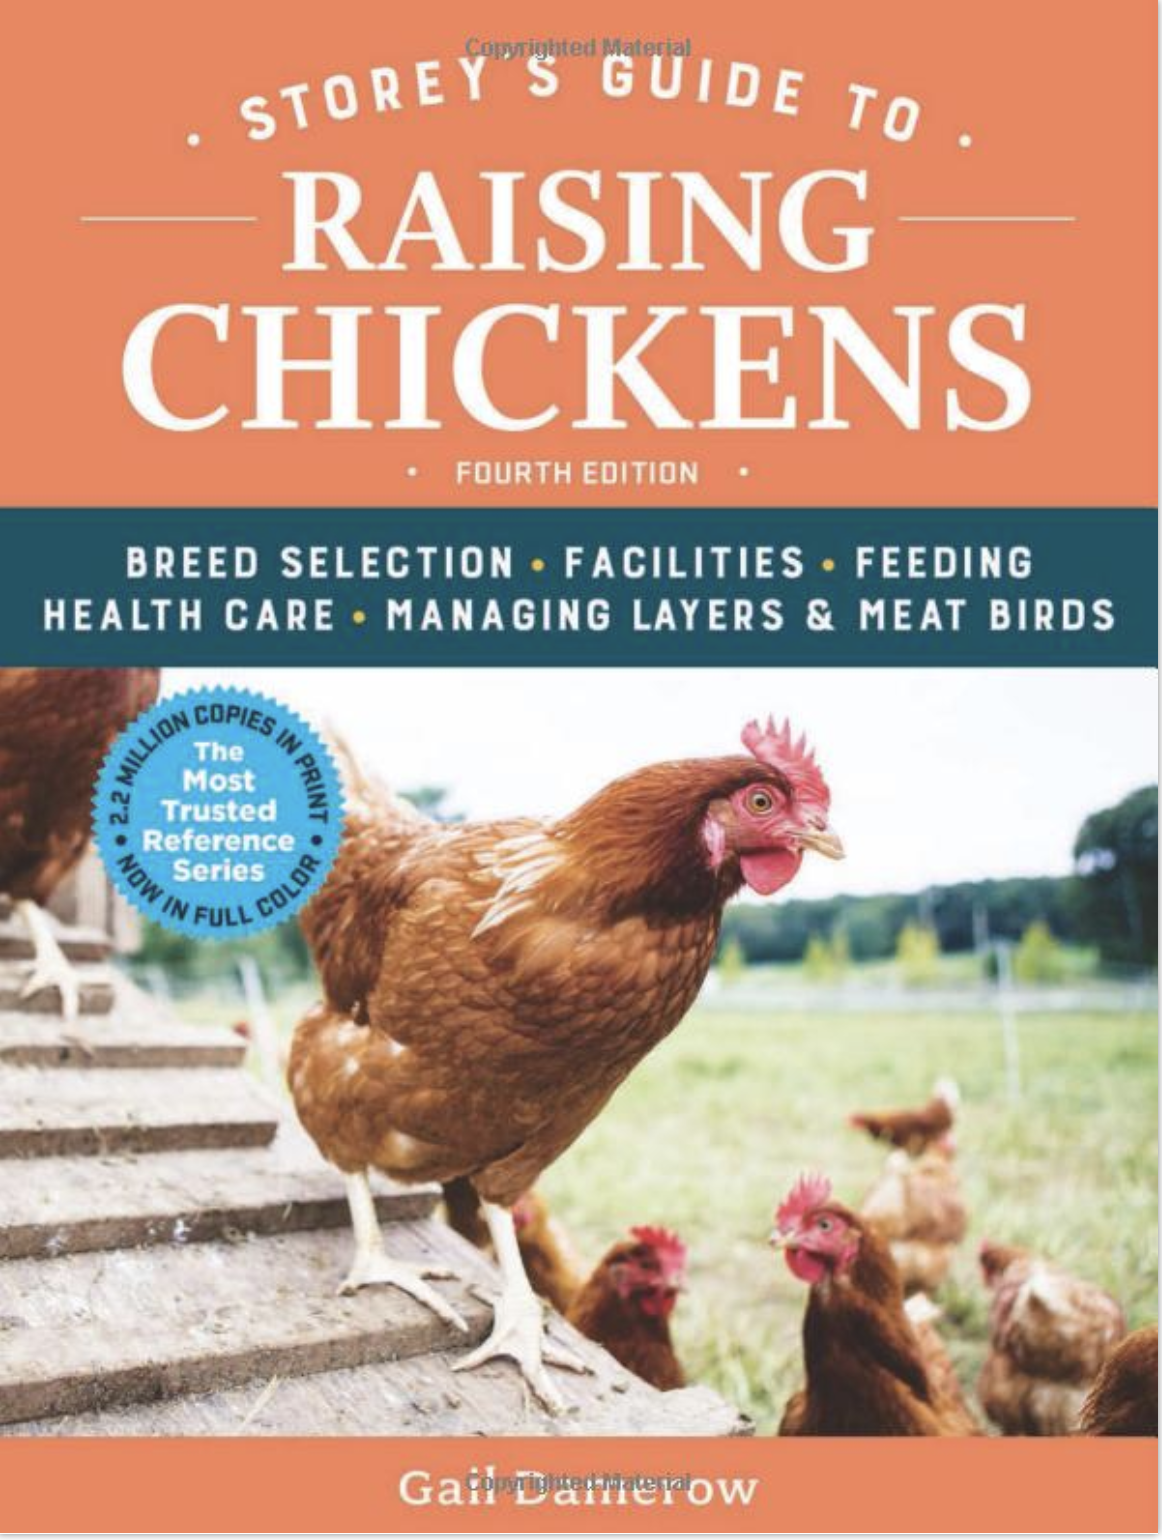
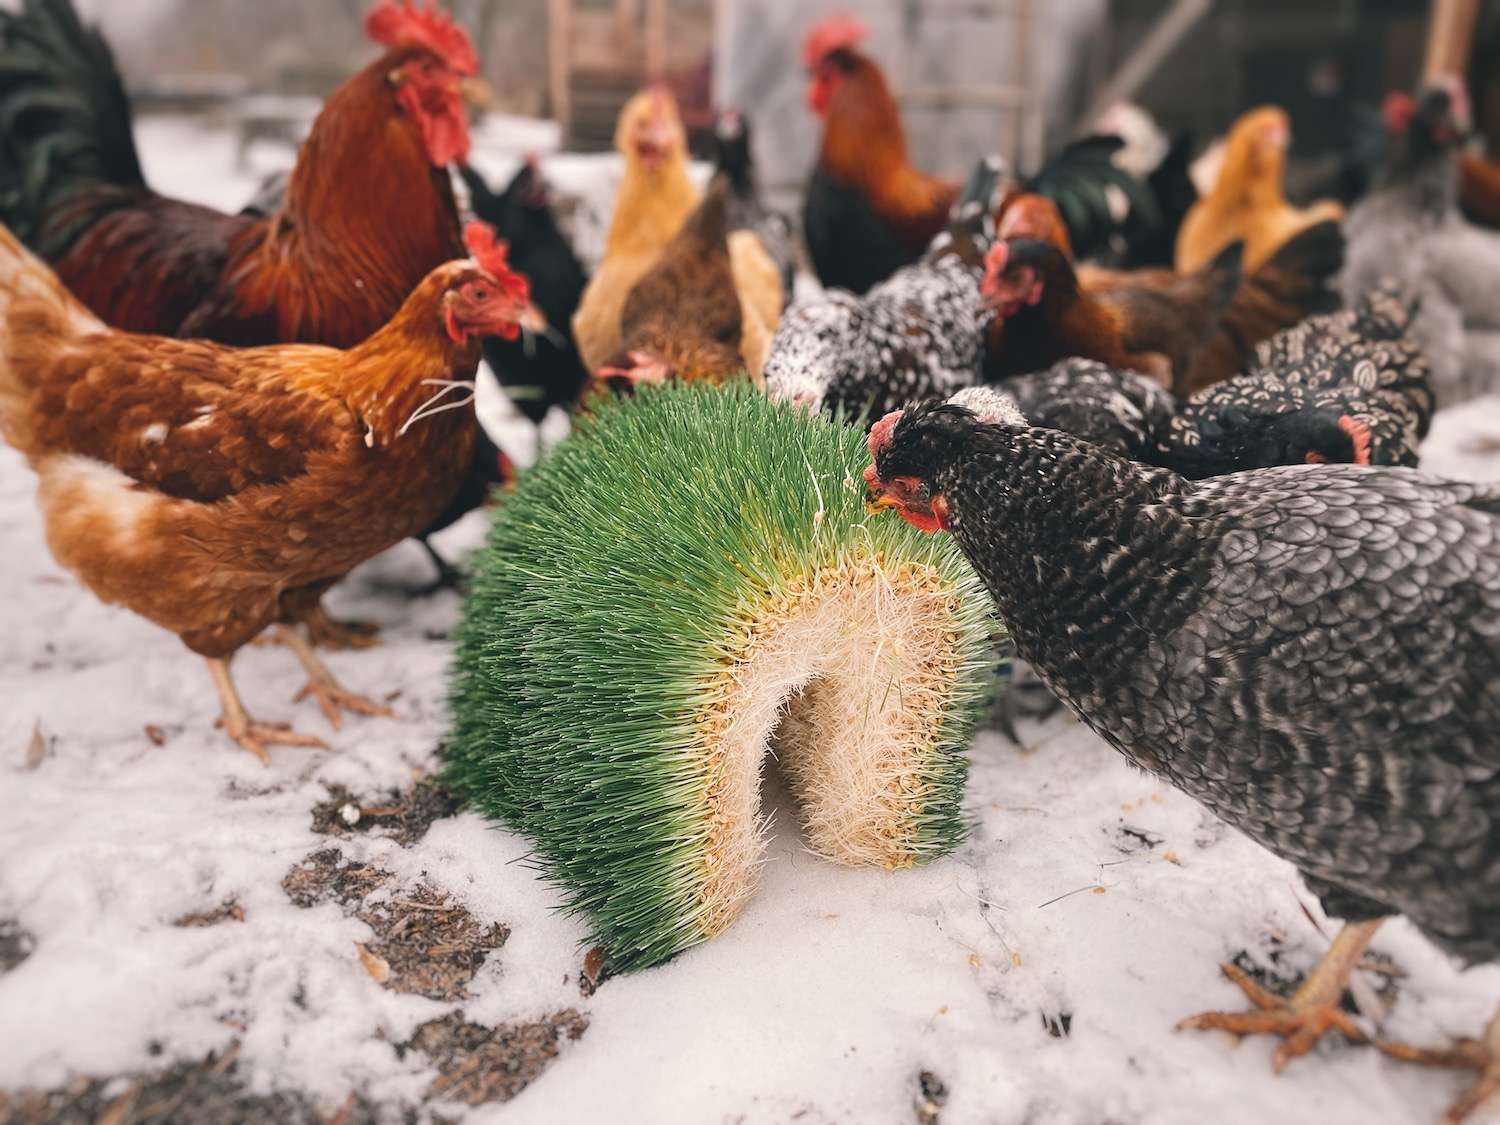
Grow fresh fodder in the winter
Fodder is a great way to provide fresh greens for your flock in winter, while also reducing your feed costs! I’ve been growing it for years and my flock loves it. Check out my article How to Grow Chicken Fodder to learn how to do it!
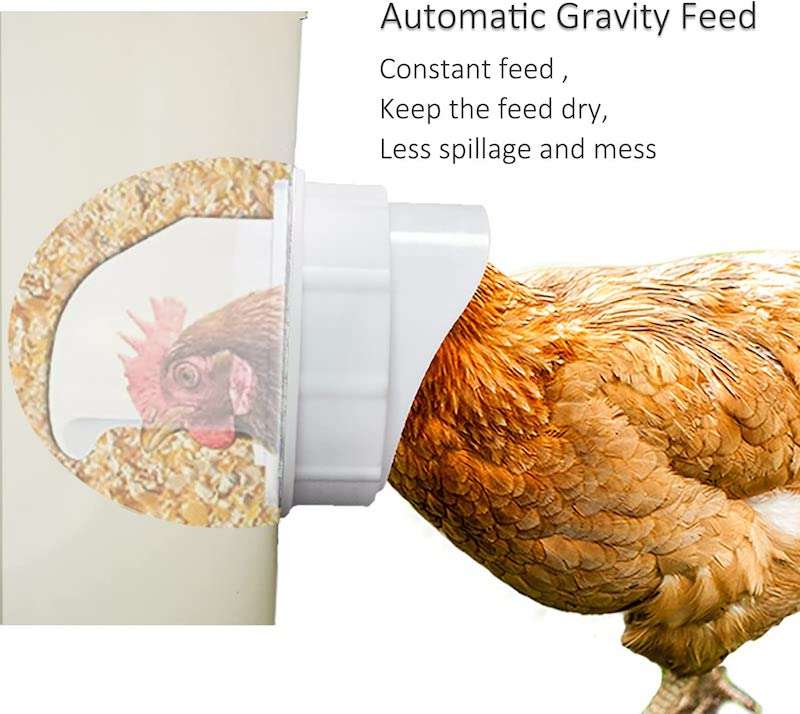
Feeder
Once you have your feed, you’ll need a feeder to distribute it to your flock. My favorite feeders prevent roosting on top (no pooping in the feed!), and limit waste and mess. I also like feeders that have a high capacity, so I don’t have to refill them daily.
Chickens love digging around to find tasty morsels, making a mess in the process. Below are my favorite low-mess feeders!
The Homesteading RD's Product Picks: Finally! A feeder that prevents feed from spilling on the ground everywhere. It will seriously pay for itself within a year in terms of spilled feed. This holds 20 lbs and is an excellent choice! Already have a tub, barrel or garbage can laying around? Grab a set of these DIY No-Spill Chicken Feeder cups and insert them into your container. 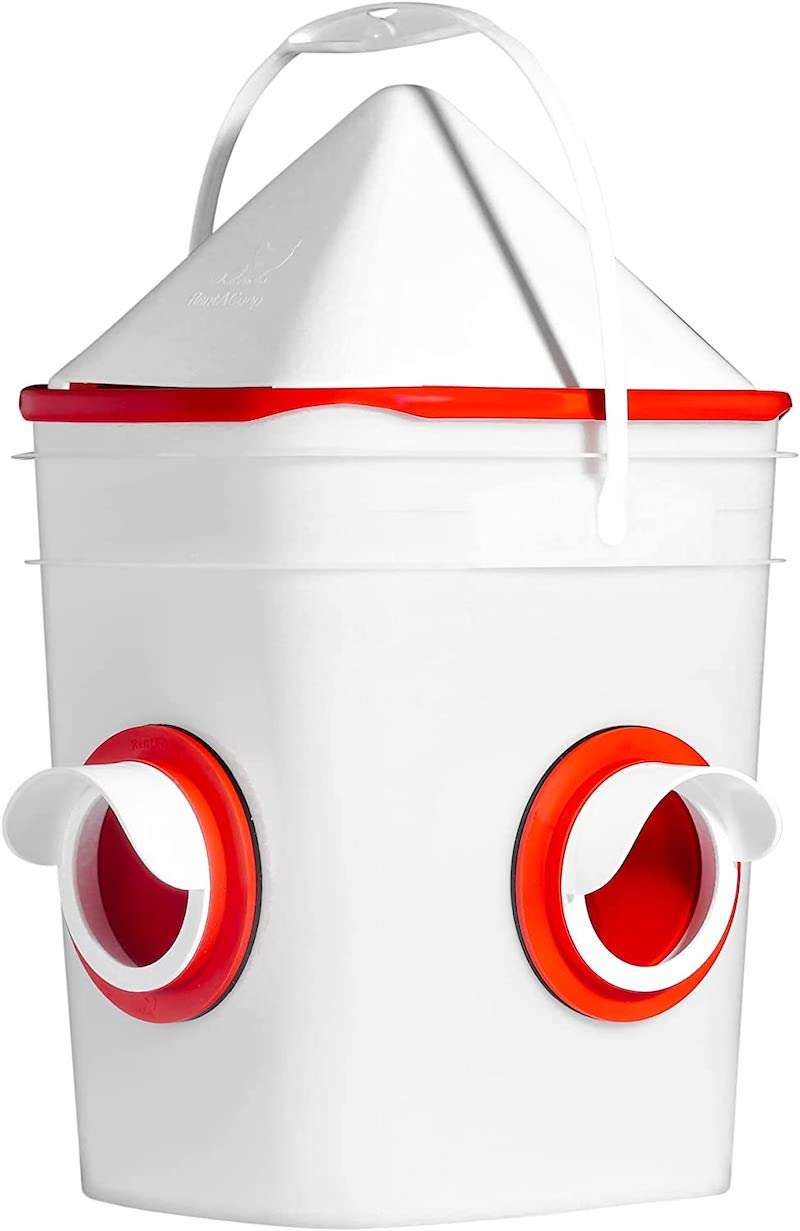
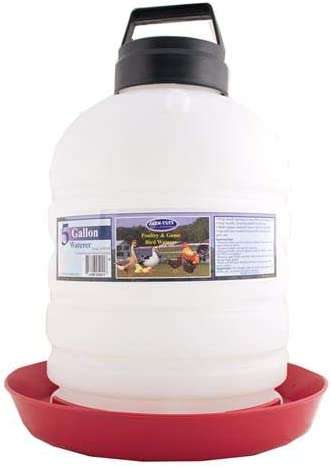
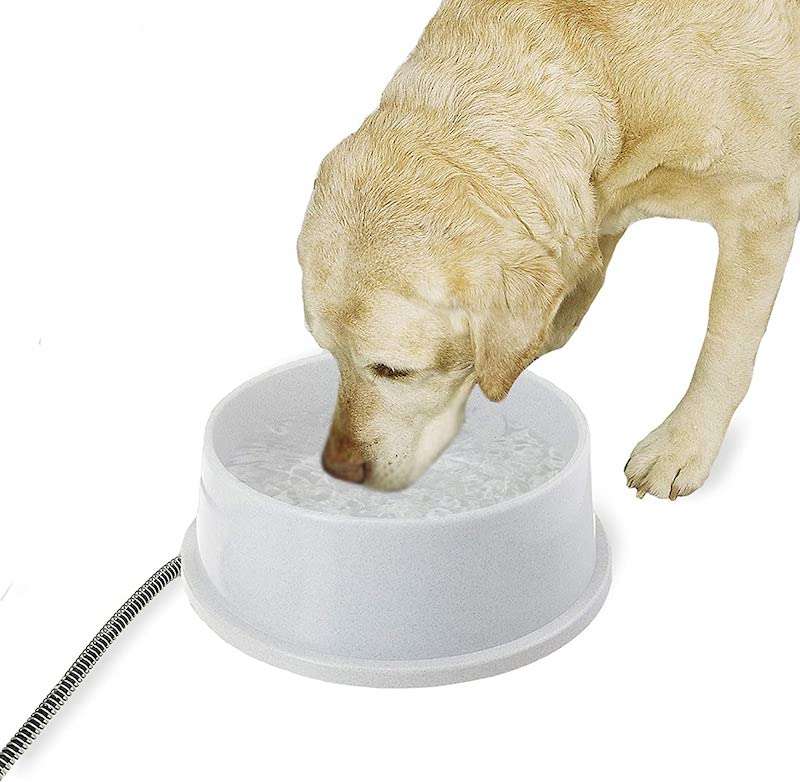
Waterer
Chickens must have fresh water at all times. We’ll want a water setup that stays clean, won’t get knocked over, and holds a decent amount of water, while also considering options for winter when it dips below freezing.
The Homesteading RD's Product Picks: I love 1 gallon sized waterers for small flocks (5 or less), baby chicks or broody hens. They are easy to handle, carry and refill. A great size for beginners! This is the size that I use (2 of them for 40-50 chickens). However, I used this size when I only had 10 chickens as well! I like that it lasts a long time - less to worry about when you go on vacation. This heated dog bowl is worth its weight in GOLD come winter time! This is the only solution that I've found to work well in our cold Minnesota winters. I run 3 of them for 40-50 chickens.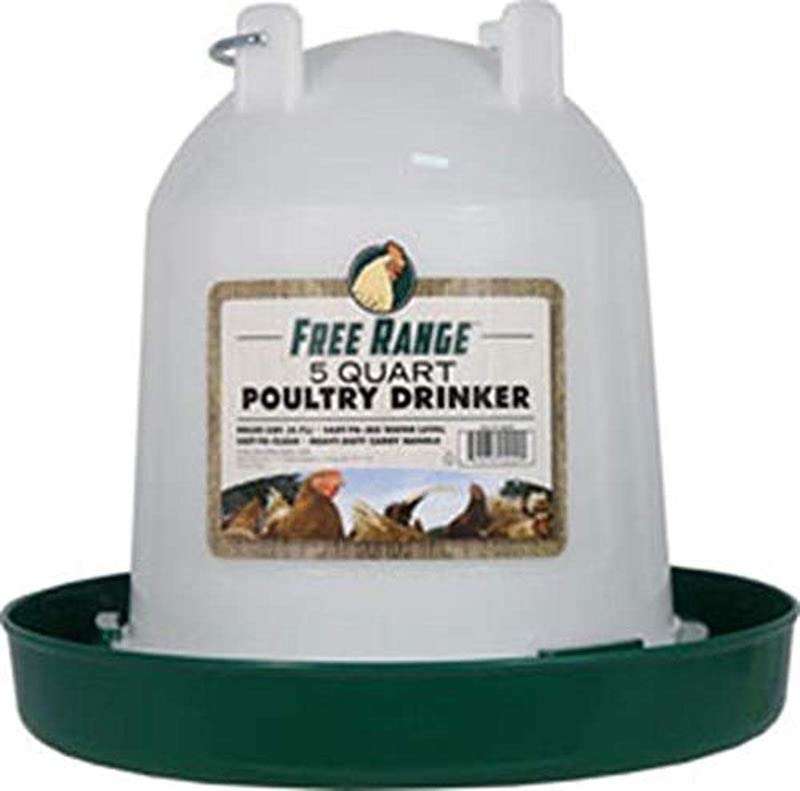
Grit
Chickens don’t have teeth to chew, so they need grit (small stones) to chew for them. They store grit in their gizzard to grind up anything they eat before it goes into their intestines.
Grit comes in 3 sizes:
- #1 grit: Small pieces that are ideal for baby chicks.
- #2 grit: Medium pieces that are perfect for teenage or full-grown chickens.
- #3 grit: Very large pieces. I would only use this size for larger poultry like turkeys.
Chickens will often pick up small stones while they are free ranging, but it’s always a good idea to provide grit at all times in a separate dish. Providing grit is essential in winter (less foraging) or if your birds are confined.
The Homesteading RD's Product Picks: This is the same one that I use in my coop and I love that they are easy to clip onto hardware mesh and move around, if needed. I have 1 for grit and 1 for crushed eggshells/oyster shell.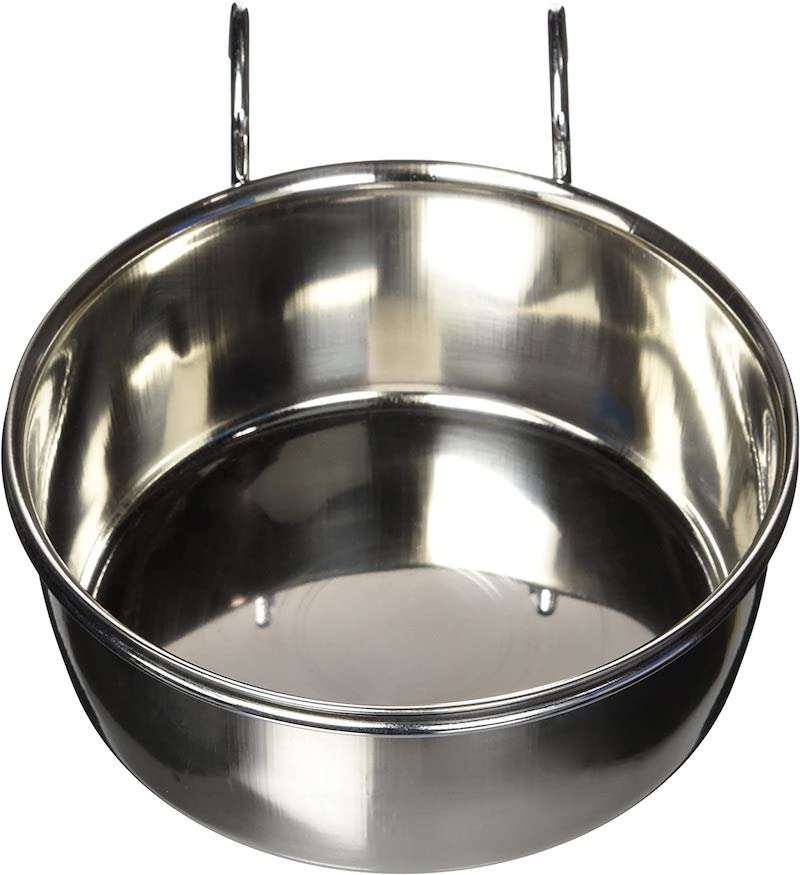
Oyster shell
Even though layer feed has supplemental calcium, the levels are fairly conservative. It’s a good idea to provide supplemental oyster shell in a separate dish (don’t mix it into the feed!) so your ladies can grab a bit more calcium, if needed.
That’s right! Hens have the incredible ability to self-regulate their calcium levels. They’ll grab a few extra mouthfuls of oyster shell if they need it.
The Homesteading RD's Product Picks: This is the same one that I use in my coop and I love that they are easy to clip onto hardware mesh and move around, if needed. I have 1 for grit and 1 for crushed eggshells/oyster shell.
Treats
Treats should be viewed as treats and not the main portion of their diet. Just as obesity is a health threat to humans, the same goes for chickens as well. I give my chickens treats in the evening and only the amount that they can finish in a few minutes.
- Scratch – A mixture of corn, wheat, and oats used for “treats” only. It is low in protein and nutrients and should never be used exclusively for chicken feed.
- Black soldier fly larvae – These have 75x more calcium than mealworms – excellent to support strong eggshells! The protein content is 35-42%, so a little bit goes a long way.
- Scrambled eggs – Providing eggs to your chickens might seem weird, but they really do love them! Plus, they are a great source of protein at 40% and offer a great solution if you need a quick option.
- Leftovers – Chickens are great at reducing food waste!
While chickens enjoy a wide variety of foods from berries and greens to mice and frogs, there are a few foods that should never be provided to them:
- Raw potato peels
- Avocado pit and peel
- Dry/uncooked beans
- Anything moldy or rotten
- Fried foods
- Salty foods
- Caffeine or alcohol
- High-fat foods
- High-sugar foods
- Artificial sugars
Bedding
Chicken bedding (or litter) in the coop is important to reduce moisture and odor, provide cushion, protect the eggs in laying boxes, and provide insulation in the coop. You want to select something inexpensive, absorbent, and doesn’t pack down.
*Pro tip: Once the chicken bedding is saturated with chicken coop, you can easily compost it all to make the most amazing compost for your garden!
My favorite options for chicken bedding:
*Check out my article The 5 Best Chicken Bedding Options for all the details!
- Chopped straw
- Pine shavings
- Chopped leaves
- Hemp
- Sand
Step #6: Provide routine care
You’ve set up your coop, obtained your chickens, and have provided them with food and water… now what? Some routine things should be done daily, weekly, and monthly. Let’s break them down!
Daily
- Let them out in the morning and lock them in at night. This is important to keep them safe from predators at night! If you can’t do this regularly, you can get an Automatic Chicken Door. These are awesome!
- Check their feed, water, grit, and oyster shell supply. Top them off if needed.
- Collect eggs in the evening. Don’t panic if you find a fairy egg!
Weekly
- Stir up the chicken bedding and top it off with a fresh layer of bedding
- Wash the waterers with white vinegar
Monthly
- Do a full coop clean out of all of the dirty chicken bedding and replace it with fresh bedding
- Health checks for signs of being underweight, having bumblefoot, mites, or lice (I highly recommend the chicken health book below!)
- Rooster damage to the hens from mating. Add a chicken saddle if you notice any!
The Homesteading RD's Product Picks: After a few health scares in my flock, I quickly purchased this book and it has been a lifesaver! Anything that could potentially come up in your flock is addressed in this book with practical solutions. Worth every penny!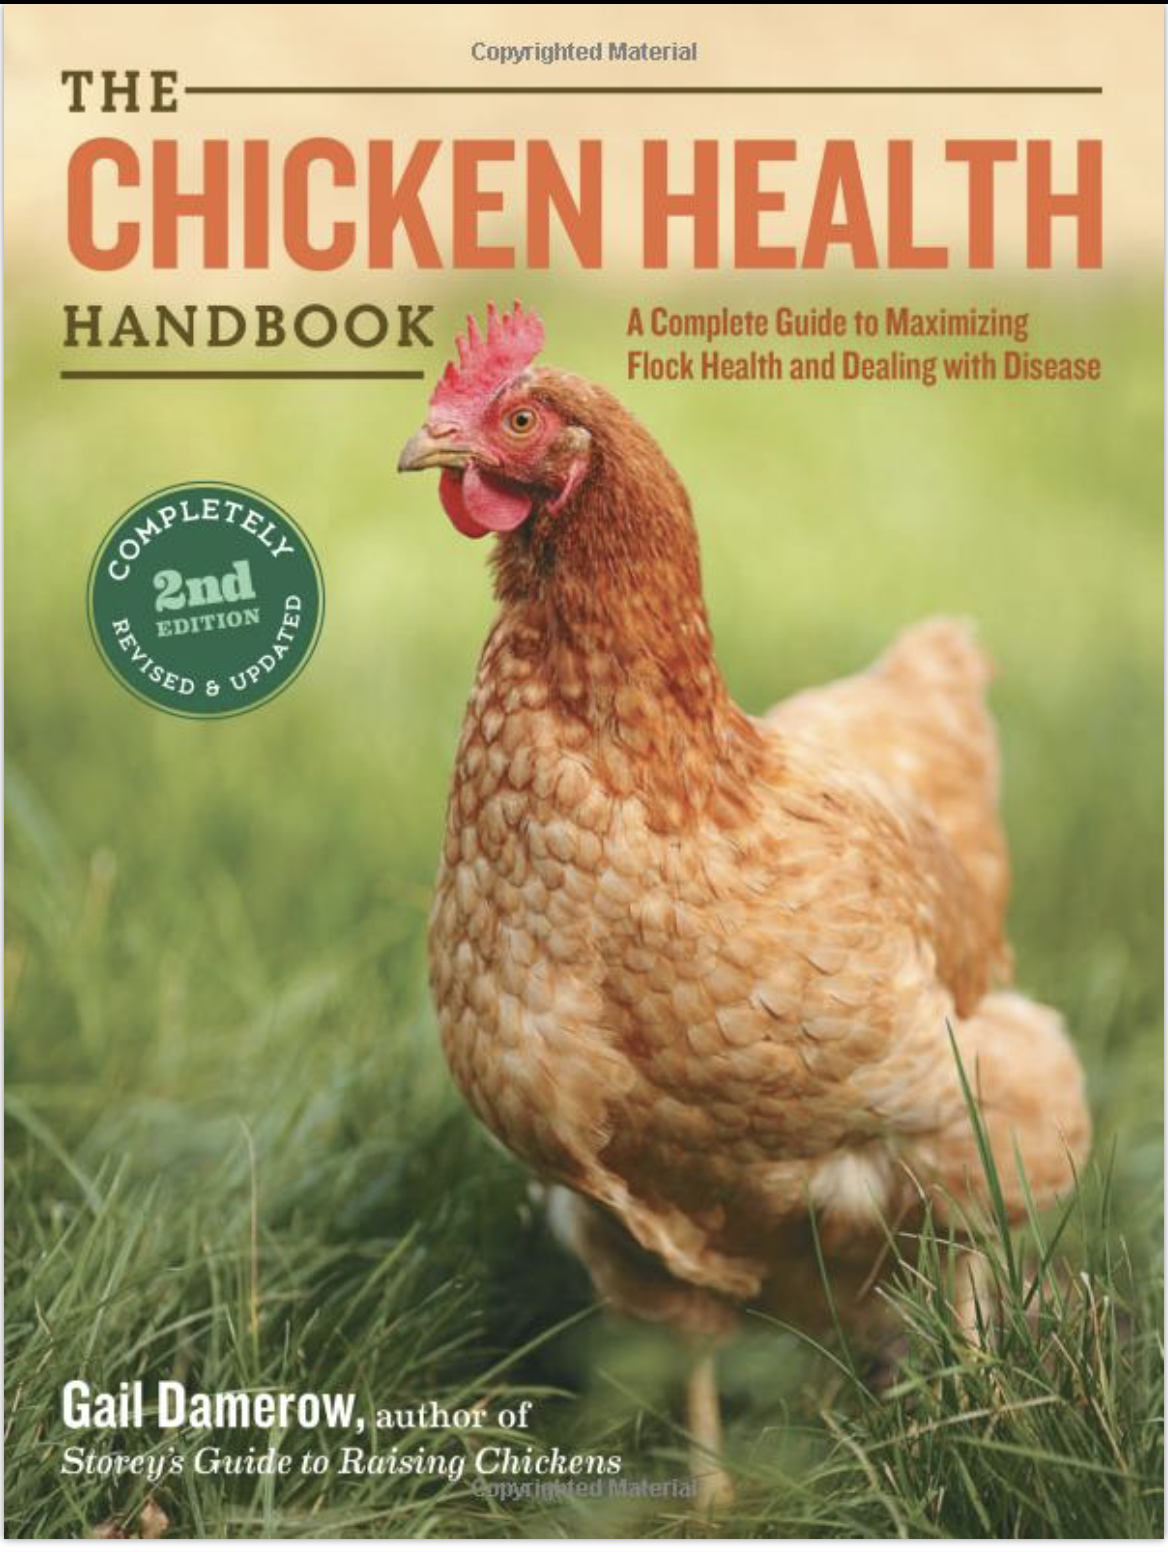
Other Chicken Articles You’ll Love
- The 5 BEST Chicken Bedding Options
- Brooding in Poultry – Everything You Need to Know!
- 5 Protein Sources for Chickens (Especially While Molting!)
Final Thoughts on How to Care for Chickens
Yay! That was fun. I hope by now that you are feeling confident in your start to becoming a chicken keeper! You’re going to do great!
*Information in this article was referenced from personal experience and/or from my favorite chicken book Storey’s Guide to Raising Chickens unless otherwise noted.
The Homesteading RD's Product Picks: This is THE chicken book to have! I've had my copy since the beginning and it's the one that I keep going back to time after time. It provides everything you need to know from coop design, hatching chicks, layer nutrition, and much more!


Any tips for a mixed flock? We’re approaching our 2 year anniversary with our small flock of ducks and are interested in expanding/ diversifying.
I don’t have any great tips for a mixed flock as I’ve only had chickens (minus a brief 4 week time where I had ducks – ducks are not for me! lol). Sorry!
This is such a comprehensive guide to keeping chickens, thank you for all the great advice.
I’ve kept chickens for over 15 years, usually a mix of fancy breeds and rescued brown shavers. The rescue hens are definitely good layers.
We let our chickens live out their natural life span, so some get to have a very long life. I have a Barnevelder hen who is 12 years old now!
Pippa
I love this article,so much useful information. And since I am hoping to own chickens one day those definitely have me some ideas and information I hadn’t thought about.
I’m so glad to hear it! There’s a lot to think about and consider for sure!
What interesting and educating information. I never thought about keeping chickens but I have friends who do. Will share this with them.
Thank you for sharing my article!
That’s great info! We used to have chicken when I was a child, the eggs were the best! Thanks for sharing!
You’re welcome! Hopefully you can have chickens again in the near future 🙂