
Picking the right chicken coop flooring is essential for your flock’s safety, cleanliness, and comfort. Some materials are really great and easy to work with, whereas others can be quite a headache and put your flock at risk. Plus, cost is a factor to consider, too.
I’ve been raising chickens since 2014 and have been through 3 different coops in the process, so I’m your gal when it comes to figuring out the best chicken coop flooring for YOU. I’ve done the research and have narrowed the list down to the 4 best (and 3 worst) chicken flooring options, plus maintenance tips for a stress-free experience.
*Disclosure: This post may contain affiliate links to products (including Amazon). I’ll earn a small commission if you make a purchase through my link, at no additional cost to you! Regardless, I only link to products that I personally use on our homestead or believe in.
What to Look For in Chicken Coop Flooring
The best flooring option for your coop depends on a few factors that are specific to your location, needs, and goals. What might be the best fit for you might be a poor option for someone else!
Weather Considerations
This is one of the most important things to consider. You want to make sure that your birds can stay cool if you are in a hot climate and that they can stay warm if you live in a cold climate.
- If you live in a warm climate, materials that stay cool are of utmost importance. Concrete would be best, followed by wood/plywood.
- If you live in a cold climate, you need to consider insulation and ease of piling up a thick layer of chicken bedding. Your best options here are plywood covered with linoleum or rubber mats.

Ease of Cleaning
Chickens are notorious for making a mess in a hurry. Between their poop, dust, feathers, and spilled feed (and don’t forget the potential for pests or rodents they attract!), you’ll have a filthy coop before long.
The ideal chicken coop flooring for easy cleaning is something that’s semi-smooth surface without cracks or crevices. Trust me, getting a shovel stuck between plywood boards while scooping out the run is always frustrating! For an A+ option, a solid, water-resistant flooring that can handle power washing is a blessing.
Pests & Predators
If you own chickens, the chances of you dealing with a predator at some point are quite high. An ideal chicken floor material to protect against predator invasions is one that is solid so they can’t burrow in. Avoid a dirt floor at all costs!

Smaller pests like mites and lice can also be a concern. Avoid flooring with lots of cracks or crevices, such as dirt or wood/plywood that can harbor pests. Again, having a type of flooring that you can power wash periodically will also help keep the pests down.
Durability
The last thing that you want to do is go through a lot of work to install flooring, only to need to replace it in a few years. The most durable options are concrete and linoleum, which will last many decades!
Cost
I know you don’t want to spend a small fortune on your chicken coop – I get it! However, you really do get what you pay for. While dirt and wood/plywood flooring are the cheapest options, spending a bit more on linoleum, rubber, or concrete will save you a headache in the long run.
4 BEST Chicken Coop Flooring Options
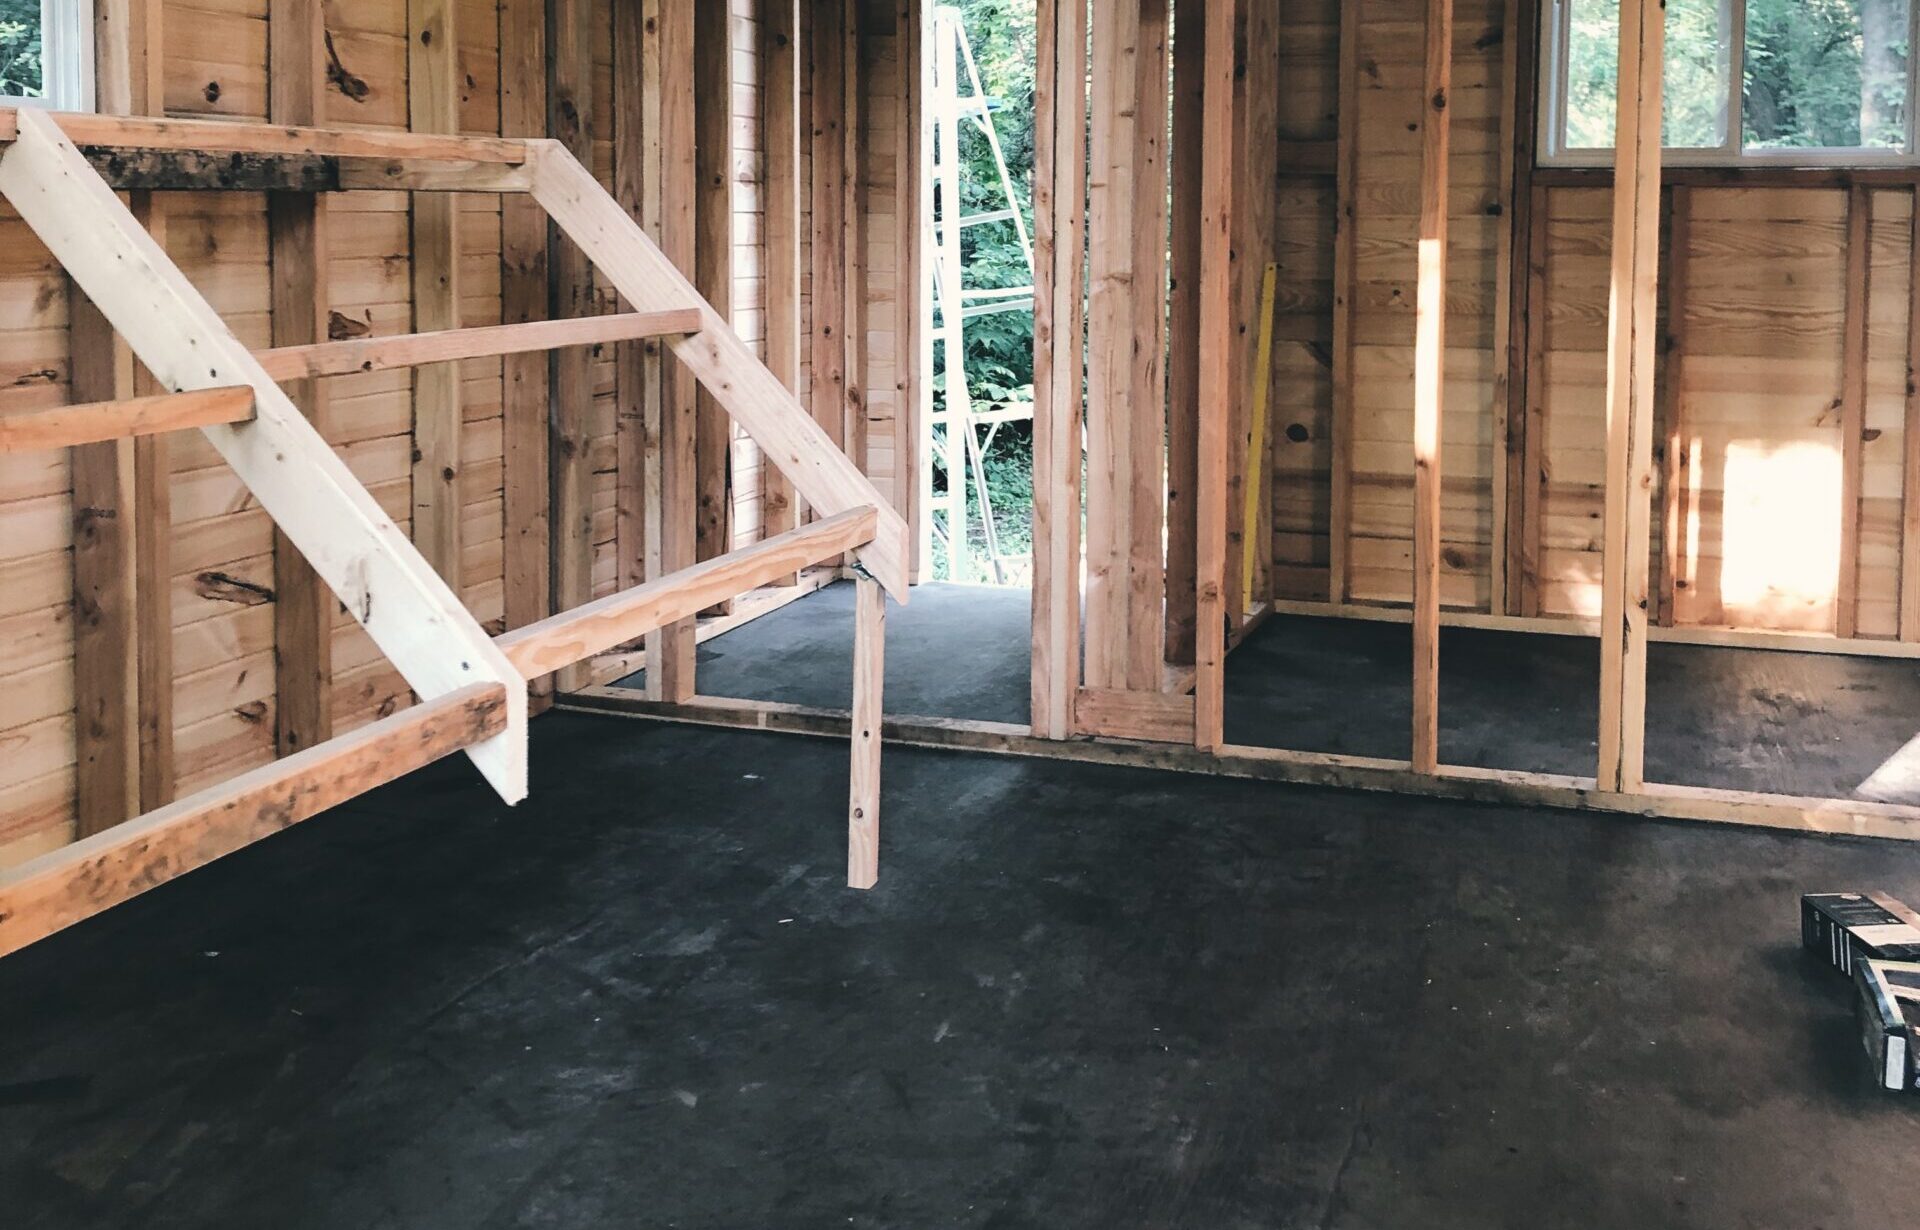
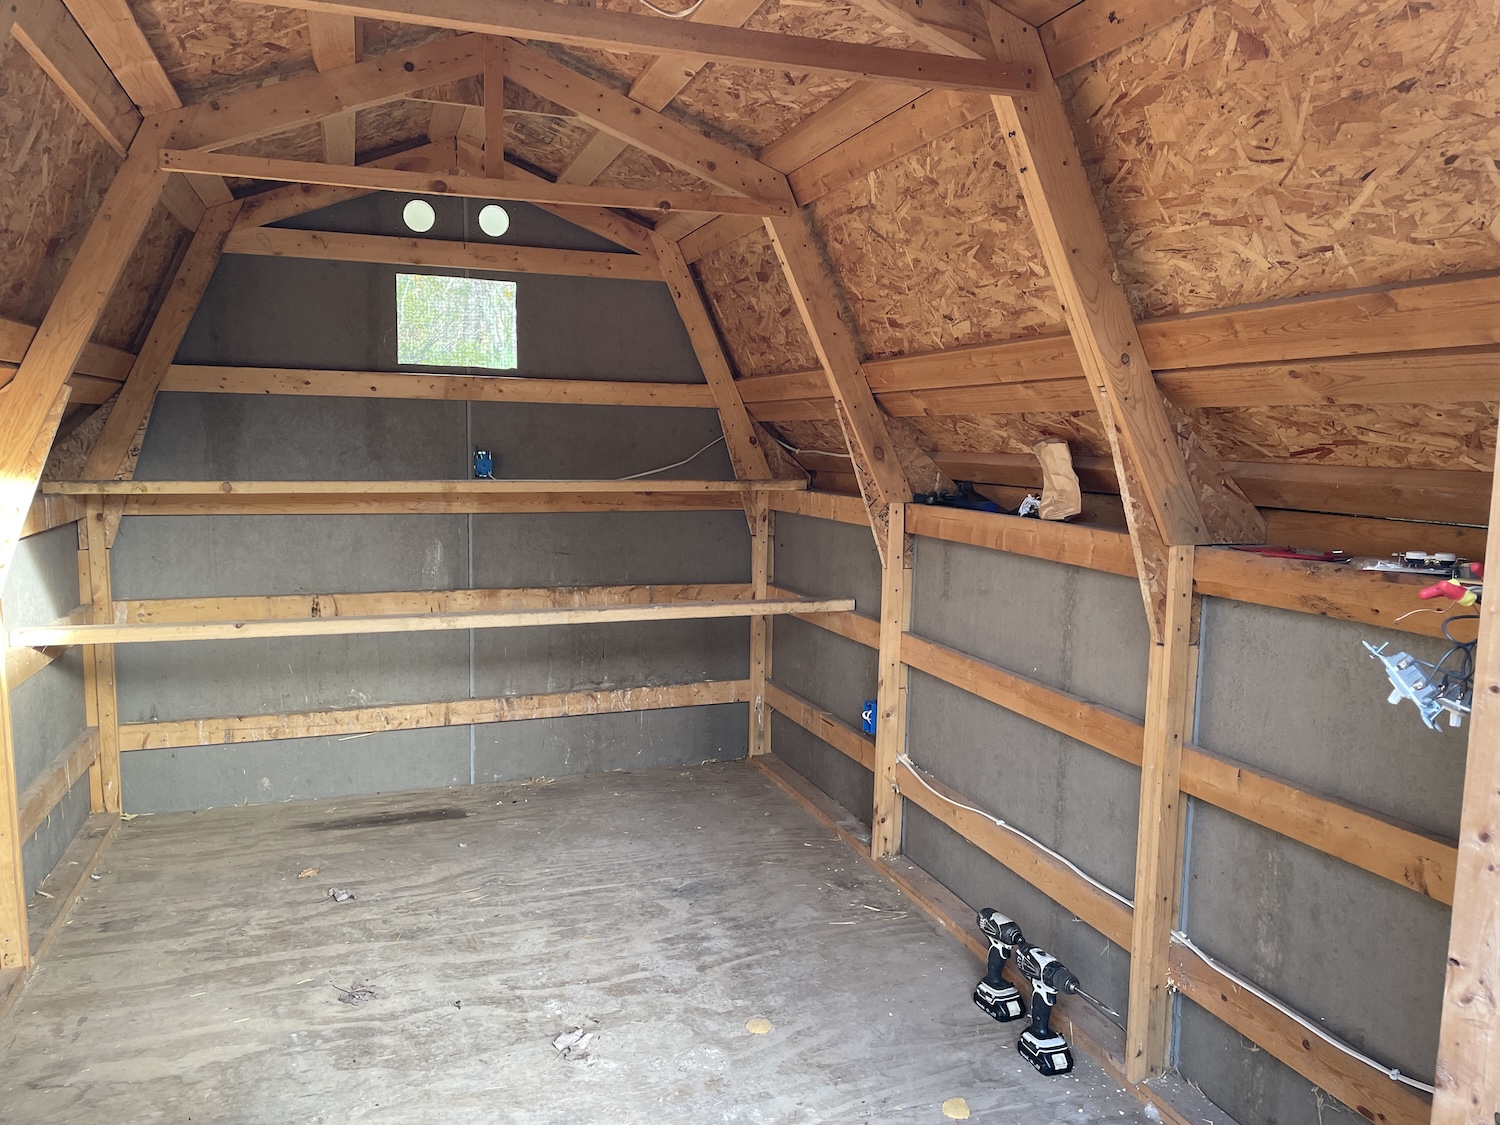
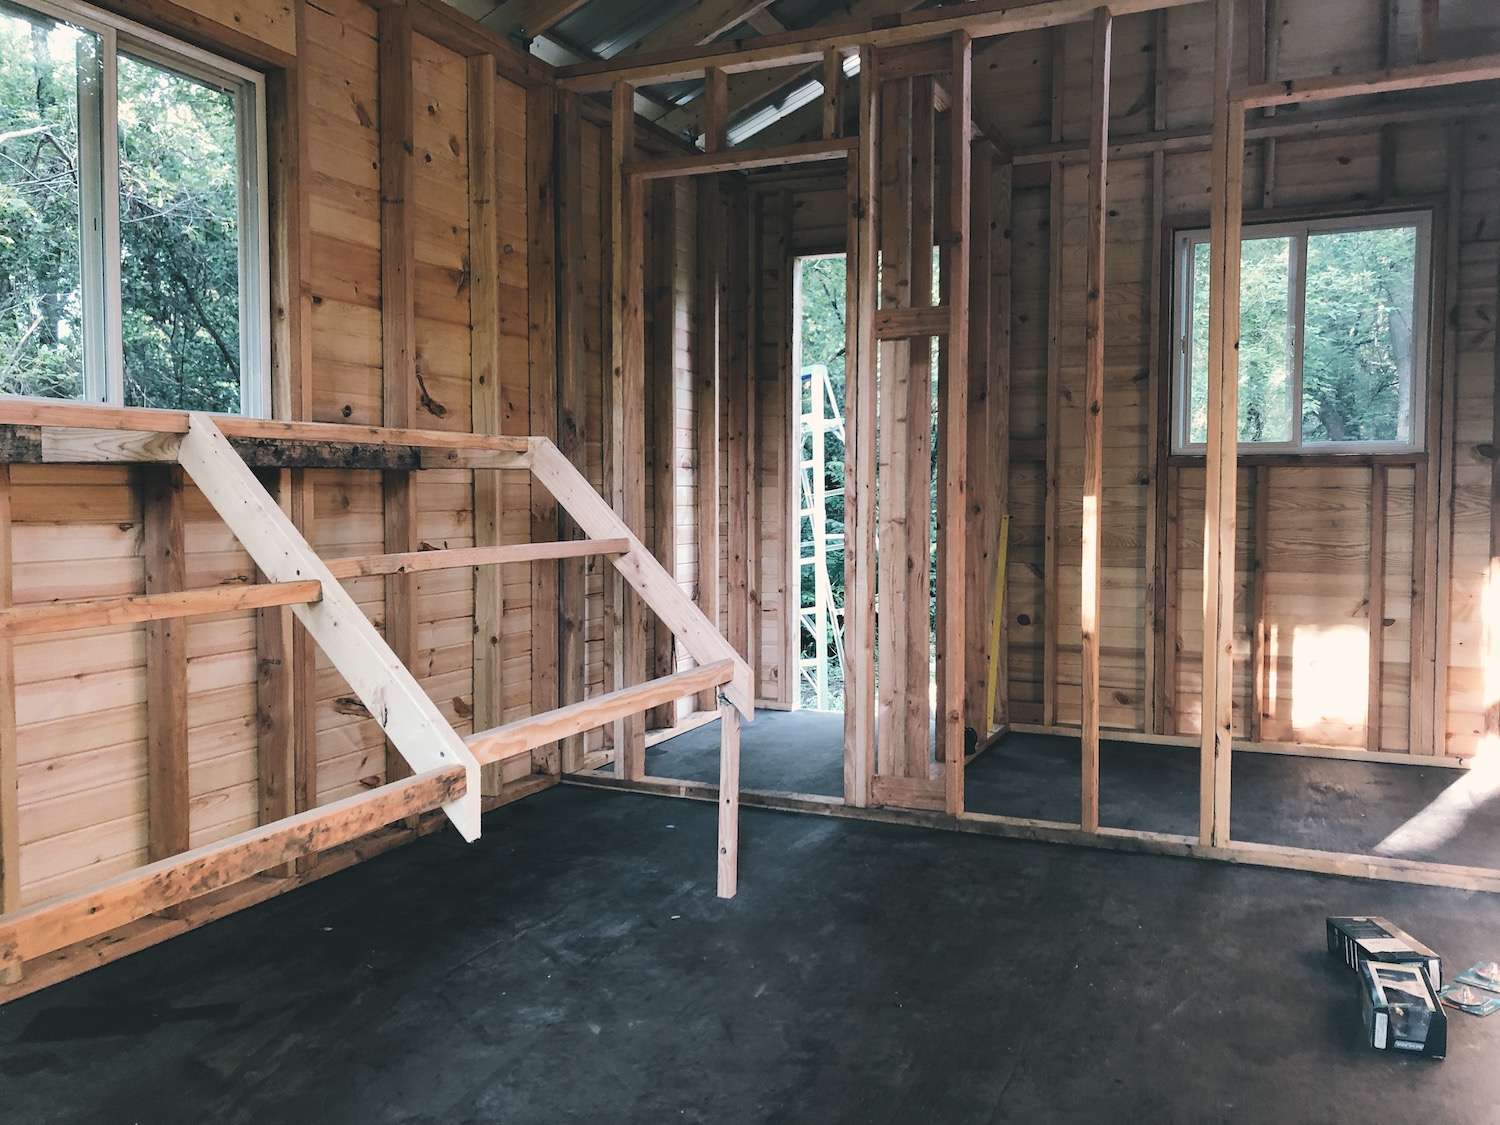
#1: Wood or Plywood Flooring
Using wood boards or plywood flooring is a very common option. I’ve had 2 coops with plywood flooring throughout the years. That’s because the materials are fairly inexpensive and easy to find. They are also easy to install!
It’s not my favorite option due to the potential to harbor pests, and it can be challenging to clean, but it’s still a viable one as long as you know what to look out for and how to manage it.
*TIP: The important thing to ensure is that you are purchasing plywood and not OSB (strand board or chip board). While those are a cheaper option, they are not durable and absorb water like a sponge.
Pros of using wood:
- Inexpensive
- Easy to find and install
- Predator-proof, but rodents can live under the floorboards if directly on the ground
- Fair insulation in winter
Cons of using wood:
- Harder to clean (bits of bedding and poop will get stuck in the cracks)
- Can harbor pests
- Can rot if moisture is present frequently (spilled waterers)
Where to find wood:
Your local hardware or building supply store is the best place to find wood planks or plywood, but you may be able to find a good deal on Facebook Marketplace if someone is trying to get rid of extra materials from a project.
#2: Linoleum Flooring
This is my favorite option and is what we used in our poultry palace at our last homestead. We definitely plan on doing this again when we build poultry palace #2. It’s typically laid over plywood flooring, offering all of the benefits of using wood but without any of the cons!
Adding linoleum over plywood is an added cost, but the benefits greatly outweigh it, in my opinion. Plus, it doesn’t have to be the best and prettiest linoleum out there. We went to Menards and bought the cheapest stuff we could find. It’ll be buried under the bedding anyway!
I used a snow shovel to quickly push the dirty bedding out of the poop chute and it worked like a charm! Check it out here on Instagram!
Pros of using linoleum:
- Low maintenance
- Easy to find and install
- Easy to clean and waterproof (power wash friendly!)
- Won’t harbor pests
- Good insulation in winter
- Long-lasting (protects the wood underneath)
- Predator-proof, but rodents can live under the floorboards if directly on the ground
Cons of using linoleum:
- Moderate cost (plywood + linoleum)
Where to find linoleum:
Your local hardware or building supply store is the best place to find linoleum (and plywood for underneath).
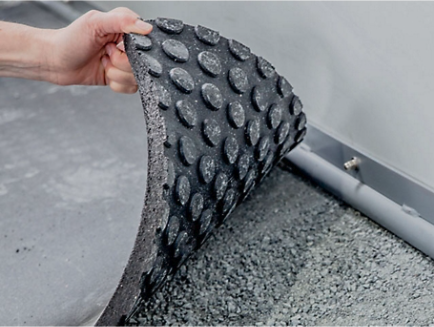
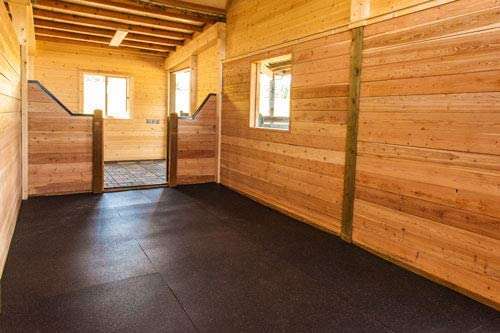
#3: Rubber Mats
Similar to linoleum, rubber mats can be added on top of wooden plank or plywood flooring for more durability and ease of cleaning. Try to utilize large pieces (or 1 whole piece, if possible) so that there are fewer joints. Joints can get packed with bedding, poop, and get caught on your shovel as you’re scooping it out on coop cleanout day.

Pros of using rubber mats:
- Low maintenance
- Easy to clean
- Won’t harbor pests
- Good insulation in winter
- Less slippery than linoleum and comfortable on the feet
- Long-lasting (protects the wood underneath)
- Predator-proof, but rodents can live under the floorboards if directly on the ground
Cons of using rubber mats:
- Expensive
- Can be hard to find
- Not waterproof unless you find a large enough mat to cover the floor in one piece
Where to find rubber mats:
You may or may not be able to find these at your local hardware or building supply store. Here are some great options to consider!
The Homesteading RD's Product Picks | |
| This durable rubber stall mat is ideal for the coop! Anti-fatigue and anti-skid features provides safety, drainage and comfort for people and animals. *Make to place the textured side down to make cleaning easier. |
| These mats come in many different sizes and thicknesses so that you can get a perfect fit. These mats are also made in the US with American-sourced raw materials! |
#4 Concrete Flooring
Concrete flooring is certainly one of the safest materials out there regarding predators. No critters will be digging through it, that’s for sure! The other nice thing is that it’s very easy to clean – hello pressure washing! Plus, it will last a LONG time and is super low maintenance.
Sounds too good to be true? Well, there are some negatives. Concrete is COLD and if you live in a cold climate like me (Minnesota), concrete may not be a great choice. Concrete is also fairly expensive and can be intimidating to pour compared to the methods above.
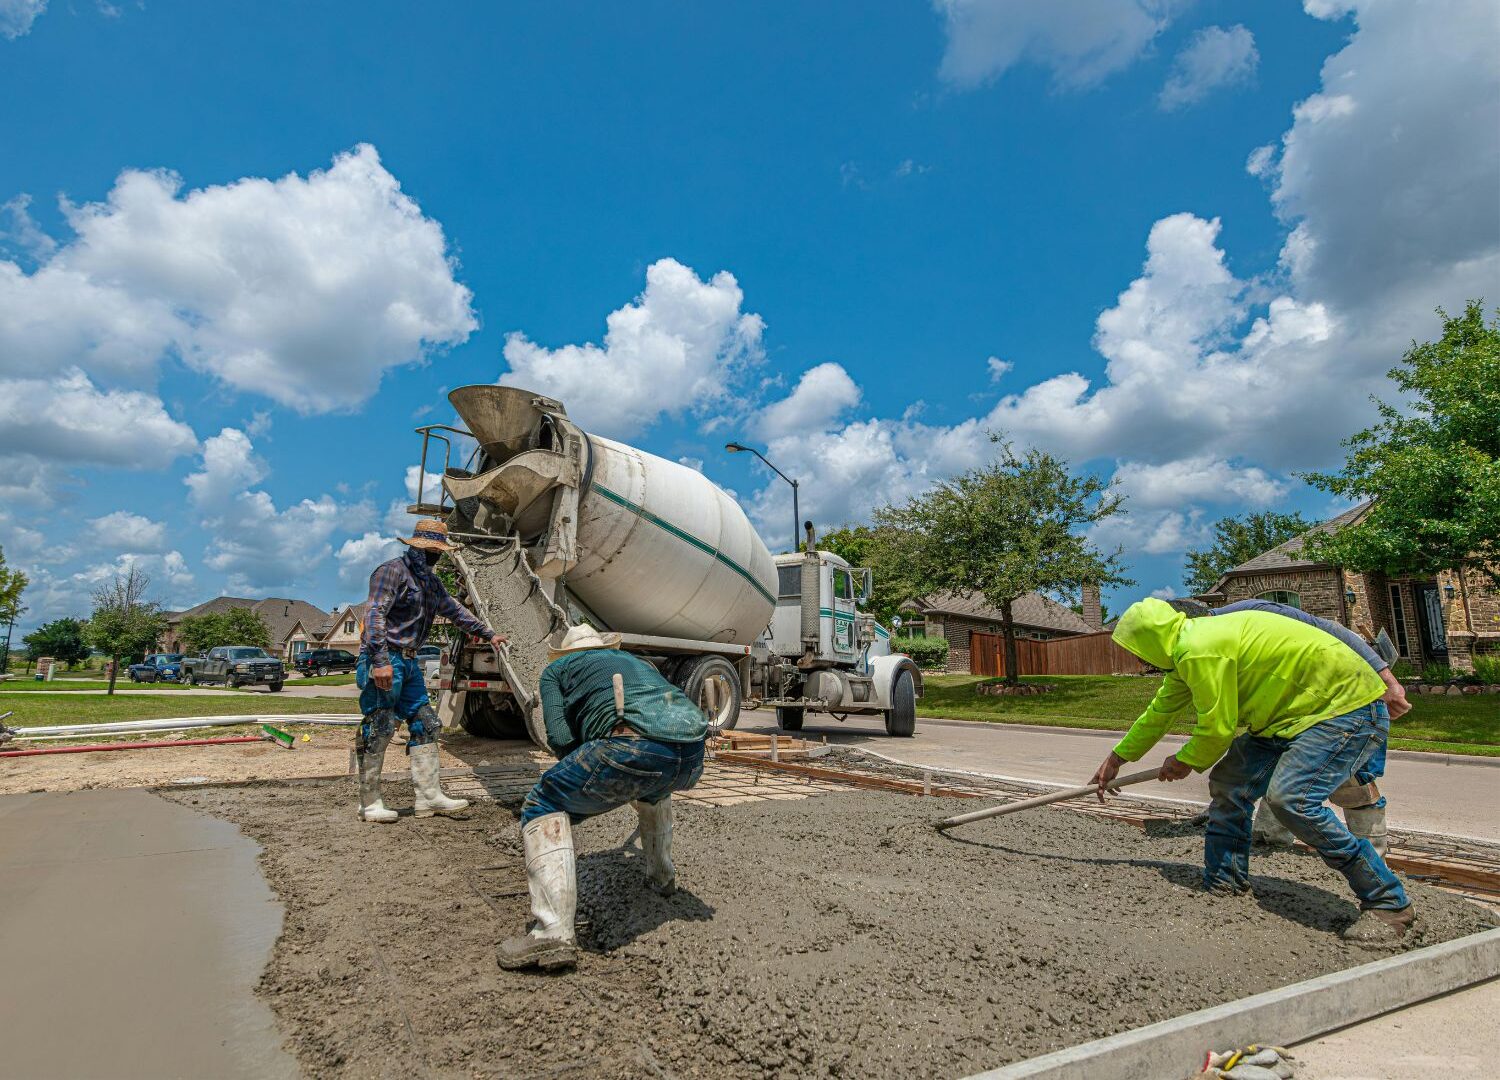
Pros of using concrete:
- Low maintenance
- Predator-proof
- Easy to clean
- Won’t harbor pests
- Long-lasting
- Stays cool if you live in a hot climate
- Keeps the coop cool in the summer
Cons of using concrete:
- Can get cold in the winter
- Expensive
- Labor-intensive to install
Where to find concrete:
Your local hardware or building supply store is the best place to find dry cement. You can also hire out the job to a concrete company if you don’t want to pour it yourself.
*To save money, try mixing up Soil-Cement!
- Step 1: Mix 1 part dry cement with 3 parts soil (rock-free)
- Step 2: Pour a 4-6” slab
- Step 3: Tamp it down and mist it with water
- Step 4: Allow it to set for several days before using
3 WORST Chicken Coop Flooring Options
We’ve made it through 4 excellent choices for chicken coop flooring, and I hope you found a great fit to meet your needs. Before we close this article, let’s chat through 3 chicken coop flooring options that you should definitely avoid – I know some of them can be tempting options!
#1 Wire Flooring
While wire flooring may seem appealing because the droppings will simply fall through the wire into a collection tray below, it has some risks.
First of all, would you want to stand on wire all day? Your chickens can end up with foot injuries, plus they’ll lose the natural foraging and scratching behavior that they enjoy doing when there’s bountiful chicken bedding.
Next, it doesn’t provide any insulation in the winter and will be quite drafty from below. If you live in the far South, this might be okay, but anywhere that experiences even near-freezing temperatures should avoid this style.
#2 Dirt
While a dirt floor is an incredibly easy and simple flooring option, don’t be tempted! Predators can easily dig under the walls and get inside. I personally know several people who have had this happen, and it’s always heartbreaking.
It’s also very hard to manage pests and rodents. If you try to add any sort of bedding, it’ll likely rot on the ground. Lastly, it’s very challenging to keep clean, and the dust level inside can get out of control! Just say no!
#3 Vinyl Flooring
Vinyl may seem like a desirable option since it’s easy to clean; however, it can be toxic to both chickens and humans. It is made from preprocessed plastic and can contain toxic phthalates, lead, cadmium, and flame retardants, among other toxic chemicals. No thanks!
Linoleum is a superior choice to vinyl because it’s made from natural and biodegradable materials like linseed oil, pine resin, cork dust, and wood flour. It also lasts 20 years longer than vinyl does. A much better option!
Maintenance Tips for Chicken Coop Flooring
Once your flooring is installed, then what? There are a few more essential things to include in your chicken chore routine to ensure that your coop stays clean and that your flooring lasts as long as possible.
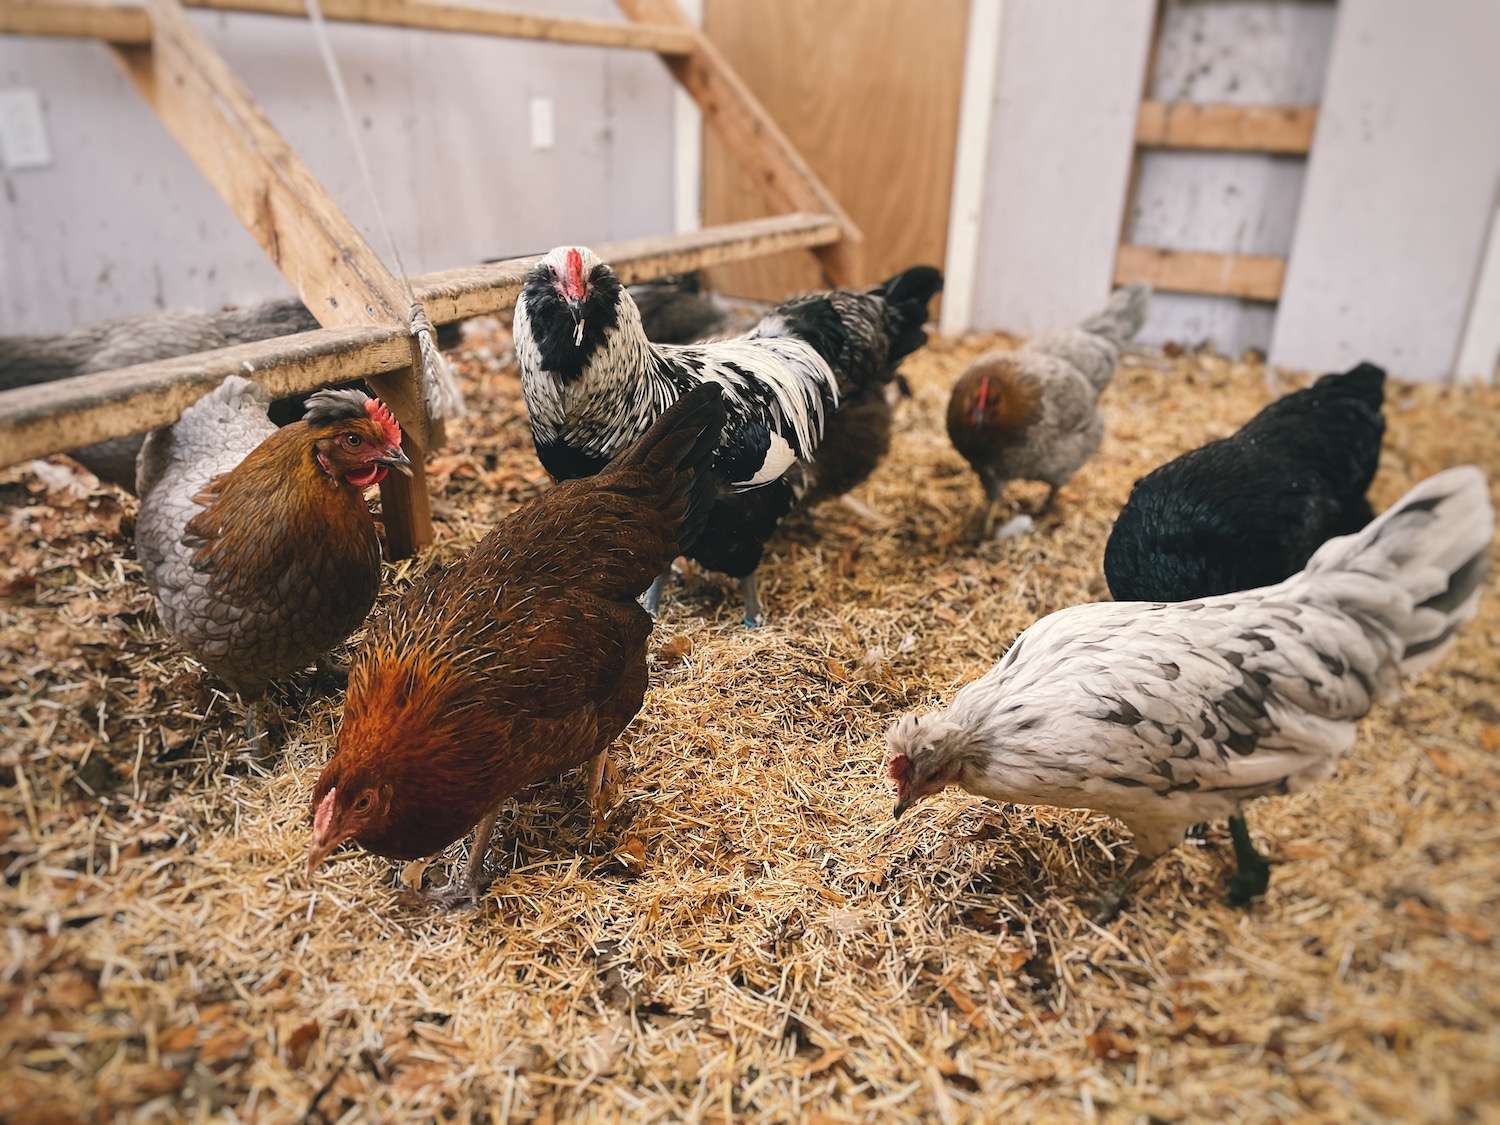
Chicken Coop Bedding
Adding bedding on top of the chicken coop flooring is a very important step for several reasons. First of all, the bedding will absorb any moisture and odor to limit the mess and potential ammonia build-up in the coop. It also provides cushion and insulation, which is a blessing on those cold nights!
Lastly, the chickens really enjoy scratching through it, and it encourages natural behavior. By providing this activity, it can reduce boredom and other issues such as egg eating, cannibalism, and feather picking.
Coop Clean-Out Day
Make sure to clean the coop out and replace it with fresh bedding regularly. How often this needs to happen depends on how often your chickens are inside the coop and how many chickens you have! For me, it’s about monthly, but I’ll often turn it over and add a fresh layer on top if needed in between full coop clean-outs.
To make coop clean-out day a breeze, I highly recommend installing a poop chute! Check mine out here on Instagram.
Avoid Excess Moisture
Moisture can pose a health threat to your flock while also rapidly deteriorating the coop flooring. To reduce the risk of excess moisture, I highly recommend leaving ALL of the chicken waterers out in the run. Even in the winter!
For a complete list of what I recommend keeping inside the coop, check out my article Inside a Chicken Coop: 5 Required Items (and 3 to AVOID!)
Lastly, if you decide to power wash the coop, make sure to do it on a warm, sunny, and breezy day. Prop all of the windows and doors open, and consider adding a fan so that it dries out quickly!
Other Chicken Articles You’ll Love:
- The 5 BEST Chicken Bedding Options
- Inside a Chicken Coop: 5 Required Items (and 3 to AVOID!)
- Ultimate Guide to Chicken Nesting Box Size
- How to Care for Chickens: A Beginners Guide
- Chicken Coop Winterizing (6 ESSENTIAL Steps!)
Final Thoughts
Selecting the right flooring for your chicken coop is an essential aspect of keeping your feathered friends happy and healthy. From traditional options like wood and concrete to more modern solutions like linoleum and rubber mats, there are several flooring types to choose from!
By selecting the right flooring, you’ll create a safe and comfortable living space for your chickens that will keep them clucking and laying those eggs for years to come!
Are you a first-time chicken keeper? Or maybe you don’t even have chickens yet? Definitely check out my ultimate resource How to Care for Chickens: A Beginners Guide.

*Information in this article was referenced from personal experience and/or from my favorite chicken book Storey’s Guide to Raising Chickens unless otherwise noted.
The Homesteading RD's Product Picks: | |
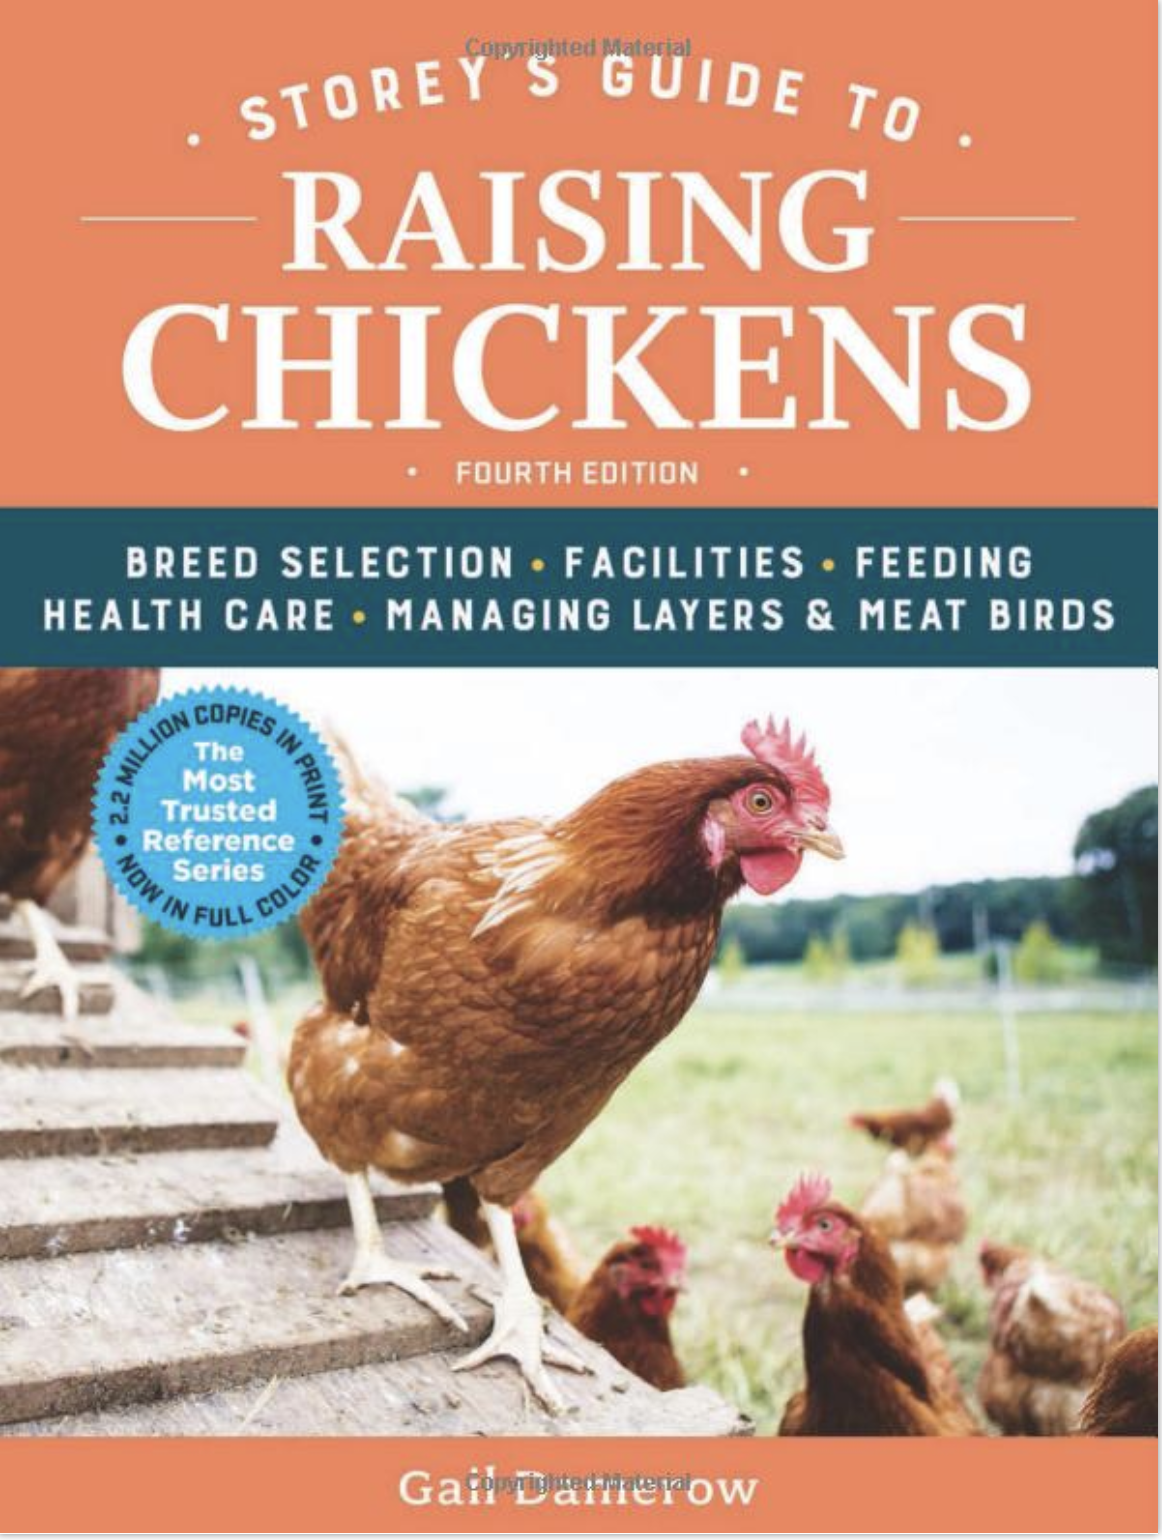
| This is THE chicken book to have! I've had my copy since the beginning and it's the one that I keep going back to time after time. It provides everything you need to know from coop design, hatching chicks, layer nutrition, and much more! |


When we first moved to our farm about about 18 years ago we were given a big chicken coop. 12″ x 30″. It has a plywood floor but I wanted something really easy to clean so we researched and decided linoleum was the best choice. We installed and put our chickens in it thinking we would have no worries about cleaning the coop. I went out the next morning and the chickens had destroyed the floor. They tore holes in it and ripped it from the holes in big strips across. We were so disappointed. I still wonder how they tore it so easily. I think we had about 12 Plymouth Rocks at the time. Big birds but still..
Hi Katie,
I love all of your videos and ideas. Thank you for sharing. I have a quick question and want to know what you use in the chicken run? I live in southern California and in the summer it gets HOT like 95 degrees plus for many weeks at a time. I was considering sand but am worried that it will be too hot, right now they are just on dirt which I turn over often to keep it from getting too hard. I would appreciate any suggestions you may have and thank you.
Since I live in northern Minnesota, I’m probably not the best person to ask about this side of chicken keeping. We rarely ever get over 90 degrees here. My main issue is cold.
Fantastic guide on chicken coop flooring! 🐔🏠 The detailed options and pros/cons are super helpful. Thanks for sharing! 🌟
I’m so glad to hear that you found it helpful! Have a great weekend 🙂
Thank you for this wonderful guide on chicken coop flooring. I found it very useful and easy to follow. I have some chickens that I’m planning to move to a new coop soon and I was wondering what to use for the flooring. Your article helped me decide on some good options, such as concrete or rubber mats. I hope they will keep my chickens safe and comfortable.
You’re welcome and I’m so glad to hear that you found it useful.