
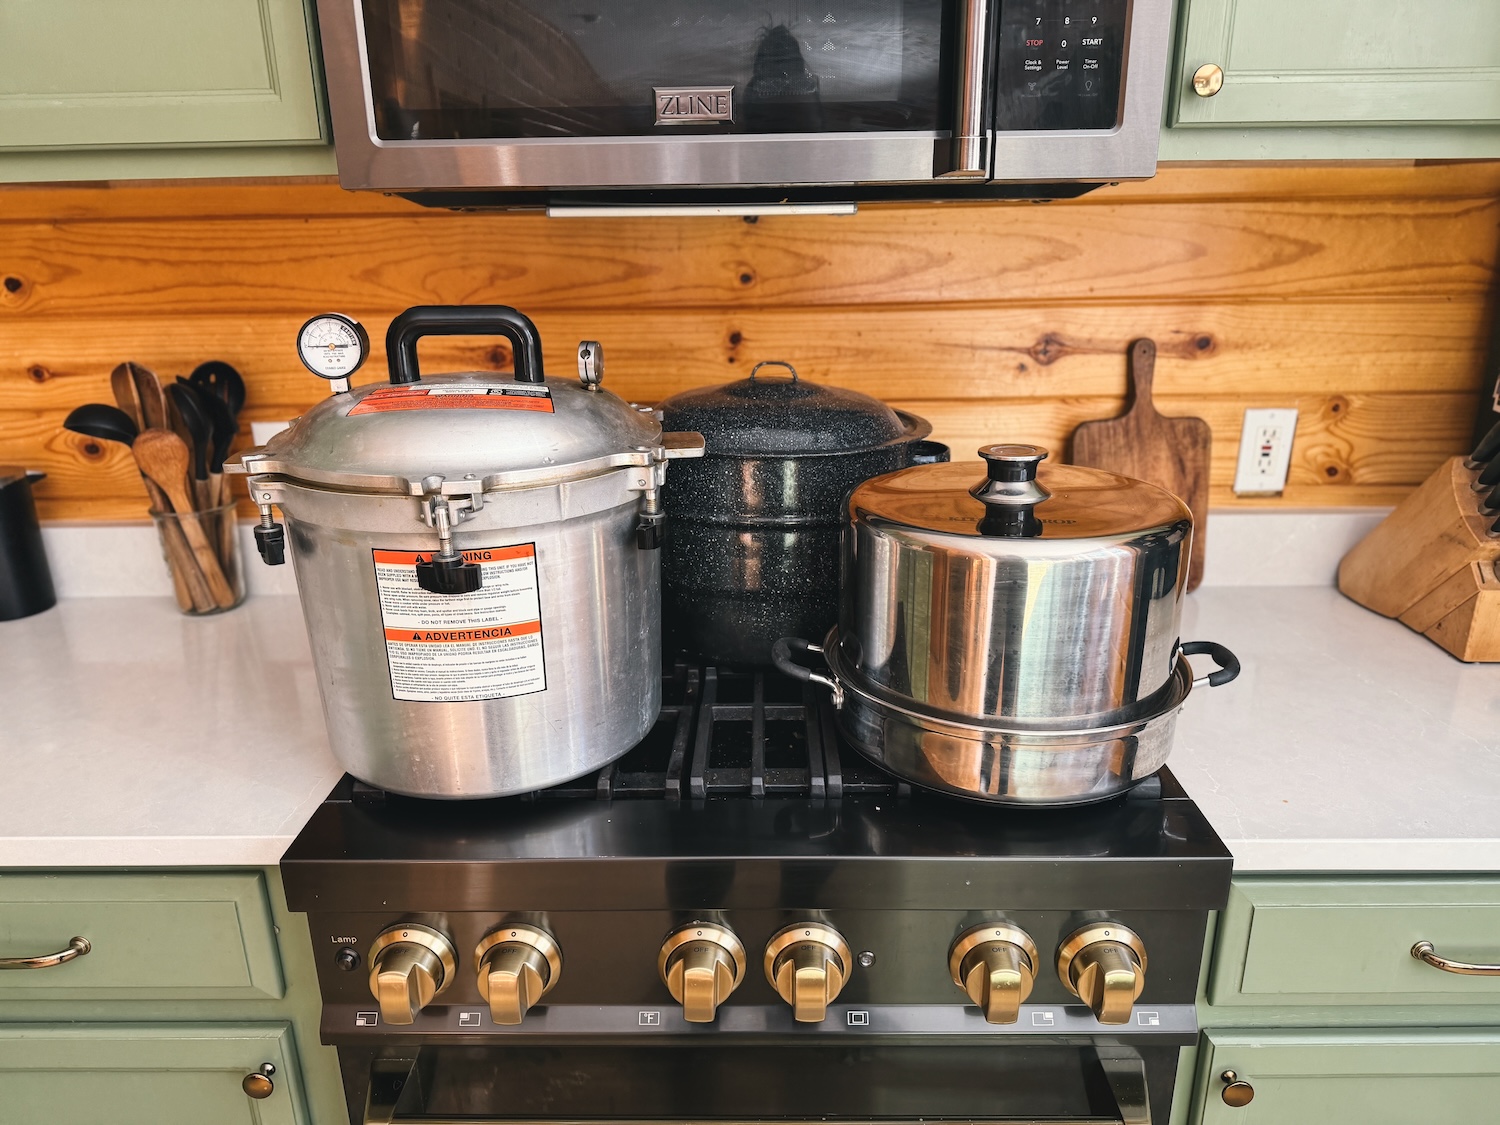
If you feel overwhelmed by all the canner options out there, this article is for you! …and I totally get it – there’s water bath canning, pressure canning (which is totally different than pressure cooking), and even steam canning. They sound kind of similar, but they are distinctly different!
Grab your favorite bottle of kombucha and let’s break it down together in easy terms. First things first, in the world of canning, our main concern is botulism. Botulism can occur if the toxin Clostridium botulinum has replicated and is then consumed, which can lead to difficulty breathing, paralysis, and even death.
Don’t panic yet, though! The good news is that this is pretty darn rare. The most recent report from the CDC (2021) states that there were only 22 cases of foodborne Botulism in the USA that year, but the vast majority occurred in Alaska from fermented beluga whale, home-prepared seal oil, and fermented fish heads buried in the ground.
I think most of us aren’t preserving these types of foods, so that’s good news for those of us just wanting to can some simple veggies. It is worth noting that there were 2 cases of Botulism that were linked to home-canned potatoes and sausages; however, this wouldn’t be surprising if they didn’t use the right type of canner (keep reading to find out why!).
*Disclosure: This post may contain affiliate links to products (including Amazon). I’ll earn a small commission if you make a purchase through my link, at no additional cost to you! Regardless, I only link to products that I personally use on our homestead or believe in.
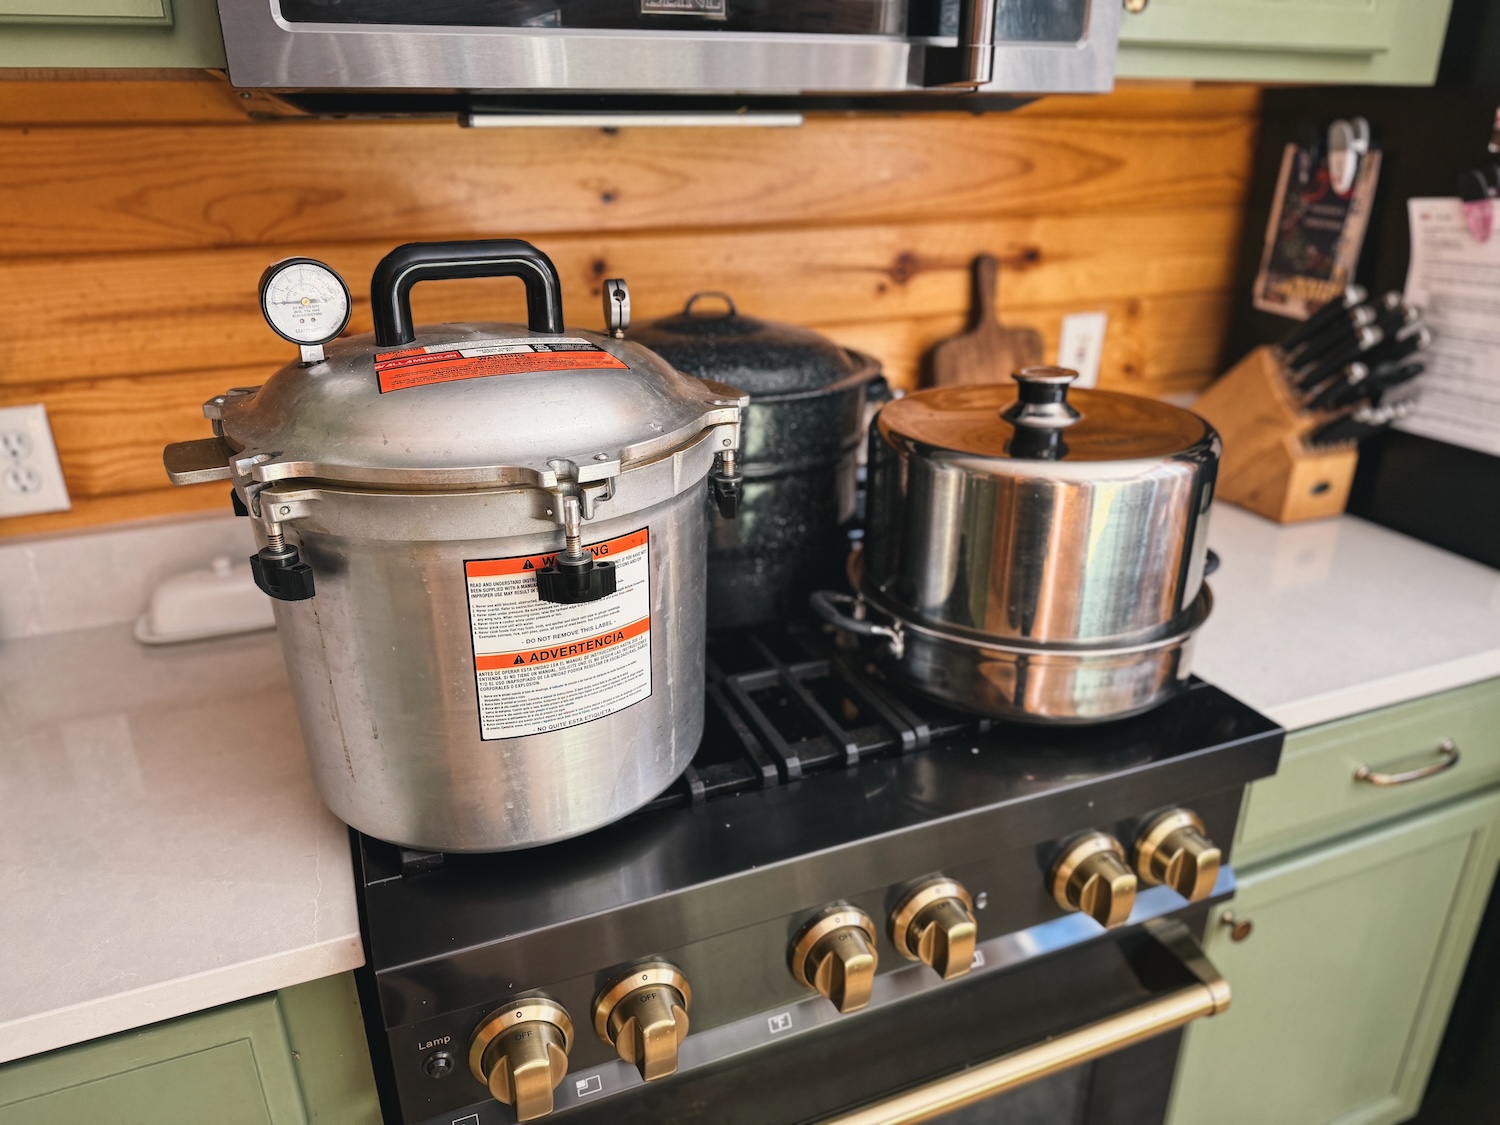
3 Different Methods of Canning
When deciding what kind of canner to use, it ALL comes down to acid. Those Clostridium botulinum spores can only grow if they are present in a medium with a pH above 4.6.
So, high-acid foods (like pickles or tomato sauce) are considered low risk and take a simpler approach to canning. However, low-acid foods (like chicken broth or green beans) can get dangerous in a hurry, so the addition of high heat is necessary to kill the spores from the get-go.
Water bath canning
Water bath canning is the most common form of canning and is a great place to start for beginners! All that’s needed is a large canning pot with a rack on the bottom.
To water bath can, sterilized canning jars are filled with high-acid foods (more on this in a minute!), secured with a canning lid and ring, and then carefully lowered into boiling water until fully submerged.
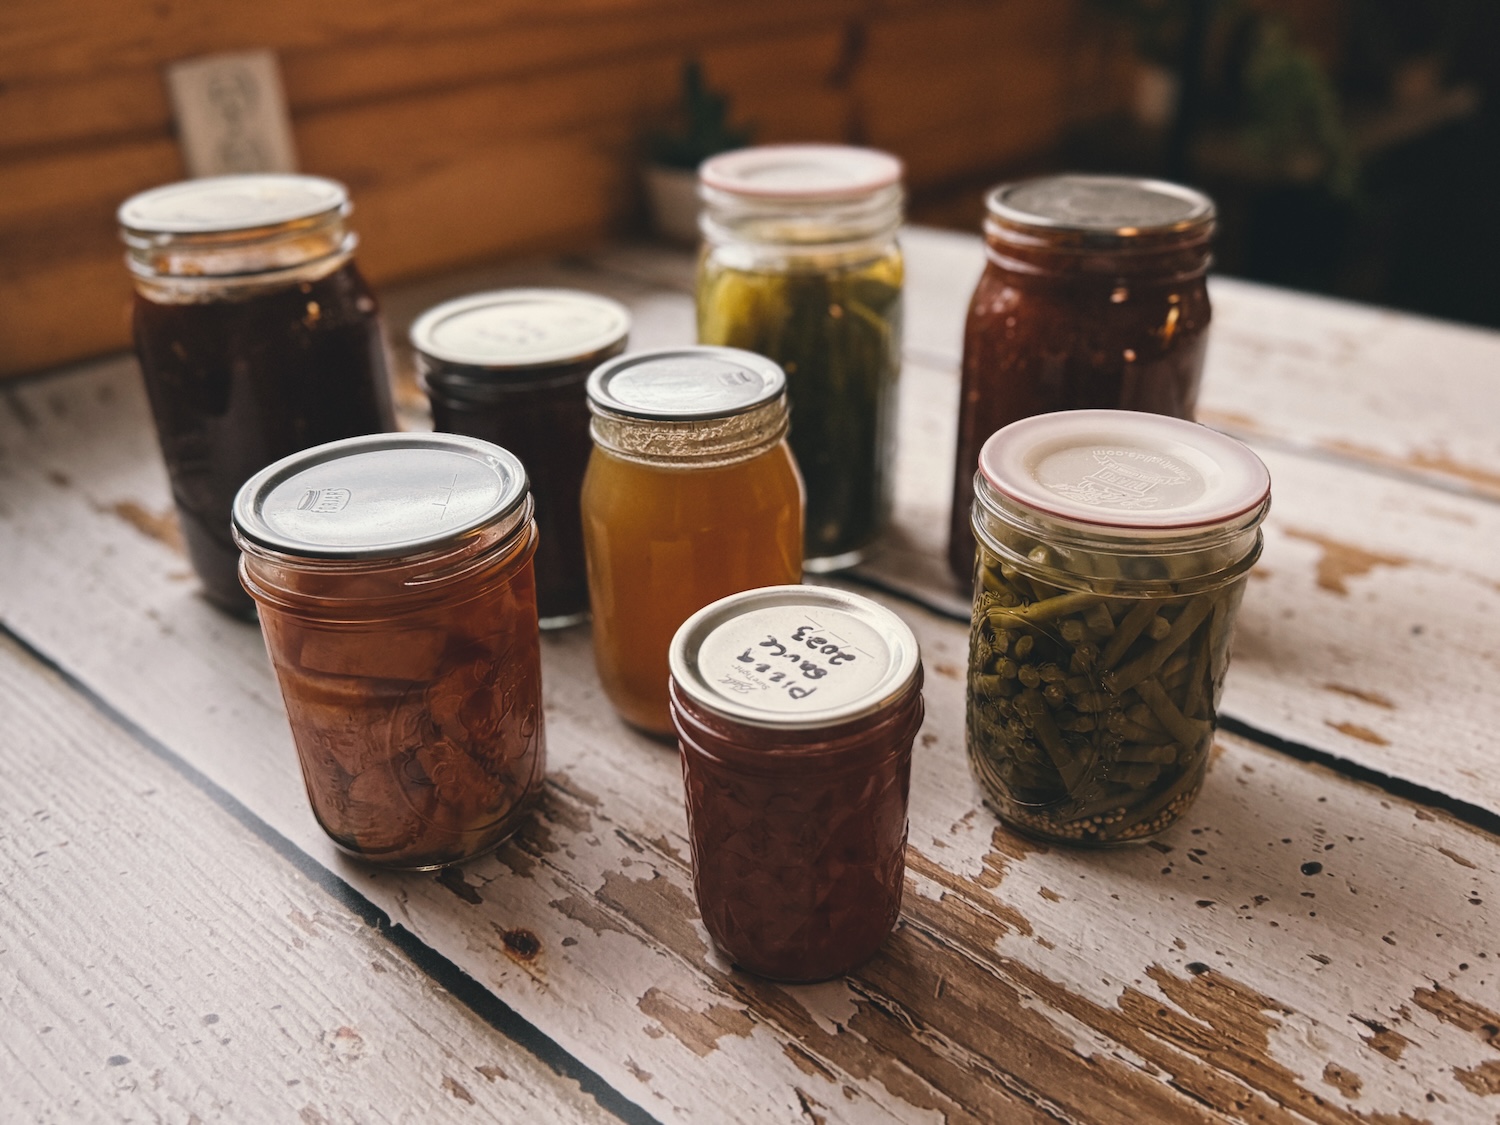
The jars will stay submerged for a specified amount of time (ALWAYS follow a tested recipe! I love the Ball Canning Book), then once the jars are removed and start to cool, a vacuum seal is formed. Ta-da! That’s it. Just don’t forget to remove the rings and label your jars before you tuck them away in a cool, dark location.
With water bath canning, the temperature inside the jars won’t exceed the boiling point of water (212F), so any Botulinum spores that are present won’t be destroyed. That’s where the acid conversation comes in. Botulinum spores will NOT replicate in an acidic environment (pH <4.6), so this simple method of canning is perfectly fine as long as you’re only canning high-acid foods (see list below).
Here’s a video showing how I water bath can:
Best foods for water bath canning:
- High-acid veggies: Salsa, pasta sauce, tomato sauce, pizza sauce, crushed tomatoes, relish, tomato chutney
- Fruit: Jams, jellies, fruit butters, preserves, marmalades, fruit in syrup, chutney, pie fillings, and applesauce
- Pickled veggies: Pickles, mixed vegetable pickles, sauerkraut, dilly beans
- Condiments: ketchup, barbecue sauce, hot sauce, mustard,
*One thing to keep in mind is that even though you’re canning high-acid foods (tomatoes, fruit, etc.), most canning recipes will still have you add some lemon juice to be safe! You can also test the pH of what you plan to can just before you fill the jars to ensure that it’s <4.6. I like to do this for peace of mind.
The Homesteading RD's Product Picks | |
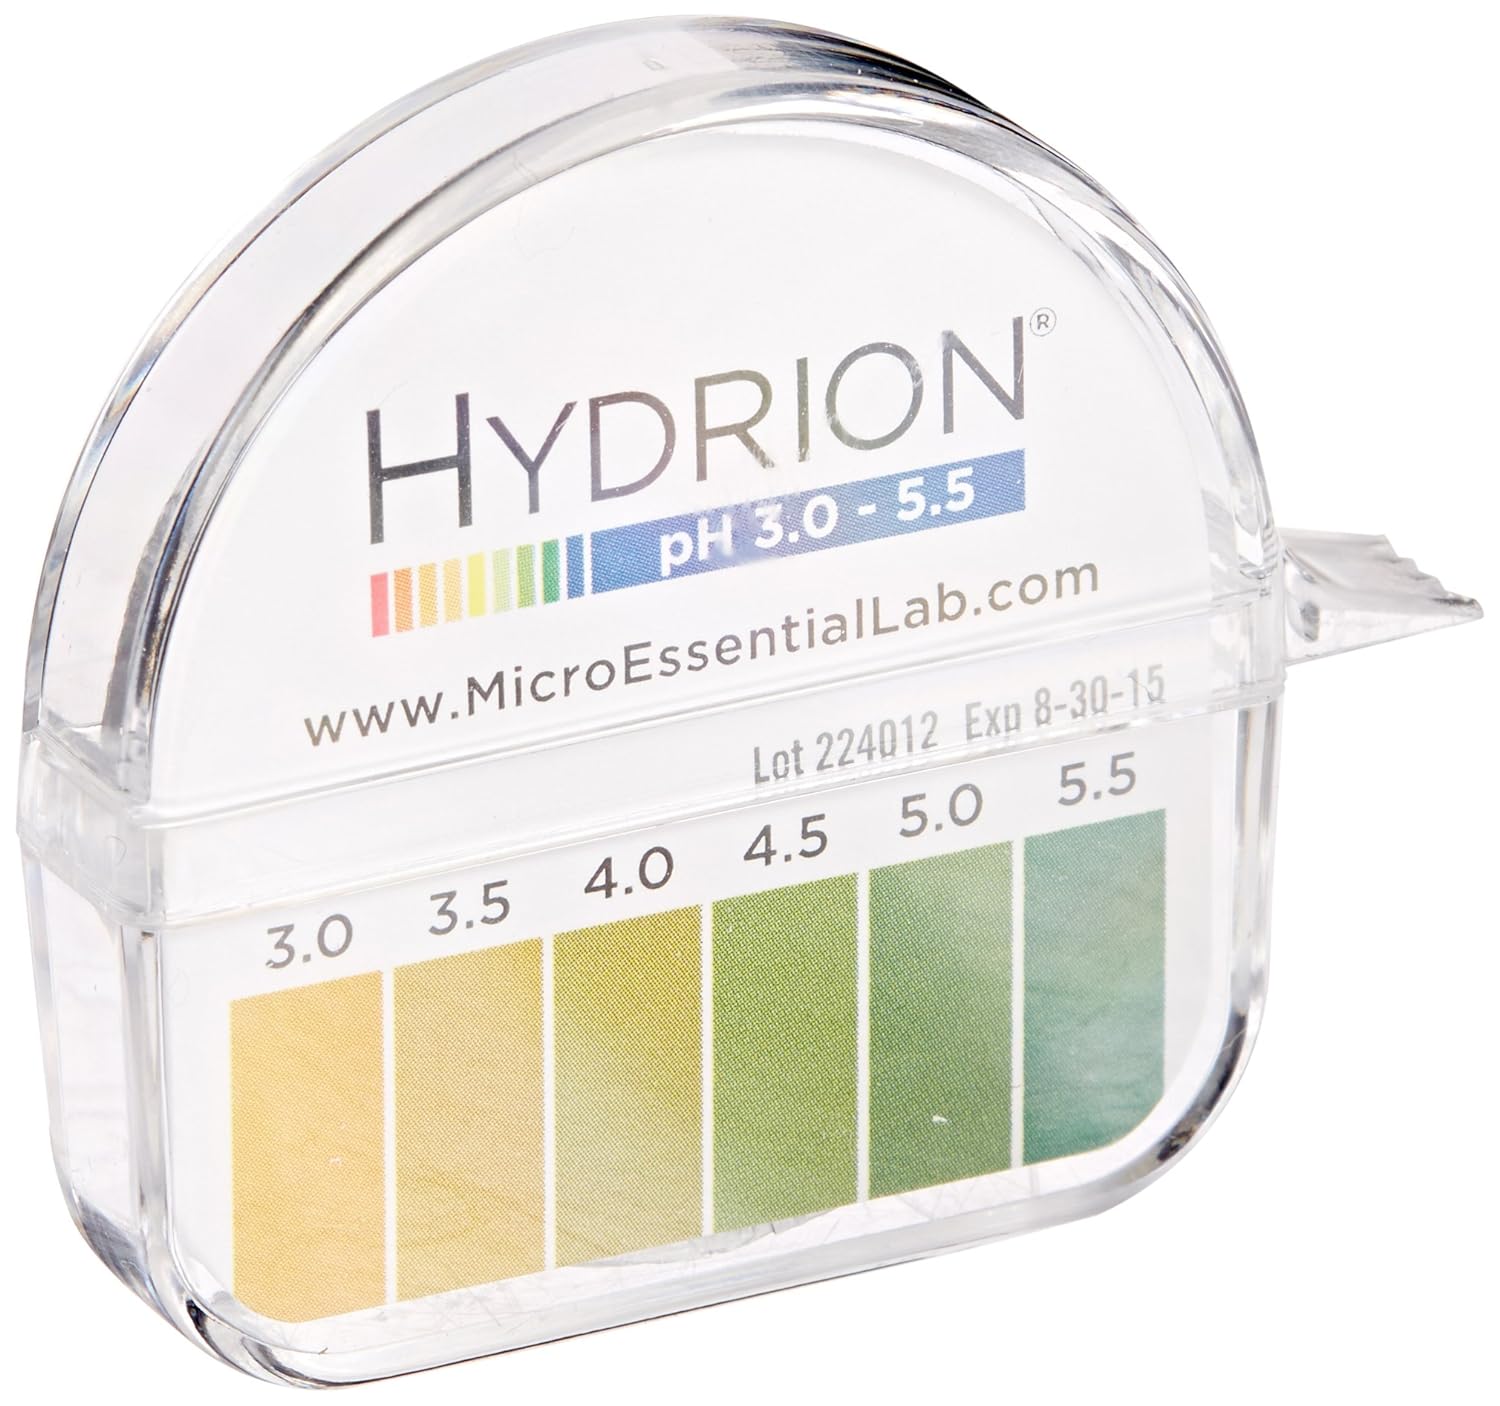
| This is the perfect set of pH strips for making fermented goods! Since it measures a smaller range, it's easier to get a more accurate reading. |
Pressure canning
Most people advance to pressure canning once they’ve mastered water bath canning, but if you really only want to can low-acid foods, there’s no reason why you can’t start here! The key thing to note is that you need a true pressure canner (not a pressure cooker or an Instant Pot). Those are two very different pieces of equipment.
Pressure canning is unique from water bath canning in that it creates a high-pressure environment inside the canner, which results in a higher boiling point of water. This higher temperature kills the botulinum spores from the get-go, so they don’t have a chance to replicate in these low-acid foods.
- 5 lbs of pressure = 228 degrees F
- 10 lbs of pressure = 240 degrees F
- 15 lbs of pressure = 250 degrees F
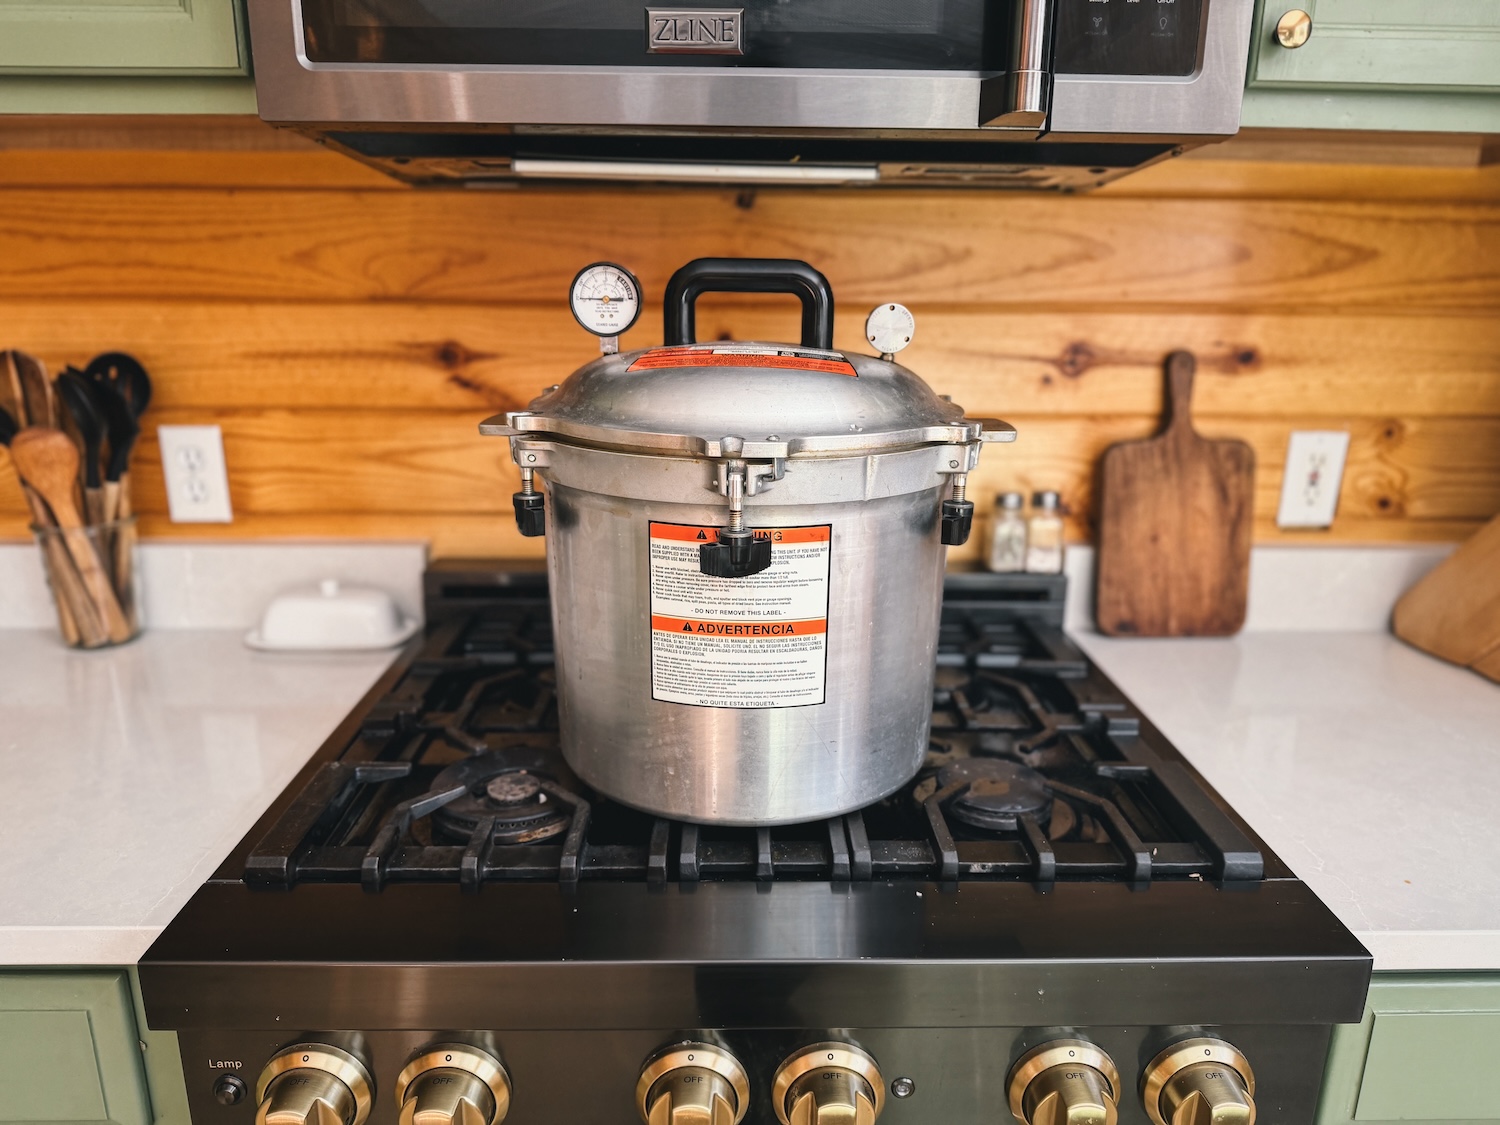
To pressure can, add only 2-3″ of water to the pressure canner (a nice plus over water bath canning!), place the canning rack on the bottom, and add the jars of food. Secure the lid and let it come up to a boil until the vent starts steaming. Set the timer for 10 minutes, then carefully place the pressure regulator weight on top to apply the appropriate amount of pressure that’s called for in your recipe (ALWAYS use a tested recipe!).
After the jars have processed for the appropriate amount of time, the pressure is slowly released from the canner, and the jars are removed. Once they start to cool, a vacuum seal is formed, just like with water bath canning. Don’t forget to remove the rings and label your jars before you tuck them away in a cool, dark location.
*This is just a basic summary of pressure canning. Please check out my complete guide on How to Pressure Can if you want to give it a try!
Here’s a video showing how I pressure can broth:
Best foods for pressure canning:
- Meats: Fish, clams, beef, lamb, pork, venison, chicken, and broth.
- Low-acid veggies: asparagus, green beans, beets, okra, corn, carrots, mushrooms, dried beans, peas, peppers, potatoes, winter squash, pumpkins, parsnips, turnips, and rutabagas.
- Ready-to-eat foods: soups, spaghetti sauce with meat, beef stew, etc.
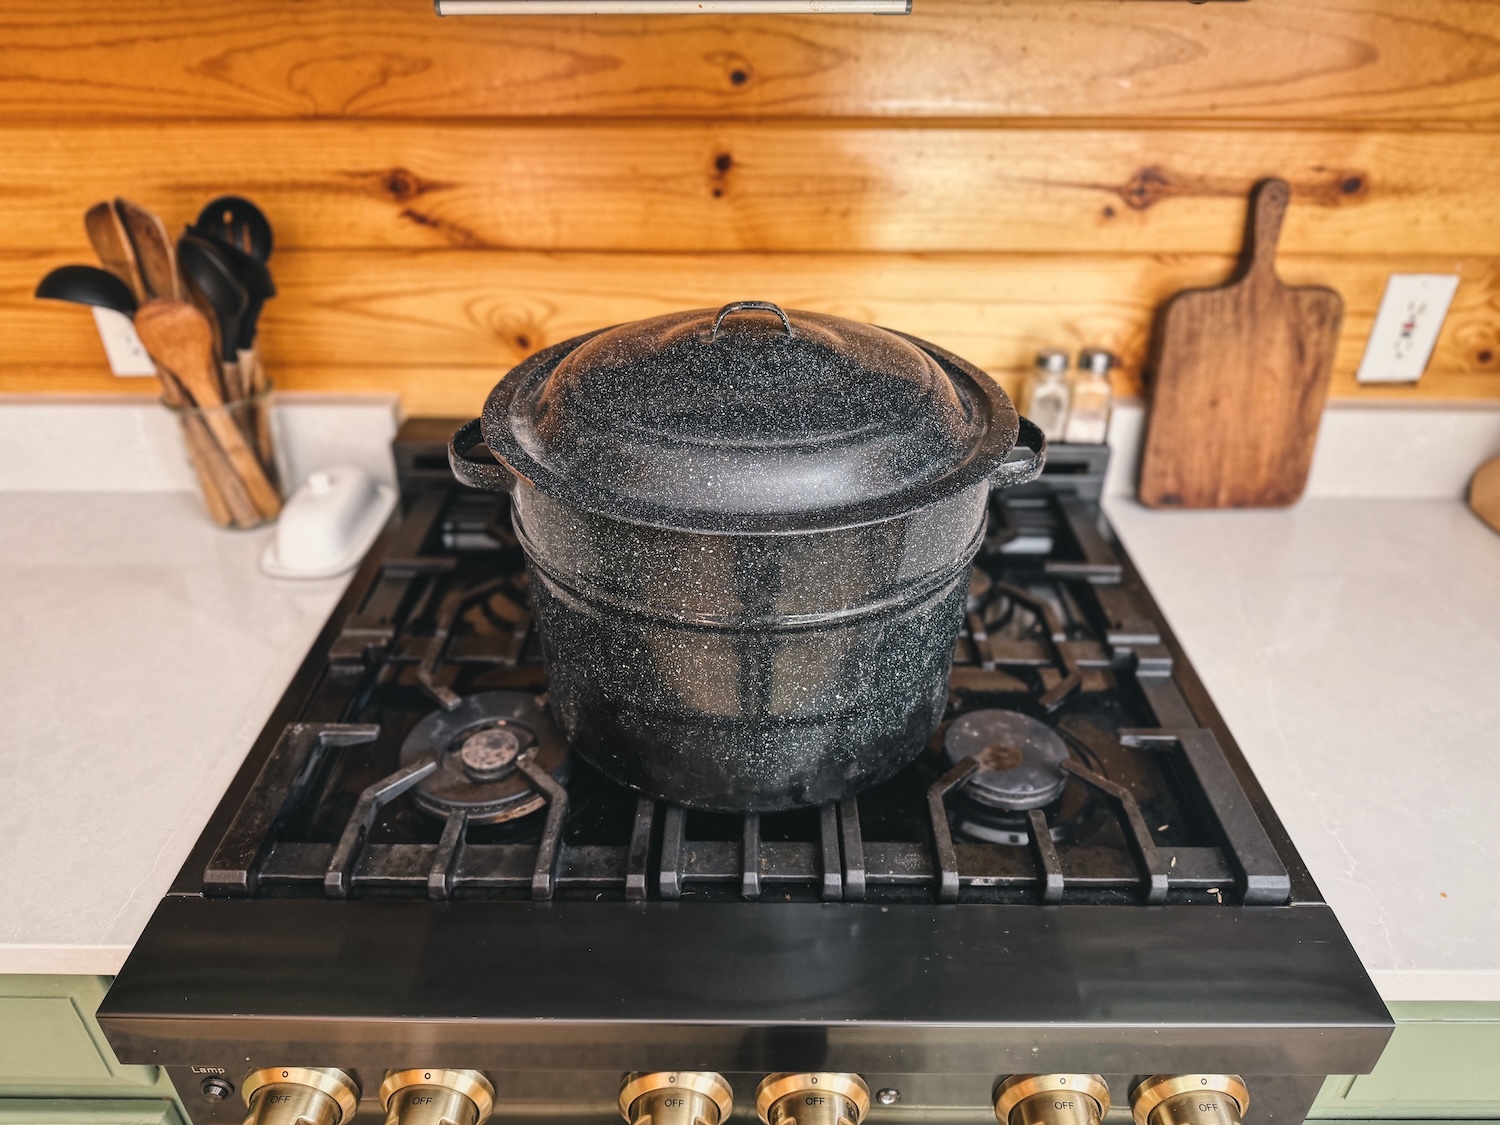
Steam canning
Steam canning is something that I finally tried last year, and now I’m totally kicking myself for not giving it a go earlier! Steam canning is similar to water bath canning (high-acid foods ONLY); however, the canning process occurs via steam surrounding the jars, rather than submerging the jars in boiling water.
This is a huge plus because it takes less water, less energy, and less time compared to water bath canning. The catch? The only negative is that steam canning is only appropriate for recipes with a processing time <45 minutes (otherwise, you risk the canner going dry). So, if you have a recipe that requires a long processing time, stick with water bath canning.
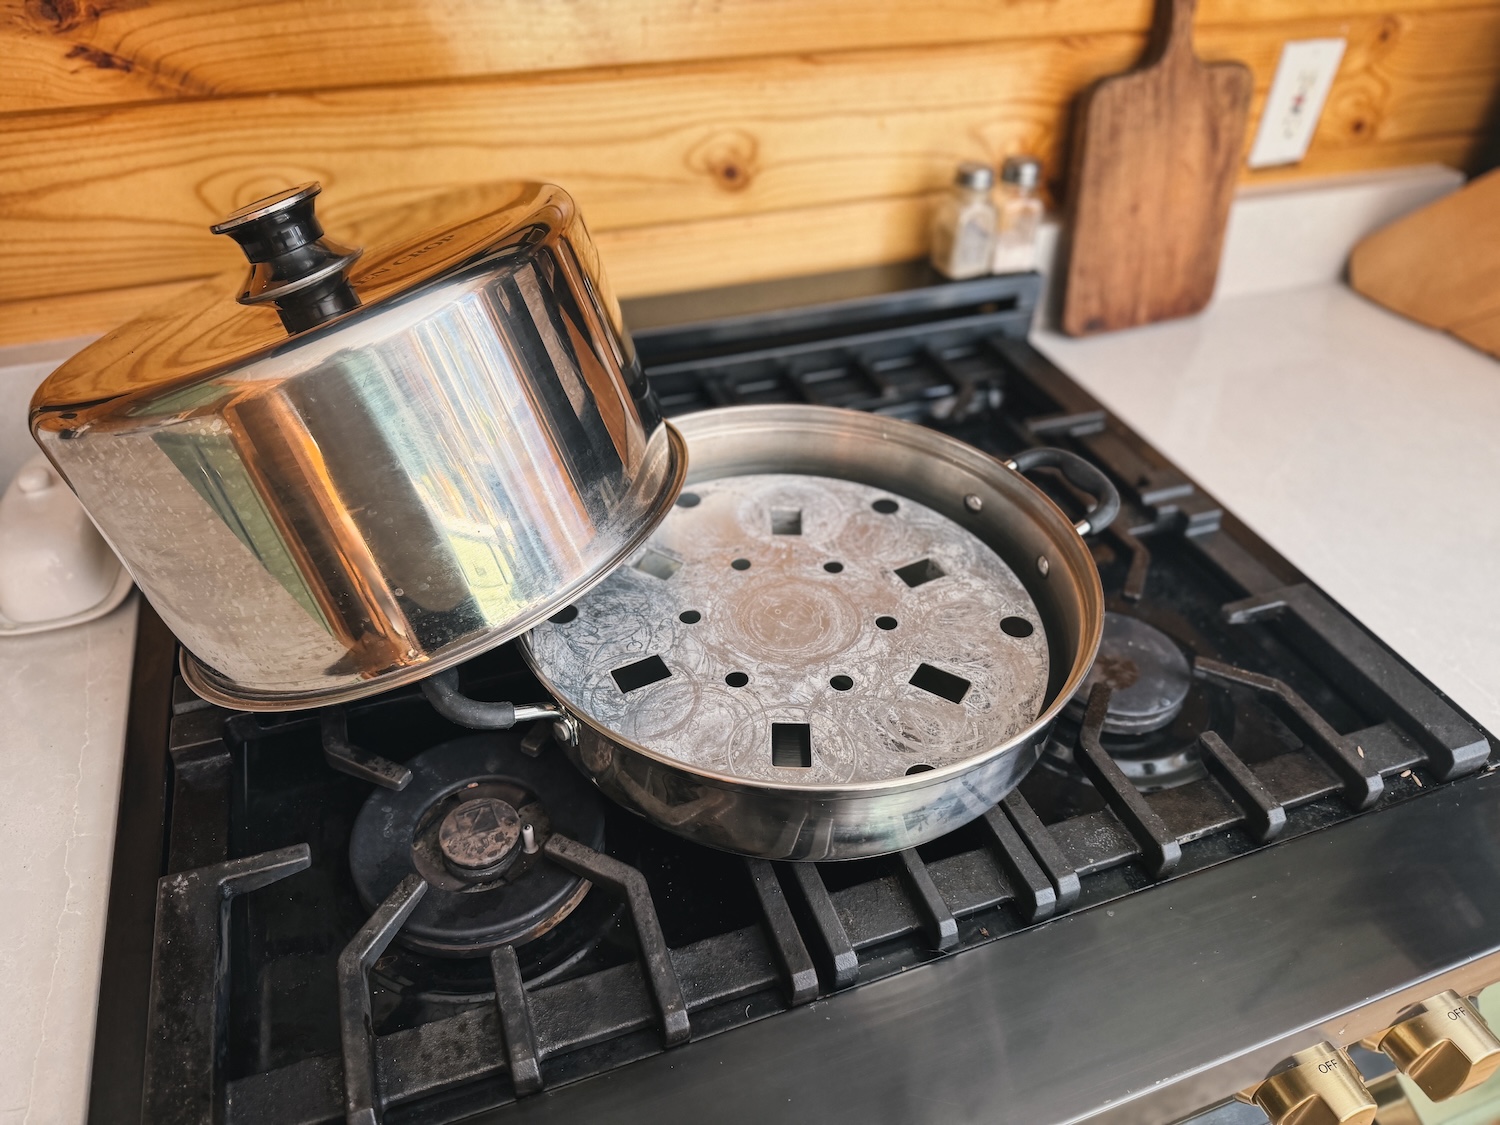
To steam can, place the canning rack inside the canner, add 2.5 quarts of water, and turn on the heat. Then, carefully add your prepared jars on the canning rack, place the lid on the canner (vent hole toward the back), and crank up the heat. Once the needle on the temperature indicator reaches the desired point (be sure to identify this ahead of time using the Temperature Indicator Test in the manual), set a timer for the appropriate processing time.
When the processing has finished, turn off the heat and let cool slightly for 5 minutes, then remove the lid and jars to let them cool completely. Don’t forget to remove the rings and label your jars before you tuck them away in a cool, dark location.
*If your canning recipe is for water bath canning, no worries! You can use it for steam canning, too! No special recipes needed – it uses the same processing time.
Best foods for steam canning:
- High-acid veggies: Salsa, pasta sauce, tomato sauce, pizza sauce, crushed tomatoes, relish, tomato chutney
- Fruit: Jams, jellies, fruit butters, preserves, marmalades, fruit in syrup, chutney, pie fillings, and applesauce
- Pickled veggies: Pickles, mixed vegetable pickles, sauerkraut, dilly beans
- Condiments: ketchup, barbecue sauce, hot sauce, mustard,
How to Choose the Best Canner for YOU
If you already have a strong conviction about which direction to go, that’s fantastic! However, there’s a good chance that you’re still torn on which canner really is the best place to start for your unique needs. There are 4 different things to consider that I think will help you out:
Types of foods
This is number one. If all you want to do is can bone broth so that you have a shelf-stable product that’s easy to grab anytime, then buying the popular water bath canner isn’t going to do you any good. Check out my lists above of the best foods for each kind of canner to identify which canner is able to handle the kinds of foods that you want to can.
Cost
Money is a real consideration for most of us, and while some canning setups are fairly inexpensive, some can be incredibly costly. Let’s break them down:
- Water bath canning: Usually around $90 for a full Starter Kit (which I highly recommend – you’ll want those canning tools!), but there are stainless steel models at only $65 without all of the extras
- Pressure canning: These are often quite expensive, ranging from $165 for the basic Presto models, all the way up to $450 (or more) for the fantastic All American pressure canners. For a full breakdown of the different pressure canning models, check out my article Pressure Canning: A Step-By-Step Guide.
- Steam canning: Varies between $67 (aluminum model) and $83 (stainless steel model), so pretty comparable to water bath canners.
Time
I feel like we’re all pressed for time during harvest season, right? You come in from the garden at 8 pm, need to cook dinner, oh, and also get a batch of jars processed before bedtime. Whew!
- Less time: Steam canning – less time to boil water, AND the maximum processing time is only 45 minutes
- More time: Water bath canning
- Most time: Pressure canning – takes longer to build and release pressure on both ends of processing.
Now, of course, the time it takes will totally depend on the recipe you’re using. Some water bath recipes take a whopping 80 minutes, but generally, pressure canning recipes require longer processing time than water bath and steam canning.
Resources
For those with limited resources, such as water and energy (electricity or gas, depending on the type of range you have), choosing a canner that requires the least amount of inputs possible is going to be important to you.
- Least amount of water: steam canning and pressure canning
- Least amount of energy: steam canning and water bath canning, depending on the recipe
The Homesteading RD's Product Picks | |
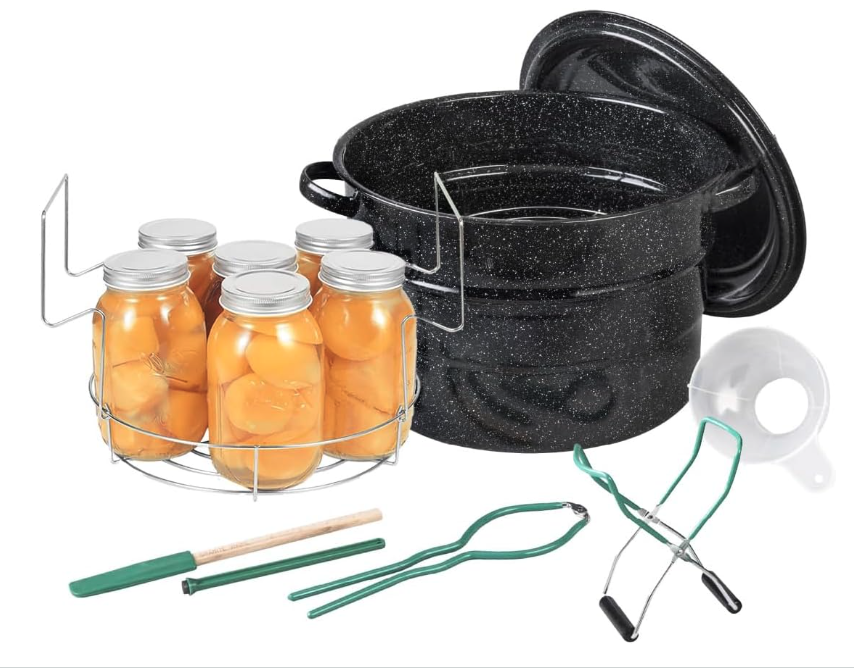
| This is the most common canning kit that you'll find in most homes! Features a 21.5-quart water bath canning pot with lid and jar rack (holds 7 one-quart jars, 9 pint jars, or 12 half-pint jars). Also includes a bubble remover, ruler, jar lifter, lid lifter and a jar funnel. |
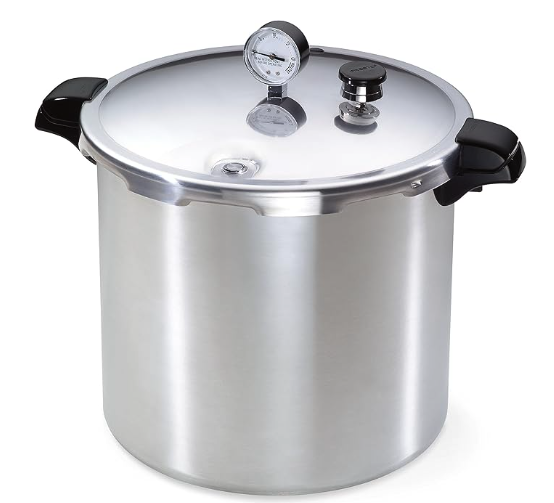
| If you're on a tight budget, this Presto Pressure Canner will do the trick! Constructed of warp-resistant heavy-gauge aluminum for fast, even heating; Works on regular and smooth-top ranges; Extended 12-year limited warranty |

| The best pressure canner on the market and the one that I personally use on our homestead! Only All American pressure canners feature an exclusive, precision-machined, metal-to-metal sealing system. Positive action clamping locks form a steam-tight seal without any costly-to-replace gaskets. |
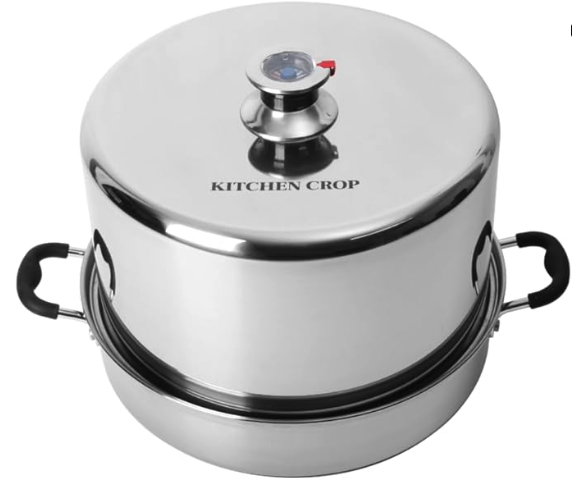
| This is my FAV steam canner and is the same one that I have! It also comes in aluminum. Uses 80% less water than traditional water bath canning and cuts preheating time by 50%! Lightweight design with lower water capacity requirements make this the fastest canning method for high acid foods. |
FAQ About Different Types of Canning
Can I use my Instant Pot if I don’t have a pressure canner?
Unfortunately, no. The popular Instant Pot is a pressure cooker, not a pressure canner. They cannot be used for pressure canning because they aren’t able to maintain a consistent or accurate pressure level.
What can I use if I don’t have a pressure canner?
If you don’t have a true pressure canner, then you will not be able to safely can low-acid foods like broth, soups, meats, and most vegetables. Stick with water bath or steam canning recipes that use high-acid foods until you’re able to obtain a pressure canner. You can also preserve foods by freezing them in mason jars!
What foods cannot be water bath canned?
Water bath canning is only intended for canning high-acid foods. The following are low-acid foods that are only appropriate for pressure canning:
- Meats: Fish, clams, beef, lamb, pork, venison, chicken, and broth.
- Low-acid veggies: asparagus, green beans, beets, okra, corn, carrots, mushrooms, dried beans, peas, peppers, potatoes, winter squash, pumpkins, parsnips, turnips, and rutabagas.
- Ready-to-eat foods: soups, spaghetti sauce with meat, beef stew, etc.
How to avoid botulism with water bath canning?
The key to avoiding botulism with water bath canning is to only use high-acid foods like pickles or tomato sauce. Clostridium botulinum spores can only grow if they are present in a medium with a pH above 4.6. Always use a tested recipe, and I also like to check the pH of my recipe before canning, just to be safe!
What are the odds of getting botulism?
Thankfully, it’s pretty darn low! The most recent report from the CDC (2021) states that there were only 22 cases of foodborne Botulism in the USA that year, but the vast majority occurred in Alaska from fermented beluga whale, home-prepared seal oil, and fermented fish heads buried in the ground. Most of us aren’t preserving these types of foods, so as long as you’re using a tested recipe and not reusing canning lids, you should be safe!
Other Articles You’ll Love:
- How to Pressure Can Bone Broth (Beef, Chicken, Venison)
- Pressure Canning: A Step-By-Step Guide
- Can You Reuse Canning Lids? Is it Safe?
- Canning Maple Syrup for Long-Term Storage


Great insight!
Really helpful and easy to understand comparison. Thanks for making canning methods feel much less intimidating!
You’re welcome!
I’m intrigued by the distinction between pressure canning and pressure cooking, can you elaborate on the key differences in terms of equipment and safety precautions?