
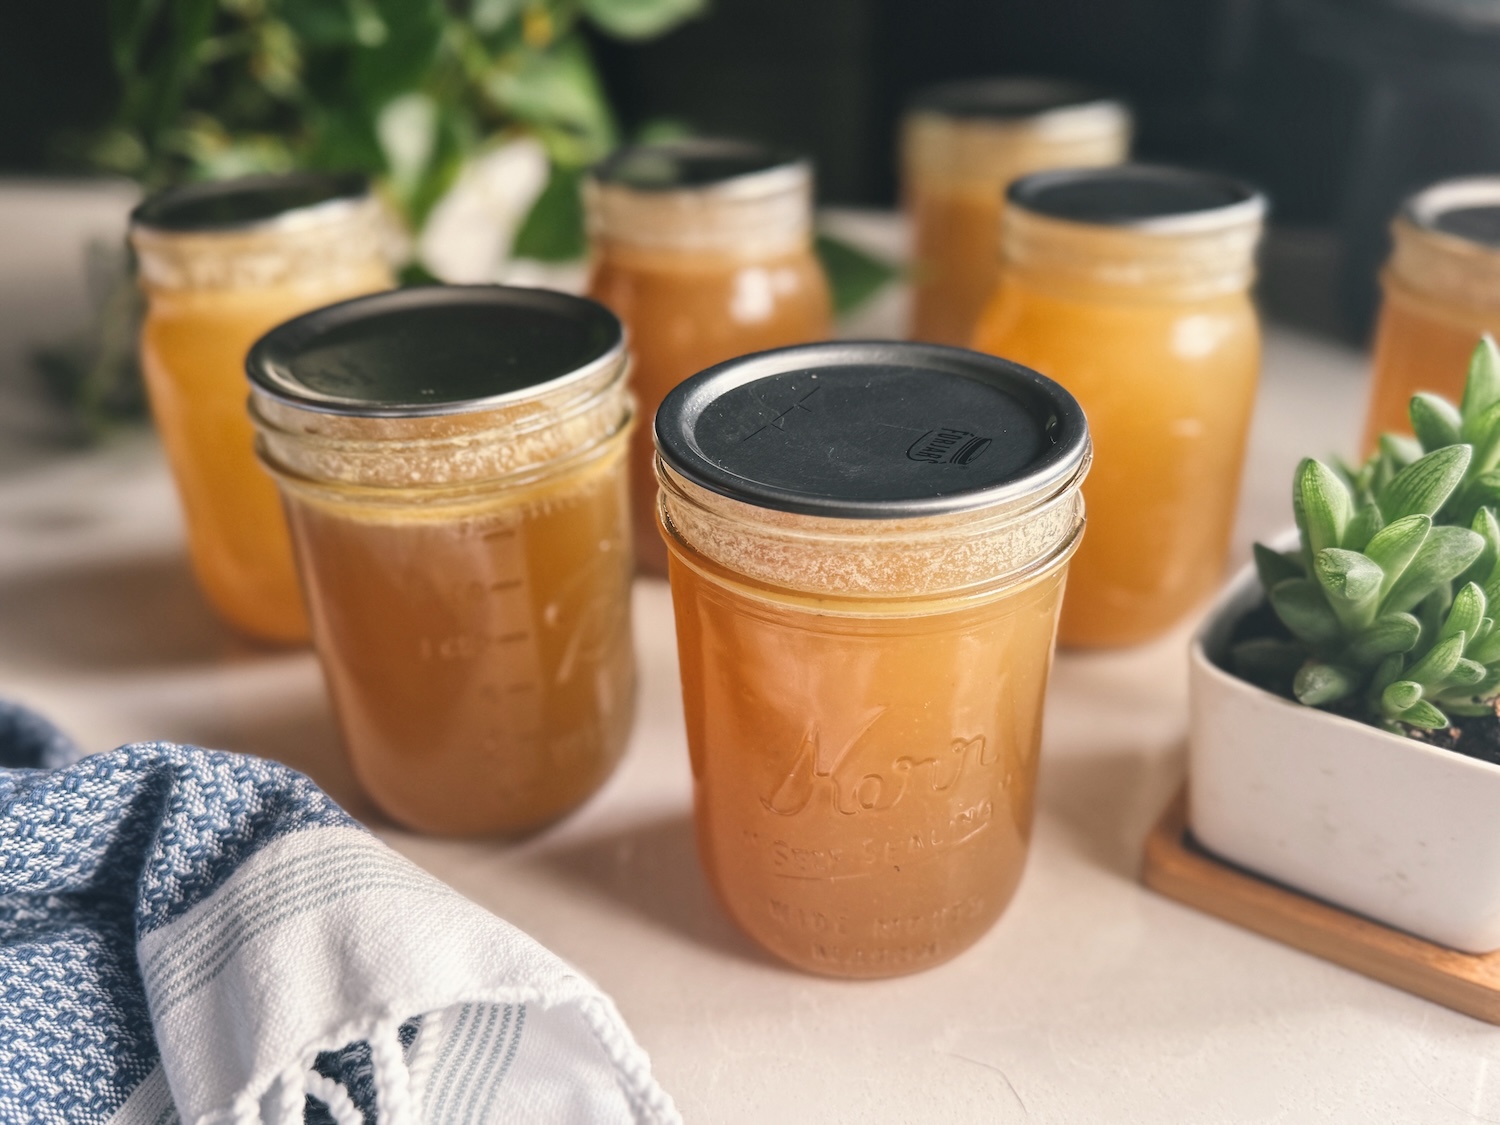
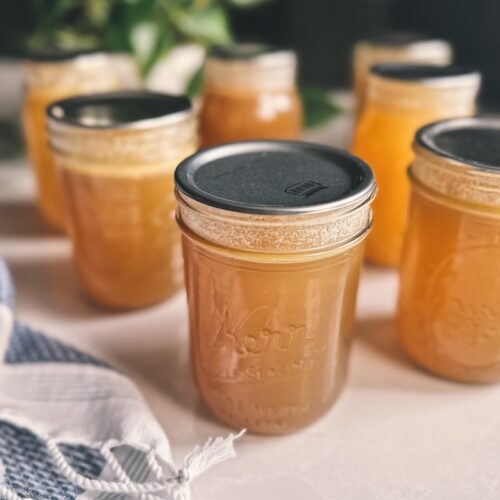
Canning bone broth is such a great way to preserve it so that you have a shelf-stable product to grab anytime you want! This quick and simple pressure canning method only takes 20 minutes for pint jars and 25 minutes for quarts. You’ll be done in no time!
By saving those leftover bones from dinner, you can create a flavorful, nutrient-rich bone broth that really maximizes the value of your home-cooked meals. Nothing goes to waste when it comes to making bone broth, which makes my heart sing!
In this guide, I’ll walk you through the steps to make bone broth from scratch followed by how to preserve it through pressure canning. If you already have a favorite broth recipe, feel free to use it! This method works with any recipe. Let’s dive in!
*Disclosure: This post may contain affiliate links to products (including Amazon). I’ll earn a small commission if you make a purchase through my link, at no additional cost to you! Regardless, I only link to products that I personally use on our homestead or believe in.
How to Make Bone Broth
Before we get to the canning part, we need to make some bone broth first! The whole process from thawing out frozen bones to pressure canning finished broth can take 3-4 days from start to finish, so plan accordingly! Each step isn’t hard, it just takes time. You can make bone broth from any animal – chicken, beef, deer, and even fish!
I like to collect bones in a ziplock bag in the freezer over a period of a few months and then when I have enough, I thaw them all out and make a big batch of bone broth at one time. I love efficiency, so I prefer this method over making fresh bone broth weekly.
Ingredients for bone broth
- Bones (see note below)
- Vinegar (I like apple cider vinegar, but any vinegar will do)
- Veggie scraps like onion ends/peels, carrots, and celery (optional – I rarely add these)
The types and quality of bones you use will really make or break your bone broth. The best kinds of bones to use are the ones that contain lots of cartilage like knuckle bones, chicken and pig feet, tailbones, wing tips, and chicken necks and carcasses. Skin contains 30% collagen by weight, so throw that in there, too! Make sure to use bones from animals who were raised out on pasture. If you raised them yourself, even better! Conventionally raised animals tend to have weaker bones that have a bitter off-flavor and skum residue.
Load it up
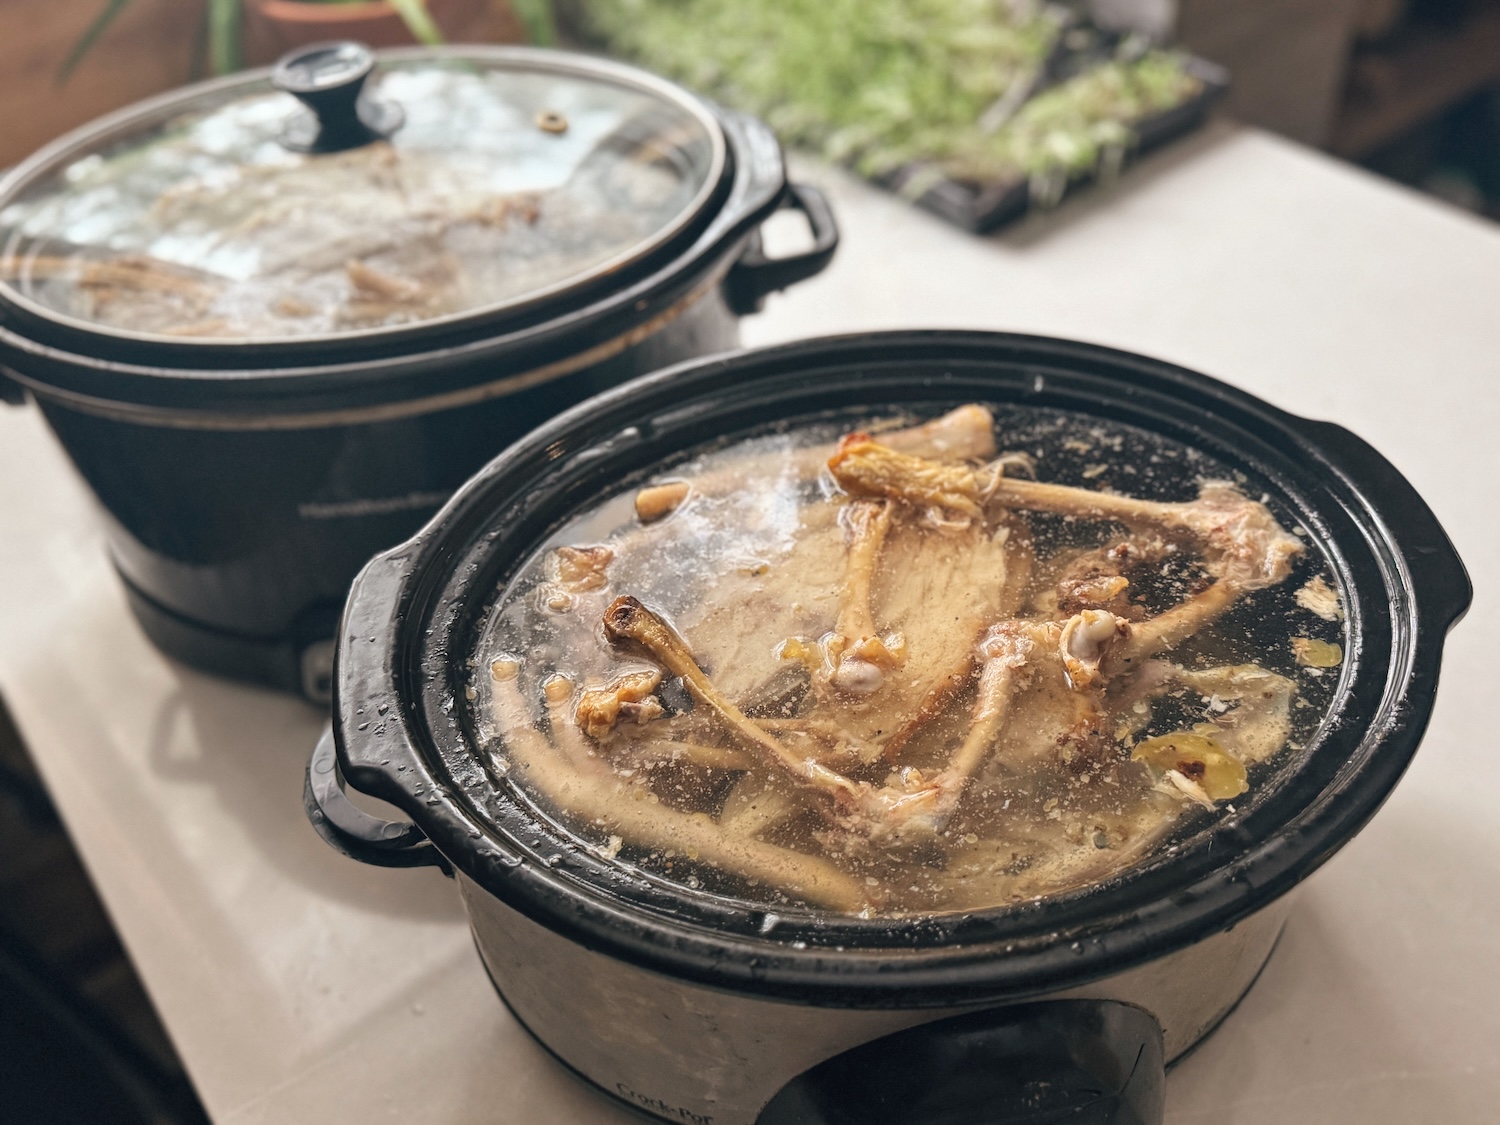
I like to use a crockpot, but a large stainless steel stockpot on the stove will also do. Fill it up with the bones discussed above. When making chicken bone broth, I usually do 2-3 chicken carcasses, 2 chicken feet, and an assortment of random other bones that I’ve collected (thigh bones, wing tips, etc.) per crockpot. Don’t add the veggies yet!
Cover the bones entirely with cold water, add a large “bloop” of vinegar (I never measure!), and let it sit for 1 hour. The cold start will help ensure a clear broth and the vinegar will help release minerals and collagen from the bones.
Cook it down
Set the crockpot on low for 12 hours for chicken bones and 24 hours for larger beef or venison bones. If you’re using a stockpot, set it on the lowest heat possible.
You don’t want the bone broth to come to a boil, otherwise the collagen chains might break. The goal is to see just a very light simmer. If it’s cooking too hard, tilt the lid slightly to let some of the steam escape. However, keep in mind that you may need to add water occasionally to account for this fluid loss.
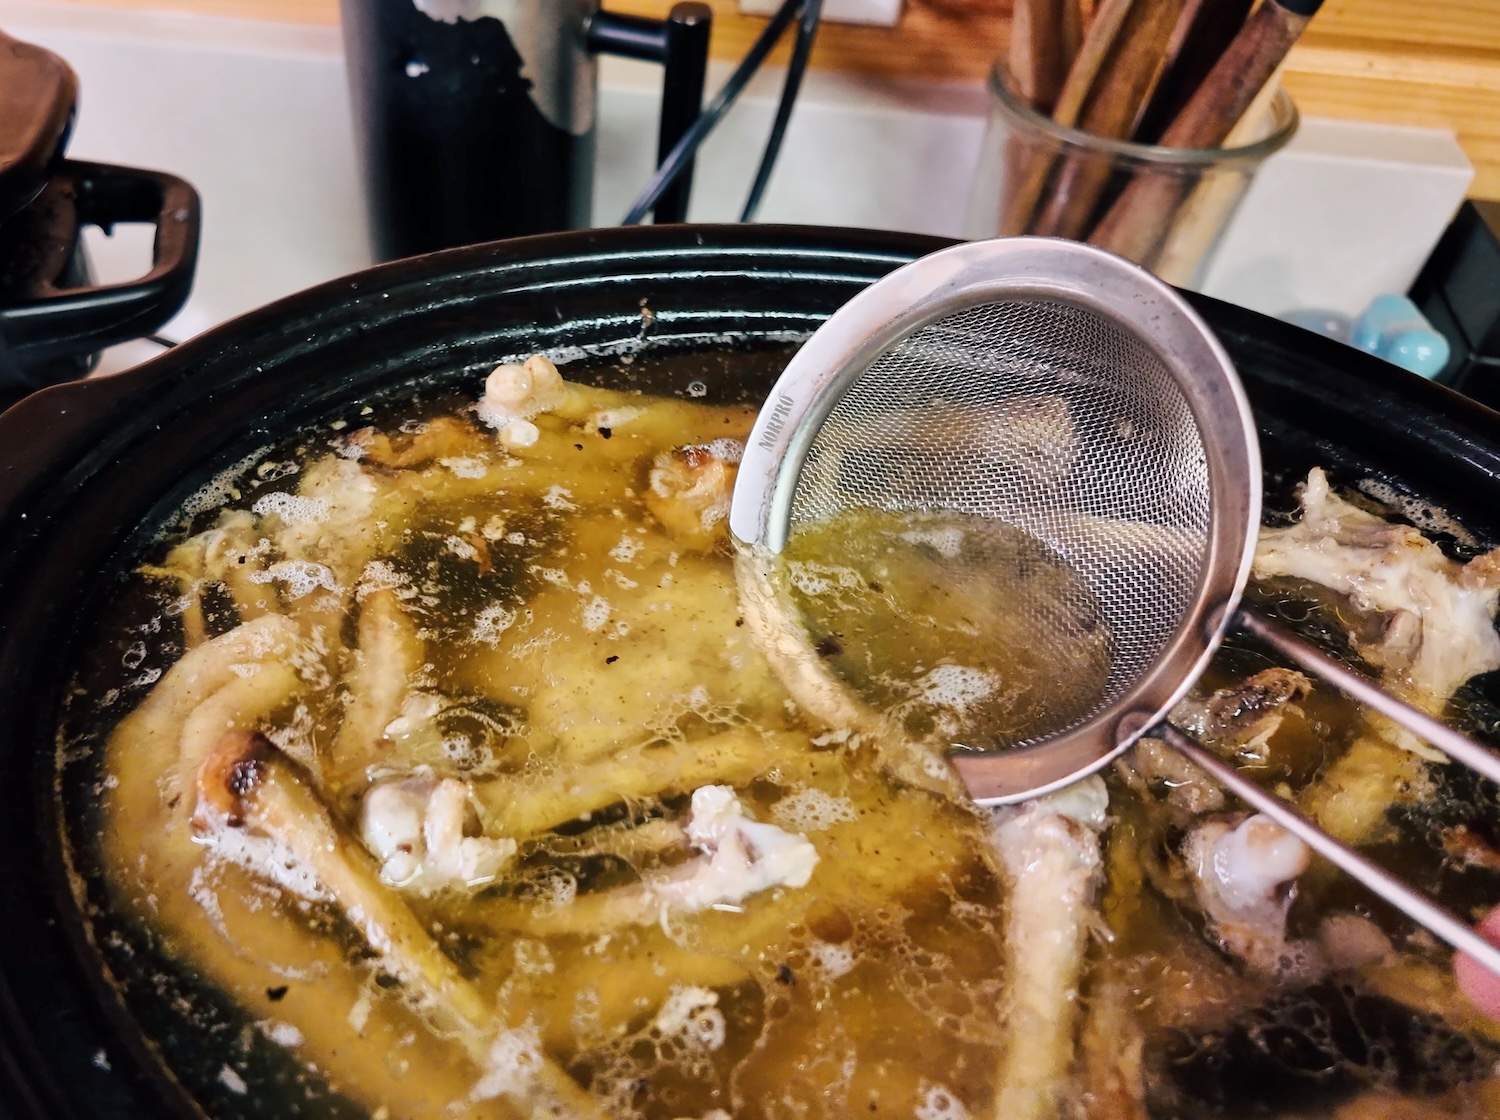
Check the broth occasionally during the first few hours and skim off any scum that may have formed on the surface. Not only are these impurities that you don’t want in your broth, but they can cause a bitter flavor, too. If you’re using bones from conventionally-raised animals you’ll notice a lot more scum than from those who were raised organically out on pasture.
Once you’re done skimming the scum, it’s time to add veggies, if desired. I typically leave them out because I prefer a pure broth. Also, let’s be honest, I don’t want to go through the hassle of collecting veggie scraps and bones. We keep things simple around here!
Strain and cool
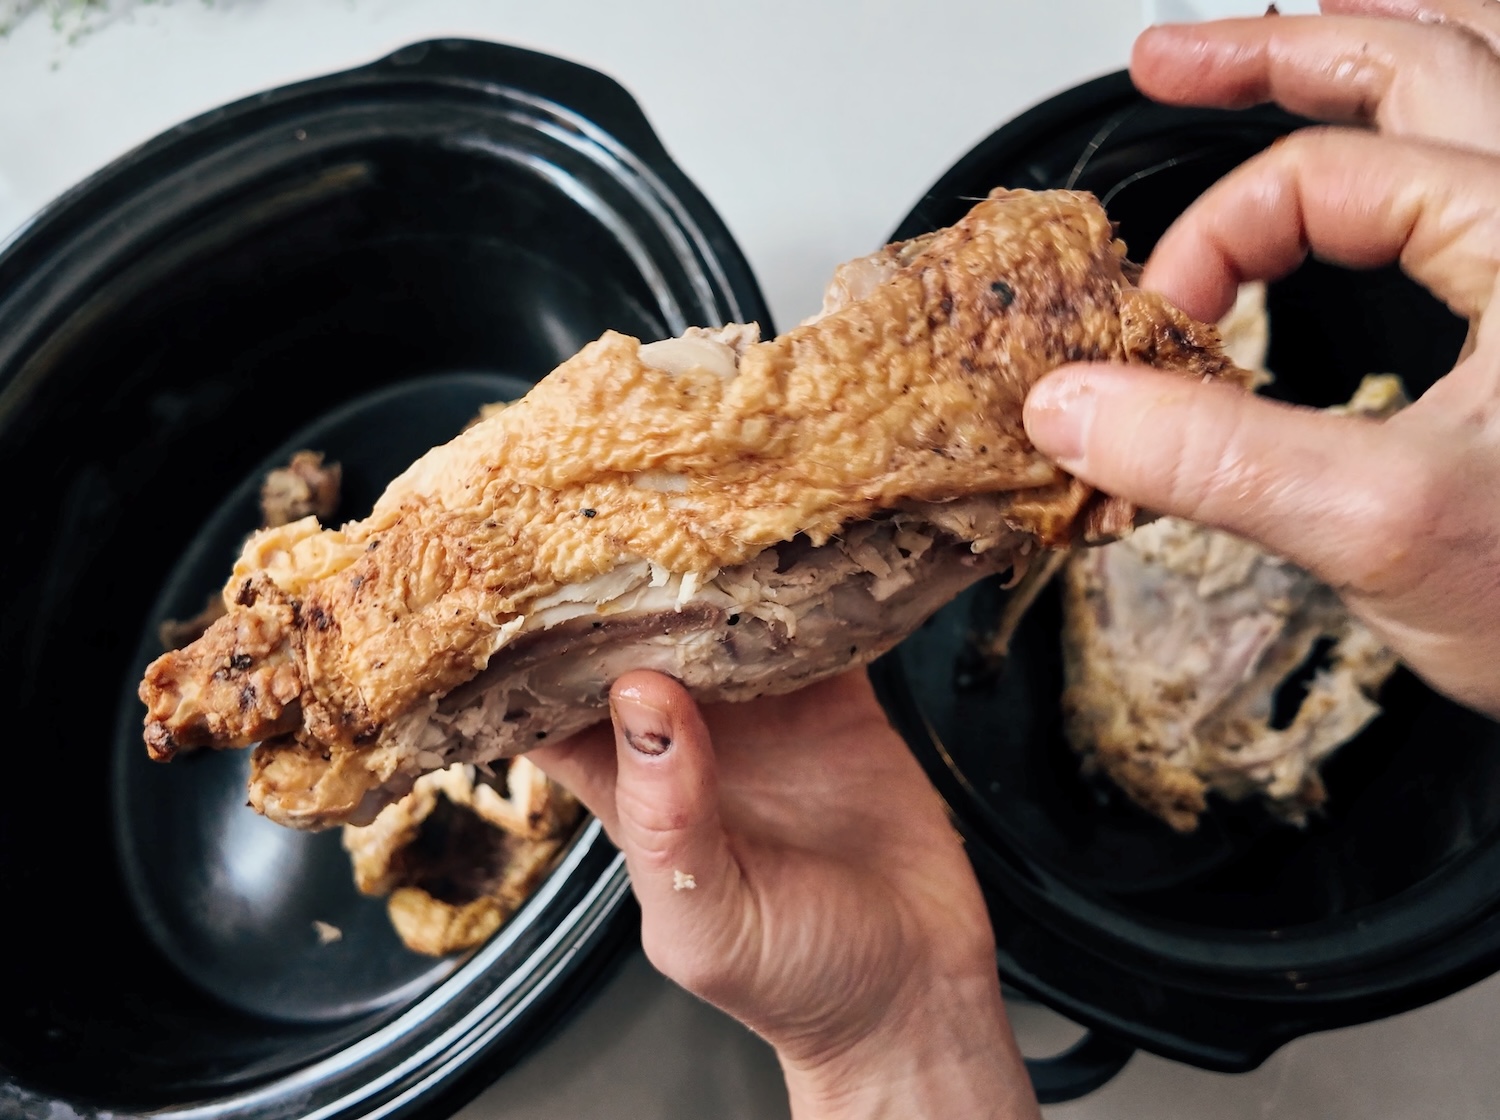
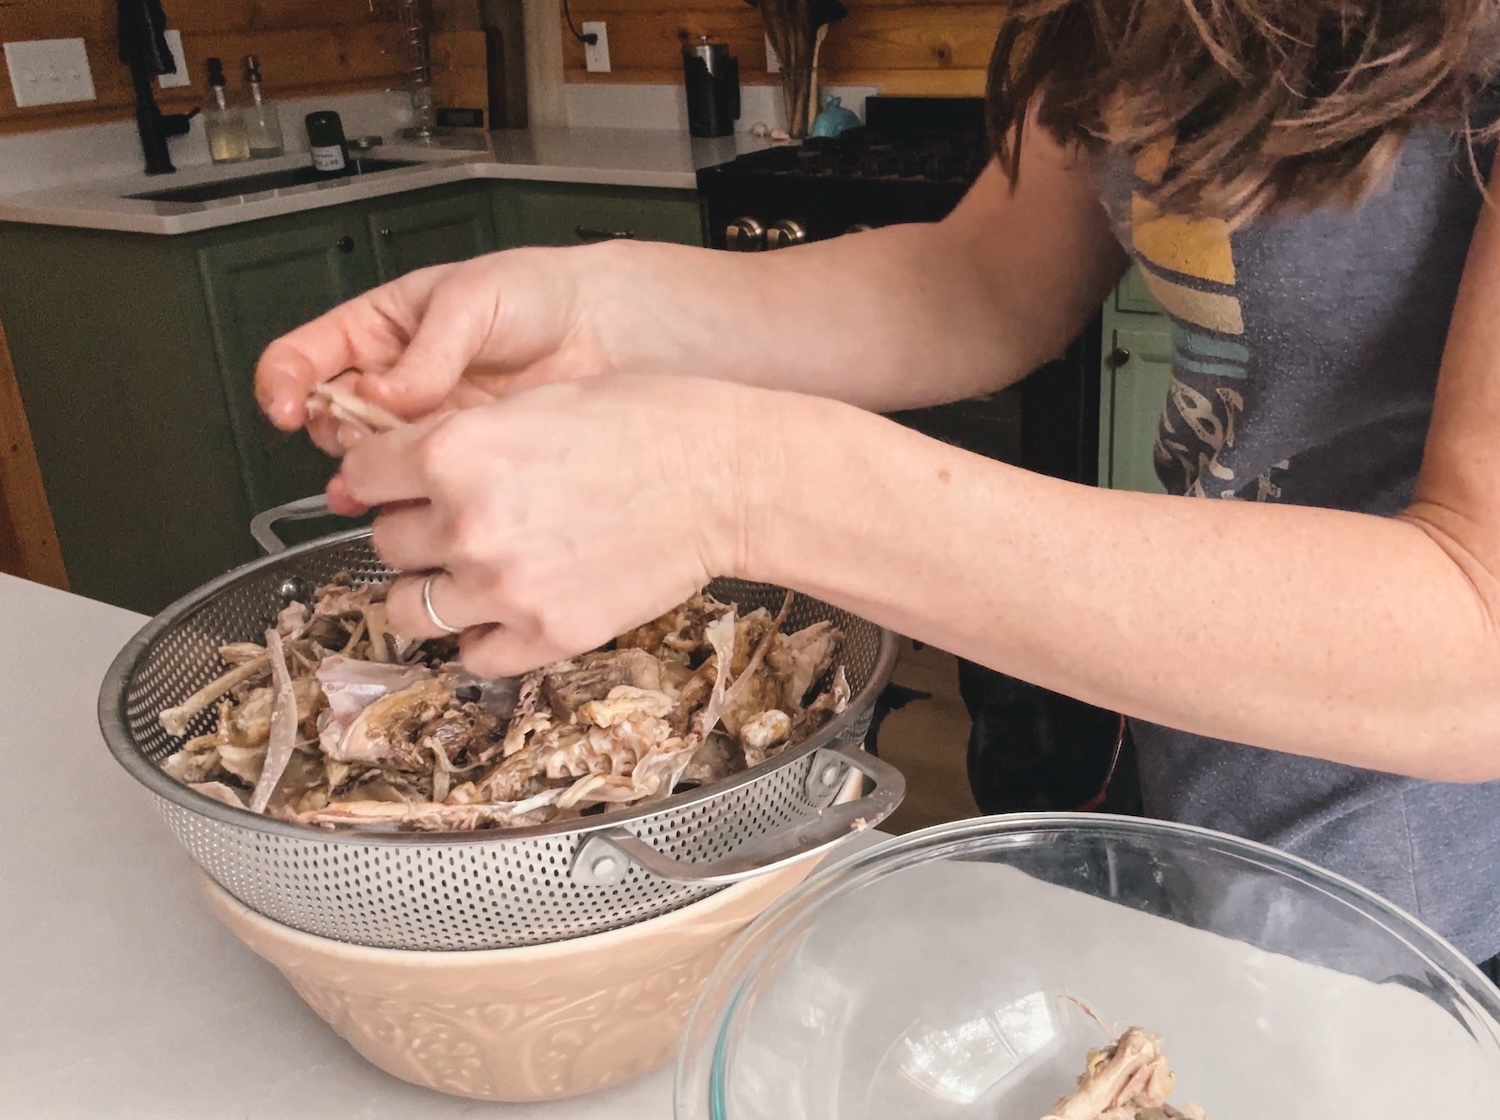
Once the time is up, strain out the bones. You can pour the broth through a large strainer (and even cheesecloth if you want a perfect broth), but I just comb through the crockpot with a slotted spoon. That’s much easier, less mess, and good enough for me!
Then sort through the solids to pull out any meaty tidbits to make tacos later (or give them to your dog as a tasty treat!).
Let cool and then place in the fridge for at least 12 hours to allow for the bone broth to set up before moving on the pressure canning step!
How to Pressure Can Bone Broth
Here we go! Pressure canning bone broth is easier than it sounds. You can do this! If you haven’t pressure canned before, be sure to check out my FULL tutorial Pressure Canning: A Step-By-Step Guide.
*Are you a visual learner? You can also watch me make and can a huge batch of bone broth on YouTube!
Ingredients
- Finished bone broth or stock (see instructions above)
- White vinegar (for wiping the jar rims)
Tools
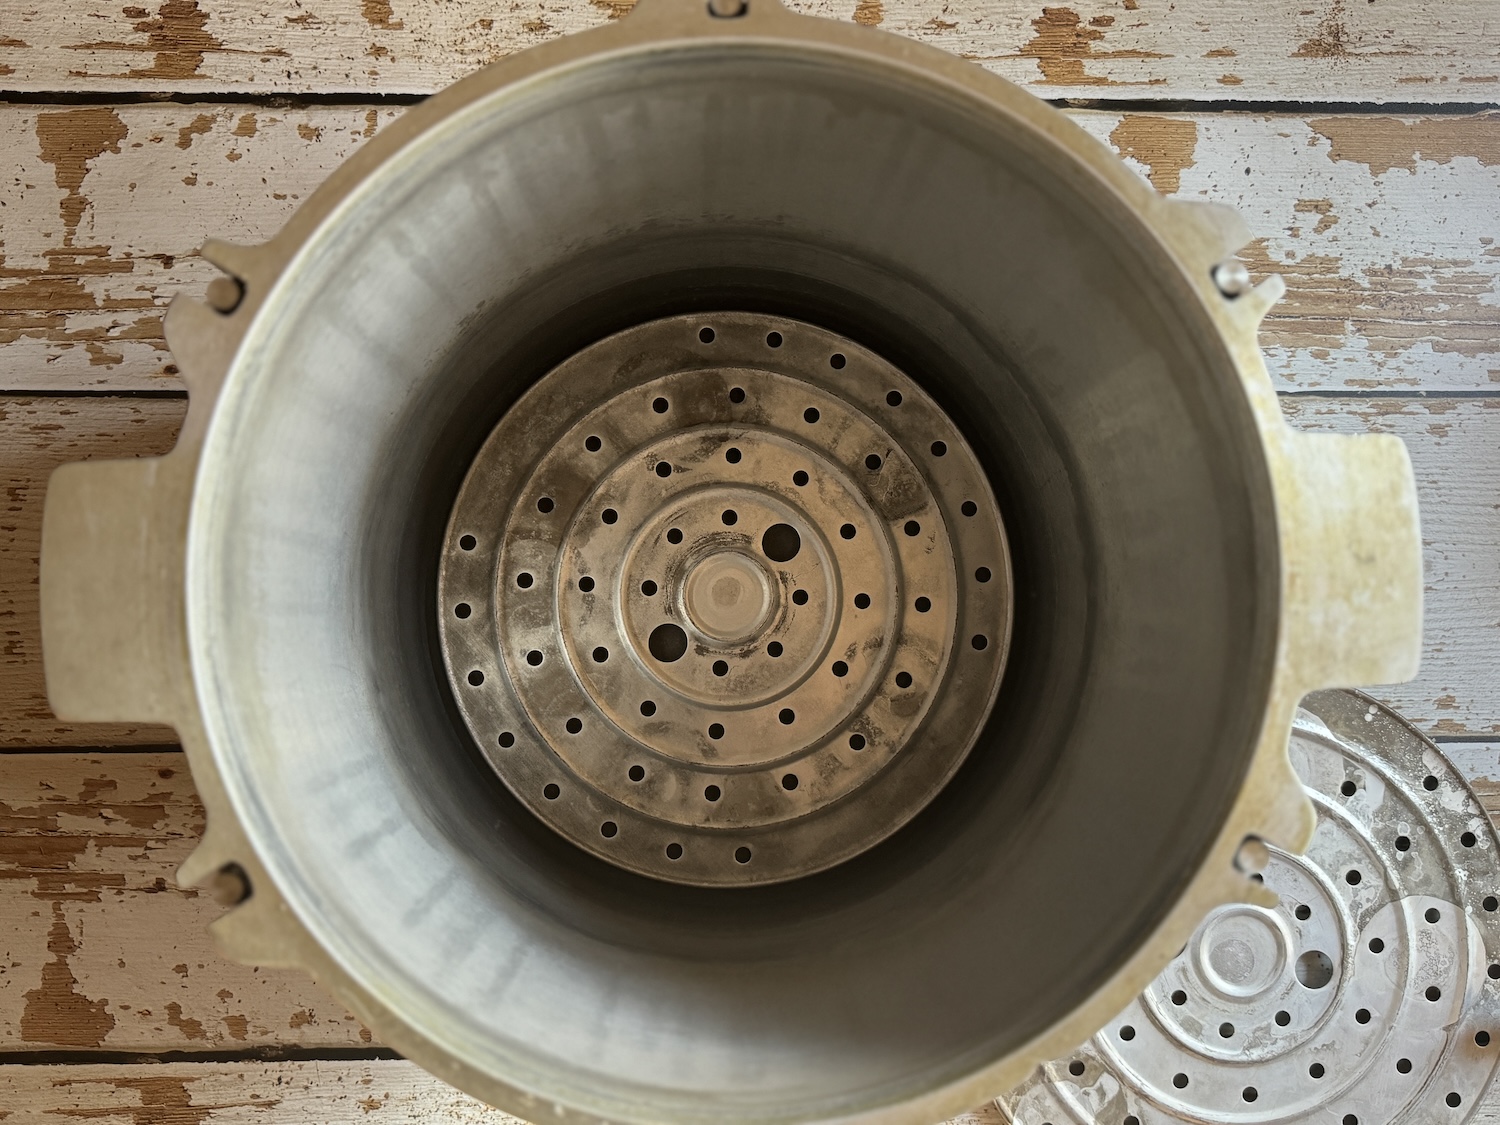
- Pressure canner
- Canning jars (I like pint-sized for canning bone broth, but you can do quart as well)
- Canning lids and bands (ForJars are my favorite! Get 10% off with my code THRD10)
- Canning funnel
- Soup ladle
- Jar lifter
Step 1: Skim the fat (optional) and reheat
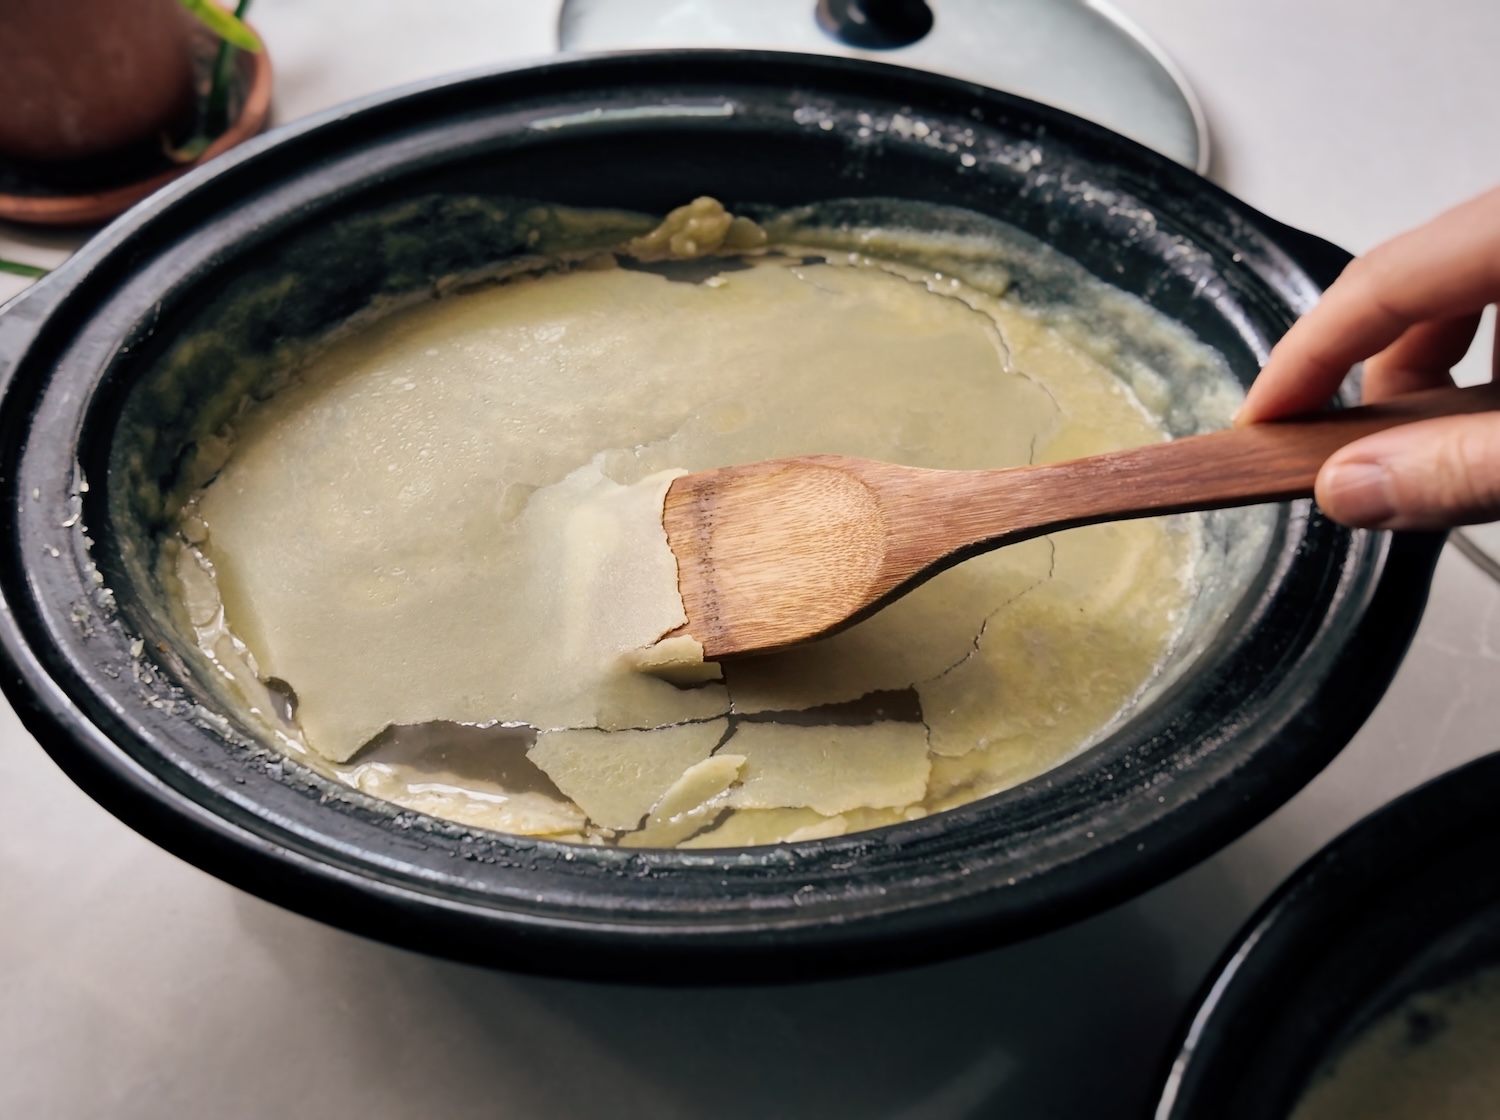
Fat is the enemy of long-term storage as it can go rancid before the other ingredients. So, if you want a long-storing broth, it’s important to skim off the fat. However, if you plan to use your bone broth within a few months, you can leave the fat layer on.
Once cooled, the fat rises to the top of bone broth making removal a breeze. Simply, grab a flat wooden spoon and scrape it off! The fat can be used, so don’t throw it out! Set it aside and render it down into schmaltz (chicken), or tallow (beef, venison). Use the tallow to make Tallow Candles and Whipped Tallow Balm!
Once the fat is removed, return the crockpot full of bone broth back to its base and turn the heat on until it’s fully rewarmed.
Step 2: Prepare the pressure canner and jars
When the bone broth is getting close to warm, start gathering your canning tools (jars, rings, funnel, etc.). I like to add 2-3″ of water to the bottom of my pressure canner and set my burner on low to get the water warm before I start adding jars. I also fill my canning jars with hot water to get them warmed up. If you have a dishwasher, you can run them through a quick rinse cycle, too!
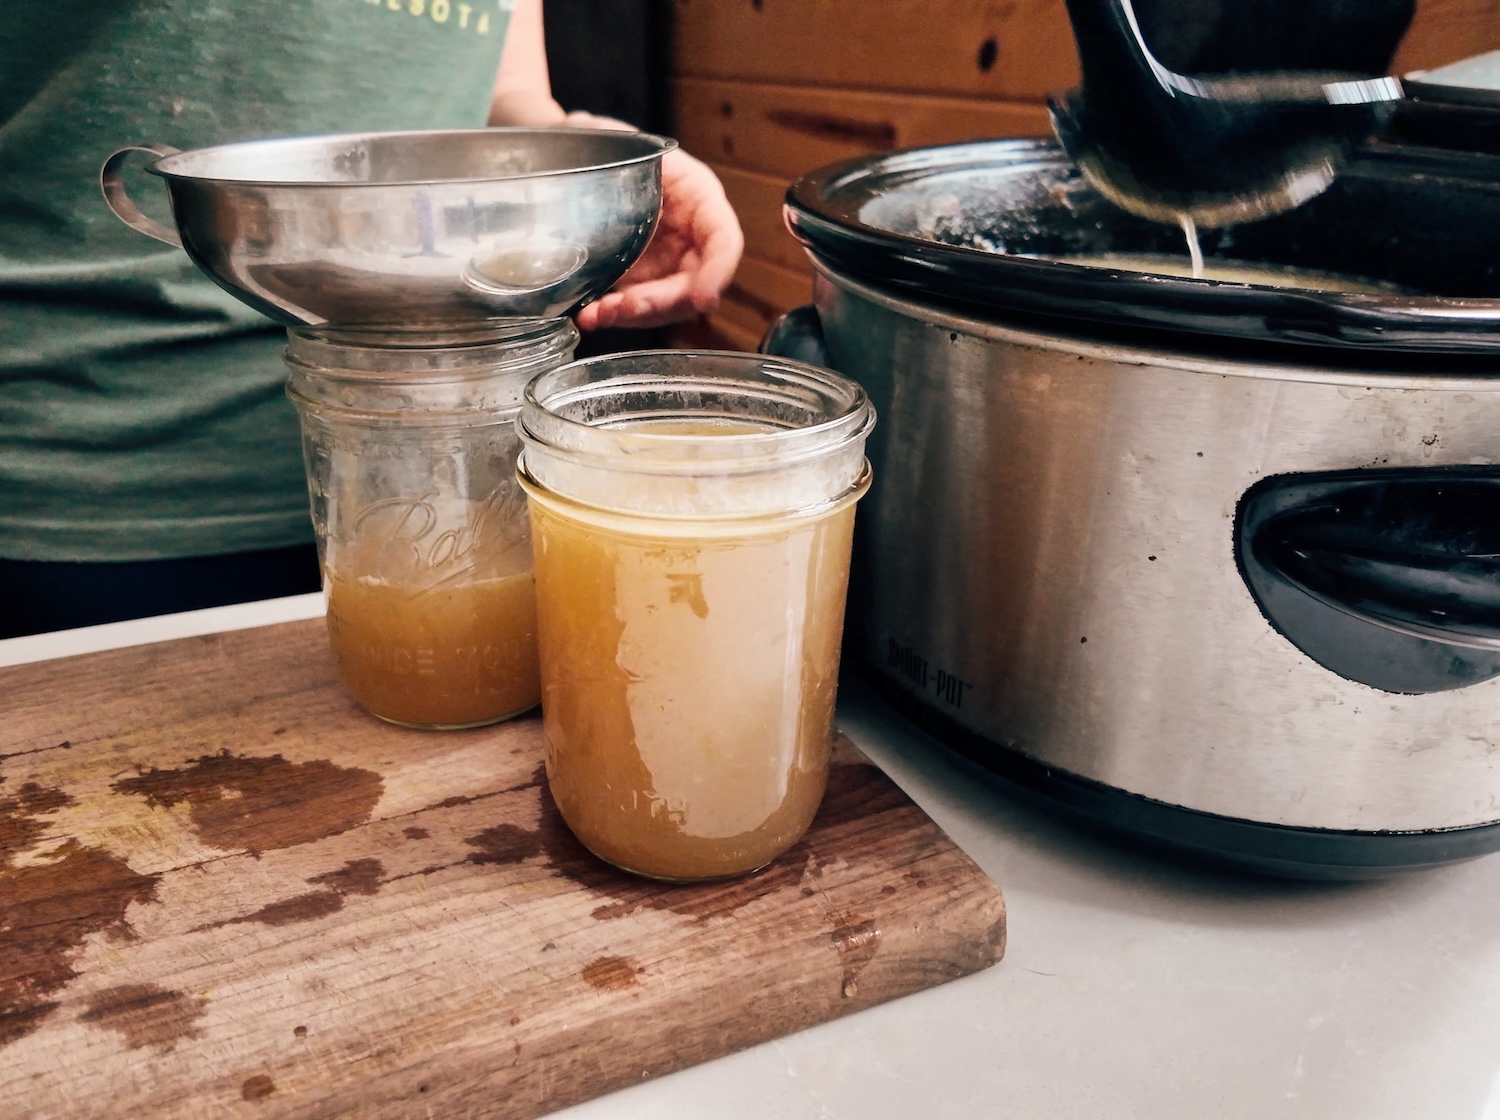
Step 3: Fill the jars and process
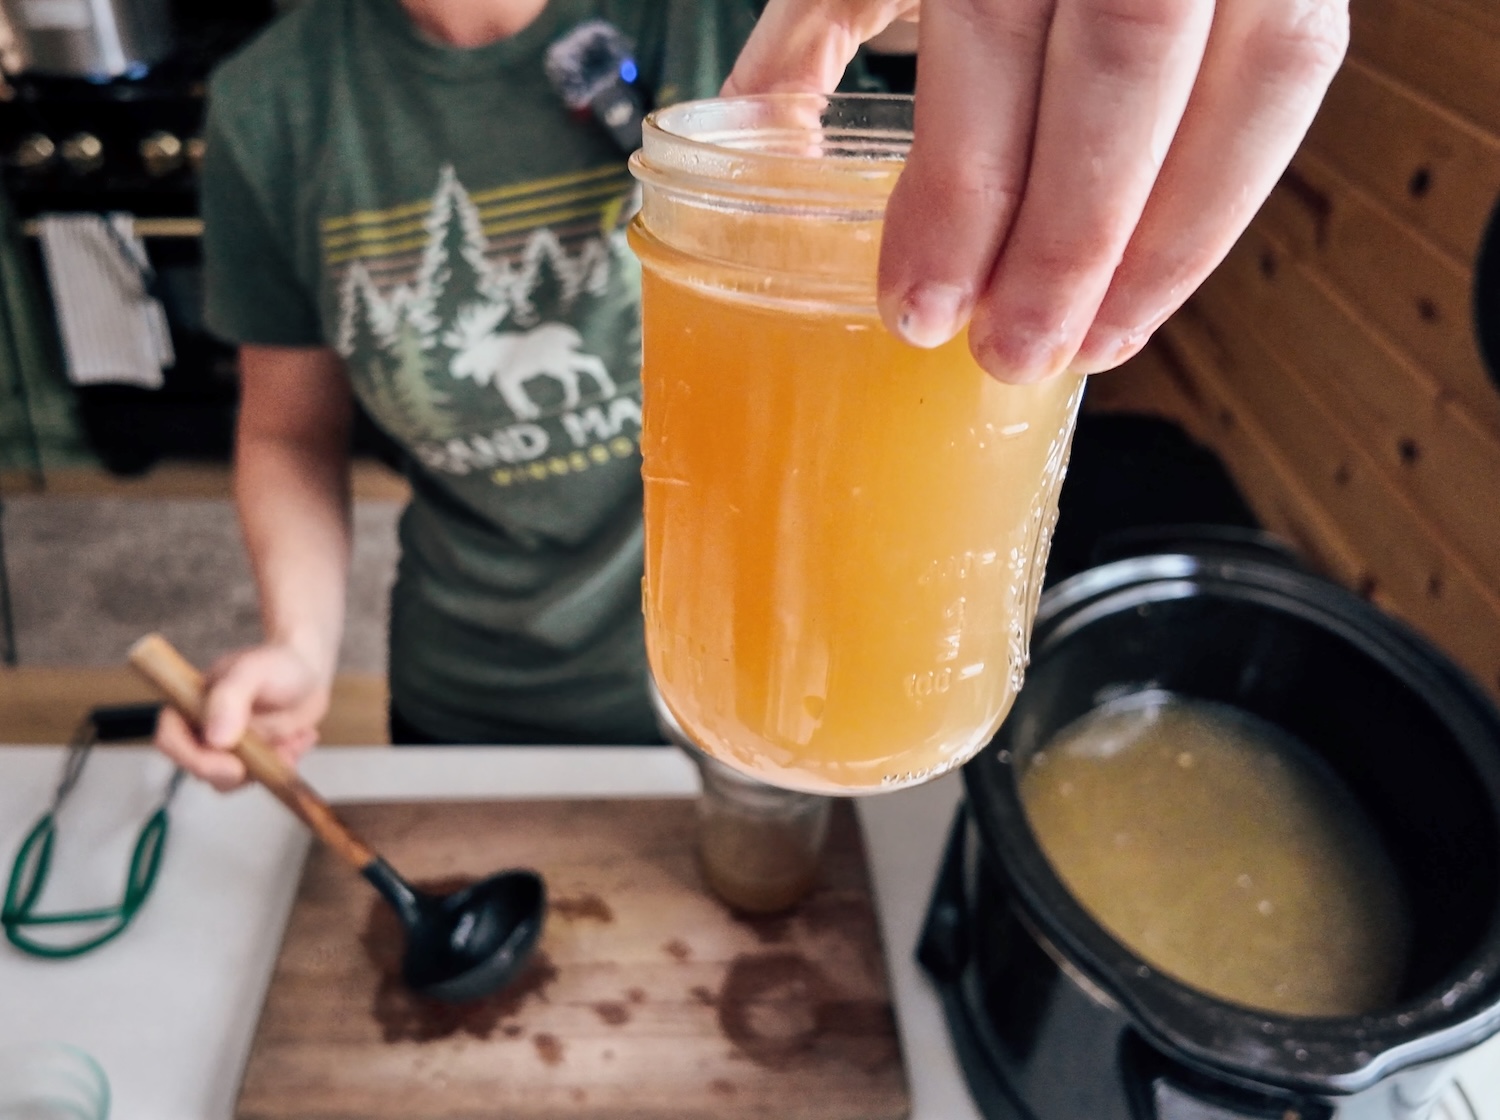
Working with 1-2 jars at a time, dump out the hot water and move them over to the crockpot full of hot bone broth. Place the jar funnel on top and start filling, leaving 1″ of headspace. Wipe the rim with a cloth soaked in white vinegar to ensure a good seal. Secure with a new canning lid (I don’t recommend reusing lids) and a canning ring, then transfer the jars to the warm pressure canner.
Keep going until all of the jars have been filled. I’ve found that when I brew up 2 crockpots of bone broth, it usually makes 16-pint jars, which fills my pressure canner perfectly! I love it when it works out that way.
Secure the pressure canner lid following your manufacturer’s instructions, allow to vent steam for 10 minutes, then set at 10 pounds of pressure for 20 minutes if using pint jars and 25 minutes if using quart jars. If you live above 2,000 feet altitude, use 15 pounds of pressure.
*For a FULL tutorial on how to pressure can, be sure to check out my article Pressure Canning: A Step-By-Step Guide!
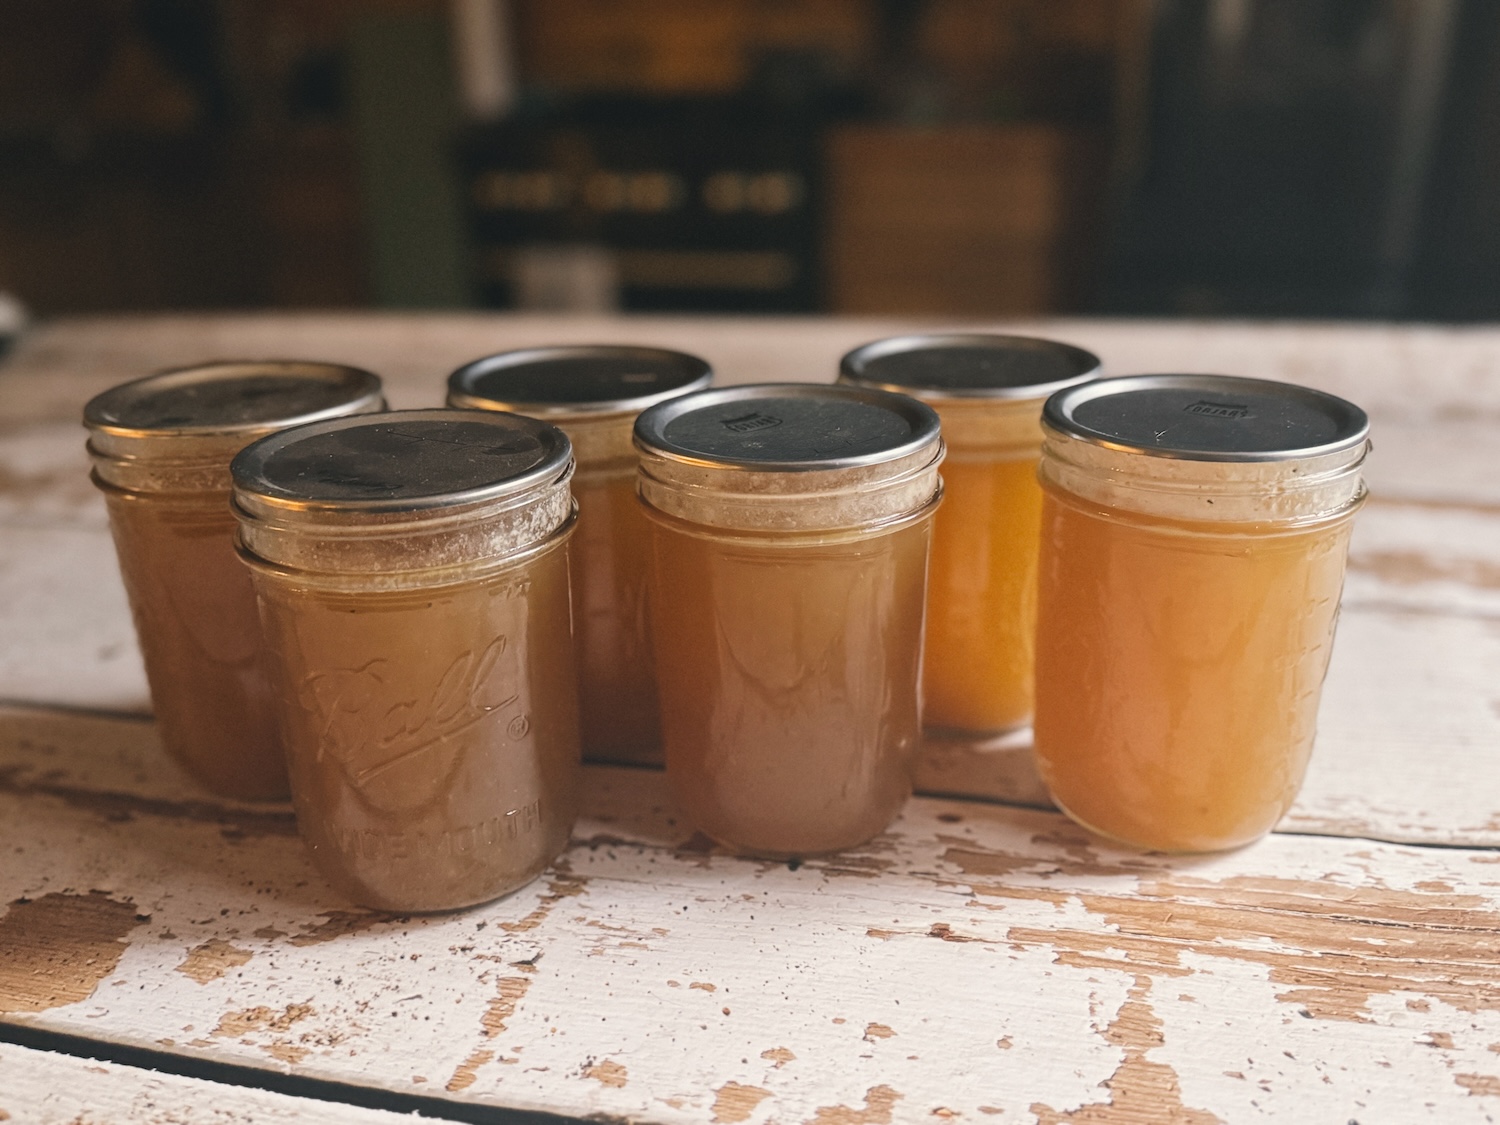
Step 4: Let cool and store
Once the 20-25 minutes are up, turn off the heat and don’t touch the pressure canner until the pressure gauge reads zero. Safely remove the weight and lid (it’s hot!), then transfer the hot jars to a cutting board (or another heat-stable surface) to cool completely. Once 100% cool, remove the rings (never store canned goods with rings on) and transfer them to your pantry. You did it!!!
Watch Me Make and Pressure Can Bone Broth!
FAQ About Pressure Canning Bone Broth
What is the shelf-life of canned bone broth?
It’s best to use home canned food within 1 year for the best quality product, but up to 2 years can be safe according to the Utah State University.
I don’t have a pressure canner, can I use a water bath canner?
Without a true pressure canner, you cannot pressure can. Instapots don’t count, either. I know that pressure canners are expensive, but they are well worth the cost in the long run!
Can I freeze bone broth?
For sure! I do that sometimes when I’m in a rush and don’t have the bandwidth to go forward with pressure canning. Just be sure to read this article first: Can You Freeze Mason Jars? 7 Common Mistakes to Avoid! Having shattered jars in the freezer is no fun!
What should I do with the jars that didn’t seal?
This happens to me sometimes and it’s no big deal! If I know that I’ll use the broth within a few days, I put the jar in the fridge. If not, then I put the jar in the freezer to use some other time!
Does the collagen in bone broth get ruined with pressure canning?
Yes and no. The long strands of collagen can get broken by the high heat of pressure canning (240 degrees Fahrenheit). However, the collagen is still technically there and your body will still benefit from it. I’ve noticed that my pressure-canned bone broth will still gel when refrigerated, but it’s not quite as solid as it once was. If you’re looking for a SUPER jiggly bone broth, eat it fresh or freeze it instead of pressure canning.
Other Articles You’ll Love:
- Can You Reuse Canning Lids? Is it Safe?
- Pressure Canning: A Step-By-Step Guide
- Homemade Fermented Hot Sauce – EASY and Delicious!
- Principles for Food Preservation

How to Can Bone Broth (or Stock)
Equipment
- Canning jars
- Soup ladle
Ingredients
- Finished bone broth (cooled) see instructions at beginning of blog post on how to make this, if needed
- White vinegar for wiping the jar rims
Instructions
- Skim the fat layer off of fully cooled bone broth (optional, but this will extend the shelf life)
- Rewarm the bone broth (in a crockpot on high or a stockpot on the stove)
- Meanwhile, heat up your pressure canner and fill your canning jars with hot water to warm them up
- Working with 1-2 jars at a time, dump out the hot water and filling it with hot bone broth using a ladle. Leave 1" of headspace.
- Use a cloth dipped in white vinegar to wipe the jar rims, then secure with a canning lid and ring until fingertip tight.
- Place jars into the hot pressure canner as you fill them.
- Once the pressure canner is full, secure the lid following the manufacturer's instructions.
- Vent steam for 10 minutes, then add the weighted gauge for 10 pounds of pressure. *If you are above 2,000 feet elevation use 15 pounds of pressure
- Process for 20 minutes if using pint jars or 25 minutes if using quart jars
- Once the time is complete, turn off the heat and let the pressure slowly release naturally to 0.
- Carefully remove the lid and transfer the hot jars to a heat-resistant surface (I use a cutting board) and let them fully cool.
- Once at room temperature, remove the rings and test the seal. Move sealed jars to your pantry for long-term storage. Move any jars that did not seal to the fridge to be consumed within a few days.
Video
Notes
