
Making tallow candles is seriously SO easy, and inexpensive, supports local farms, and provides a toxin-free alternative to modern candles. Both beef and venison tallow work great for making these candles! I love a true nose-to-tail strategy so that nothing goes to waste.
These homemade tallow candles are wonderful to have on hand in case of an emergency or power outage, but they are also great for everyday use as well! Make a few extras to give away as gifts and you’ll impress all of your friends and family, for sure!
Once you realize how easy these are to make, you’ll never go back to store-bought candles made with industrial petroleum products and synthetic fragrances again – EW! Let’s dive in!
*Disclosure: This post may contain affiliate links to products (including Amazon). I’ll earn a small commission if you make a purchase through my link, at no additional cost to you! Regardless, I only link to products that I personally use on our homestead or believe in.
Why Use Tallow For Candles?
Toxin-free alternative
Modern candles made from soy or paraffin wax are a far cry from the tallow and beeswax candles that our ancestors have been using for centuries. Did you know that paraffin wax is a petroleum by-product from refining crude oil? Then, slap on some synthetic fragrances associated with neurotoxicity while they’re at it. No thanks!
Tallow is a simple, pure product that you can feel good about using (and eating!). Beeswax is wonderful, too, if you have access to it! Let’s just say no to the fake stuff and get back to the basics.
Inexpensive
Tallow has been the most popular ingredient used for candles since Roman times (up until recently) because it’s very inexpensive and easily accessible compared to beeswax. I can get 2-3 lbs of suet (raw beef fat) for less than $10 from my local farm. That’s A LOT of candles!
Sustainable & Local
This is my favorite reason to make tallow candles. You can get beef tallow from a local farm, or venison tallow if you like to hunt! A stark difference compared to industrial petroleum products like paraffin wax. Don’t even get me started on soy flakes! You’ll certainly never find those at a local farm.
Nose-to-tail strategy
Animal fat is the most underutilized GOLD in our modern world. It’s amazing how much is tossed out whereas it was highly valued just a century ago. I’m a strong believer in utilizing every bit of an animal so that nothing goes to waste.
I saved every scrap of fat possible from the deer that we harvested from our land this fall and it’s been so rewarding to find uses for every ounce. If you aren’t quite ready to cook with tallow yet, these candles are a great place to start!
How to Make Tallow Candles
This recipe can be adjusted to however many candles you want to make and whatever size of jar you want to use. Simply adjust the amounts to meet your needs.
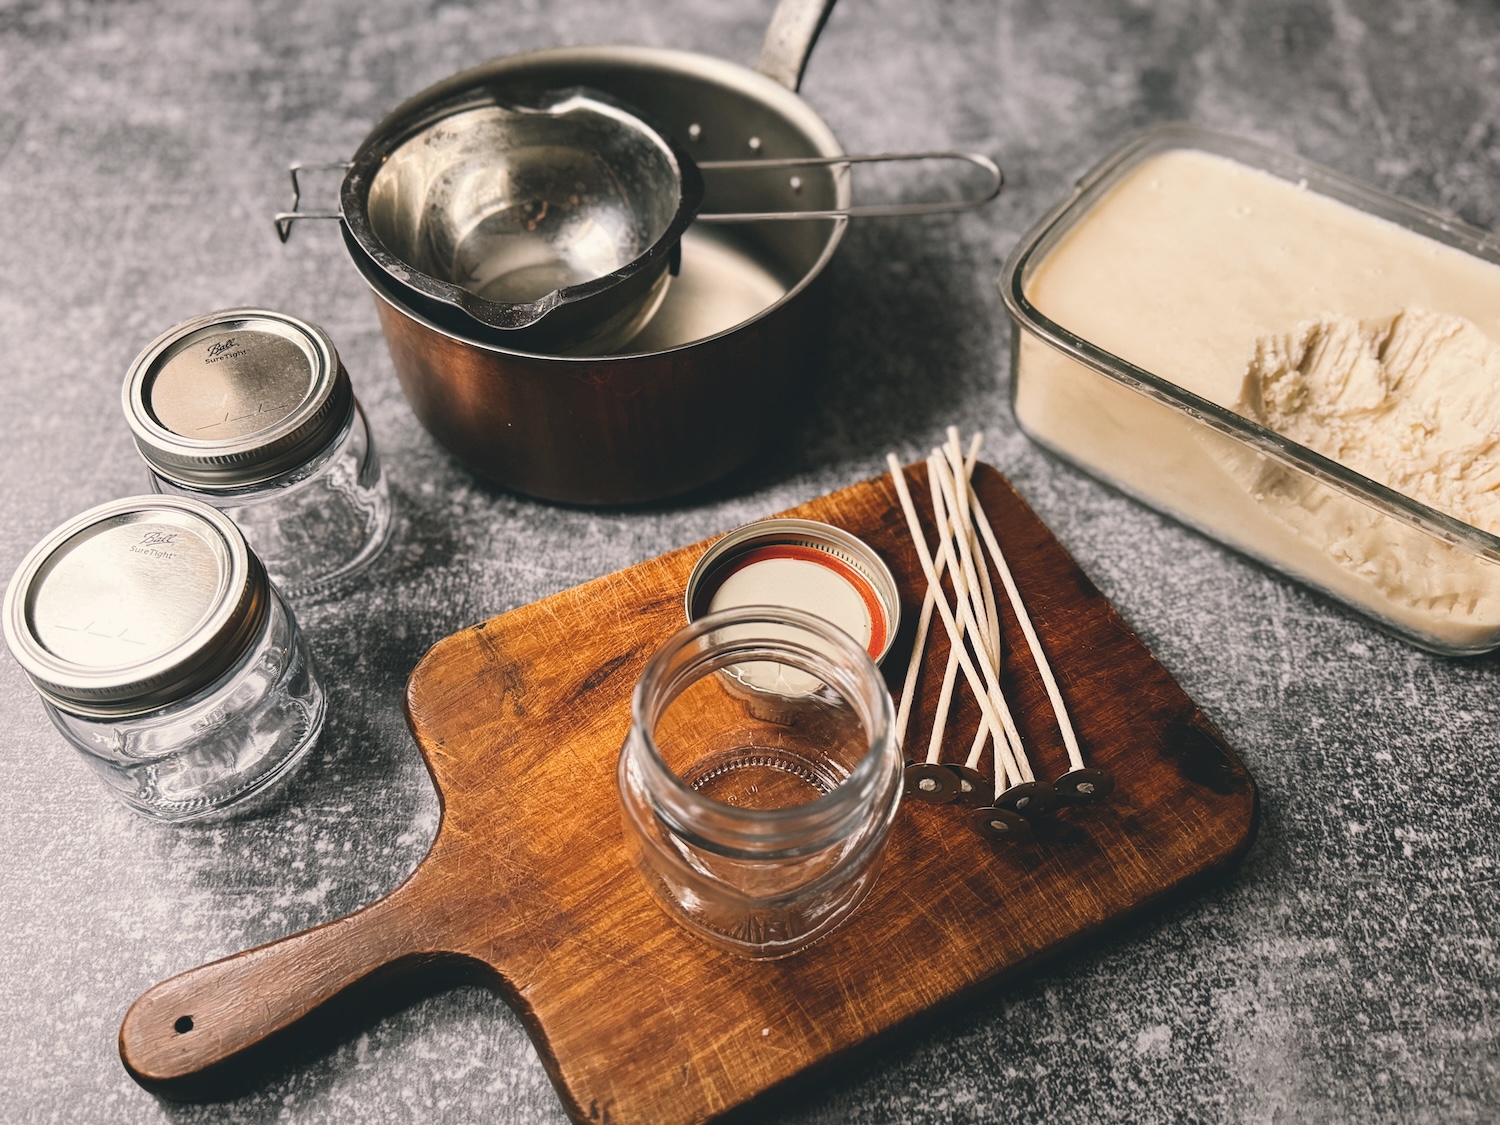
Supplies for tallow candles
- Tallow (beef and deer work great!) – Check out FarmMatch to find a local source!
- Essential oil(s) – Optional; make sure to use ones with a high flash point!
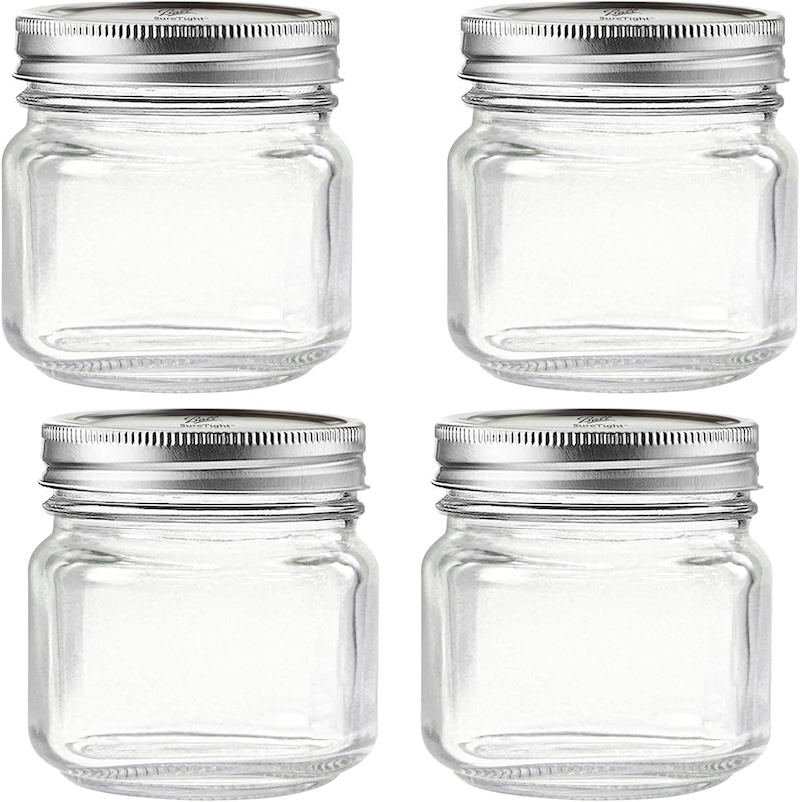
- Glass jars or tins – Heat-resistant
- Cotton or hemp wicks – I like the XL wicks so I can use them for any sized jar and trim to fit
- Double boiler
- Small pot
- Pencils or popsicle sticks – Optional
- Hot glue gun – Optional
The Homesteading RD's Product Picks: I love these wicks! They're made of cotton and they are made in the USA! Each Wick is a little more than 3/4” wide, so they are very stable to work with. I love the XL size so I can use them in any size container and trim to fit. How CUTE are these!? Made of heavy-duty glass with a non-slip bottom, and also made in the USA! These are the perfect size for candles in my opinion, and great for gifts!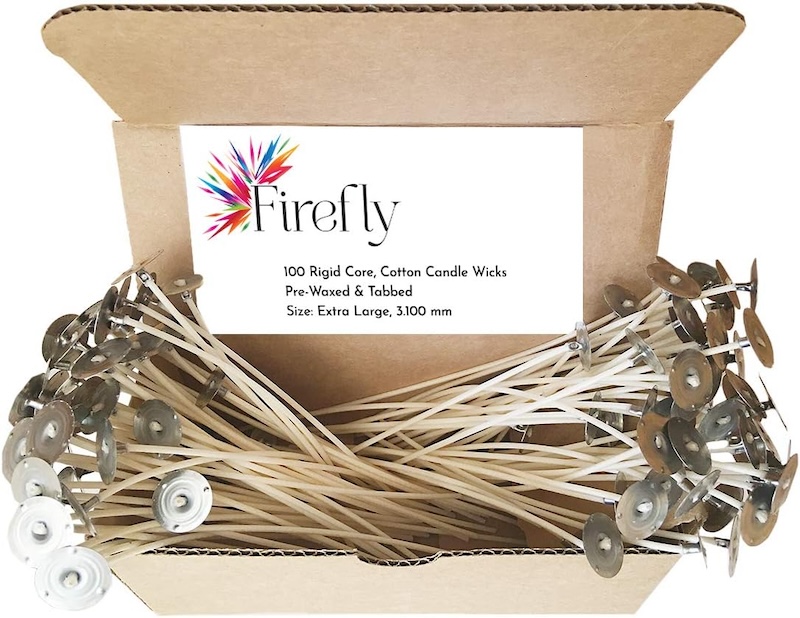
Step 1: Melt the tallow
Gently melt the tallow in a double boiler. This is a great way to preserve its delicate antioxidants, but tallow is also a pain to clean once it cools. I’d much rather clean up a small double boiler than my large pot!
How much tallow should you melt for your containers? It’s hard to know exactly since we’re converting from a solid to a liquid, so I just eyeball it and go from there. For each 8 oz jar, I shoot for 1 cup of tallow.
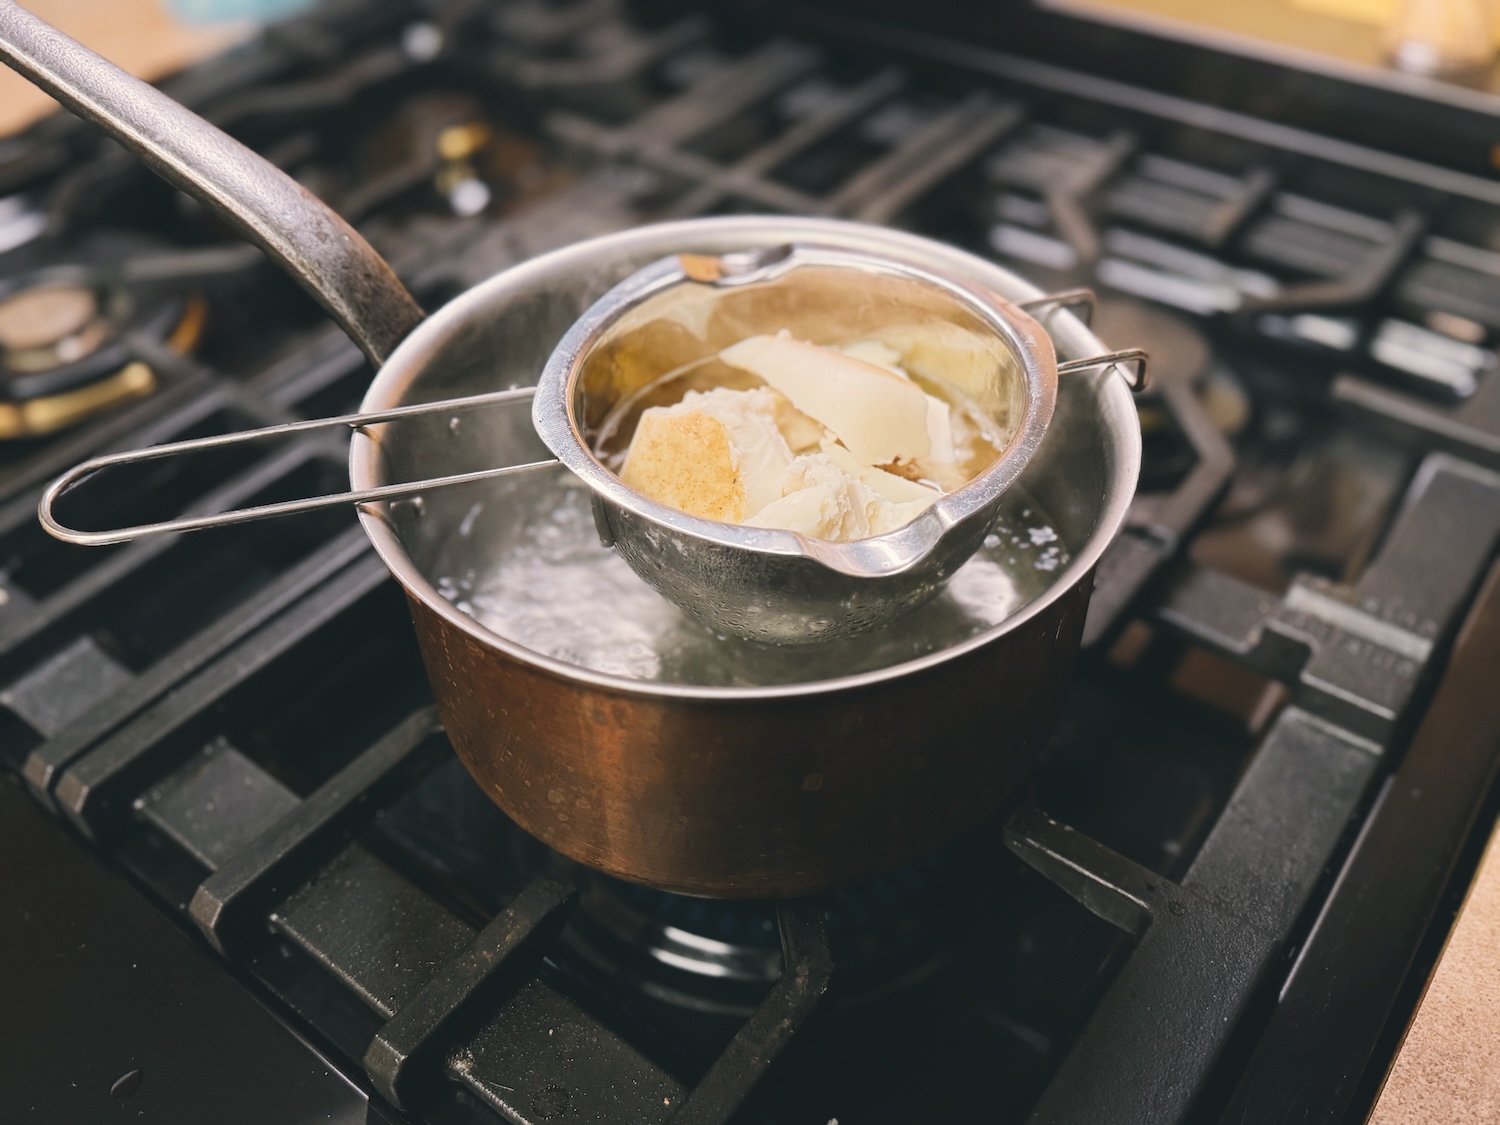
Once it has melted, turn off the heat and let cool slightly while you’re working on the next steps. If the tallow starts to cool so much that it hardens, kick on the heat again for a few minutes.
The Homesteading RD's Product Picks I've been using this double boiler for years and it's awesome! Made of 18/8 Stainless steel and will allow for gentle melting to prevent burning or oxidizing your gentle ingredients. 2 cup capacity.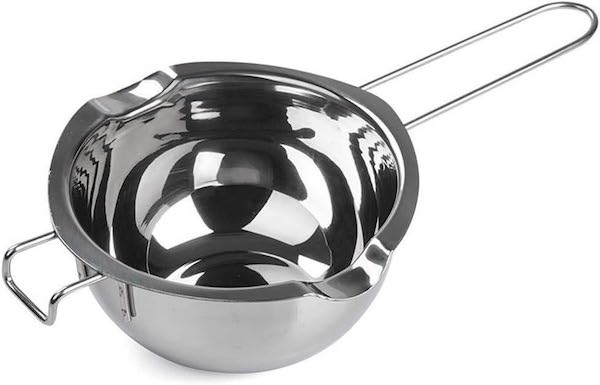
Step 2: Add essential oils (optional)
If you want to add some essential oils to your tallow candle, now is a great time while the tallow is cooling off. I’ve found that 40-50 drops are about right for each 8 oz jar, but you may want more or less depending on the intensity of the oil you are using.
*Make sure that you’re using an essential oil with a high flash point such as cedarwood, cinnamon, fir, sandalwood, geranium, patchouli, or myrrh.
Step 3: Warm the jars
If you pour warm tallow into cold jars, they could crack or even worse, shatter. Gently warm the jars first by placing them in your oven on the lowest setting.
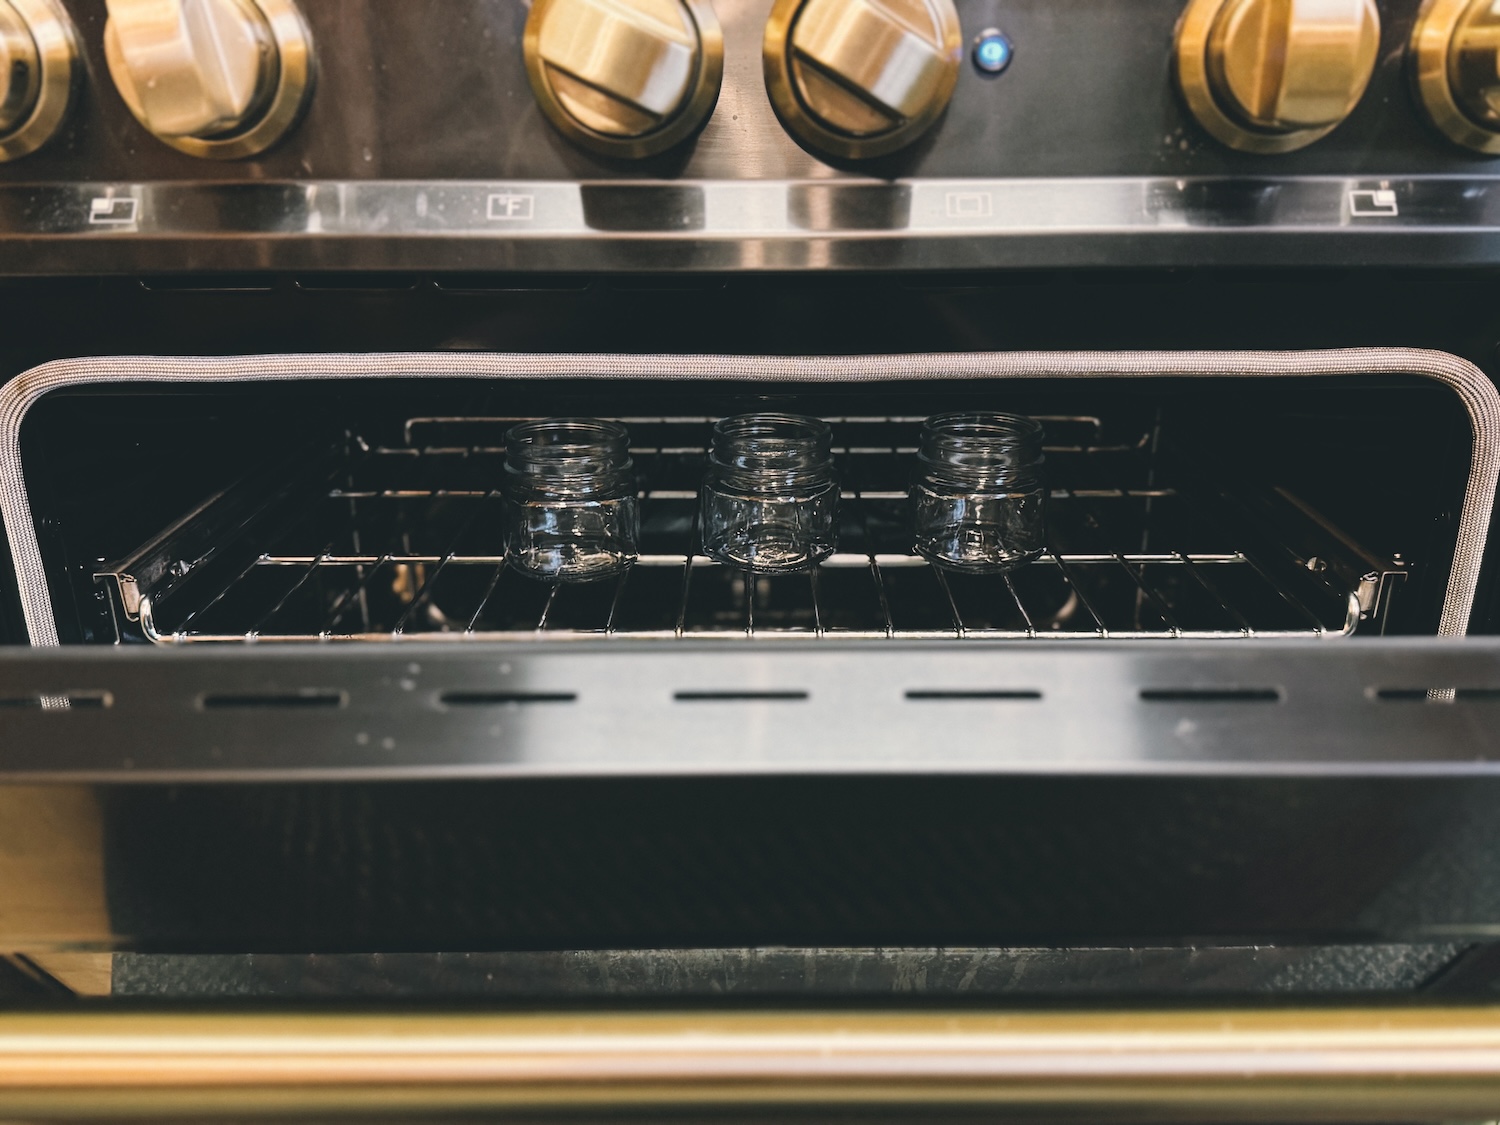
You could also fill them with warm water or run them through the dishwasher, just be sure that they are completely dry afterward.
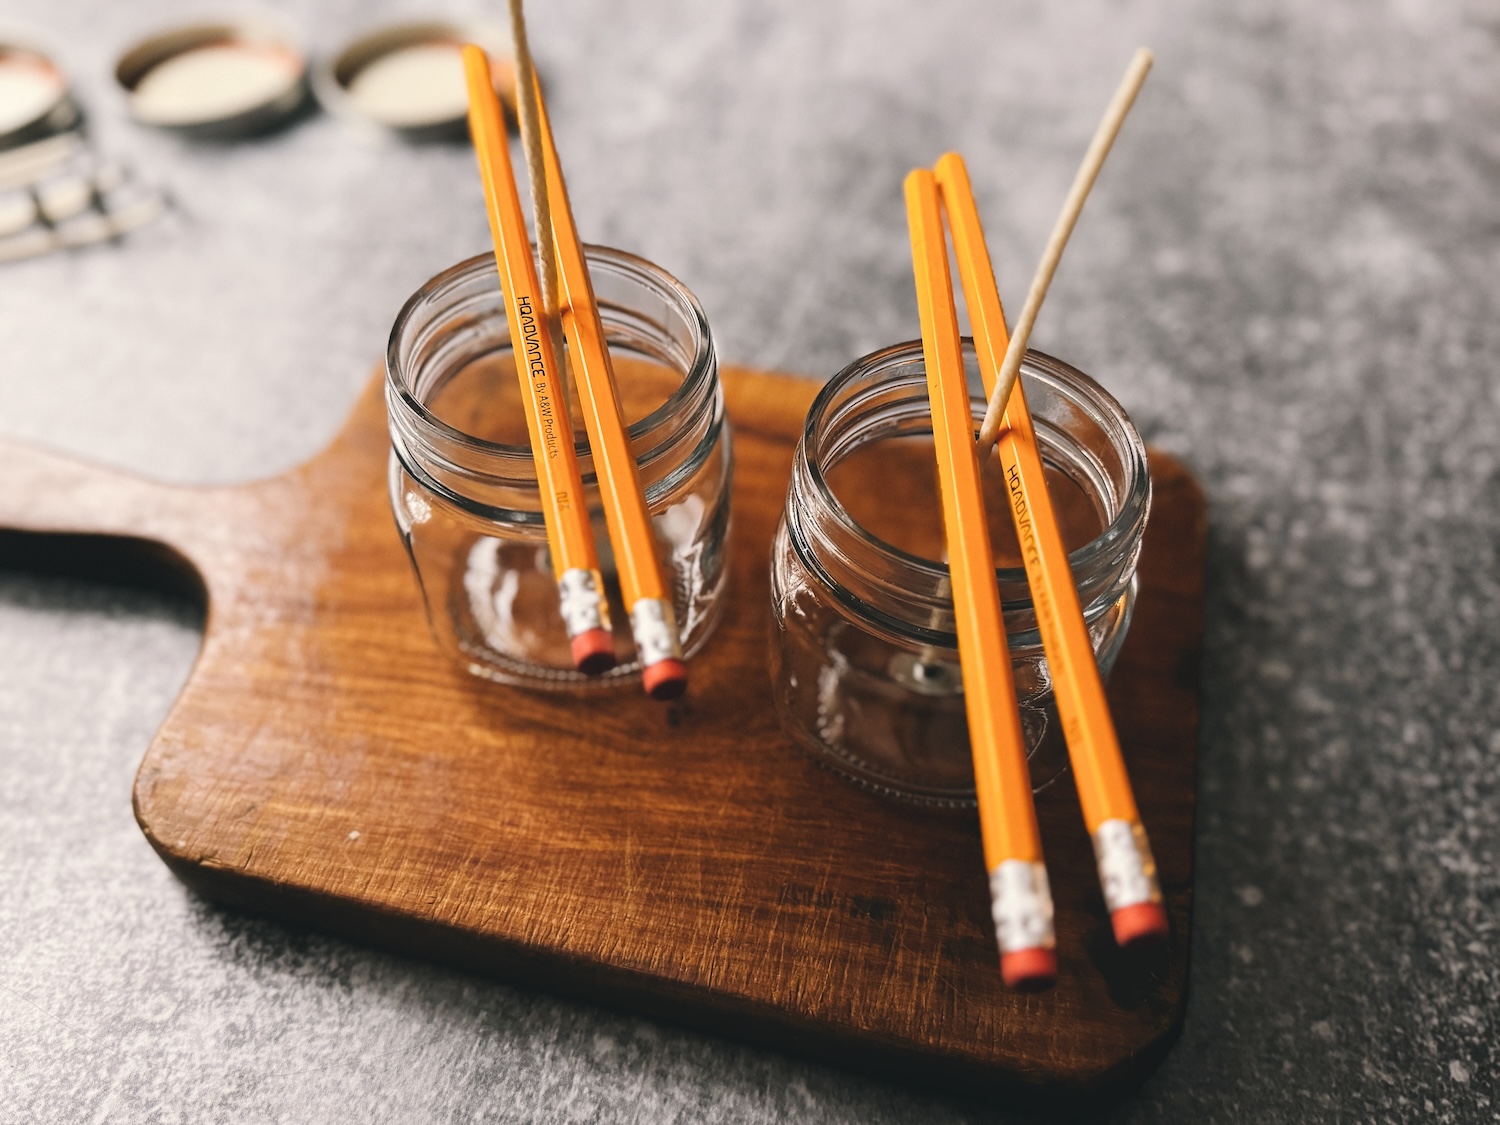
Step 4: Add the wick
Add a wick (or even 2-3, depending on the size of your jar) to the warmed jars and make sure that it’s centered. Use 2 pencils set over the top of the jar to hold the wick in place.
You can also hot glue the round tab to the bottom of the jar to ensure that it doesn’t move. I’m not sure where my hot glue gun ended up after our move, so I skipped that step and it still turned out fine!
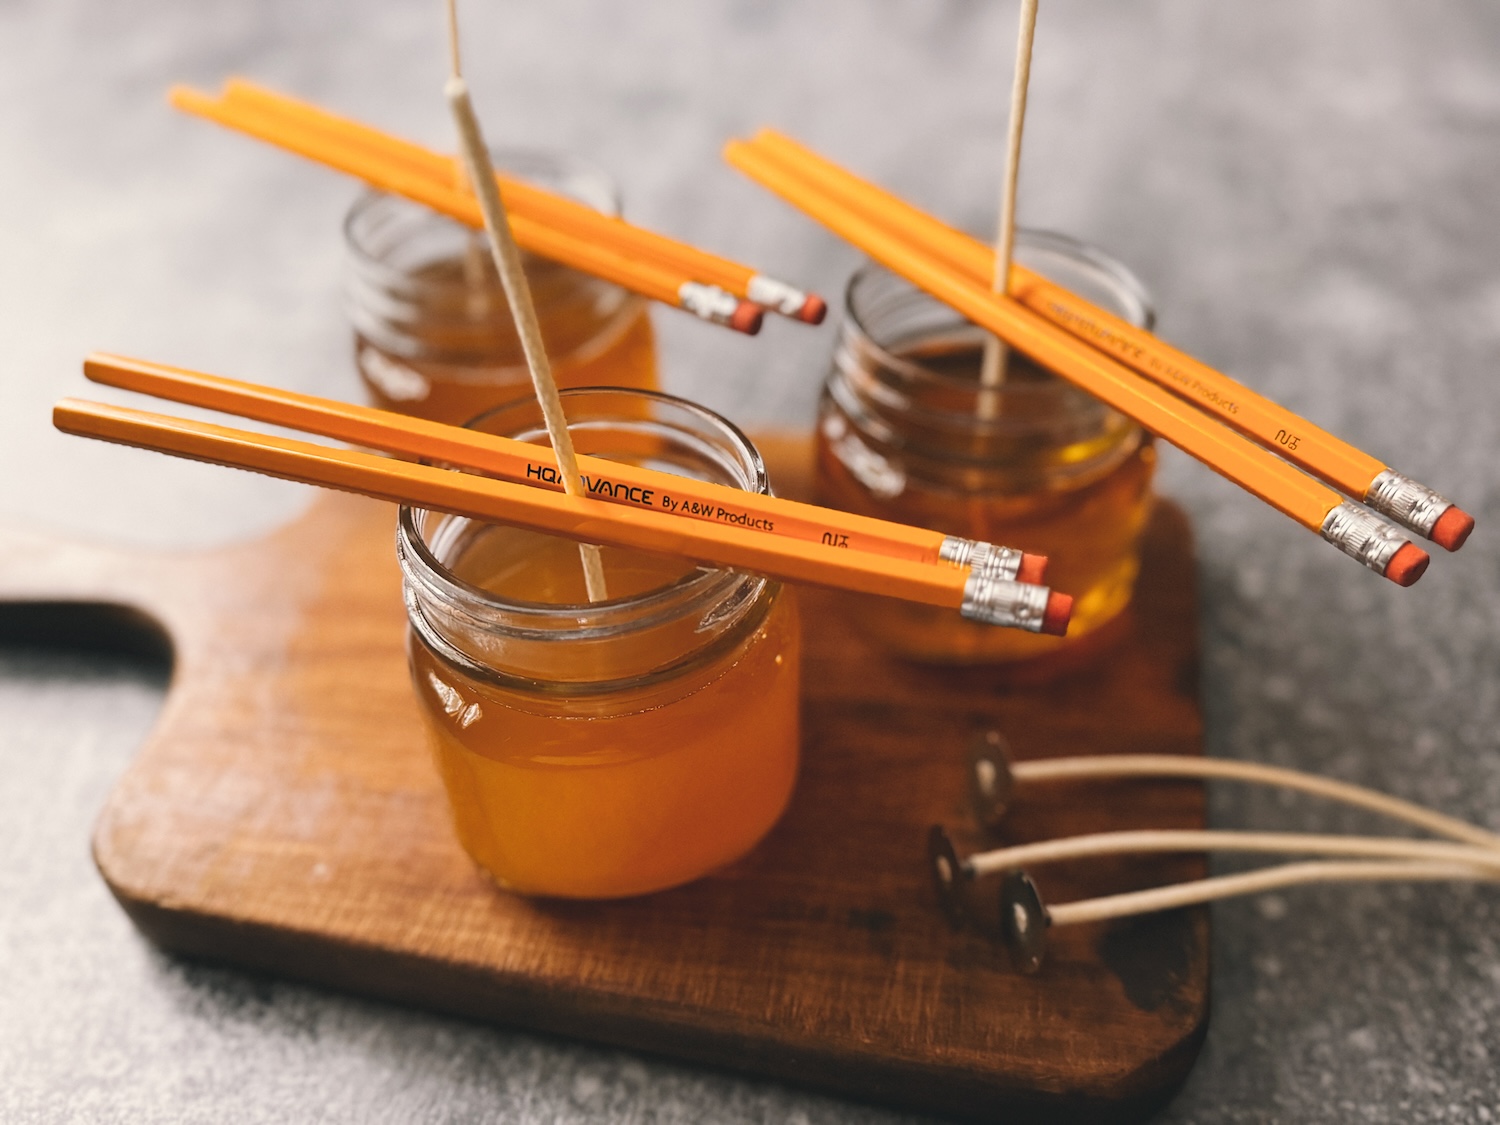
Step 5: Pour in the melted tallow
Carefully pour the slightly cooled but still liquid tallow into the prepared jar ensuring that the wick stays straight and in place.
- If you didn’t melt enough tallow, no problem! Melt down a bit more and top it off.
- If you have extra tallow, then make another candle, make my Whipped Tallow Balm, or add the remainder back to your tallow container to use later.
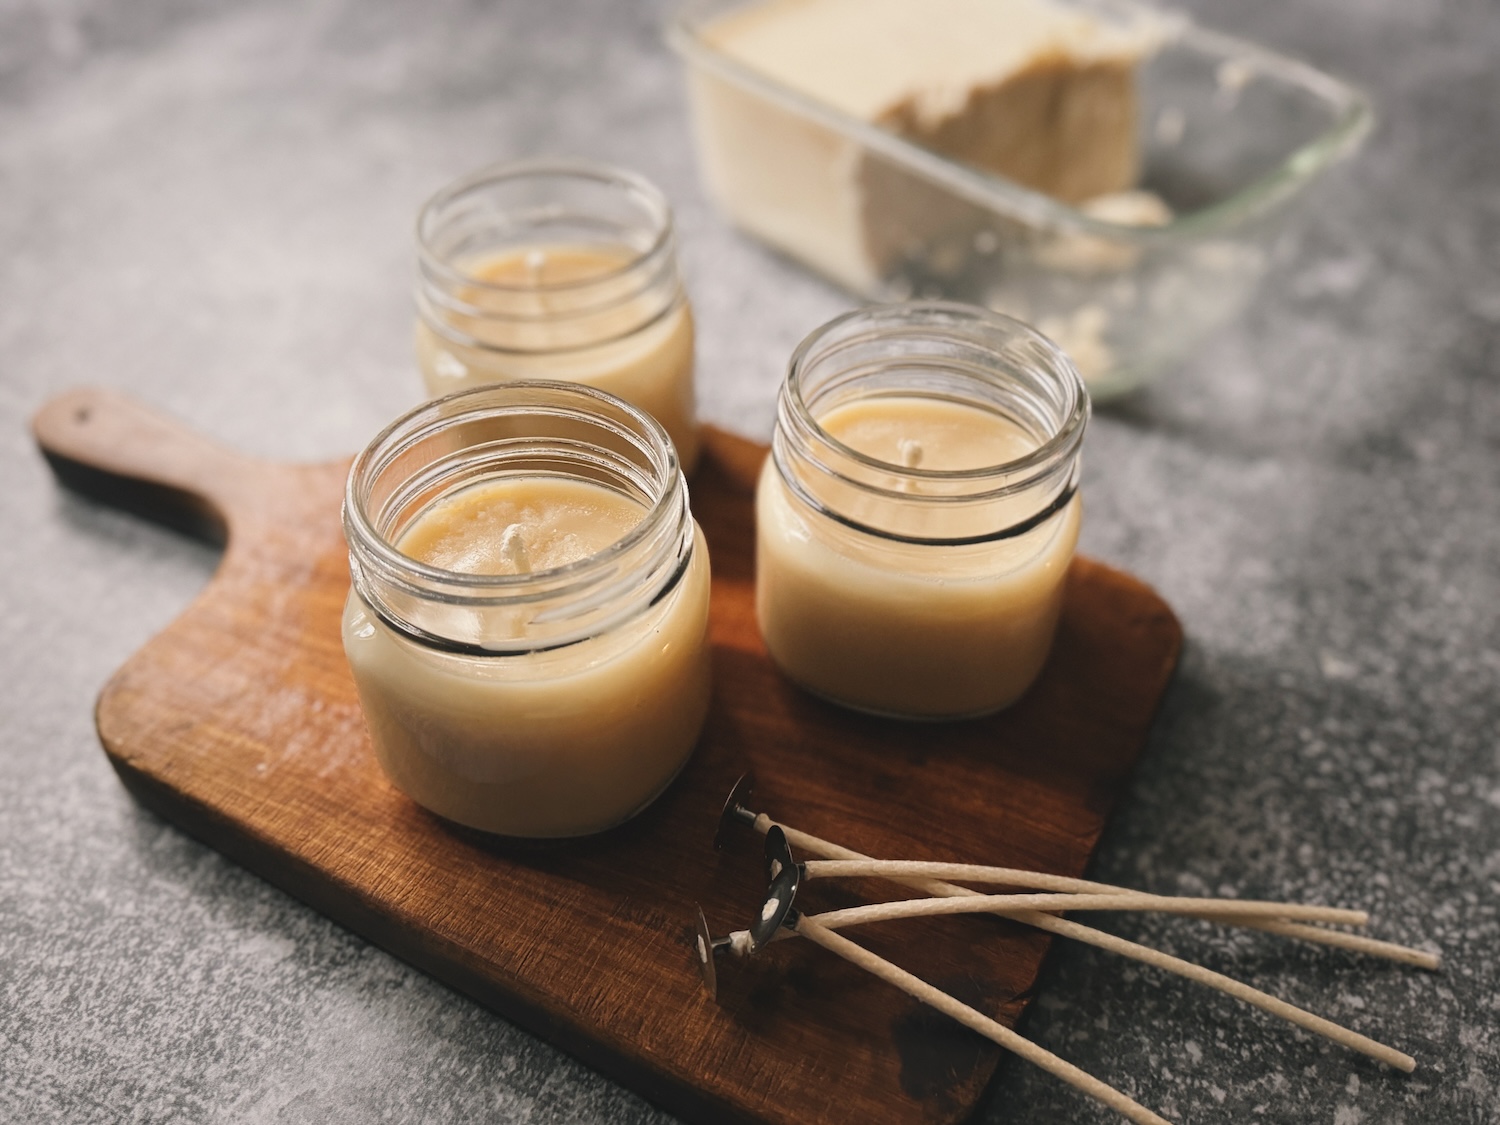
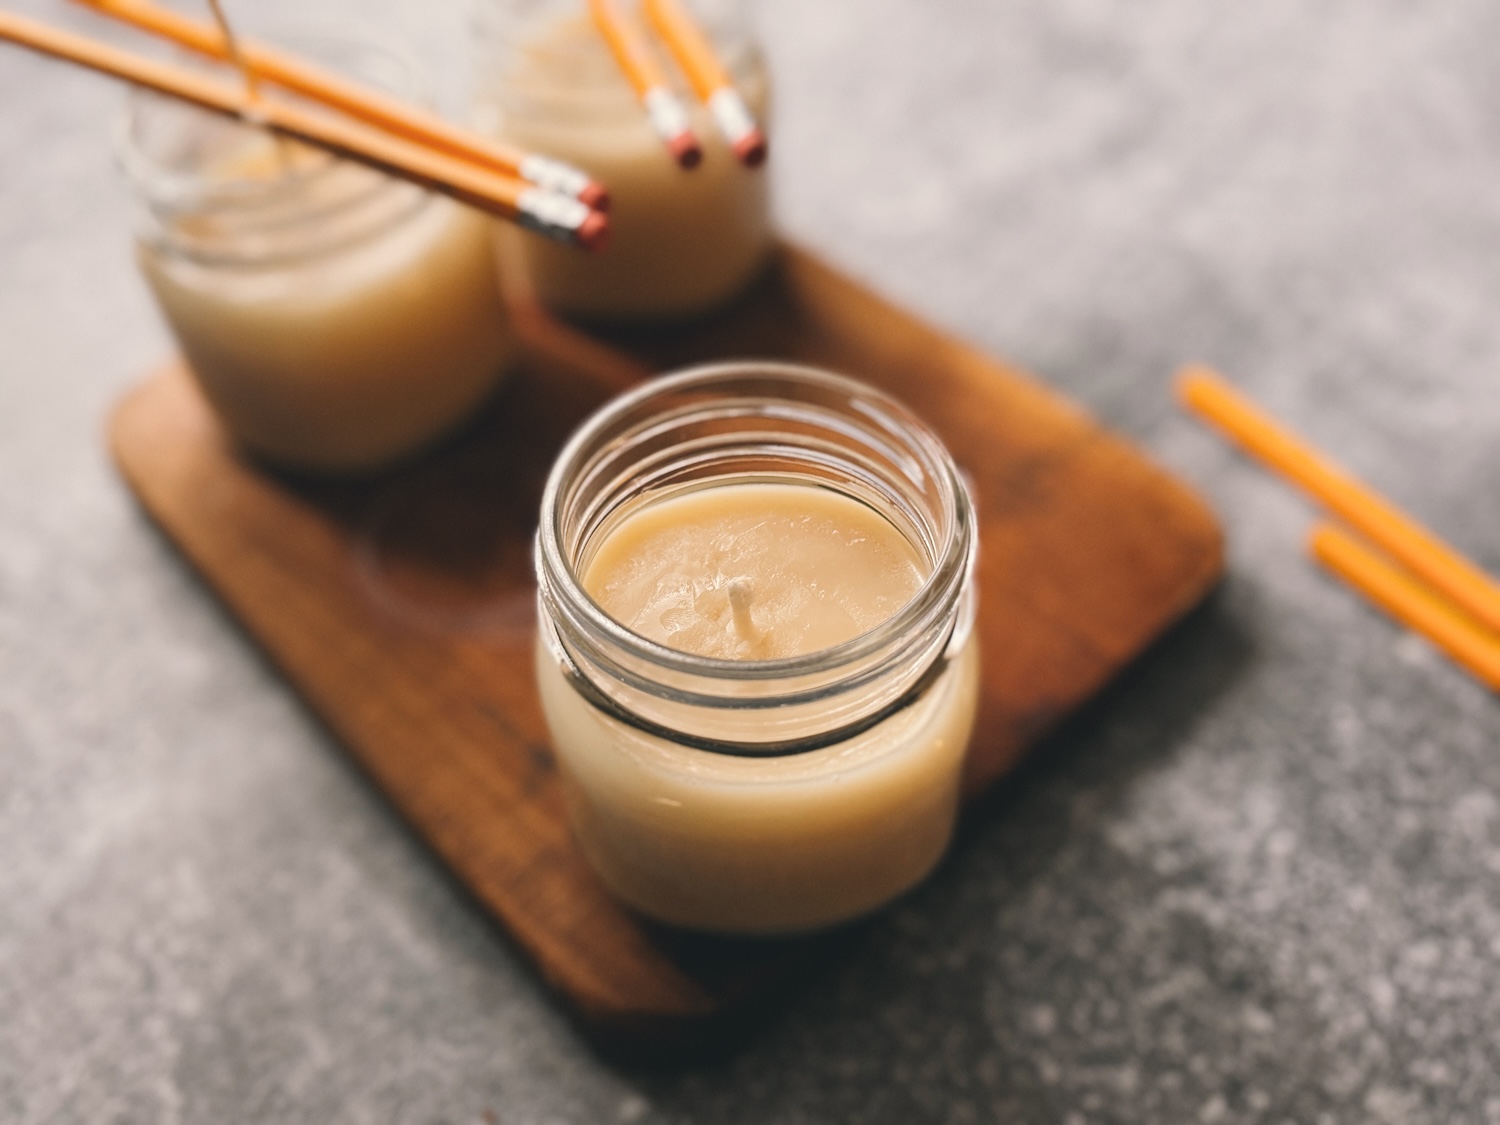
Step 6: Let cool & trim the wick
Leave the jar uncovered and simply walk away for a bit. Once it has completely cooled and hardened (it should be white now!), trim the wick to ¼” long. Store your beautiful tallow candle in a cool, dark location when not in use.
Tips for Using Tallow Candles
Tallow candles operate very similarly to other candles that you may be familiar with, but there are still a few key practices that will ensure a positive experience.
- Tip #1: Let the candle burn for at least an hour at a time to prevent tunneling
- Tip #2: Make sure to trim the wick to 1/4″ for it to burn properly
- Tip #3: Make sure you’re using a jar that can tolerate heat (like canning jars) or they’ll shatter
Where Can I Buy Tallow?
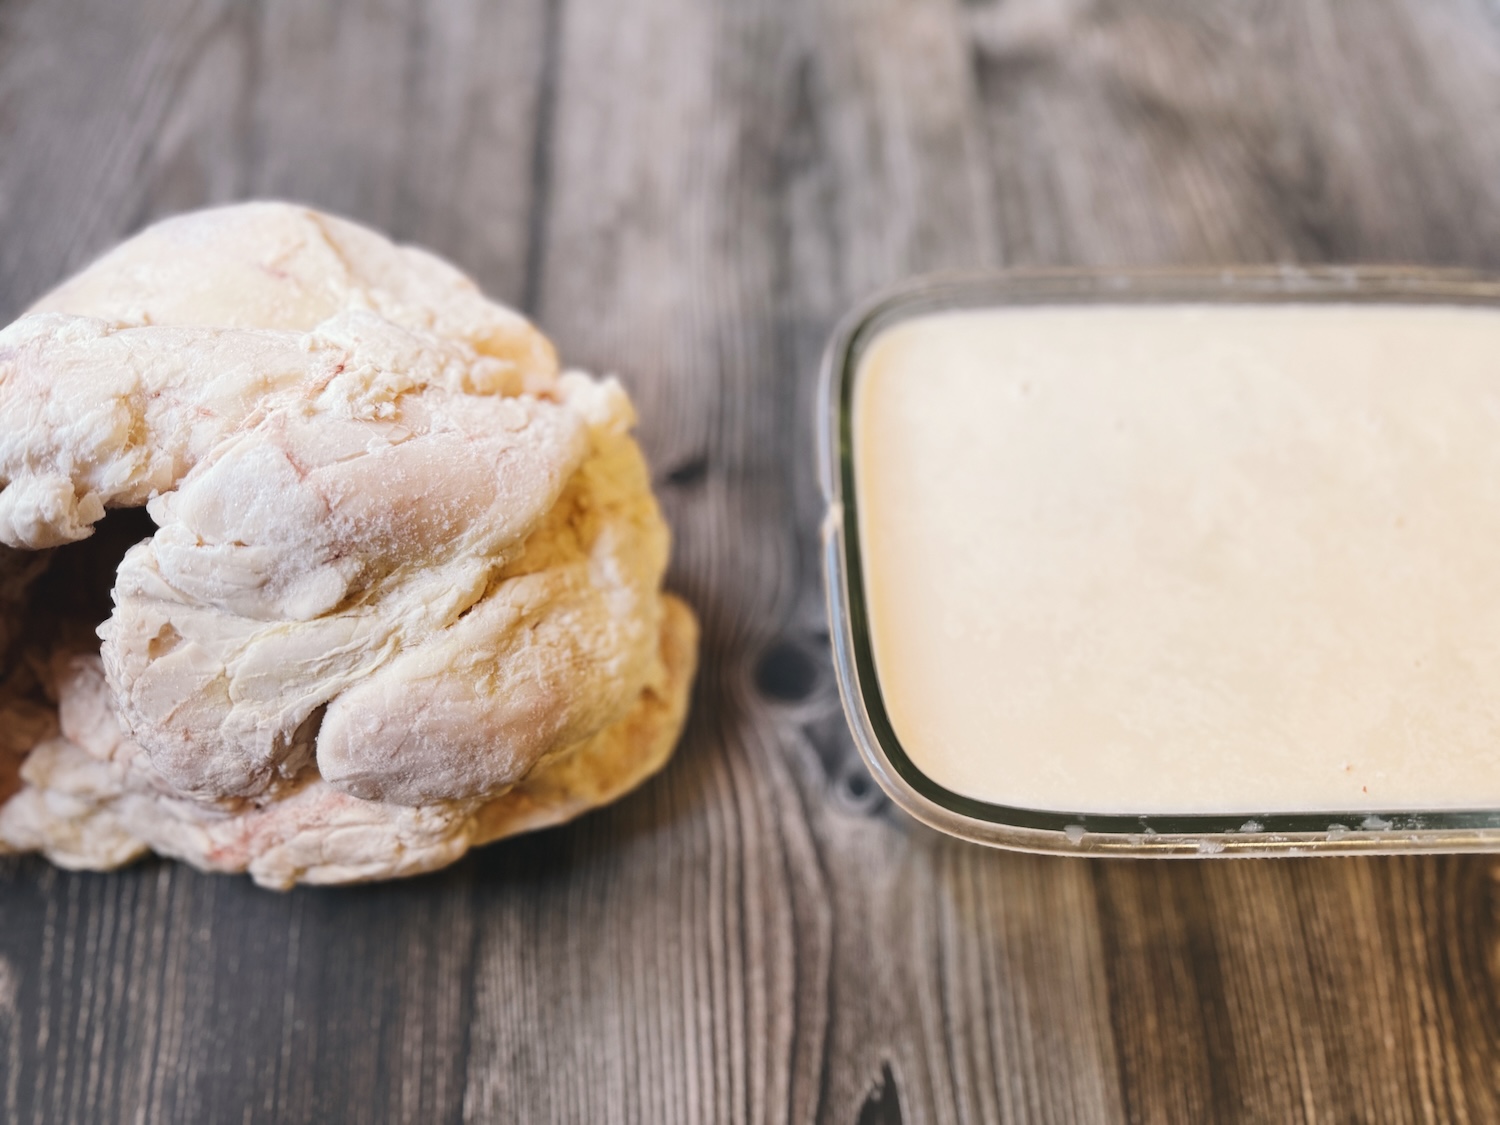
Most of us aren’t raising our own beef cattle, so where do you find the stuff? My favorite option is directly from a local farm, a local CSA, or a Farmer’s Market. Make sure that the tallow is organic and grass-finished so that you’ll be sure to have a pure product that will also be good for cooking, or making Whipped Tallow Balm!
You may encounter that your local farm only offers RAW beef fat, also called suet. This is the case with the local farm that I buy from. If so you’ll need to render it down yourself first into tallow. Don’t worry, it’s easy!
FAQ About Making Tallow Candles
Can I use lard?
You can use lard for candles in a jar, but lard is too soft to be used in dipped candles. They’ll just melt and fall apart. Looking for more uses for lard? Check out my article Tallow vs Lard: Which One to Use?
Can I make stick candles?
Of course! Those are super fun, too, but they take longer to make and are a bit more messy. Just make sure that you’re using a really hard fat like beef or deer tallow since it won’t have the jar to support it. You’ll want to use different wicks as well.
Do tallow candles smell?
Not at all! If you’ve rendered down tallow before, you know that the smell can get STRONG. Thankfully, this tallow candle will burn much slower and on a smaller scale than a full crockpot of tallow cooking away, so the smell is minimal. If you’re worried about it, definitely opt in to adding some essential oils to the mix.
Do tallow candles go bad?
Since tallow is technically a food product, it will eventually go rancid. Expect tallow candles to last at least a year, but I’ve had them last longer than that. If you’re able to keep them in a very cool place like a root cellar, they’ll last a very long time.
What else can I make with tallow?
One of my absolute favorite products on our homestead is my DIY Whipped Tallow Balm! As someone who has chronic dry skin, especially during our harsh Minnesota winters, it’s been a game changer for me! It’s so healing and nourishing. Definitely give it a try.
Other DIY Articles You’ll Love:
- DIY Whipped Tallow Balm (Only 3 Ingredients!)
- DIY Lip Balm Recipe
- Homemade Drawing Salve (Bites, Stings & Slivers)
Final Thoughts
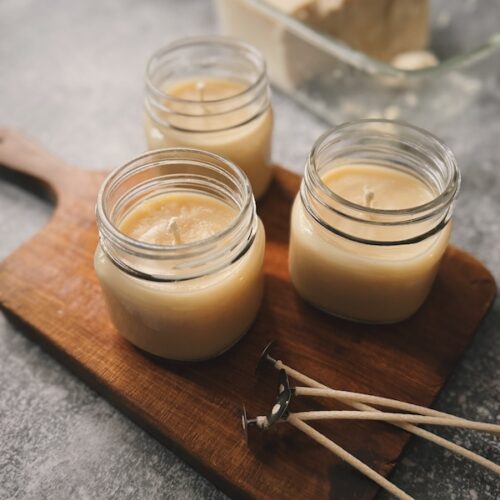
See, that was pretty easy, wasn’t it?! Now you have some amazing, toxin-free candles that are also sourced from local ingredients! I love a nose-to-tail strategy that utilizes ALL parts of the animal. Now you’re set for any power outage, but be sure to use these just for fun, too!
How to Make Tallow Candles
Equipment
- Tallow (beef, venison) Organic, grass-finished
- Essential oil(s) Optional
- Pencils or popsicle sticks Optional
- Hot glue gun Optional
Instructions
- Gently melt the tallow in a double boiler. Once it has melted, turn off the heat and let cool slightly while you’re working on the next steps. If the tallow starts to cool so much that it hardens, kick on the heat again for a few minutes.
- If you want to add some essential oils to your tallow candle, now is a great time while the tallow is cooling off. I’ve found that 40-50 drops is about right for each 8 oz jar, but you may want more or less depending on the intensity of the oil you are using.
- If you pour warm tallow into cold jars, they could crack or even worse, shatter. Gently warm the jars first by placing them in your oven on the lowest setting.
- Add a wick (or even 2-3, depending on the size of your jar) to the warmed jars and make sure that it’s centered. Use 2 pencils set over the top of the jar to hold the wick in place. You can also hot glue the round tab to the bottom of the jar to ensure that it doesn’t move.
- Carefully pour the slightly cooled but still liquid tallow into the prepared jar ensuring that the wick stays straight and in place.
- Leave the jar uncovered and simply walk away for a bit. Once it has completely cooled and hardened, trim the wick to ¼” long.
- Store your beautiful tallow candle in a cool, dark location when not in use.
Video
Notes

