
Are you wondering what should go inside a chicken coop? Or, more importantly, what shouldn’t go inside a chicken coop!?
There’s a lot of bad information floating around on the internet, so it’s hard to know who to trust. I’ve been raising chickens since 2014 and LOVE digging into research, so you can trust that I’ll lead you down the right path.
We’re going to tackle:
- 5 required items inside a chicken coop
- 5 optional items inside a chicken coop
- 3 items that should NEVER go inside a chicken coop
Let’s dive in!
*Disclosure: This post may contain affiliate links to products (including Amazon). I’ll earn a small commission if you make a purchase through my link, at no additional cost to you! Regardless, I only link to products that I personally use on our homestead or believe in.
5 Required Items Inside a Chicken Coop
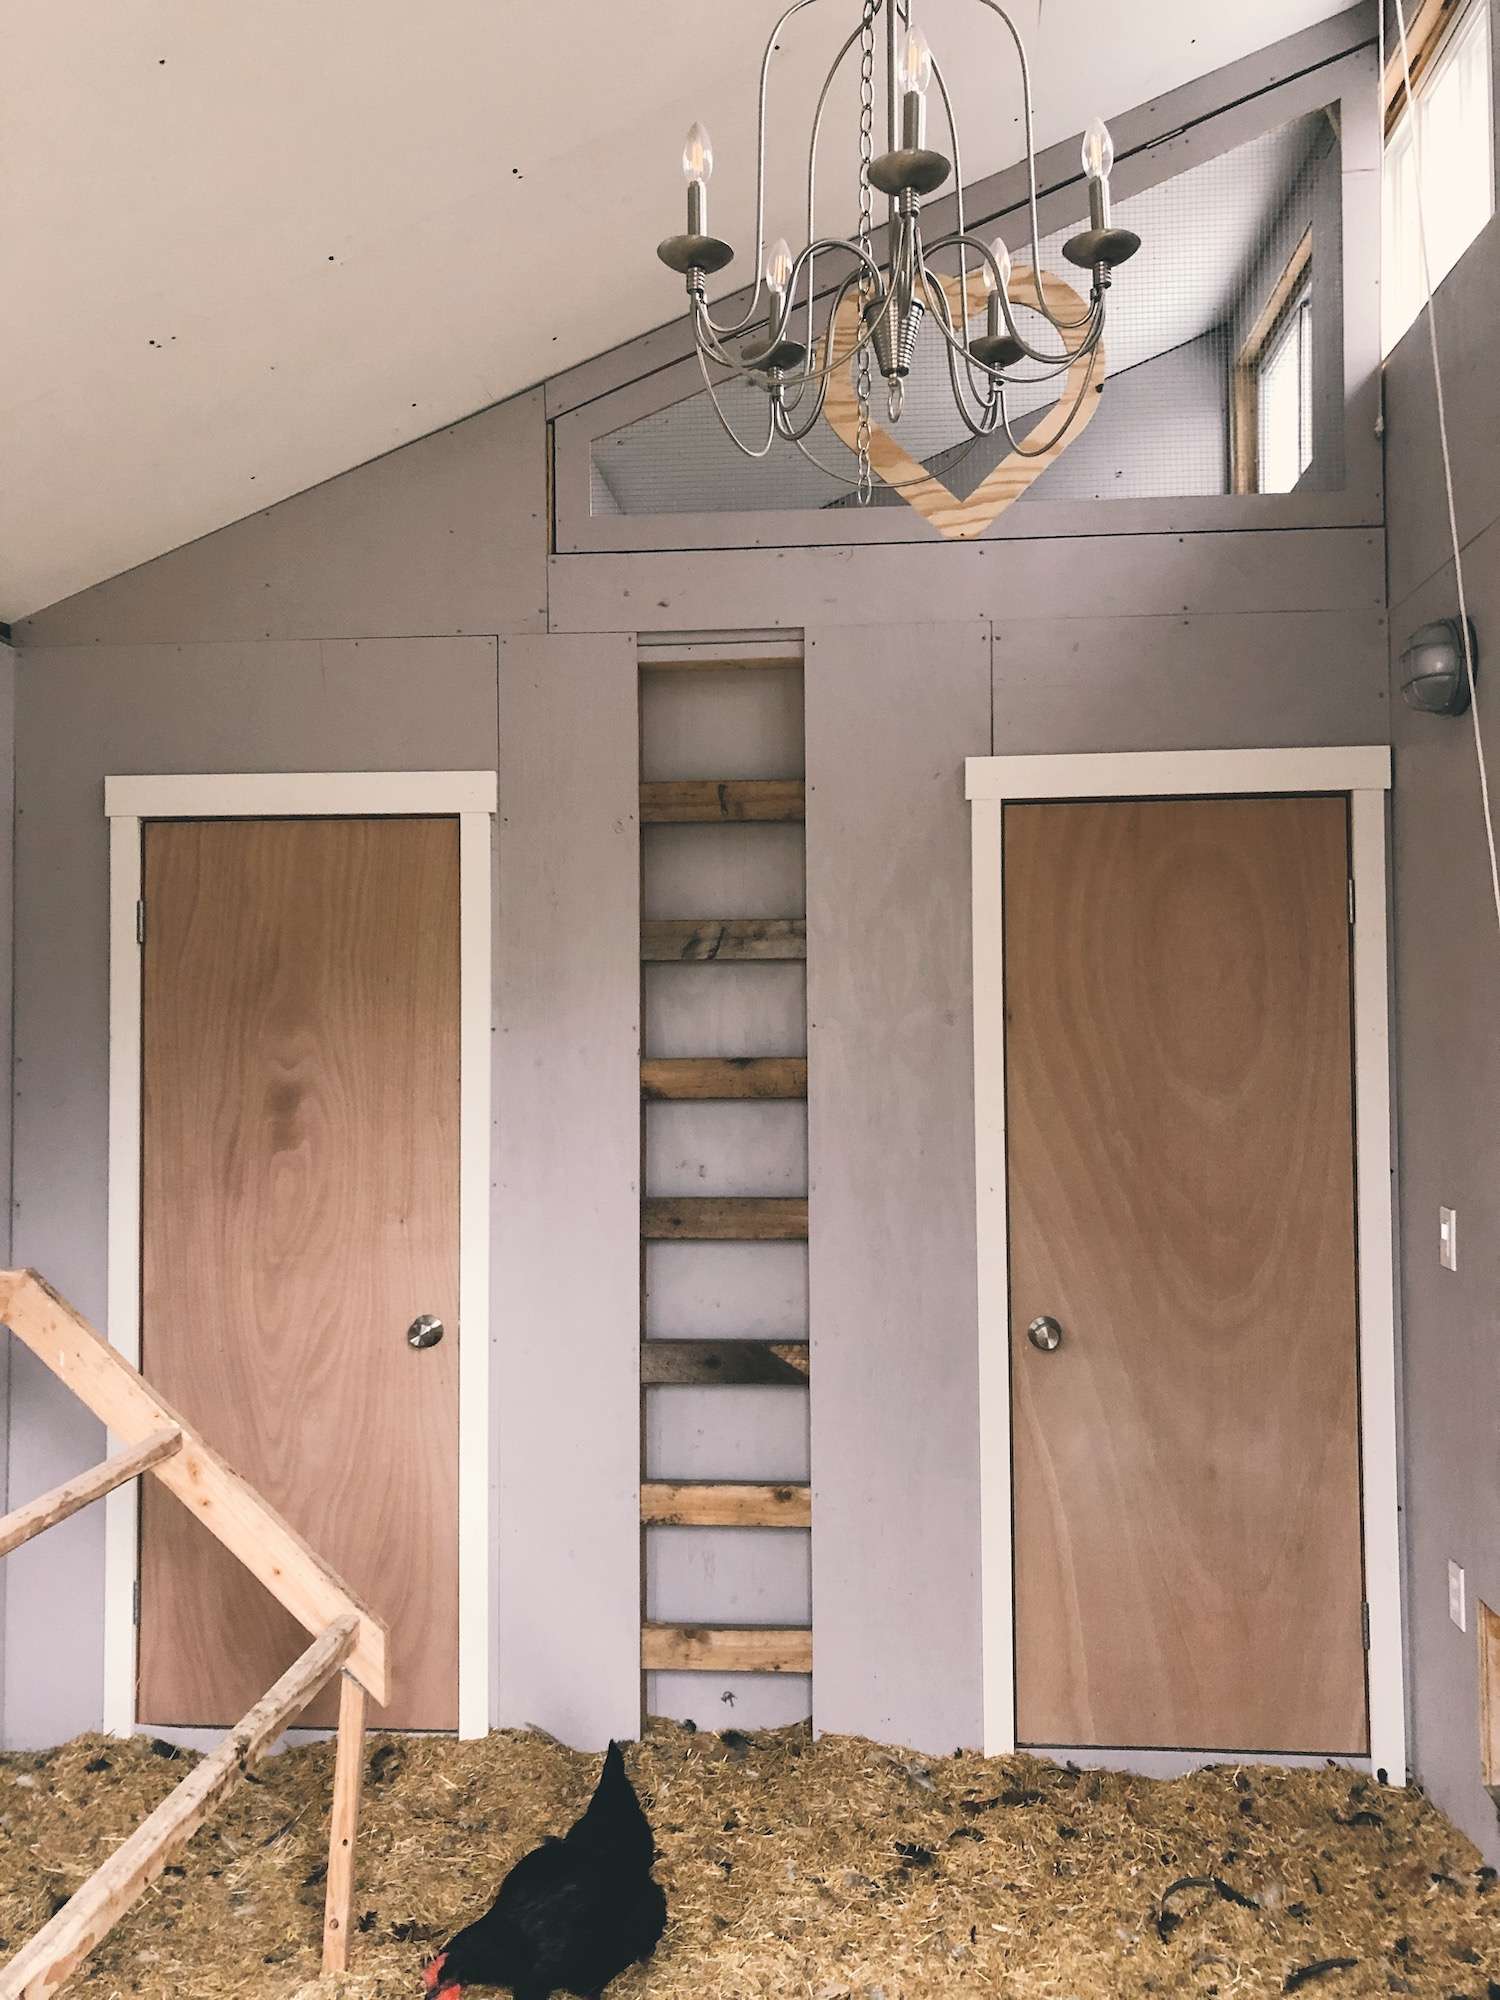
So, you’re getting ready to set up your chicken coop, but what do you really need? Chickens are pretty basic animals, so they don’t need much. Yes, you can add some things for fun (like a chandelier), but let’s talk about the basics!
#1: Roosting Bars
Wild chickens roost (sleep) in trees! Domesticated chickens still have those natural tendencies, so that’s what we want to simulate in the coop. This provides a safe and comfortable place for them to sleep at night.

Best practice for roosting bars:
- Allow 8-10” of roosting space per bird
- Space each roosting bar 18” apart and 18” from the wall – if you’re using a stair-step design, they can be just 12” apart
- Place the lowest roosting bar 2 feet up from the ground
- I prefer 2x4s (with the flat side up) here in Minnesota – that way their feet remain flat and they can fully cover their toes with their feathers (no frost-bitten toes!)
- You can use 2x2s If you live in a warmer climate where freezing temperatures are less of a concern
- Don’t use plastic or metal pipe – these are too slippery!
*TIP: Always sand off the sharp corners and any splintered areas, otherwise your chickens can develop foot injuries and eventually, bumblefoot.
**TIP: If you build your roosting bars with hinges to swing up out of the way, it makes clean-up a breeze! Check out my design here on Instagram.
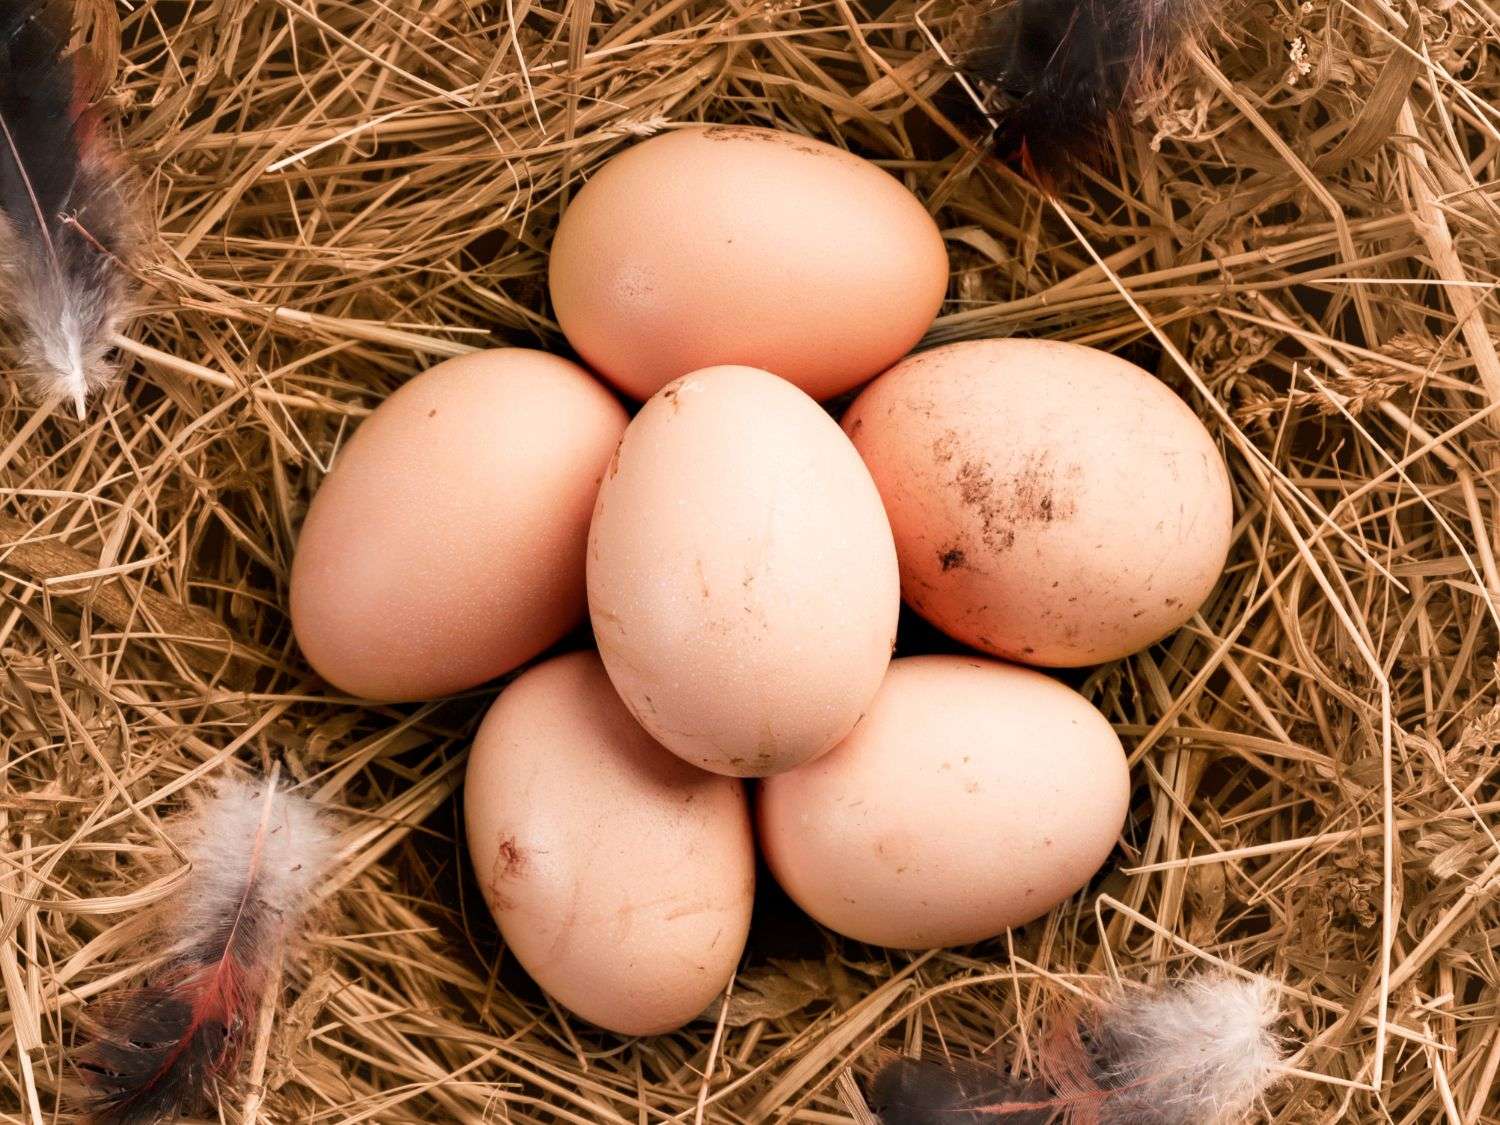
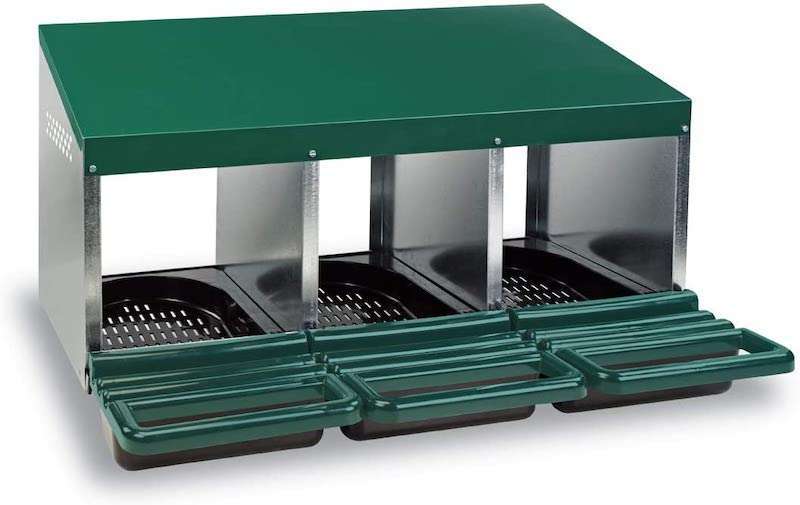
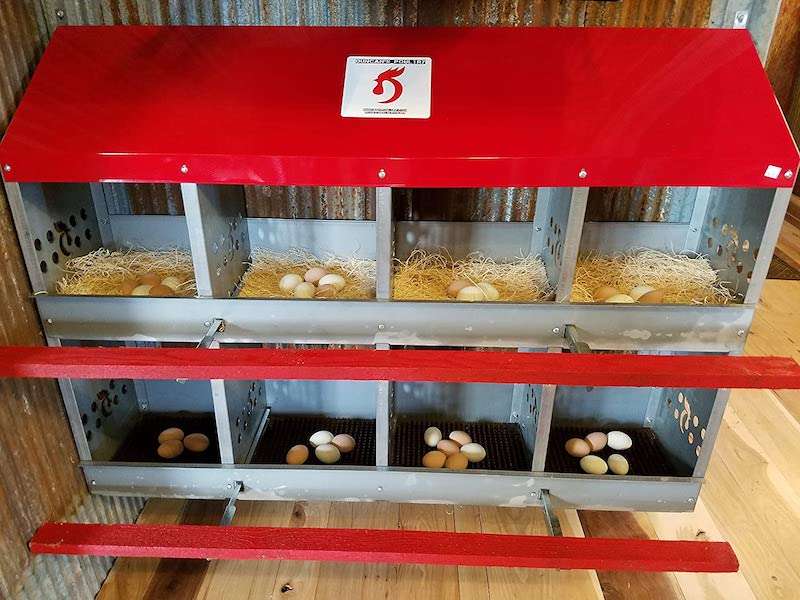
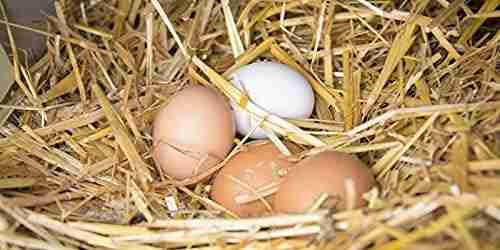
#2: Nesting Boxes
You’re probably getting chickens for fresh eggs daily, so you’ll definitely need some nesting boxes. Hens like to lay their eggs in dark, secluded locations, so we want to provide that for them.
Nesting boxes are nice for you, too! It’s an easy spot for you to collect eggs daily (rather than hunting all over the yard) while keeping them clean and unbroken.
Types of Nesting Boxes
There are actually quite a few different designs out there! One isn’t necessarily better than another – it all depends on your flock and your preferences.
Individual nests
This is the most common type of nesting box that you’ll see. They are sized to fit only 1 hen at a time, however, you might notice multiple hens trying to squeeze into their “favorite” nest at the same time. Egg laying can be a social event!
Group nests
Group nesting boxes are a very simple design. It features a large nest that can fit several chickens at once. The benefit of this style is that it is easier to construct, however, it comes with the risk of broken eggs due to multiple hens accessing it at the same time.
I personally like this style because it’s easy to put a seedling heat mat at the bottom to keep the eggs from freezing in the winter! A plus here in Minnesota!
Rollaway nests
I LOVE this feature! A rollaway nest has a surface that is slightly tipped at an angle so that the freshly laid egg gently “rolls away” into a protected collection tray. This keeps the eggs clean and prevents egg eating.
My Favorite Nesting Boxes:
The Homesteading RD's Product Picks: | |
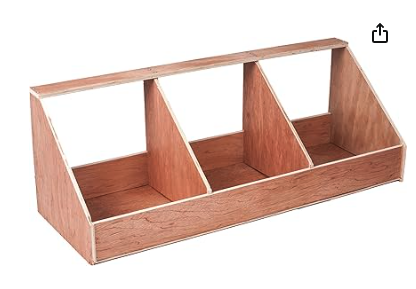
| This is about as basic as nesting boxes come, but they are cheap, moveable and still work fairly well. I don't even think you could build your own for this price! There's no perch in front, so the eggs may get broken/dirty. I use a few of these around my coop for temporary nests as needed (training new pullets, encouraging hens to go broody, etc.). |
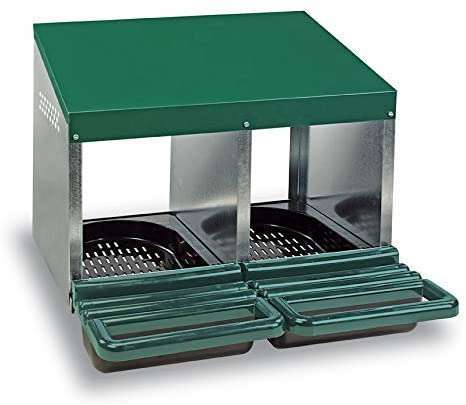
| If you have a flock size of 5-10 hens, then this is an awesome choice! It features a perch and rollaway design to keep your eggs clean. The removable trays and metal design makes this nesting box extremely simple to clean. The only negative is it would be challenging to heat each egg collection tray individually to keep eggs from freezing in the winter. |
| This one is the same design as the 2 Compartment Roll Out Nesting Box above, but is a better fit if you have a flock size of 10-15 hens. |

| If you have a larger flock (20+) and have cold winters, this is the BEST option out there and the exact set-up that I have in my coop. It's a great space-saver, keeps eggs clean, plus you can easily heat the large roll out tray to keep your eggs from freezing in the winter. You can even flip up the perching bar to keep your hens from sleeping there at night. Super neat! |
| If you have a large flock (30+), then this is the best bang fror your buck! The perching bars in front make it easy for your hens to access the nest, however they do not flip up like the Best Nest Box. Also, the description says that it's a rollaway nest, but its not. This is a stationary nest. Made in the USA! |
Best practice for nesting boxes:
- Nesting boxes should be 12”x12” for standard breeds – see my article Ultimate Guide to Chicken Nesting Box Size for more details!
- Add a rail in the front so they have a place to land before gently stepping into the nest – fewer broken eggs!
- Provide a lip on the front of the nest – this keeps the eggs from rolling out
- Provide 1 nest for every 4-5 hens – however, you’ll notice that your hens have a “favorite nest” that they all pile into, haha!
- Add a few wooden eggs to the nest – this will encourage your hens to lay there, rather than in the yard somewhere
- If using a community nest, provide 9 square feet for every 100 hens – that’s a 3’x3’ space
#3: Flooring
The type of flooring you use will either make or break you on coop clean-out day. You want to be sure to use a type of flooring in the coop that is easy to clean and provides a protective barrier from predators and the elements.
Best practice for coop flooring:
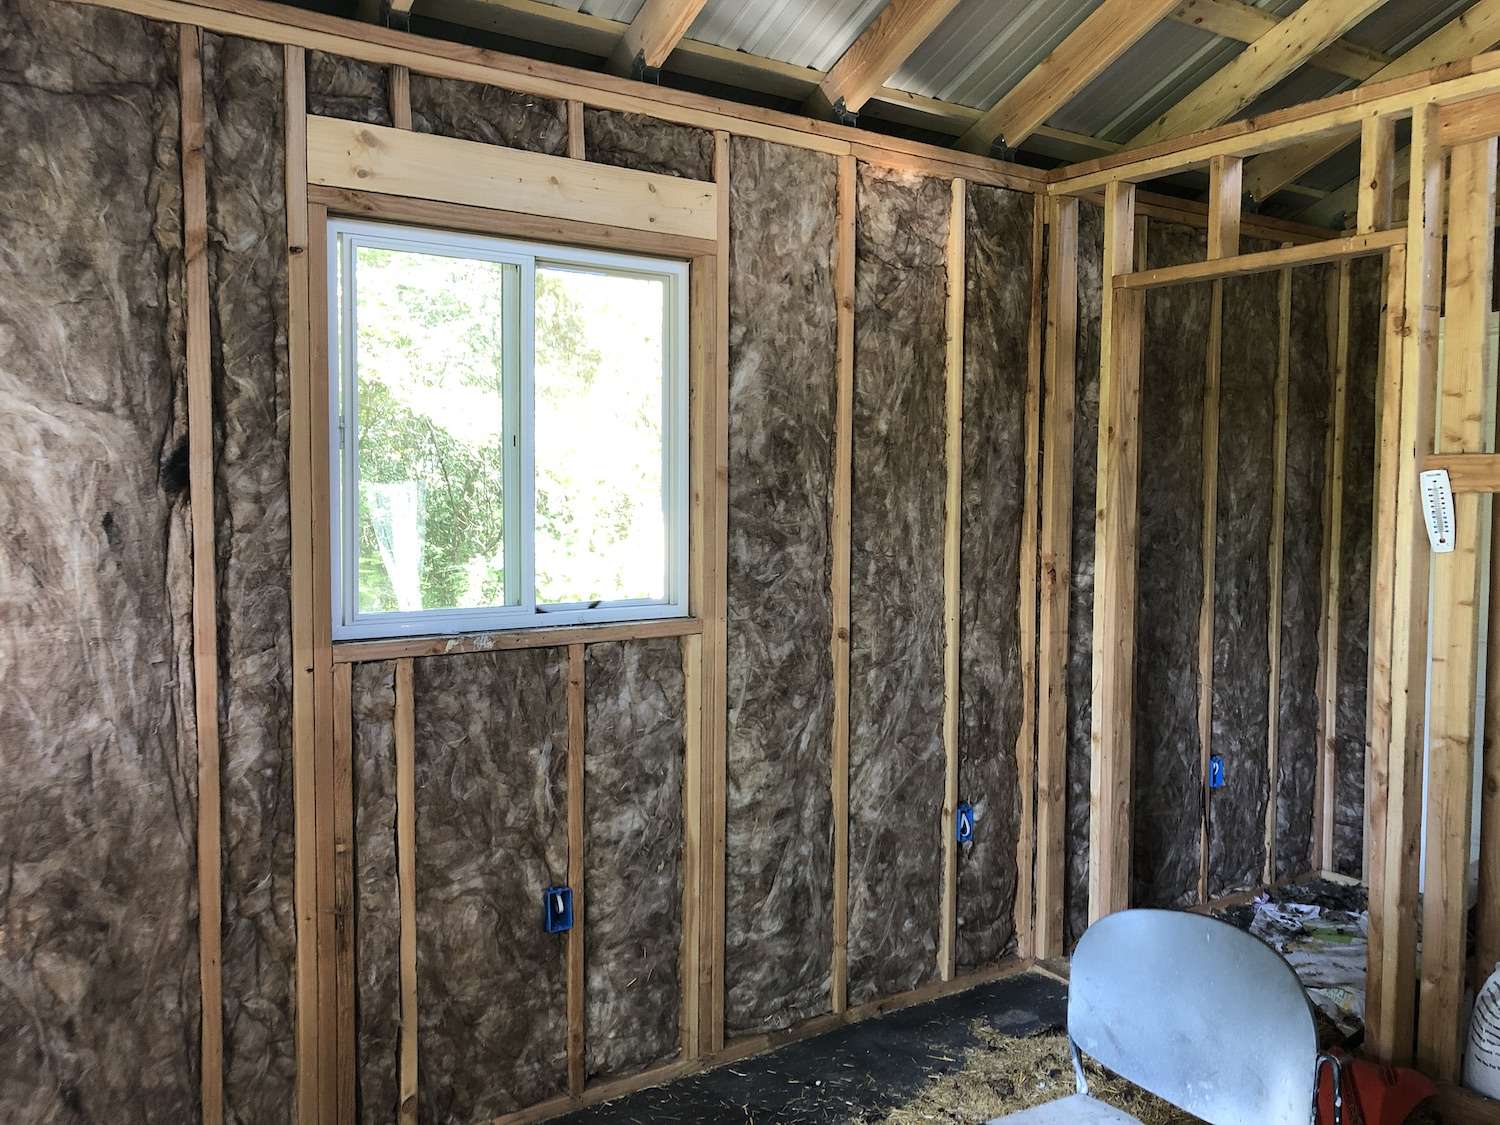
- Linoleum over plywood: This is the best option and what we use in our poultry palace (see photo above). It’s easy to clean and provides a good barrier to keep rodents, predators, and cold temperatures out.
- Concrete: Expensive, but provides good protection from rodents and predators. Also easy to clean.
- Wood/plywood: This is an economical option, but can be hard to clean and the cracks will get packed with poop and bugs.
- Rubber mats over plywood: This is another great option to protect the wood below while providing some insulation. It’s also very easy to clean!
Want to learn more? Check out my article Ultimate Guide to Chicken Coop Flooring!
#4: Bedding
Providing an effective form of chicken bedding in the coop is important to reduce moisture & odor, and provide some cushion in the coop and nesting boxes, while offering insulation from the elements.
My 3 favorite options are chopped straw, dried leaves, and hemp. I love them because they work great, are fairly inexpensive, and compost down very well. You can read about them in detail in my article The 5 BEST Chicken Bedding Options.
The Homesteading RD's Product Picks: | |
| Premium, organic wheat straw that is naturally sun-dried and cured. The straw ships in a box sized at 18 x 12 x 4 inches. |

| Hemp bedding provides a soft, comfortable environment with good absorbances and a high-thermal rating. Hemp bedding can absorb up to 4 times its weight! |
Best practice for chicken bedding:
- Start with a 4” deep layer for teenage chickens
- Work up to an 8” deep layer by the time they are full-grown
- Fluff up the bedding every few days with a pitchfork – your timeline may vary depending on your coop design and number of chickens
- Top it off with fresh bedding weekly or biweekly – your timeline may vary depending on your coop design and number of chickens
- Clean it out all and start fresh monthly – your timeline may vary depending on your coop design and number of chickens
- Look for these features: Inexpensive, absorbent, dries quickly, doesn’t pack down, provides insulation, low dust, lightweight and easy to handle, compostable (amazing for the garden!)
#5: Ventilation
Proper ventilation is essential to provide fresh air exchange, while allowing moisture (hello frostbite!) and harmful gases to escape. It will also help release heat in the summer. You may be tempted to close everything up everything in the winter, but don’t do it!
Some coops come with ventilation holes (which is great!), but if yours doesn’t or if you’re building one yourself, you’ll need to put in some. I know it may seem scary to chop some holes in your coop, but you’ll be thankful you did!
Best practice for ventilation:
- Provide ventilation holes near the ceiling, on the south side. They should be 3-4” in diameter.
- Make sure to cover the holes with hardware mesh – this keeps the critters out!
- You can use windows in certain circumstances
- Windows near the roosting bars provide great cross-ventilation in the summer but are too drafty in the winter. Close them when the temperature drops below 40 degrees.
- If your windows are far away from the roosting bars, it’s okay to use them in the winter. Just leave them cracked open instead of fully open.
5 Optional Items Inside a Chicken Coop
We’ve made it through the 5 essential items to have inside a chicken coop, but what else could you add to make things even better?
#1: Electrical
Having power out to your coop is a lifesaver when it comes to winter chores if you live in a cold climate like me. There’s nothing worse than having to haul out fresh water several times a day when the temps plummet.
I’ve experimented with MANY different heated chicken waterers over the years and heated dog bowls have been the best so far! I like the 1.5-gallon size and have 3 of them running for my flock of 45 chickens.
The Homesteading RD's Product Picks: | |
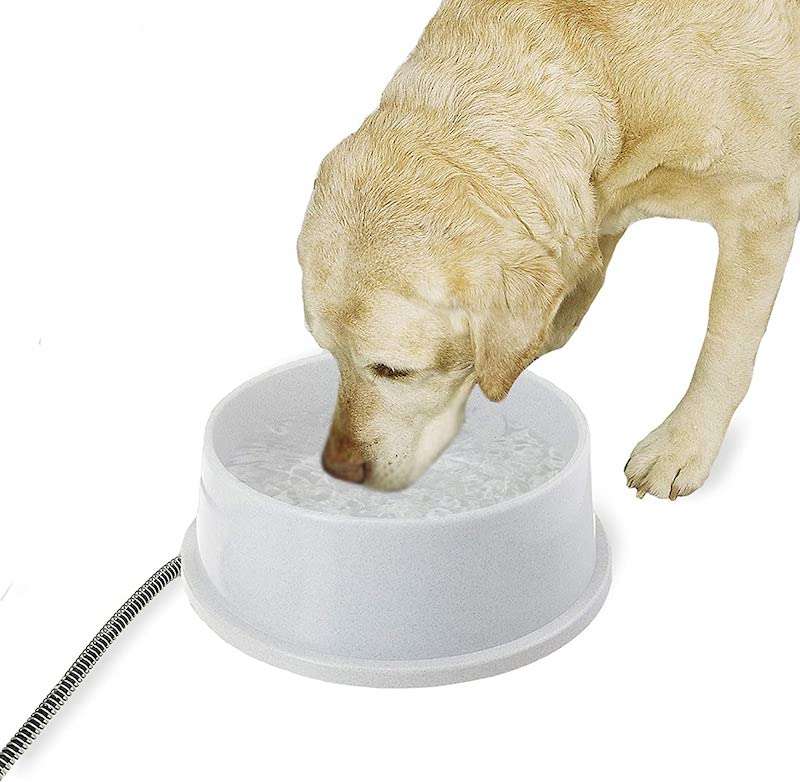
| This heated dog bowl is worth its weight in GOLD come winter time! This is the only solution that I've found to work well in our cold Minnesota winters. I run 3 of them for 40-50 chickens. |
If you can’t wire electrical directly into your coop, a simple weather-proof extension cord will do! It doesn’t have to be complicated.
#2: Light
Having electrical in the coop also allows you to have light! Light can be helpful not only for ease of doing coop chores after dark, but light also helps the chickens lay more eggs.
Did you know that chickens need 14 hours of daylight to lay efficiently? That’s why chickens naturally lay fewer (or no) eggs in the winter. If your goal is egg production, you can set up a light on a timer to come on in the early morning.
The Homesteading RD's Product Picks: | |
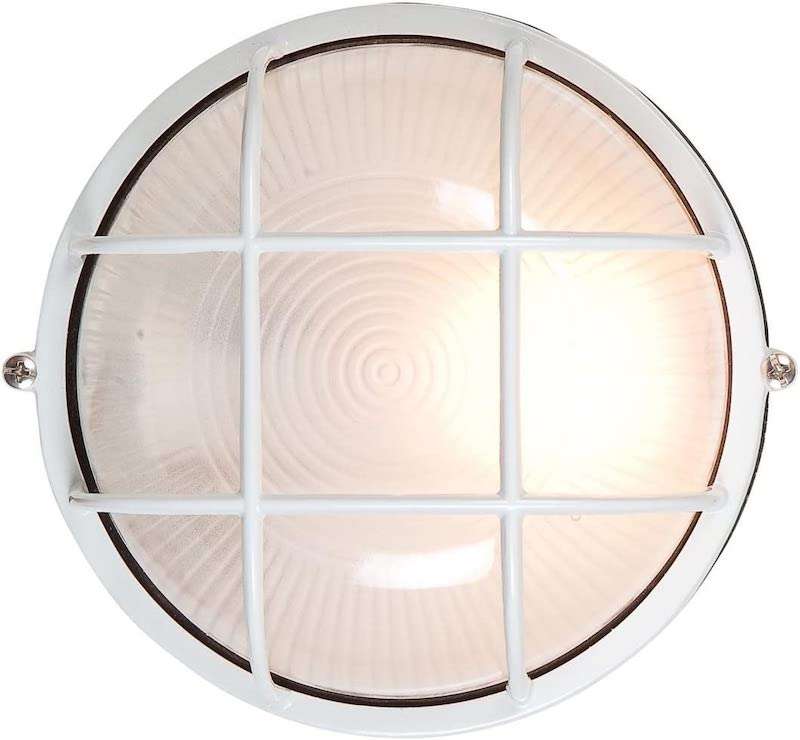
| This is the same light that we use in our coop and I love it because it's very durable (low risk of broken glass) and energy efficient. It also provides soft light without it being too intense. |
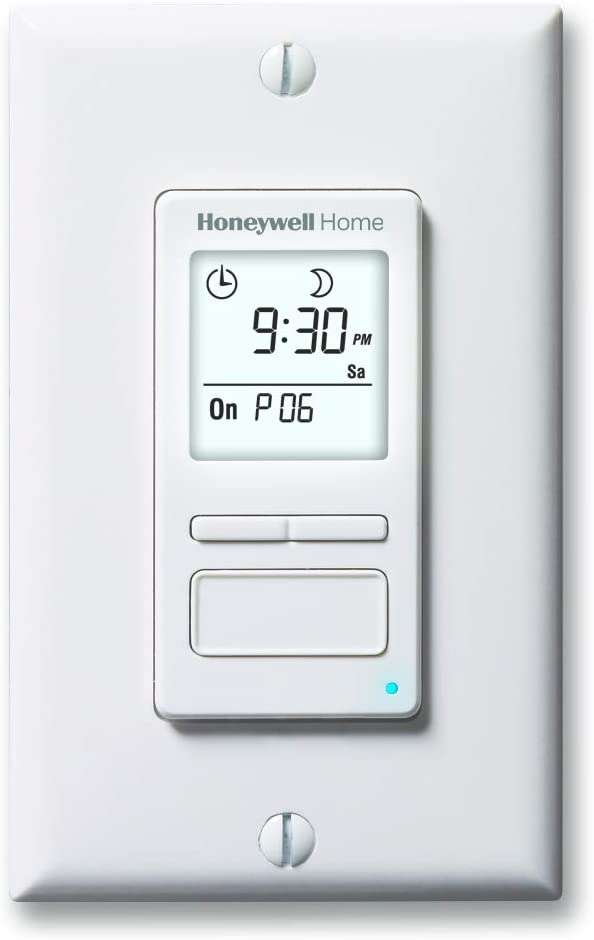
| This is the timer that we use to run the light above. We've been using it for years and it works great! Compatible with LED, CFL, incandescent, halogen and fluorescent lighting for outdoor or indoor operation |
#3: Camera
Do you want to keep an eye on your chickens while you’re at work? A simple coop camera might be a fun addition! Of note, most cameras need a WiFi signal to work, so if your coop is far from the house (like mine), this may not be a suitable option.
The Homesteading RD's Product Picks: | |

| This camera features a rechargeable battery that can provide 1-6 months of worry-free use before a recharge is required. It's wireless, waterproof and has simple installation. I like that it also has a dust cover and can be mounted on the wall of your coop! |
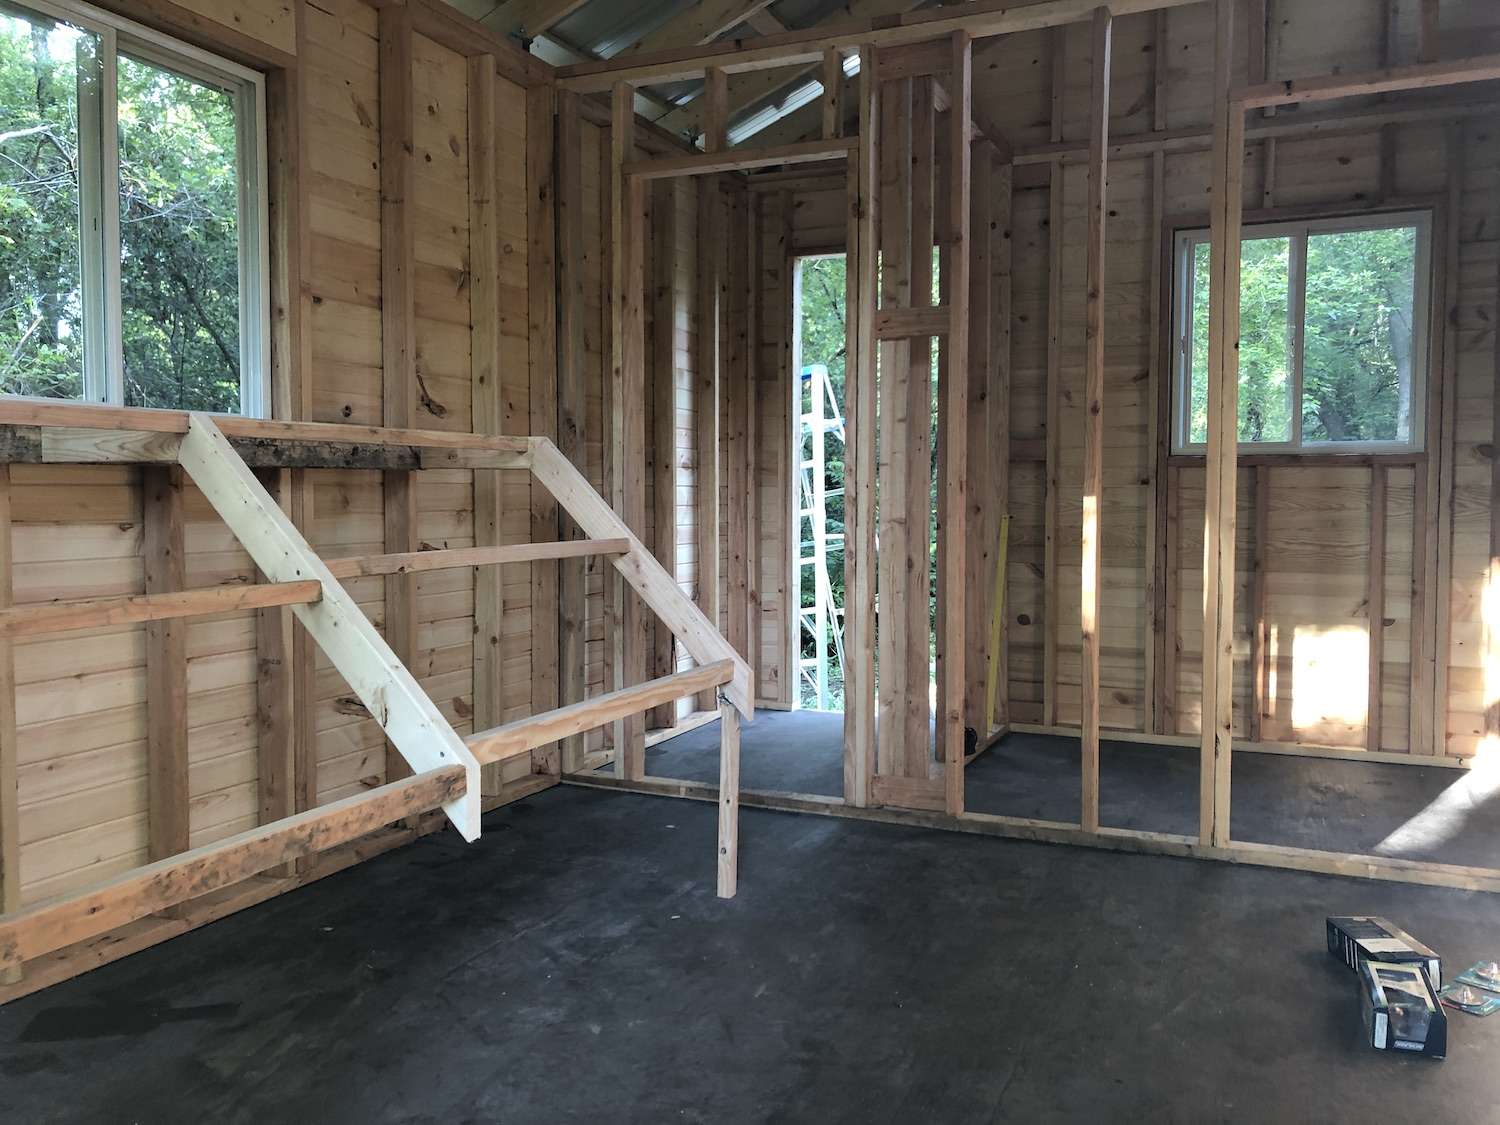
#4: Insulation
I put insulation as an optional feature because it completely depends on your climate. If you live in a warm climate, there’s no need to provide insulation! However, if you live somewhere where the temperatures frequently dip below freezing, you’ll want to provide insulation.
The insulation that you choose, depends on the construction of your coop.
- Most coops have thin 2″ thick walls, so 2″ foam is a great option.
- If you’re using standard construction using 2×4 walls like in our Poultry Palace (see photo below), then I recommend using standard fiberglass batt insulation.
#5: Heat
This one almost made it into the “NEVER inside the coop” list, but there are a few exceptions. I highly advise against routinely heating the coop in winter for multiple reasons:
- Fire risk – that one’s obvious
- High energy use/cost
- Your chickens never adapt to the cold, so if there’s ever a power outage and the temperature rapidly plummets in the coop, your flock could die
- It encourages the chickens to huddle in the coop instead of going in the run, resulting in more poop and moisture issues inside the coop
- There will be a drastic temperature change between the coop and the run. Since you’re going to follow my advice and NOT keep food and water in the coop, this becomes an issue.
- The light at night affects their circadian rhythm – yep, chickens have them too!
So when should you use heat in the coop? The only time I turn on heat in the coop is once the temperature hits -20F or below, but I don’t blast the heat in the coop. When the heat is on, the temperature is around 10 degrees F in the coop so it’s not a drastic temperature change.
Definitely don’t use a heat lamp, but below are a couple of safe options:
The Homesteading RD's Product Picks: | |

| Unlike traditional high wattage heaters, this 200 watt warmer puts out a low amount of heat which is ideal for chickens and young chicks, is much safer than heat lamps, and saves a lot on energy costs |
3 Items That Should NEVER Be Inside a Chicken Coop
Yep – there are definitely some items that you should never keep inside a chicken coop. Unfortunately, I see people doing this all the time! Follow my advice and don’t make these common mistakes.
#1 Water
This is the #1 thing that I would absolutely avoid having in your coop, especially during the winter! Here’s why:
- It can (and will) spill into your chicken bedding making it wet, soggy, and eventually, moldy.
- Your birds will spend more time in the coop, which means they are foraging less, not to mention more poop for you to clean up later!
- It will increase the overall moisture level in your coop, which can be deadly in the winter. Moisture = frostbite. We want to do everything we can to keep moisture levels as low as possible in the coop.
The Homesteading RD's Product Picks: | |
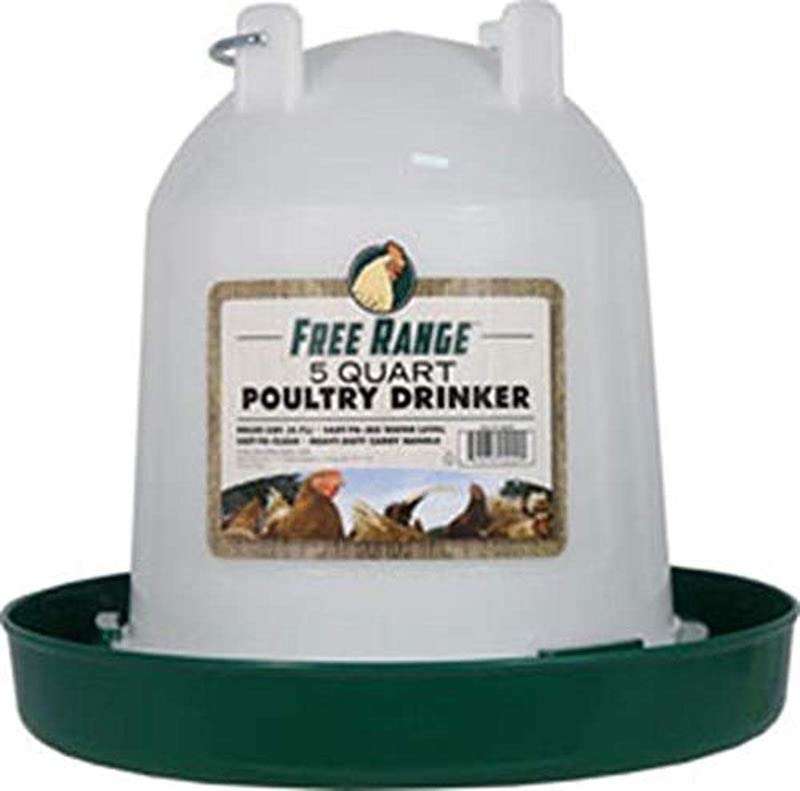
| I love 1 gallon sized waterers for small flocks (5 or less), baby chicks or broody hens. They are easy to handle, carry and refill. A great size for beginners! |
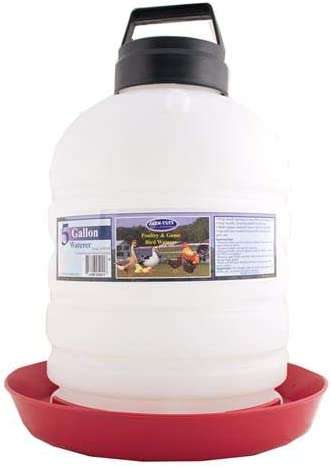
| This is the size that I use (2 of them for 40-50 chickens). However, I used this size when I only had 10 chickens as well! I like that it lasts a long time - less to worry about when you go on vacation. |
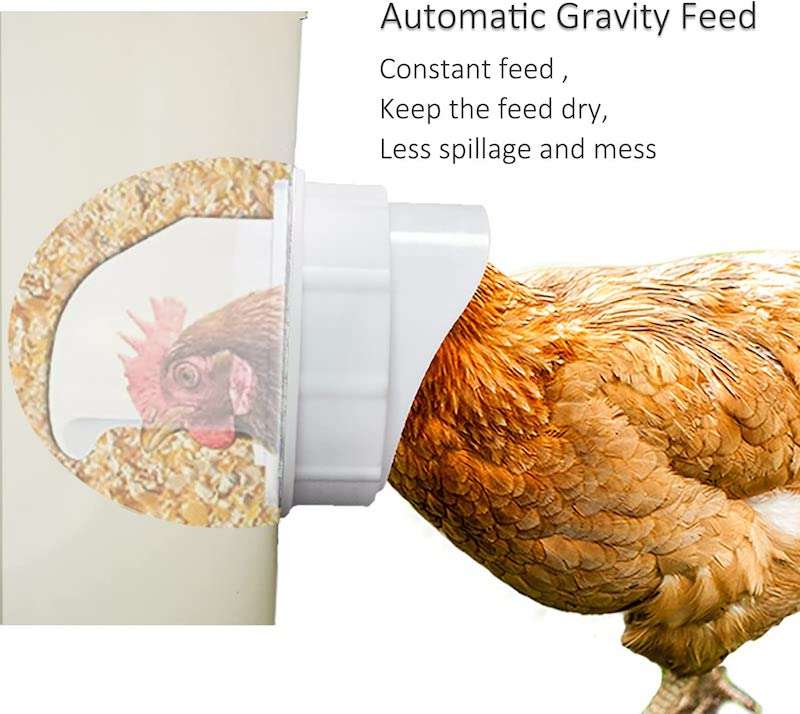
#2 Feed
It may seem like a good idea to keep everything inside the coop, but this is a bad idea for several reasons:
- It will encourage rodents to take up residence in your coop. No thanks!
- Your birds will spend more time in the coop, which means they are foraging less, not to mention more poop for you to clean up later!
- More wasted feed because it’s harder for them to pick out spilled feed that’s buried in chicken bedding than off the ground
The Homesteading RD's Product Picks: | |
| Finally! A feeder that prevents feed from spilling on the ground everywhere. It will seriously pay for itself within a year in terms of spilled feed. This holds 20 lbs and is an excellent choice! |
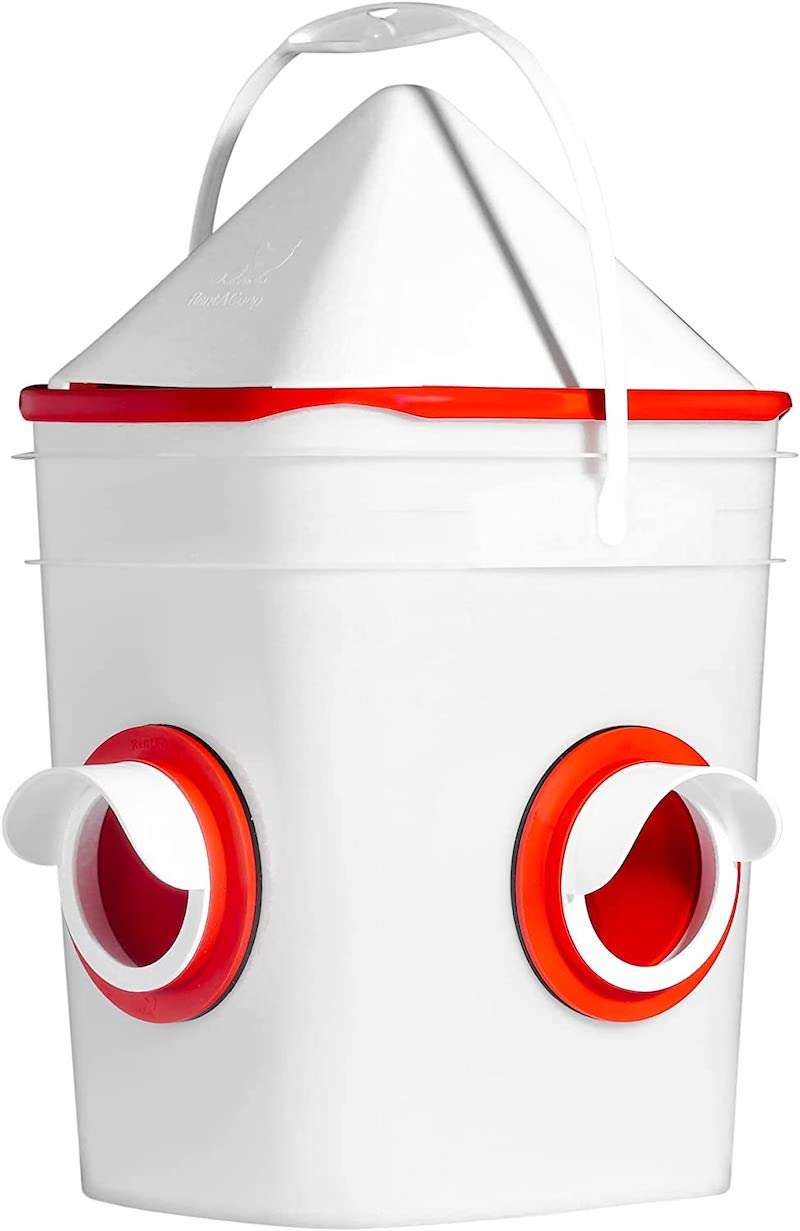
| Already have a tub, barrel or garbage can laying around? Grab a set of these DIY No-Spill Chicken Feeder cups and insert them into your container. |
*TIP: Make sure that the feed stays dry in the run so that it doesn’t get moldy. This can be achieved by adding a roof to your run (highly recommended!), or you can build a basic “feed station” with a roof over it.
#3 Dust Bath
Chickens love a good dust bath! Dust baths keep their feathers clean while also warding off pests like lice and mites. However, dust baths only work if they are, well, dusty!
Often, I’ll see people keeping them in the coop so they don’t get rained on. The problem with this is that the coop then gets super dusty as well. My recommendation is to have a roof over your run to keep the area dry and the mess outside.
*TIP: You can try and create a wonderful dust bath for them, but chances are, they’ll make their own somewhere else. I’ve invested way too much time and money into creating the perfect dust bath only to have them use it as a litter box. My chickens prefer to make their own dust baths randomly under a tree in the summer or in the corner of the run in the winter.
Watch Me Convert A Shed into a Chicken Coop!
Other Chicken Articles You’ll Love:
- Ultimate Guide to Chicken Coop Flooring
- The 5 BEST Chicken Bedding Options
- Ultimate Guide to Chicken Nesting Box Size
Final Thoughts
Hooray! We’ve made it through the 5 essential items, the 5 optional items, and the 3 items that should NEVER be added inside a chicken coop. Let me know what questions you have in the comments section below!
Are you a first-time chicken keeper? Or maybe you don’t even have chickens yet? Definitely check out my ultimate resource: How to Care for Chickens: A Beginners Guide.

*Information in this article was referenced from personal experience and/or from my favorite chicken book: Storey’s Guide to Raising Chickens, unless otherwise noted.
The Homesteading RD's Product Picks: | |
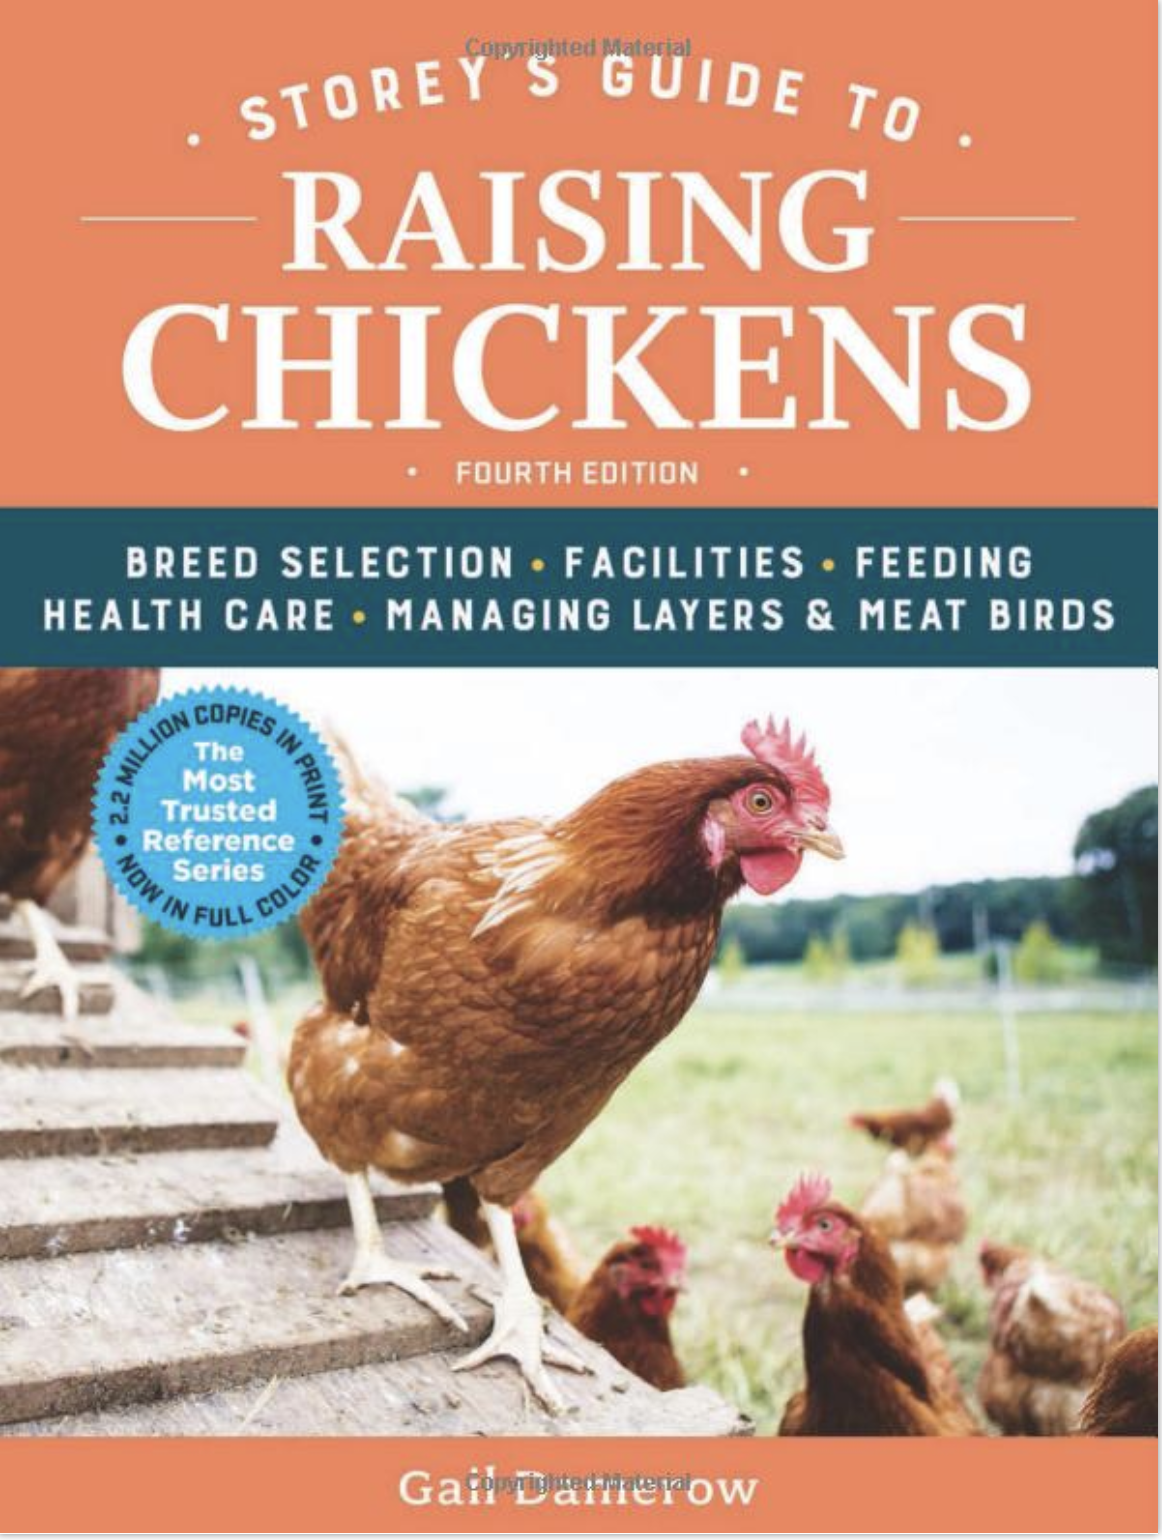
| This is THE chicken book to have! I've had my copy since the beginning and it's the one that I keep going back to time after time. It provides everything you need to know from coop design, hatching chicks, layer nutrition, and much more! |


In an extreme cold spell as we usually have every winter in Michigan, will the normal heating base keep the exterior location of the water from freezing? We have an eight bird flock and have had their food and water inside the coop. And you are correct, it can be messy and wasteful (feed). The floor is plywood that we cover with a layer of 1/4″ plywood that we replace annually. Our run is not covered and even if it were it would still fill with snow and the girls do not like snow at all.
I highly recommend a covered run and then you can wrap it with plastic to keep the snow from blowing in – it truly solves all the problems that we face as northern chicken keepers and allows you to keep the feed/water outside. Check out my video here for updated details on winterization: https://youtu.be/vejy7PtLfX0?si=wGVhZ2Yh1TsQ2GpN
do you put a wood preservative in the coop, thanks
Are you talking about pressure treated wood for the construction?
this was apsolutely a wonderful article I have learned alot and found information that I was looking for.there was some thing I read in another article that they need little tiny rocks spread around to help their gizzards and do you have a article for breeding a small flock of chicks? maybe how to sell eggs, what to sell them for ,and how much could you earn.
I’m glad it was helpful! Yes, I recommend providing grit in a container to support proper digestion.
You failed to mention what wall material you put over the insulation! I’m in the process of insulating my coop right now with Rockwool, put down my moisture barrier and am trying g to figure out what to use on the walls!!! Would love to know what you used!!! Forgive me if you did mention it in the article I just don’t see it!
So sorry! We used plywood in the poultry palace and in our current (smaller) coop we are using 1/8″ panel board
Great article, feel like I learned so much more than I came searching for! Question about the water and food…. “Not in the coop” means not where the nesting boxes are/covered sleeping dark area. I guess I’m just confused as to where the coop ends and the run begins?
Ooo yes, thanks for asking this – the coop is the inside portion (where there’s bedding, laying boxes, roosting bars, etc.) and then the run is the outside portion (usually enclosed with only chicken wire/hardware mesh and possibly a roof). The food and water should be in the outside run portion.
This is so impressive. I’m always jealous of people who have chickens but its so much work! This is a great way to know what you are getting into.
The set-up takes some work, but once that’s done they are pretty easy to take care of! 🙂