
Cooking a rooster is pretty easy, but it can be intimidating for first-timers! It’s definitely a lost art that was daily life in our great-grandparent’s era. Let’s bring it back!
You might have heard that they can be tough, lean, and not good to eat, but that couldn’t be further from the truth! Roosters are delicious and make for an easy meal, as long as you know how to cook them properly.
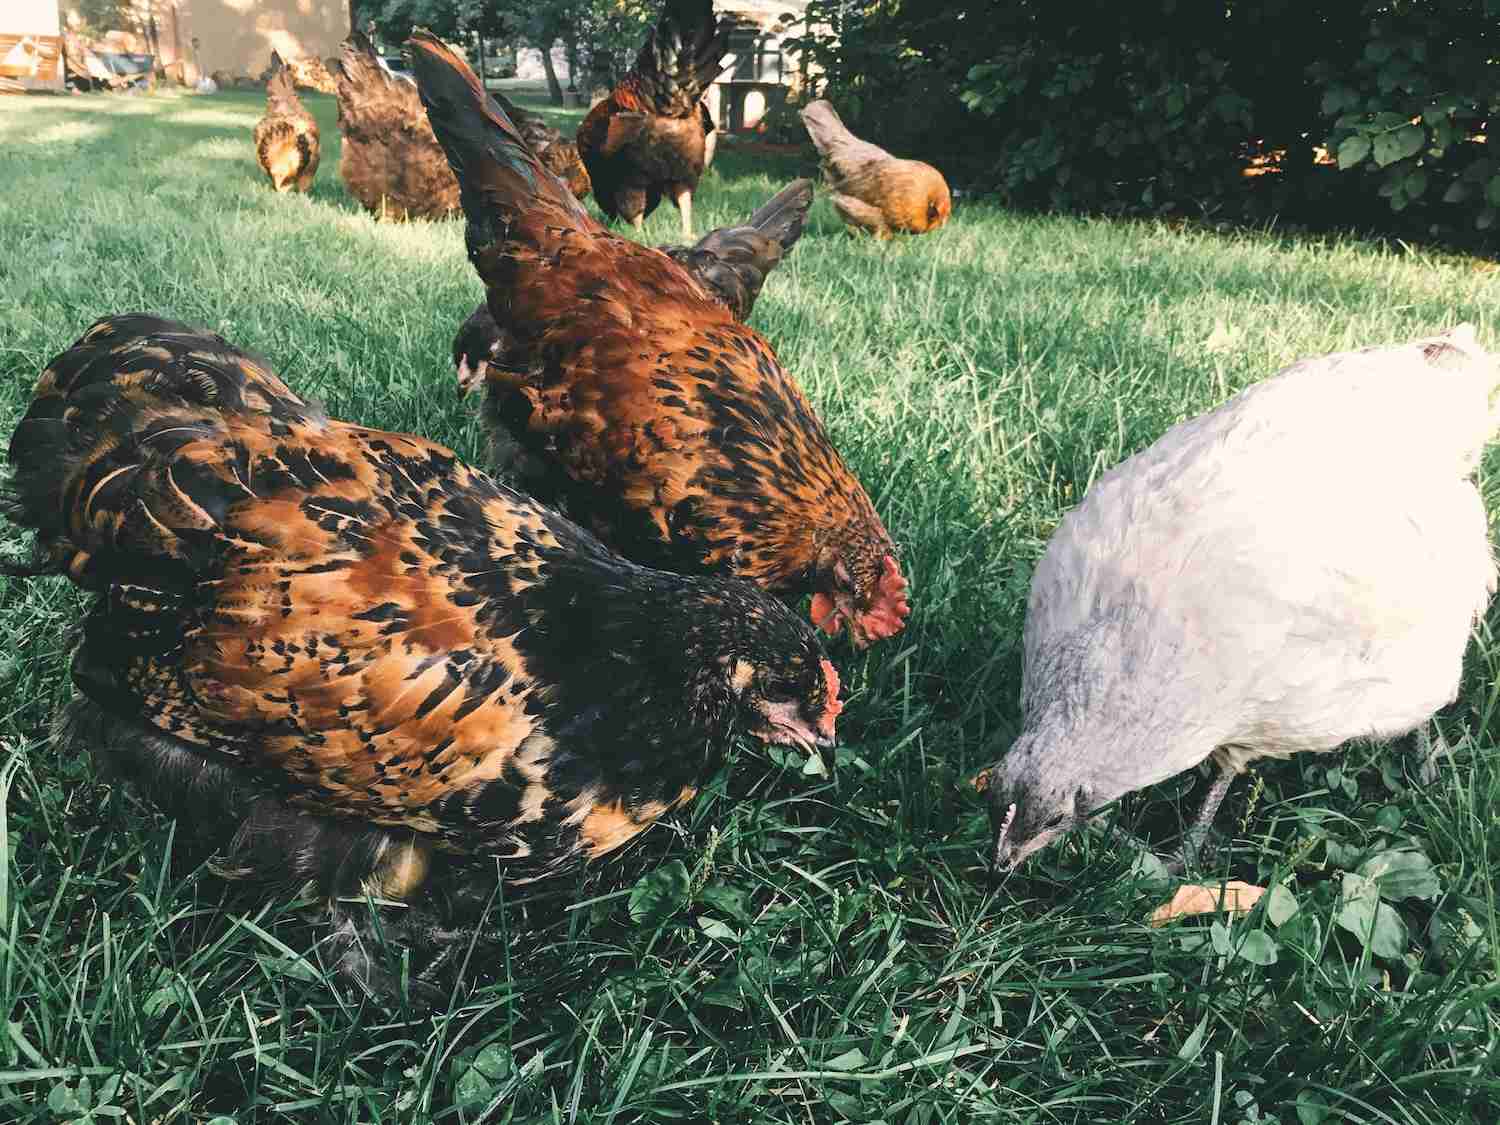
We harvest 10-15 of our extra roosters from hatching every year, and they nourish our bodies all winter long. I’ve perfected my strategies for cooking a rooster over the years and I can’t wait to share them with you!
Let’s jump in!
*Disclosure: This post may contain affiliate links to products (including Amazon). I’ll earn a small commission if you make a purchase through my link, at no additional cost to you! Regardless, I only link to products that I personally use on our homestead or believe in.
Our Modern Problem
What if I told you that….300 million baby chicks are killed at hatcheries annually in the US, and 6 billion worldwide? What a tragic waste!! It’s because we, as a culture, only value hens.
Most of the once-valued roosters are immediately sent to the grinder because no one has a purpose for them anymore:
- Large commercial laying facilities only keep hens for egg production.
- A lot of people just don’t want to deal with roosters, period.
- Folks in the city aren’t allowed to keep roosters.
- Homesteaders typically only keep 1 rooster per 10-12 hens to keep the peace.
- Cooking a whole rooster isn’t a common practice anymore. It’s all about bulky meat birds and boneless, skinless chicken breasts… It’s time to change that!
The path forward
Being born as a rooster is a tough deal. There’s no way around it. However, they do have incredible purpose beyond just being sent to the meat grinder within hours of hatching.
They make incredible, nourishing soup and offer a HUGE step toward self-sufficiency. If you thought you were limited to eggs as a protein to nourish you and your family, keep reading! Even if you live in the city.
YES! Hear me out…
Roosters crow, a lot. They can be obnoxious. That’s why they aren’t allowed in the city. However, they only crow once they are maturing, and their crow starts out pretty quiet… so you have plenty of time to intervene before your neighbors start to complain.
So, go ahead and get some roosters and let them live a great life for several months. Then, once they start alarming the neighborhood at 4 am… it’s time.
Since they aren’t fully mature, they won’t be a huge chicken that’s worth piecing out or roasting in the oven, however, they make the most amazing, nourishing soup (keep reading for my recipe)! Honestly, they are so darn good that I justify hatching more chicks than I need just so that I have more soup roosters!
The Best Way to Get Some Roosters
Now that you’re seeing the value in roosters, you may be wondering the best way to get them! Some chick suppliers only sell hens, which is unfortunate. Here are your best options
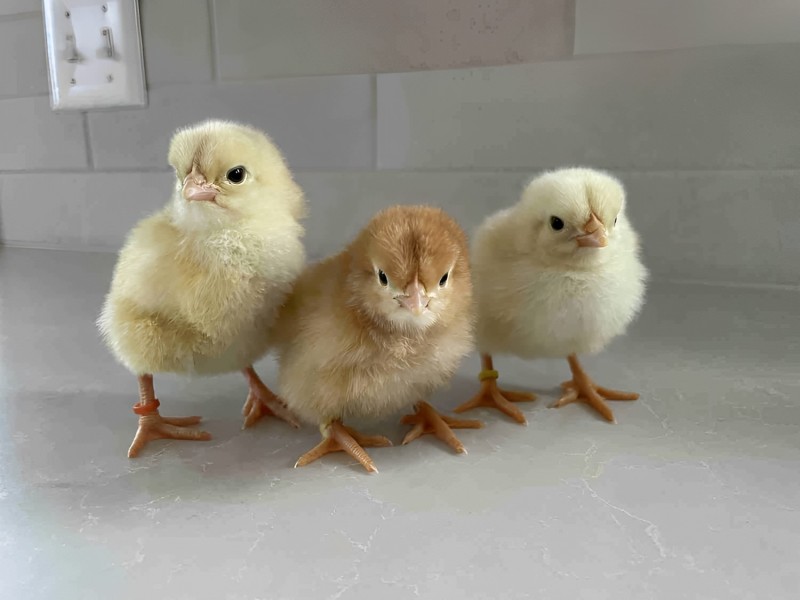
- Get your chicks from a local NPIP breeder. Most breeders don’t have the tools or training to sex chicks, so they’ll be “straight-run.” Straight run means they are unsexed, so you’ll get a mix of males and females.
- Find some fertile eggs to hatch yourself! You’ll naturally get a mix of roosters and hens, plus hatching and candling is so much fun! Check out my review of the best incubators on the market.
- Buy straight-run chicks from a hatchery to save the roosters from the grinder, or, better yet, purposely order some sexed roosters so that you can save a handful!
Ok, Let’s Go About Cooking That Rooster!
Congratulations! You’ve decided to welcome a few roosters to your crew, or maybe you ended up with a rooster by accident (that happens, too!). Do you know what to do next?
Honestly, it’s so so simple. You don’t even need a special rooster soup recipe. You can convert any of your favorite crockpot chicken soup recipes to my basic rooster soup method below.
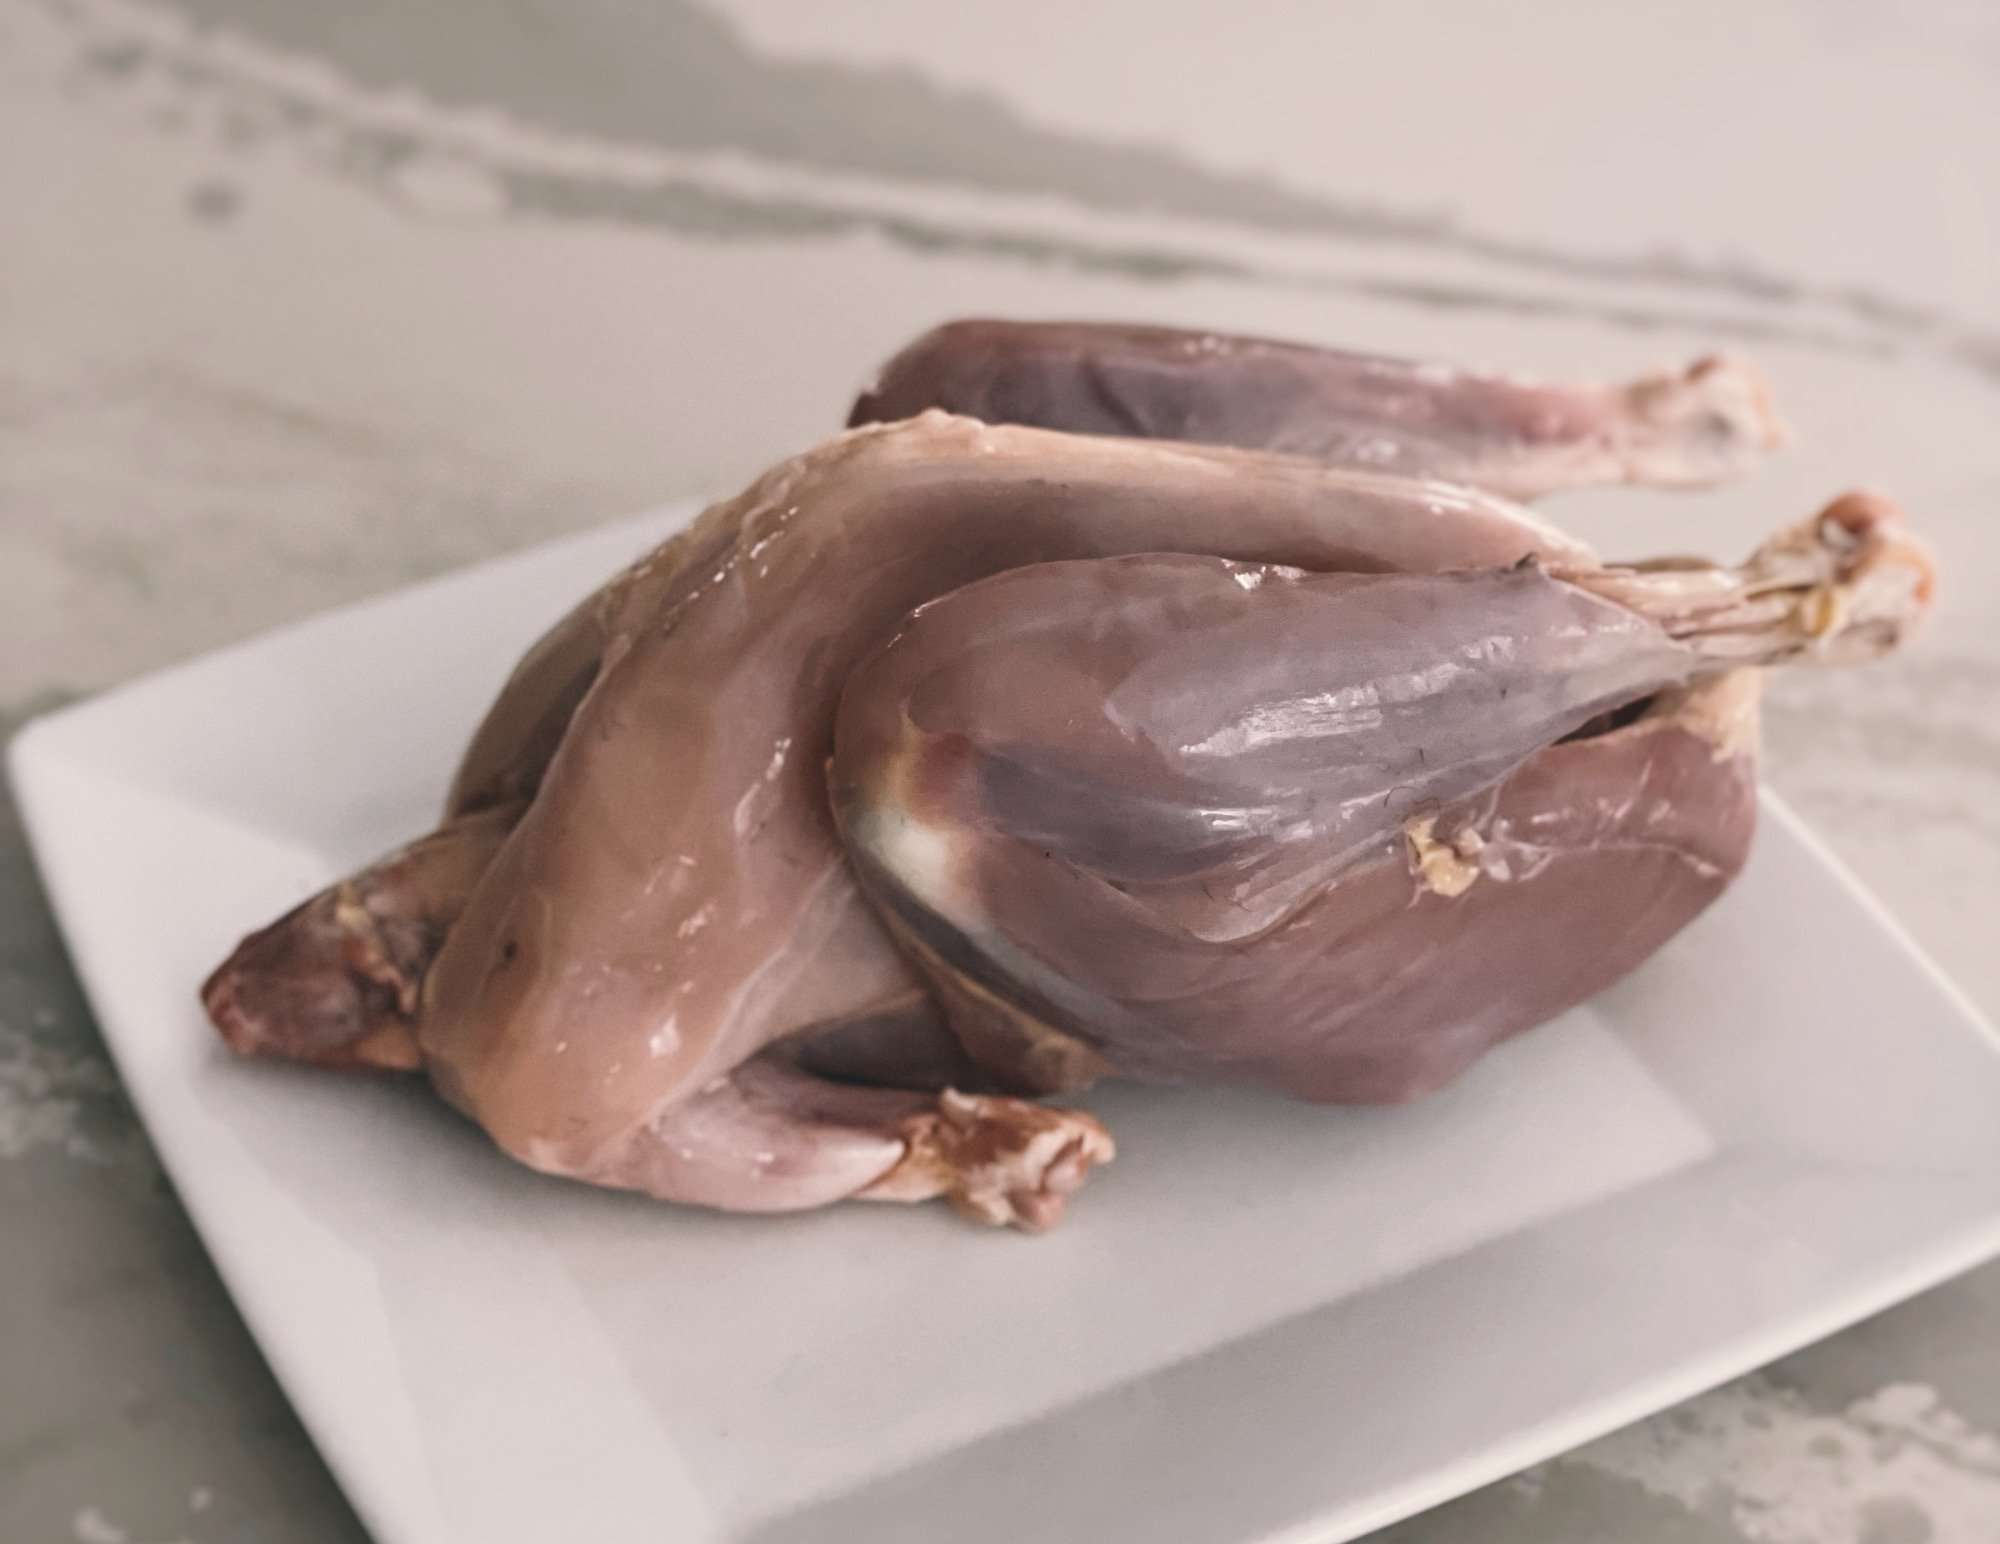
First, butcher the rooster
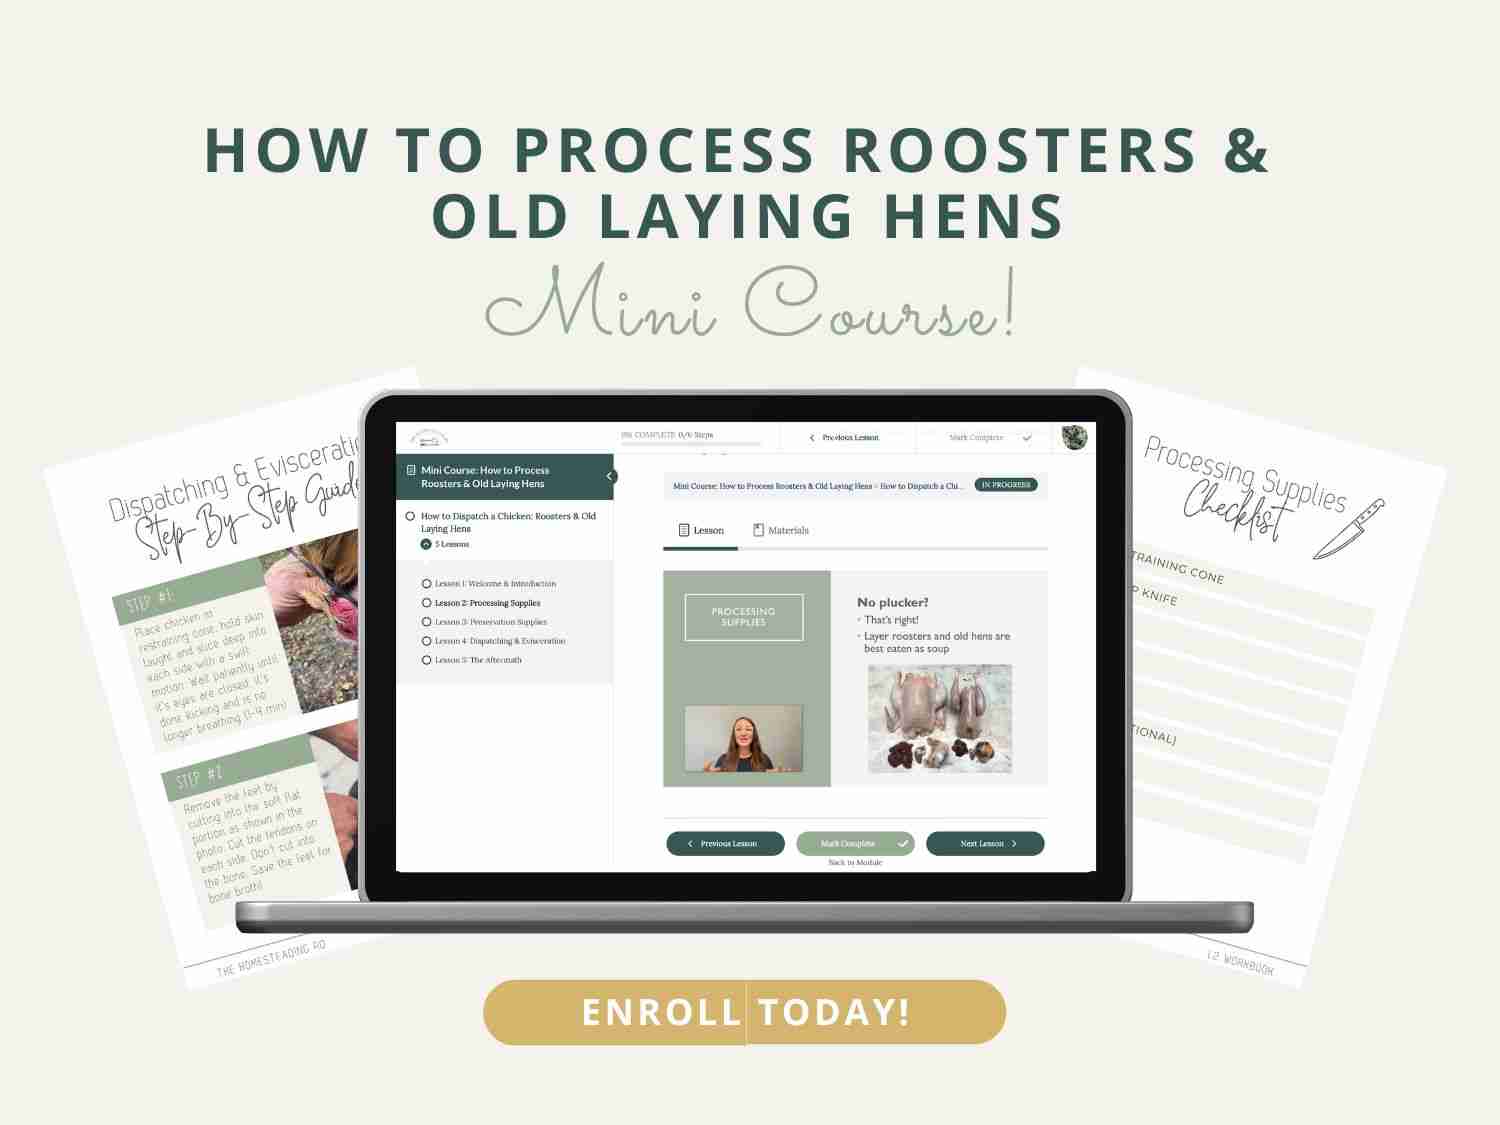
This is the first step. If you’ve never butchered a rooster before, I highly recommend checking out my mini-course: “How to Process Roosters & Old Laying Hens.” I’ll show you the entire process so you can feel confident in doing it yourself, humanely.
Since teenage roosters are small and older roosters are tough, they are both best used in the soup pot. Because of this, you don’t need to go through the headache of scalding and plucking! Simply, skin the bird, complete evisceration, and it’s ready for the next step.
Then, allow the rooster to rest
This is a very important step! Don’t skip this!!! Shortly after butchering, rigor mortis sets in and lasts anywhere from 1-5 days (depending on how old it is). When I hear from people that their meal was chewy and tough, it is typically because they ate the bird the same day. Oops!
We like to put the bird in the fridge in a vacuum seal or gallon Ziploc bag with a rubber band loosely holding the opening semi-together. The key is to allow for some air exchange, but not let the bird dry out either.
How long to rest it for?
- Teenage rooster: 2-3 days in the fridge
- Adult rooster: 4-5 days in the fridge
Once the rooster has been allowed the proper resting time, you have 2 choices: do you want to freeze it and cook it later, or do you want to cook it right away?
Freeze the rooster for later (optional)
We typically freeze our teenage roosters right away because they are ready for butchering by late summer. Who wants soup on a hot August day? Not me! So, we just seal up the bags using our vacuum sealer, and into the deep freeze they go.
The Homesteading RD's Product Picks | |
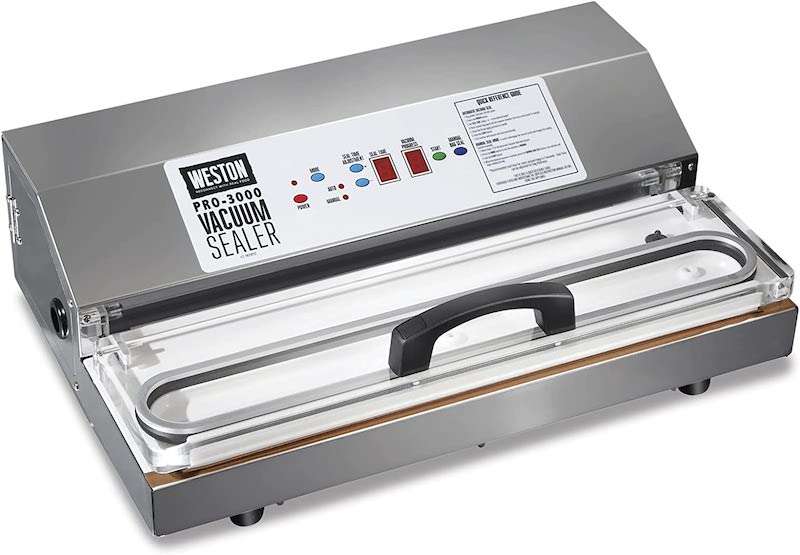
| This is the one we use and LOVE! Features an extra-wide, 5mm heat bar fits a variety of bags up to 15" (38 cm) across. The digital LED control panel monitors and displays the stages of the sealing process |

| If you're looking for a more budget-friendly option, this one is quite popular! |
Plus, we typically butcher 5-10 at the same time, so it just makes sense for us to pack them away for later! Then, when I’m craving soup during the long, cold days of winter I simply defrost a rooster and get to cooking!
It’s time to cook the rooster!
Most crockpot chicken recipes out there call for boneless, skinless chicken breasts to be added along with the other ingredients at the beginning. For rooster soup, there’s a different set of steps to be followed. It’s not hard! Just different.
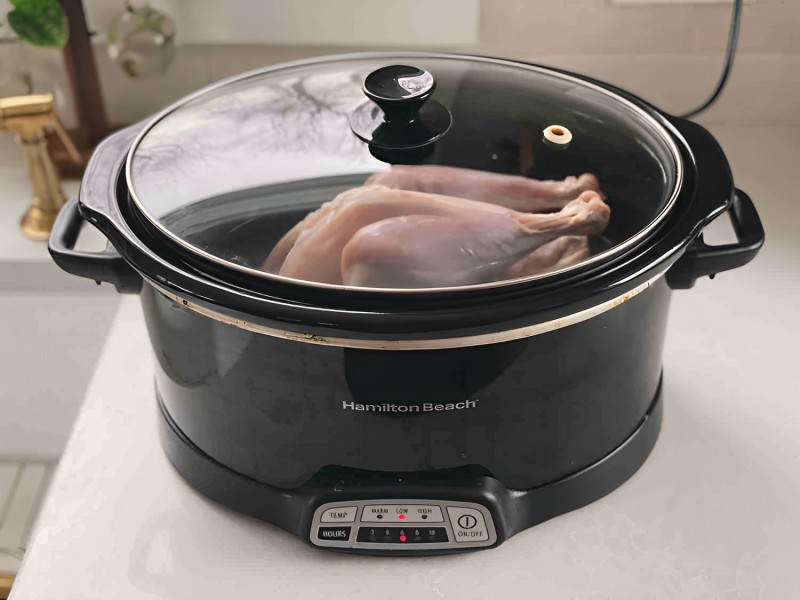
Step 1: Cook the rooster (no other ingredients yet)
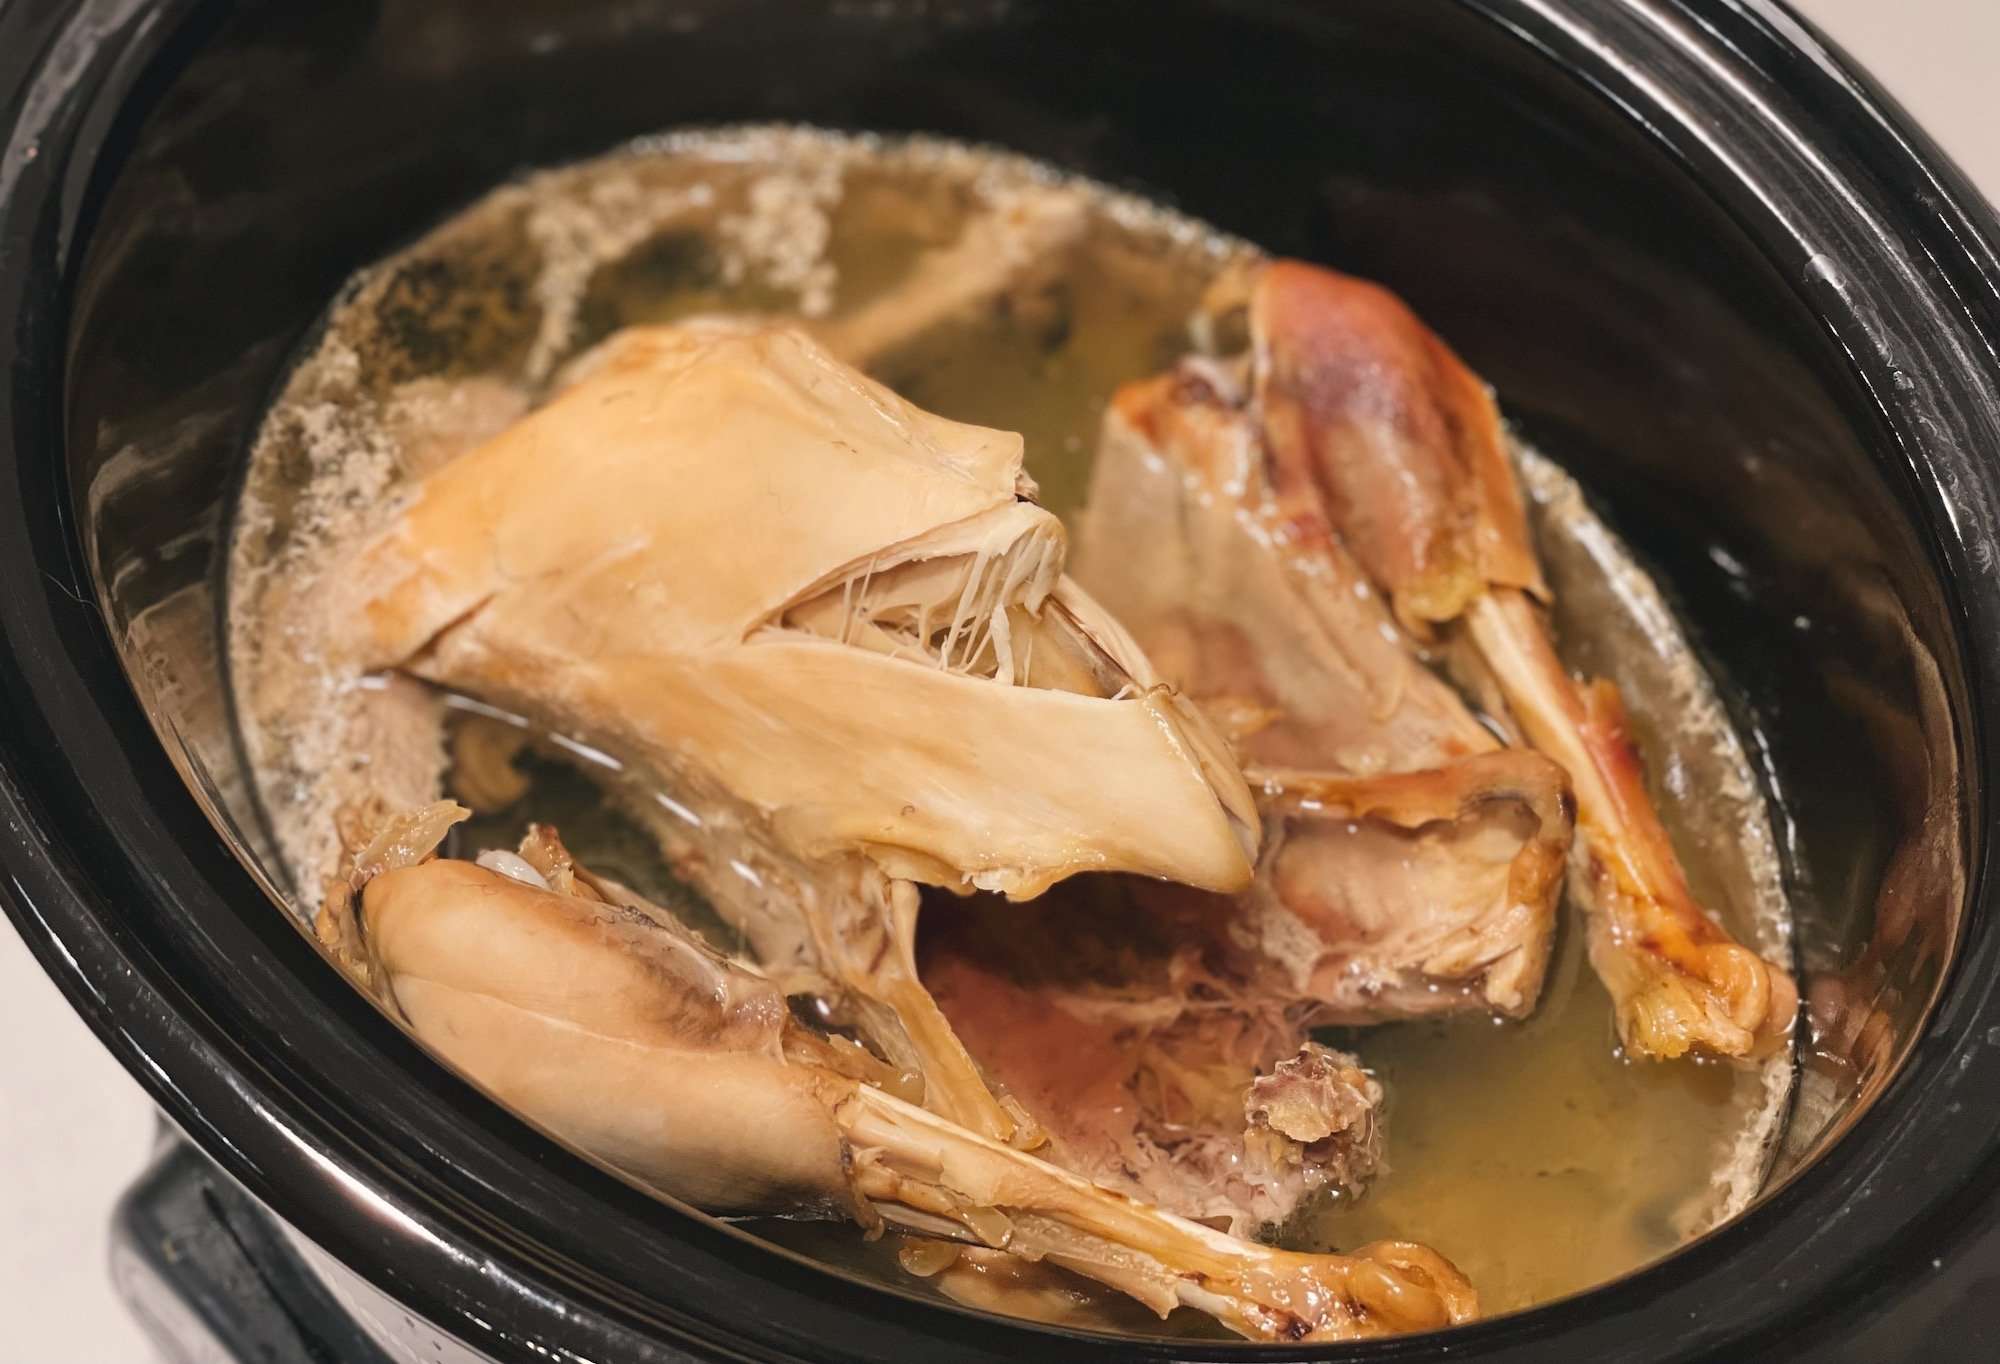
The first step is to slowly cook the rooster so that it’s tender while also creating a delicious broth. To do this, add the rooster to your crockpot, cover halfway with water, and then cook on low for 6 hours. You’ll add the other ingredients later!
After 6 hours, transfer the rooster to a dinner plate and loosely shred the meat (I prefer chunks over strings). Save the bones for making bone broth!
The edges of the crockpot can get a little gunky while cooking, I so scrape and strain out any residual stuff with a fine mesh strainer. I place these extra tidbits in a dish for my dogs (making sure there are no bones) – they LOVE it!
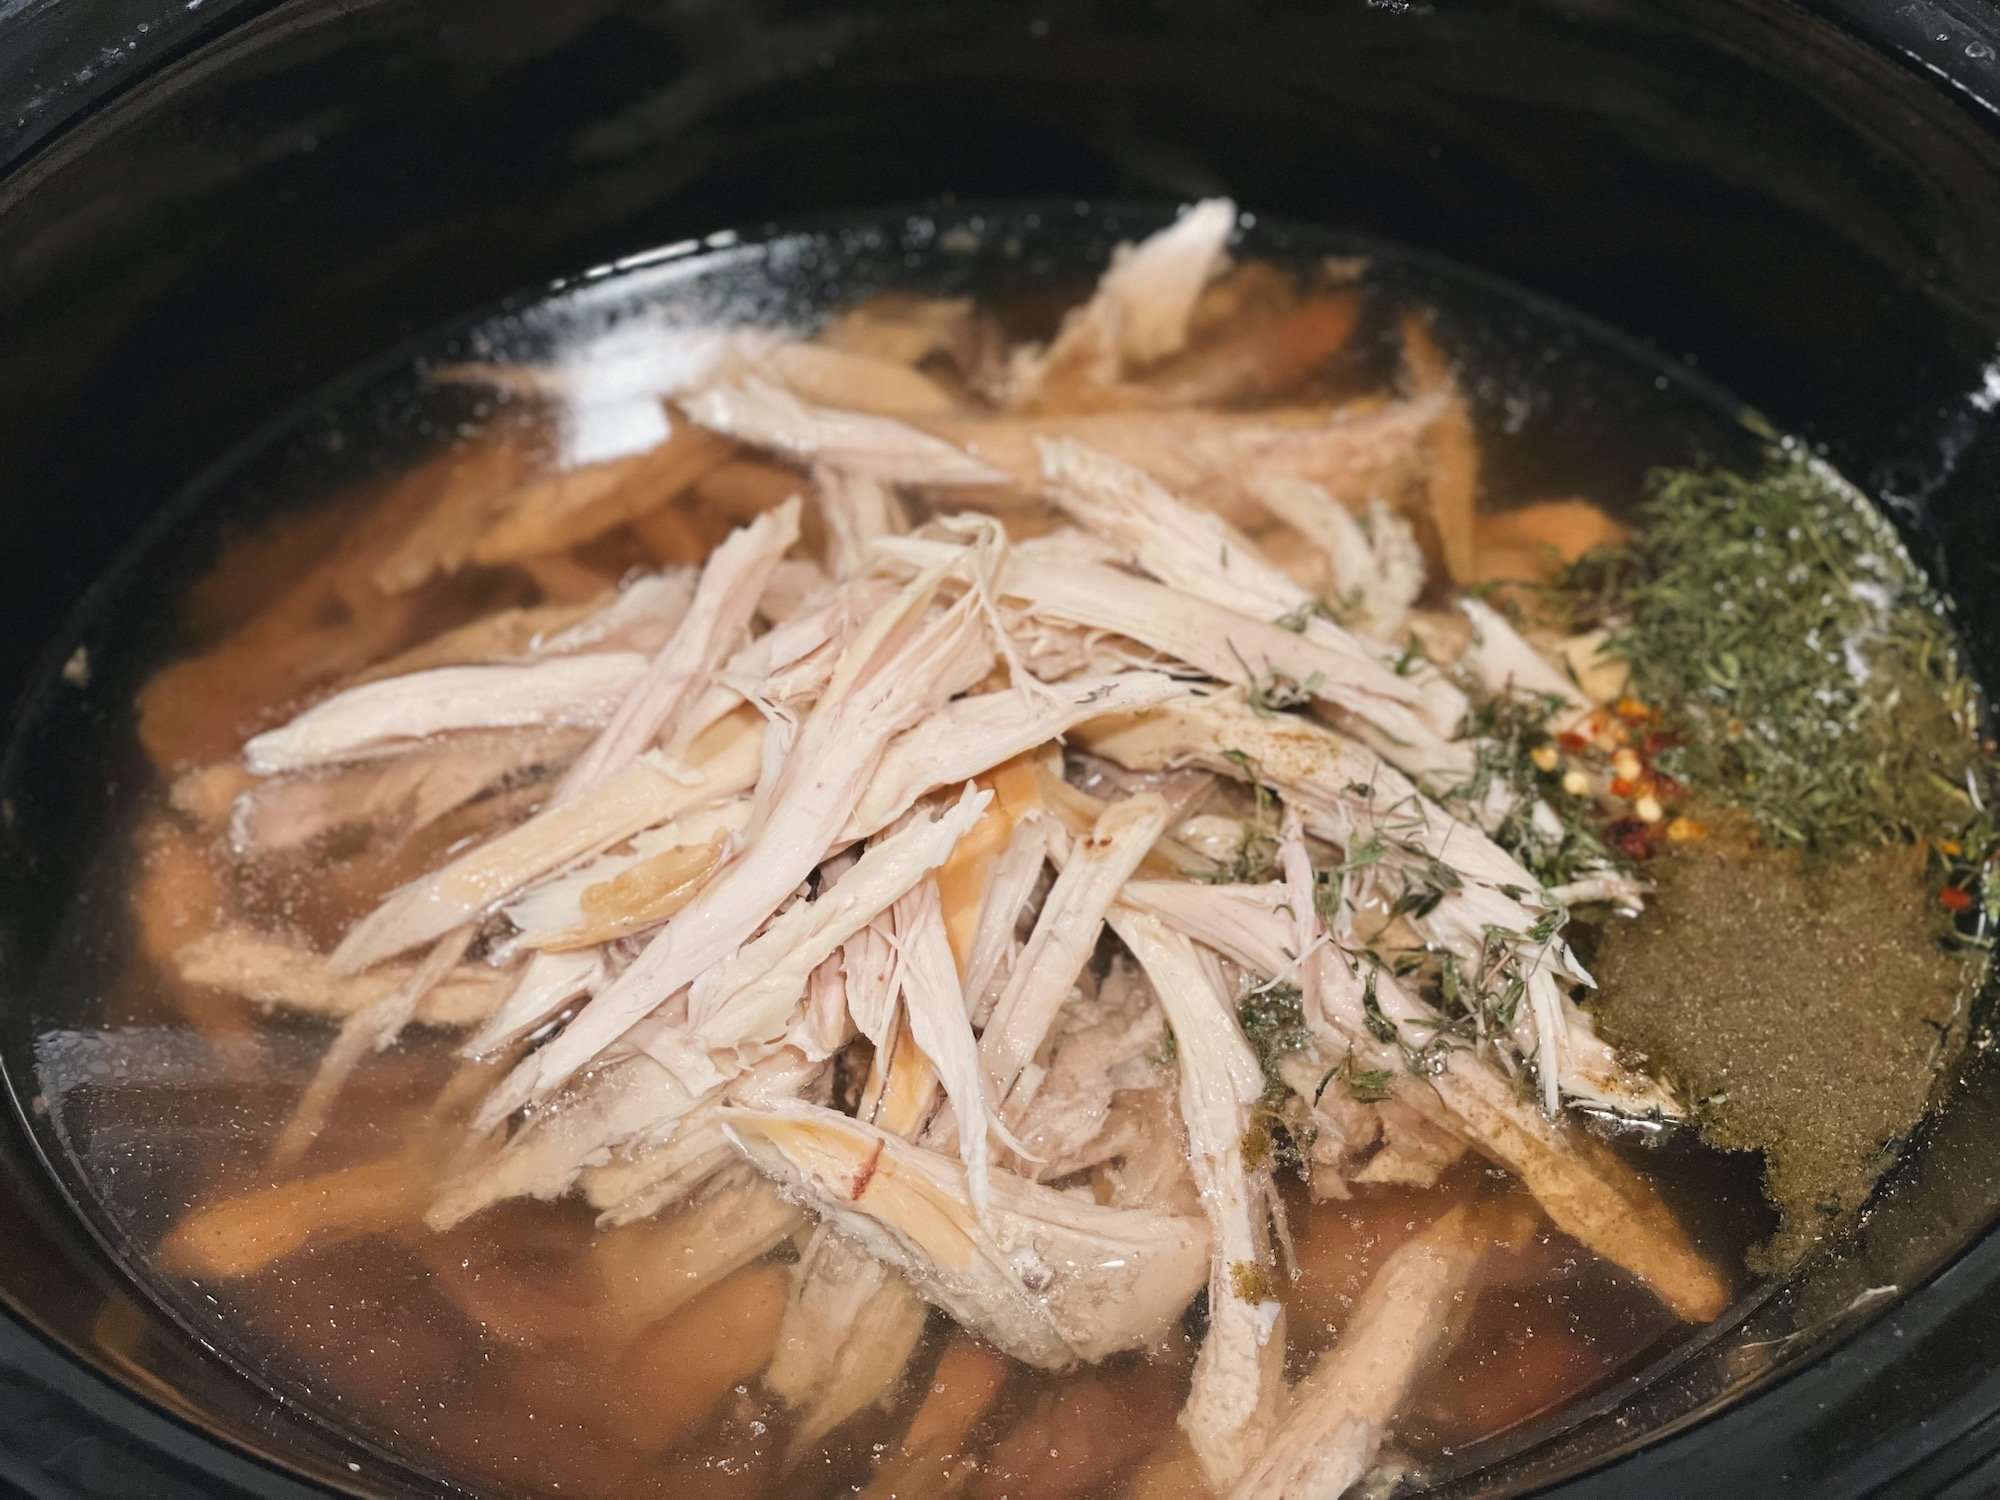
Step 2: Add the other ingredients
Add the shredded chicken back to the crockpot along with any grains, beans (pre-soaked or canned), herbs, and seasonings, and turn the crockpot on high for 2 more hours.
If your recipe calls for some veggies, lightly sauté them in a cast iron skillet or bake them on a sheet pan. Once softened, add them to the crockpot for the last 2 hours of cooking. I’ve found that simply adding them raw to the crockpot wasn’t enough time to cook all the way through.
Step 3: Enjoy!
That’s it – it’s seriously that easy. You can convert any of your favorite chicken crockpot recipes using my method. My favorite is the classic Minnesota dish, wild rice soup! Keep reading to get my recipe.
Watch Me Make Rooster Soup!
Cooking a Rooster Variations
There are so many different ways you can spin this recipe to keep it interesting, which is awesome! Or, what about an old rooster or old hen? Do they need to be cooked differently than a teenage rooster?
Old roosters or retired hens
Sometimes, adult roosters begin to look at you sideways or maybe you have some hens that are past their prime. They are still good for eating, too!
Older chickens take a bit more time to soften up, but they are still delicious if prepared properly! The key is to give them a longer rest time in the fridge before cooking (4-5 days) and cook on low for 10 hours instead of 6 hours.
One thing to note about cooking old chickens (vs the teenage roosters) is that they can be quite large and may not fit in your crockpot. In these cases, you can piece them out first or use a large stock pot on the stove. Make sure that they stay fully submerged!
Use your own favorite recipes
Here are some of my favorite recipes that I keep going back to! These are all traditional crockpot recipes, but if you follow my rooster soup method (described above) you’ll have a winning dish! Definitely don’t bother buying broth (often listed in the ingredients list) since you’ll be making your own broth while cooking the chicken.
- Chipotle Chicken Tortilla Soup by Half-Baked Harvest
- Crockpot Tuscan Lemon and White Bean Soup by Half-baked Harvest
- Green Chile Chicken Enchilada Soup by Chelsea’s Messy Apron
If you have any other favorite rooster recipes, please share them with us in the comments below!
What to Serve With It
- Crusty sourdough loaf with grass-fed butter. Yes, butter! Read more in my article: The Saturated Fat Controversy.
- Kale salad with a light vinaigrette
- Microgreens sprinkled on top of the soup!
Other Recipes You’ll Love
- Gluten Free Quiche With Garden Veggies
- Homestead Refried Beans
- Garden Fresh Rhubarb Crumble (Gluten Free!)
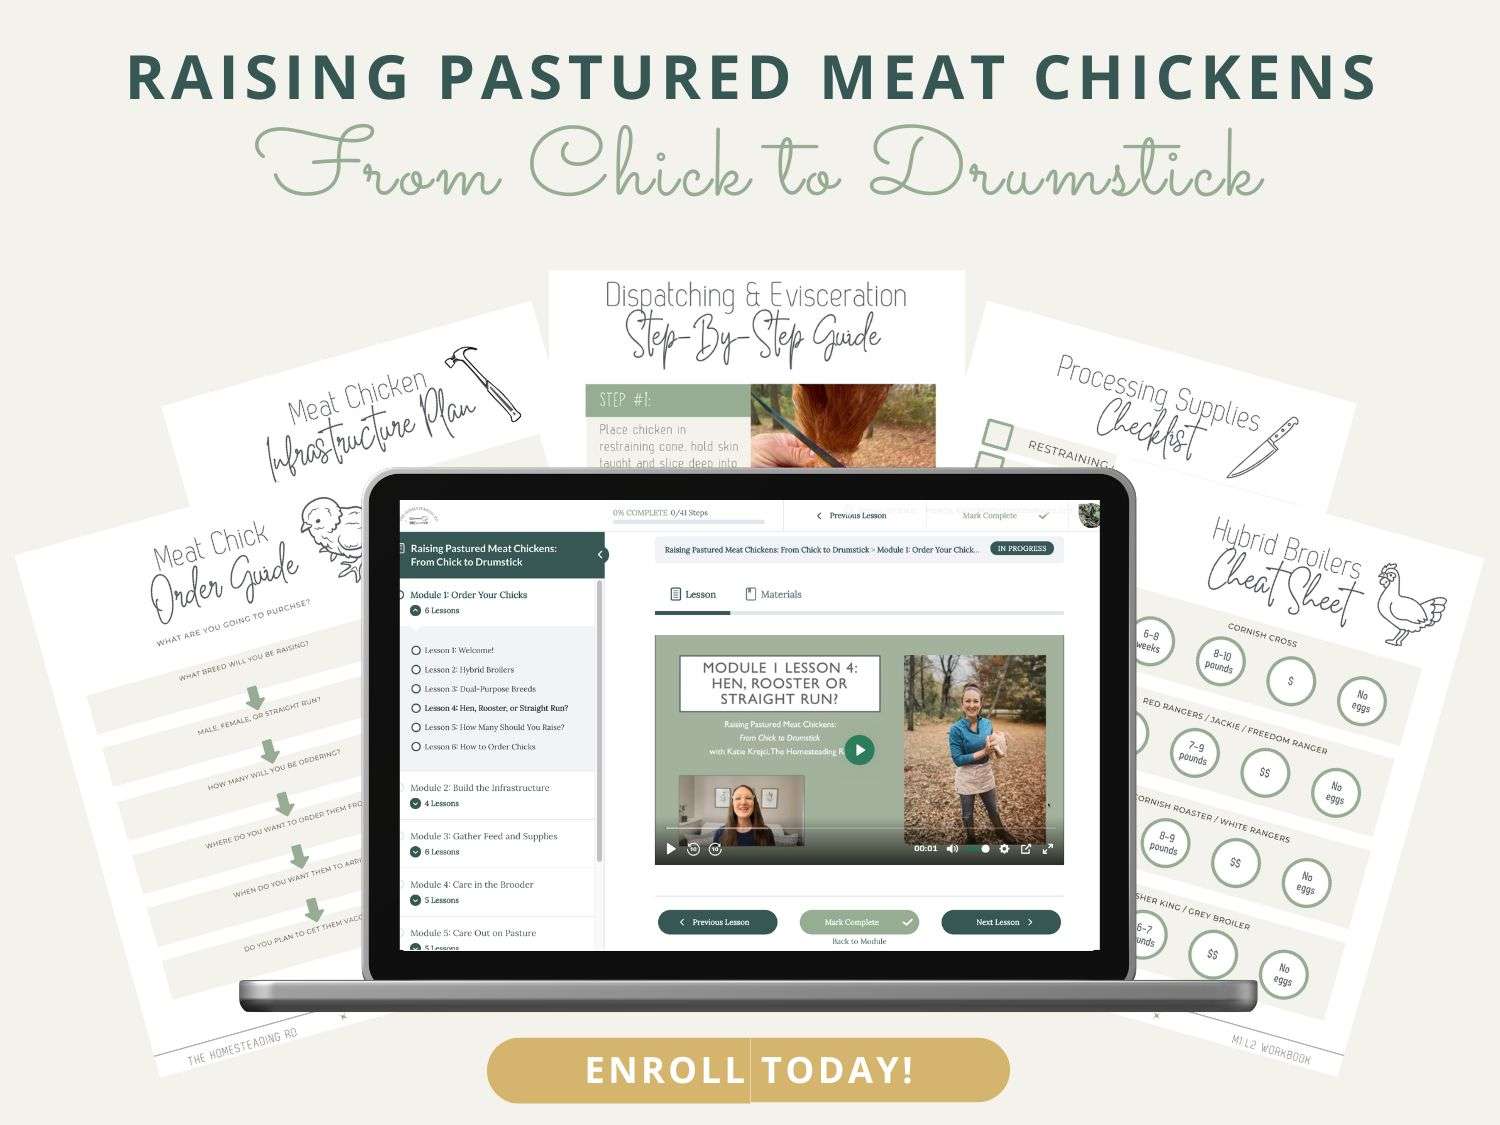
Interested in Raising True Meat Chickens?
While I certainly love rooster soup, it’s nice to have large chicken thighs for grilling or a whole chicken for roasting in the oven. For these occasions, we’ve been raising Red Rangers every summer since 2016 and I’d love to teach you how to do it in my course Raising Pasture Meat Chickens: From Chick to Drumstick!
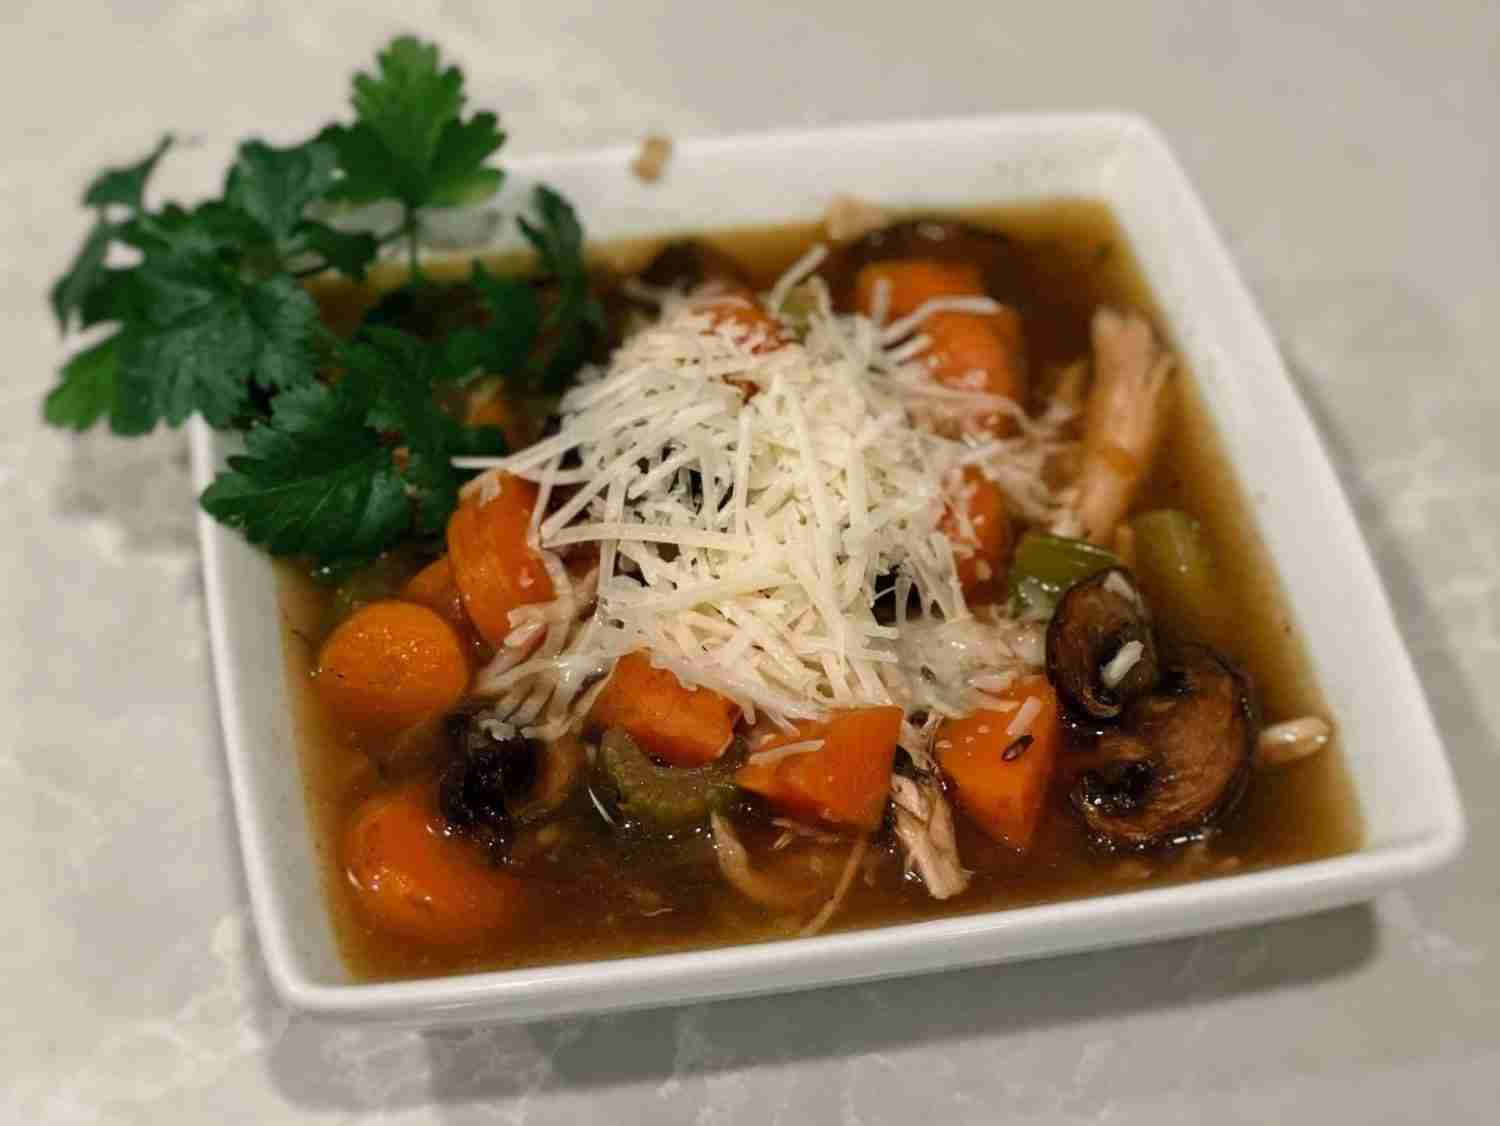
Recipe Card for Cooking a Rooster 101: Chicken Wild Rice with Roasted Mushrooms
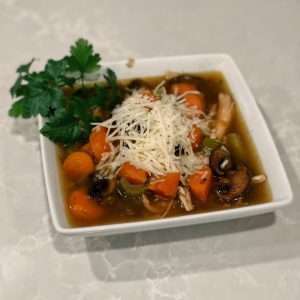
Cooking a Rooster 101: Wild Rice with Roasted Mushrooms
Equipment
- 1 Crockpot
- 1 Fine mesh strainer Small
Ingredients
- 1 whole Young Rooster skinned, and rested in the fridge minimum of 2-3 days after butchering
- 1 ½ cups Wild rice blend
- 1 bundle Fresh herbs (thyme, rosemary, sage, etc.) tie them together in a little bundle with some kitchen twine
- ½ tsp Red pepper flakes
- 6 Carrots chopped
- 1 Onion chopped
- 3 stalks Celery chopped
- 6 tbsp Butter, ghee, or schmaltz divided
- 1 ½ pounds Portabella mushrooms sliced
- 4 cloves Garlic whole
- zest from 1 lemon
- salt & pepper
- Fresh parsley optional, for topping
- ½ cup Shredded parmesan optional, for topping
Instructions
In the morning:
- Place the whole rooster in your crockpot and add enough water to cover the bird halfway.
- Cook on LOW for 6 hours.
After the 6 hours are up:
- Remove the rooster from the crockpot and transfer to a plate. Shred (I like big chunks rather than stringy pieces) and put aside the bones for making bone broth later!
- Take a small, fine-mesh strainer to remove any residual tidbits from your broth (optional: if you want a clean looking broth).
- Place the shredded chicken back in the crockpot.
- Add the wild rice blend, bundle of herbs and red pepper flakes.
- Turn the crockpot back on HIGH for 2 more hours
Meanwhile, cook the veggies:
- Heat a cast-iron skillet on medium heat
- Add 2 Tbsp butter or schmaltz to the cast-iron skillet, then add the chopped carrots, onions and celery once melted. Season with salt and pepper.
- Once the veggies are soft and slightly caramelized, add them to the crockpot
45 min before the dish is done, cook the mushrooms:
- Preheat oven to 425 degrees
- Grease an oven sheet pan with 1 Tbsp butter or schmaltz, then add the sliced mushrooms and whole garlic cloves.
- Place pats of the remaining 3 Tbsp butter or schmaltz on top of the mushrooms, and place in the oven for 25-30 min.
- After 5 minutes, the fat should have melted. Briefly pull the sheet pan out to add the lemon zest, salt, pepper and stir the mushrooms so they are evenly coated. Give it another stir halfway through the cooking period.
- Smash the roasted garlic cloves with a fork and stir the pulp into the mushrooms.
- Add the roasted mushrooms to the crockpot
Final touches
- Take a look at the moisture level of your soup. Add an extra 1-2 cups of water if it's thicker than you like.
- You can remove the bundle of herbs at this point if you wish, but I like to leave it so that the flavor continues to build
- Top bowls with shredded parmesan cheese and fresh parsley. Enjoy!
Video
Notes
Nutrition


My gosh 🤤 I never review recipes but this was a 10/10! I made a chicken broth the morning of, and used that instead of water. I followed the written instructions almost to the T. I brined our rooster for 24 hours, and he had rested in the fridge covered for 3-4 days prior. This was the first time culling & eating our own rooster. Which is the consequence of hatching some locally purchased fertilised eggs. I’m pretty sure there is another roster in the flock getting ready to crow (be eaten) 🤣 This one was around 4 months old and just started crowing like mad, in the lead up. I’m talking every 5-10 mins during some periods of the day. Anyway, I am so so honoured you shared this recipe and I love how it’s not quite a one pot wonder, and flavours are also built and added into the slow cooker. Absolutely delicious – thank you!! PS my 5 year old daughter said it is a 10/10 too & raved while eating our beloved “rocket” who we told her was taken to a farm 🥹
I’m sooooooo happy to hear this!!! Yay! 🙂 Excellent job
Hello Katie!
I’m a bit late to your forum here. We as well have nice small homestead flocks of chickens. My wife and I have raised chicks from our own eggs, hatched out by brooding hens. Our two daughters whom live very close also have small flocks. As always, We have too many roosters which when grown are a pain in the neck. Our poor hens sometimes have bare spots on their backs from the harassment and sometimes, the roosters get into fights and we find the odd one dead in the coop. We have friends whom we raise and co-op processing day. We also get our extra roosters together and do the necessary process. We haven’t cooked them though, they usually went for food for other animals in the food chain. However, we currently have 4 roosters in the freezer and I wanted to put them to good use in a pot as opposed to wasting the protein.
I did a quick search and found your recipe and it looks fabulous. I’m thinking a nice long simmer and adding some rolled dumplings for a mid winter chicken and dumpling dinner. Adding the dumplings to your recipe at the end of the process will work nicely. As a young man growing up in the country on farmland and spending many long hours with my grandmother, I learned the way of how to put tasty things on the table. Our weekly Sunday dinners included her own version of chicken and dumplings which has stuck with me for over 70 years now. Back then, nothing was wasted. It never occurred to me that granny had put her own roosters to good use. And, as all good tenders of the land, nothing went unused. As the old saying goes, the only thing you cant use on a pig is the oink. That also goes for chickens as well. we used everything. Our carnivorous critters feasted on the innards. The feet and wing tips for soup stock and feathers went into the compost pile to nourish the garden. And thus, the only thing you can’t use on a chicken is the cluck and or crow.
Thank you for sharing your experience. I’m looking forward to a nice bowl of rooster with dumplings!
Gerald
Can you define “old”? Are we talking a year and over when it comes to roosters? The one we just did was just getting his spurs, they were maybe 1/4″ and round still. He was almost 10 pounds. We cut the breast/tenderloin and leg quarters off as well so it’s not the whole carcass cooking. I would assume that would change the cook time.
Yes, I would consider an “old” rooster to be over a year old. They’ll start to get tough by then. How did it turn out??
I’ve not tasted it yet. I had already started cooking when I found this page so he’s probably not as good as he could be. I was worried about spoilage but he was only refrigerated 2 days, I didn’t realize i should leave him in the fridge for a bit longer. I’ll let you know when we do try it. He was probably right at a year old would be my guess maybe a month or 2 shy of it, so at least we weren’t too far off there. We have 2 more to process but our first victim wasn’t letting them eat so we need to let them put weight back on. Do you do anything special to do that? These are just backyard mixes, not a meat breed. Thanks for answering my questions.
This recipe sounds great – I have four roos that I have raised from incubation and they are just over four months old. My question is, if I may this recipe and want to can the soup, will it be overcooked in the canning process?
Great question! Yes, you can pressure can the soup. I’ve done it before and it’s delicious! The soup will be slightly overdone, but it’s still great. You could also cook it 1 hour less in the crockpot to save on a little cook time.
Is it possible to allow the butchered roosters to rest in a cooler of ice/ice water ? Limited fridge space here!
Yes, you could do that if the bird is inside a plastic bag and resting on ice. I wouldn’t have it soaking directly in the ice water for days.
Thank you s9 much for this guidance on cooking cockerels (young roosters). I tried my best to rehome extra roo boys (I had 11 extras) and, ultimately, forced two of them on a friend. But 7 remained and they had become noisy, obnoxious and were harassing the girls non-stop. They were almost 16wo. I was reluctant but WOWZA! After resting them in the fridge for 3.5 days, I brined them for 24 hours. I poured out the brine (specifically, Kinder Brine and Rub for poultry) then put them into 2 giant stockpots with water nearly covering them. With lids on, I slow-cooked them in the oven for 4.5 hours+. The process was magical! The meat was so tender that it fell off all the bones with no prompting. It was easy to separate the meat from everything else and no need for shredding. Honestly, this young cockerel meat was the tastiest, most tender, most delicious chicken I’ve tasted since childhood. Wow! Next time around I won’t hesitate to process young cockerels. I give them the best quality of life and a lot of human grade food and treats until the last minute possible. Then they get humanely culled and become the best chicken meat ever! Thanks!
.
Sounds like you did a FANTASTIC job! I’m so proud of you! Yes, they are SO delicious! I look forward to them every year 🙂
This recipe brought back a lot of childhood memories. In Jamaica, we raised a lot of chickens in our backyard mainly for eggs. I remember my mom killing and cooking 2 of our roosters. That was the toughest chicken meat ever. It took many hours of stewing to get them tenderized. We did not own a pressure cooker or a slow cooker then. But I am intrigued by your rooter soup recipe, Katie. I am yet to come across a rooster recipe online. Only a homesteader can come up with this interesting recipe. Looks delicious.
Cooking a rooster is definitely a long-lost art, but it can be done! Letting it rest in the fridge for days and then doing long, slow cooking is definitely key. I’m glad you enjoyed reading my recipe and maybe you’ll get to try it out someday 🙂
I so wish I’d read this before when we culled two of our roosters. When we butchered them I didn’t know to let the meat rest before I popped them in the freezer and I’m cooking them today in the crockpot after I marinate them.
I’m hoping it turns out ok anyway but at least I will know next time! Thanks!
There’s a learning curve, for sure! If you freeze the chickens right away, you can still let them rest in the fridge for a few days after they thaw out before cooking.
Aloha Katie, I take pop shots with my pellet gun at the neighborhood chickens when i catch them scratching in my garden to scare them off (wild chooks everywhere here in the islands and they can be quite a nuisance) and its been a minute since Ive had a kill shot but I got the prime rooster today so i went online to check out recipes and cure time. Before i simply skinned or plucked and left my birds in the fridge in a bag for a few days. I cant remember how long exactly but i probably put salt herbs and garlic in them from the start.
My question pertains to the rest period (curing -for rigor mortis or what?) in the fridge and seasoning…. Any reason to rest them with or without salt/pepper/herbs/garlic from the start?
I usually eat the young hens I shoot (garden patrol) and compost the old roosters but this time i want to try eating the nice alpha rooster i bagged today- he is fairly young even though fully mature and was a gorgeous bird. Haha my own chick wants to make earrings from some of his plumage!
thanks!!
Hi Tim! Great question! If it’s an adult rooster, I would wait at least 4-5 days to let him rest in the fridge. So, with that, I wouldn’t add any garlic or herbs yet because they’ll lose quality by the time it comes to actually cooking him. I’d add them fresh when it’s time to get cooking!
Every weekend i used to pay a visit this web site, because i wish for enjoyment, for the reason that this this web page conations genuinely pleasant funny data too.
🙂 🙂 🙂
I love this! We have been more diligent about not wasting food and getting the maximum benefit from all of our chickens. This article will help in the future when I have too many roosters!
I’m so glad to hear it! Keep up the good work 🙂
It makes us sad that the roosters aren’t even given a chance. You’d think big manufacturers would let the roosters live to maturity and then cull them specifically for stocks and soups. We’re in the city where we’re not supposed to have any roosters, but if we DO get chickens before we leave here, we’ll get straight run and deal with what we have. Thanks for the information and the recipe ideas!
Yes – it’s such a huge loss. Not only in life, but potential food source. Love hearing that you’ll get straight run when the timing is right!
In some ways I’m a terrible homesteader. I’m not a vegetarian, but it’s hard for me to eat what I raise. I think this is a really practical guide and I think a rooster that gets to live a happy life for a few months is better off. I’ll put this into consideration 🙂 Thank you for the post! My sister-in-law and I were recently talking about getting some meat chickens. I’ll let you know if we go down that path.
I totally hear you on this and I think roosters are definitely easier to process than hens, so I’d recommend starting there! I have another article on raising red rangers (meat chickens); definitely check it out! Good luck 🙂
I am so excited for this! I can’t stand our rooster. He attacks us constantly but he’s a good rooster so my husband won’t let me butcher him. Now I have an awesome recipe!
Haha, shoot! An attacking rooster is a soup rooster in my book! 🙂
When you rest the rooster in the big bag with a loose rubber band around the top, this may be a silly question, but I assume it is refrigerated for those days?
Excellent question! Yes, definitely refrigerated. I should clarify that in my post – thank you, Margaret!