
No journey toward self-sufficiency is complete without dried beans! They are easy to grow, inexpensive, shelf-stable for many years, nutritious, and provide a complete meal all on their own.
They take a little preparation (beans can be hard on the gut if specific steps aren’t followed), but it’s totally worth the effort. You’re going to LOVE them!
In this recipe, I’ll share how to properly soak dried beans and make the BEST refried beans you’ll ever have. As a bonus, I’ll also give you instructions on canning refried beans so you can enjoy a tasty treat later on in the season with MUCH less prep work!

*Disclosure: This post may contain affiliate links to products (including Amazon). I’ll earn a small commission if you make a purchase through my link, at no additional cost to you! Regardless, I only link to products that I personally use on our homestead or believe in.
Why You Should Make My Homestead Refried Beans
Many people experience GI upset when they consume modern-day beans. Why? Because no one takes the time to soak beans overnight like grandma did anymore.
Pre-soaking beans will result in a dish that will be much easier for you to digest! That’s because soaking reduces the beans’ oligosaccharide and lectin content while increasing enzymatic activity (Lucius, 2020).
What You’ll Need
Ingredients for Making the Refried Beans
- 1 lb dried pinto beans – I get mine in bulk from Azure Standard
- 1 tbsp apple cider vinegar
- 4 strips of bacon (from organic, pasture-raised pigs)
- 2 onions, chopped
- 4 cloves of garlic, minced
- 2 tsp italian seasoning blend
- 2 tsp cumin
- 2 tsp sea salt
- ½ tsp black pepper
- 2 cups beef stock (organic, grass-fed)
- ½ cup cup salsa
- 1 cup shredded cheddar cheese (organic, grass-fed)
Supplies for Canning Refried Beans
- 4 Pint Canning Jars (I like wide-mouth)
- 4 sets of Canning Lids and Seals – ForJars is my favorite! (use my code THRD10 for 10% off)
- Pressure Canner – Check out my Pressure Canning: A Step-By-Step Guide if you’re new to pressure canning!
- Canning Funnel
- Tongs
The Homesteading RD's Product Picks | |

Best Choice | The best pressure canner on the market and the one that I personally use on our homestead! Only All American pressure canners feature an exclusive, precision-machined, metal-to-metal sealing system. Positive action clamping locks form a steam-tight seal without any costly-to-replace gaskets. |
Homestead Refried Beans Recipe
Step 1: Rinse and soak
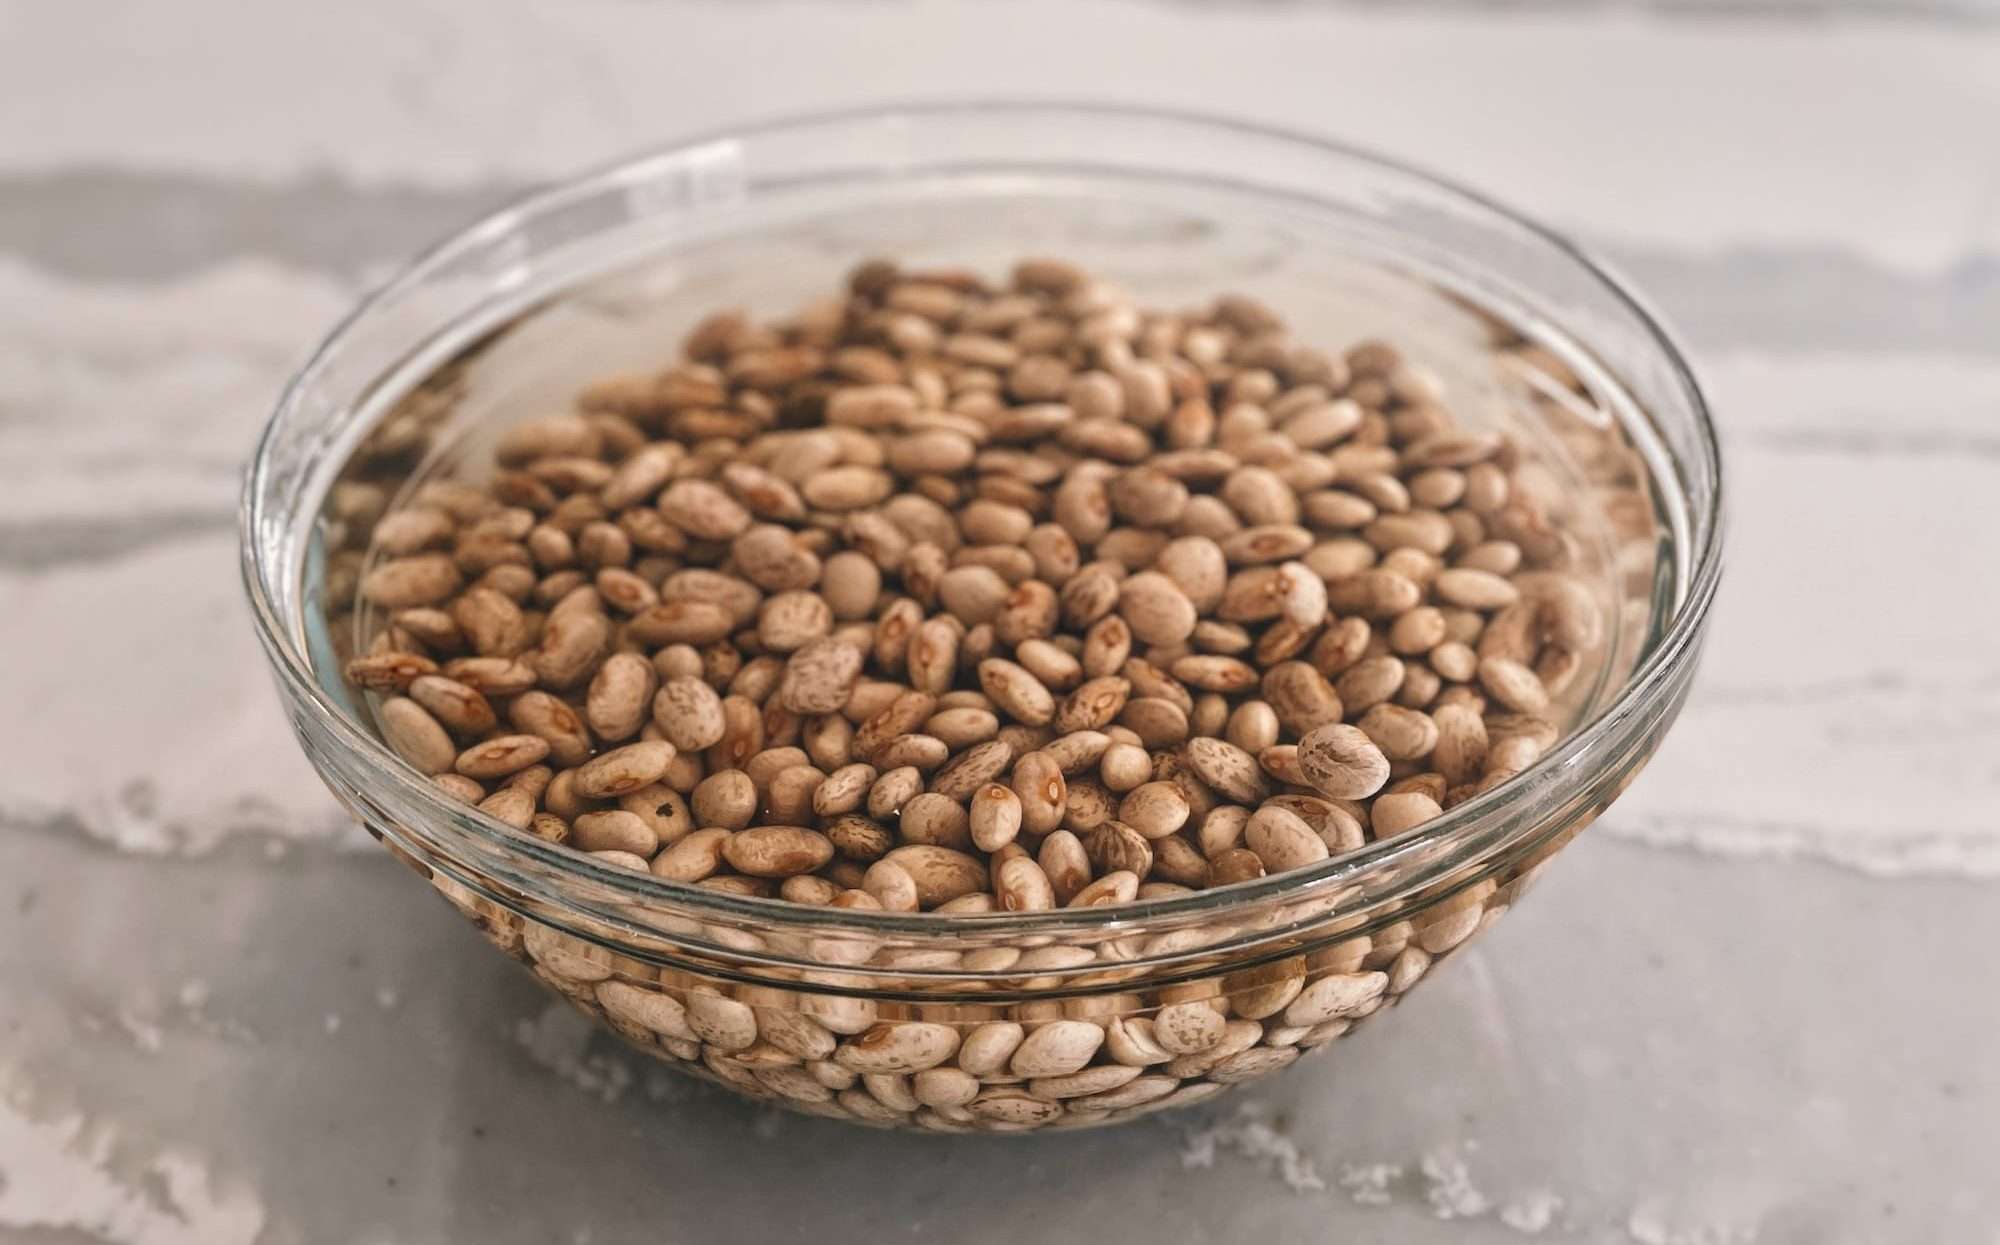
Rinse the dried beans, add to a large bowl, and then add enough water to cover beans by at least 2″ (they will expand quite a bit!). Then, add 1 Tbsp apple cider vinegar – this is a KEY step that improves their digestibility! Let soak at room temperature for 12 hours or overnight. Once the soaking has been completed, drain off the water and rinse the beans well.
Step 2: Prepare the ingredients
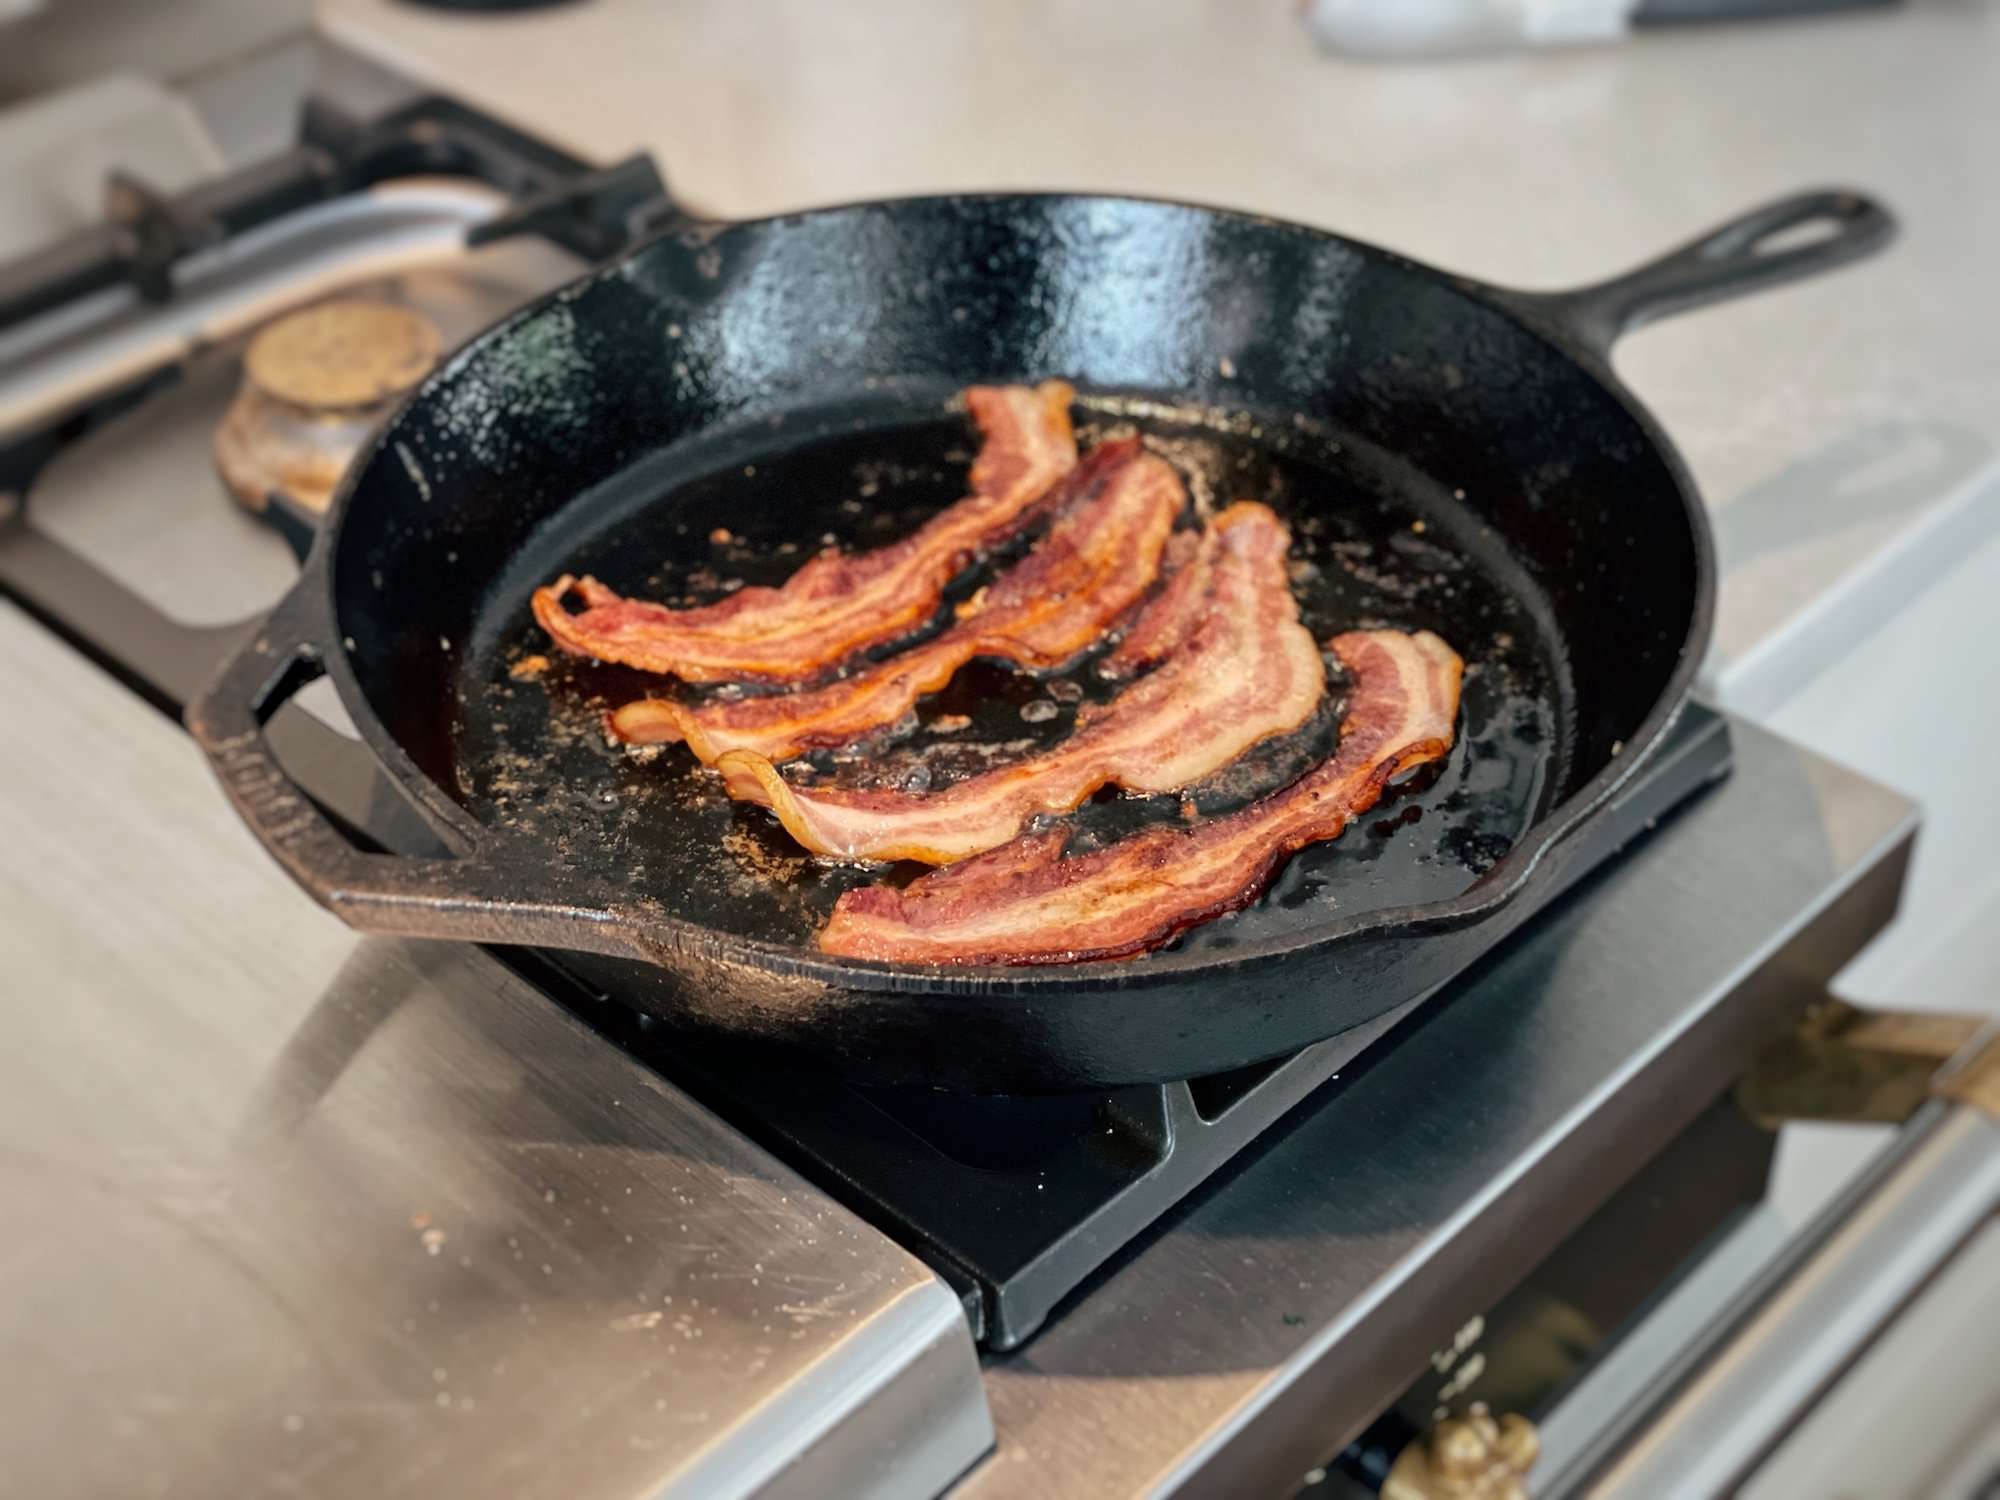
Heat a cast-iron skillet on medium heat and cook the bacon until crisp. Remove the bacon to a plate lined with a paper towel or a tea cloth. Once cooled, chop the bacon and set aside.
Transfer any leftover bacon grease from the skillet to a large pot and heat over medium. Add the chopped onions and cook until golden (~5 minutes), then add the garlic and spices, and cook for 1 more minute until aromatic.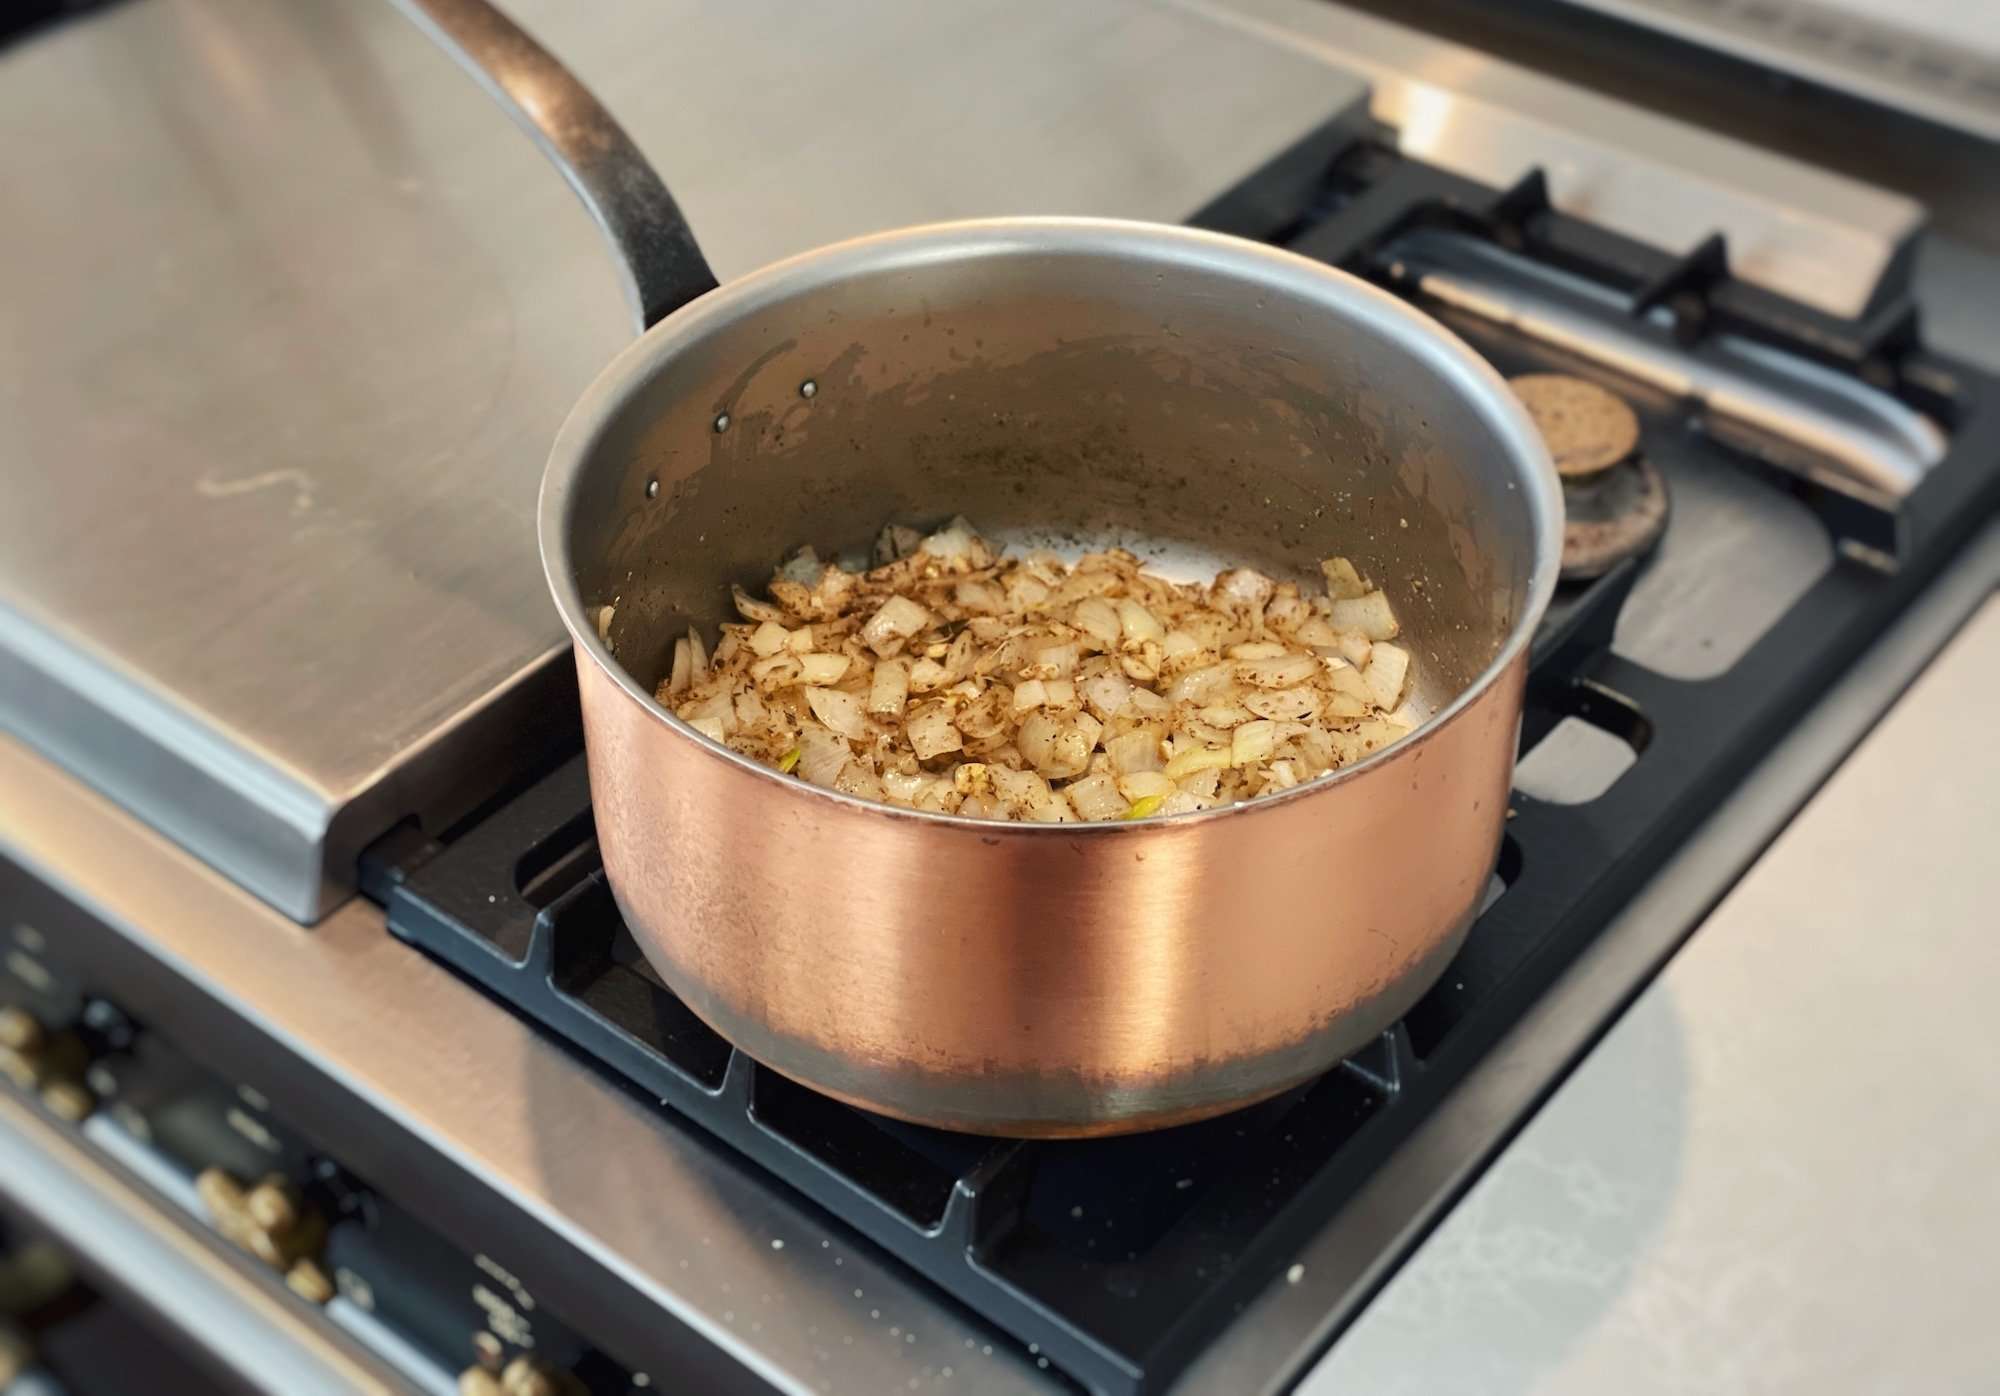
Add the soaked and rinsed beans into the pot along with 2 cups of beef stock. The beans won’t quite be fully covered, so add enough water to cover the beans by 1-2” (~2 cups of water is ideal for the pot I use).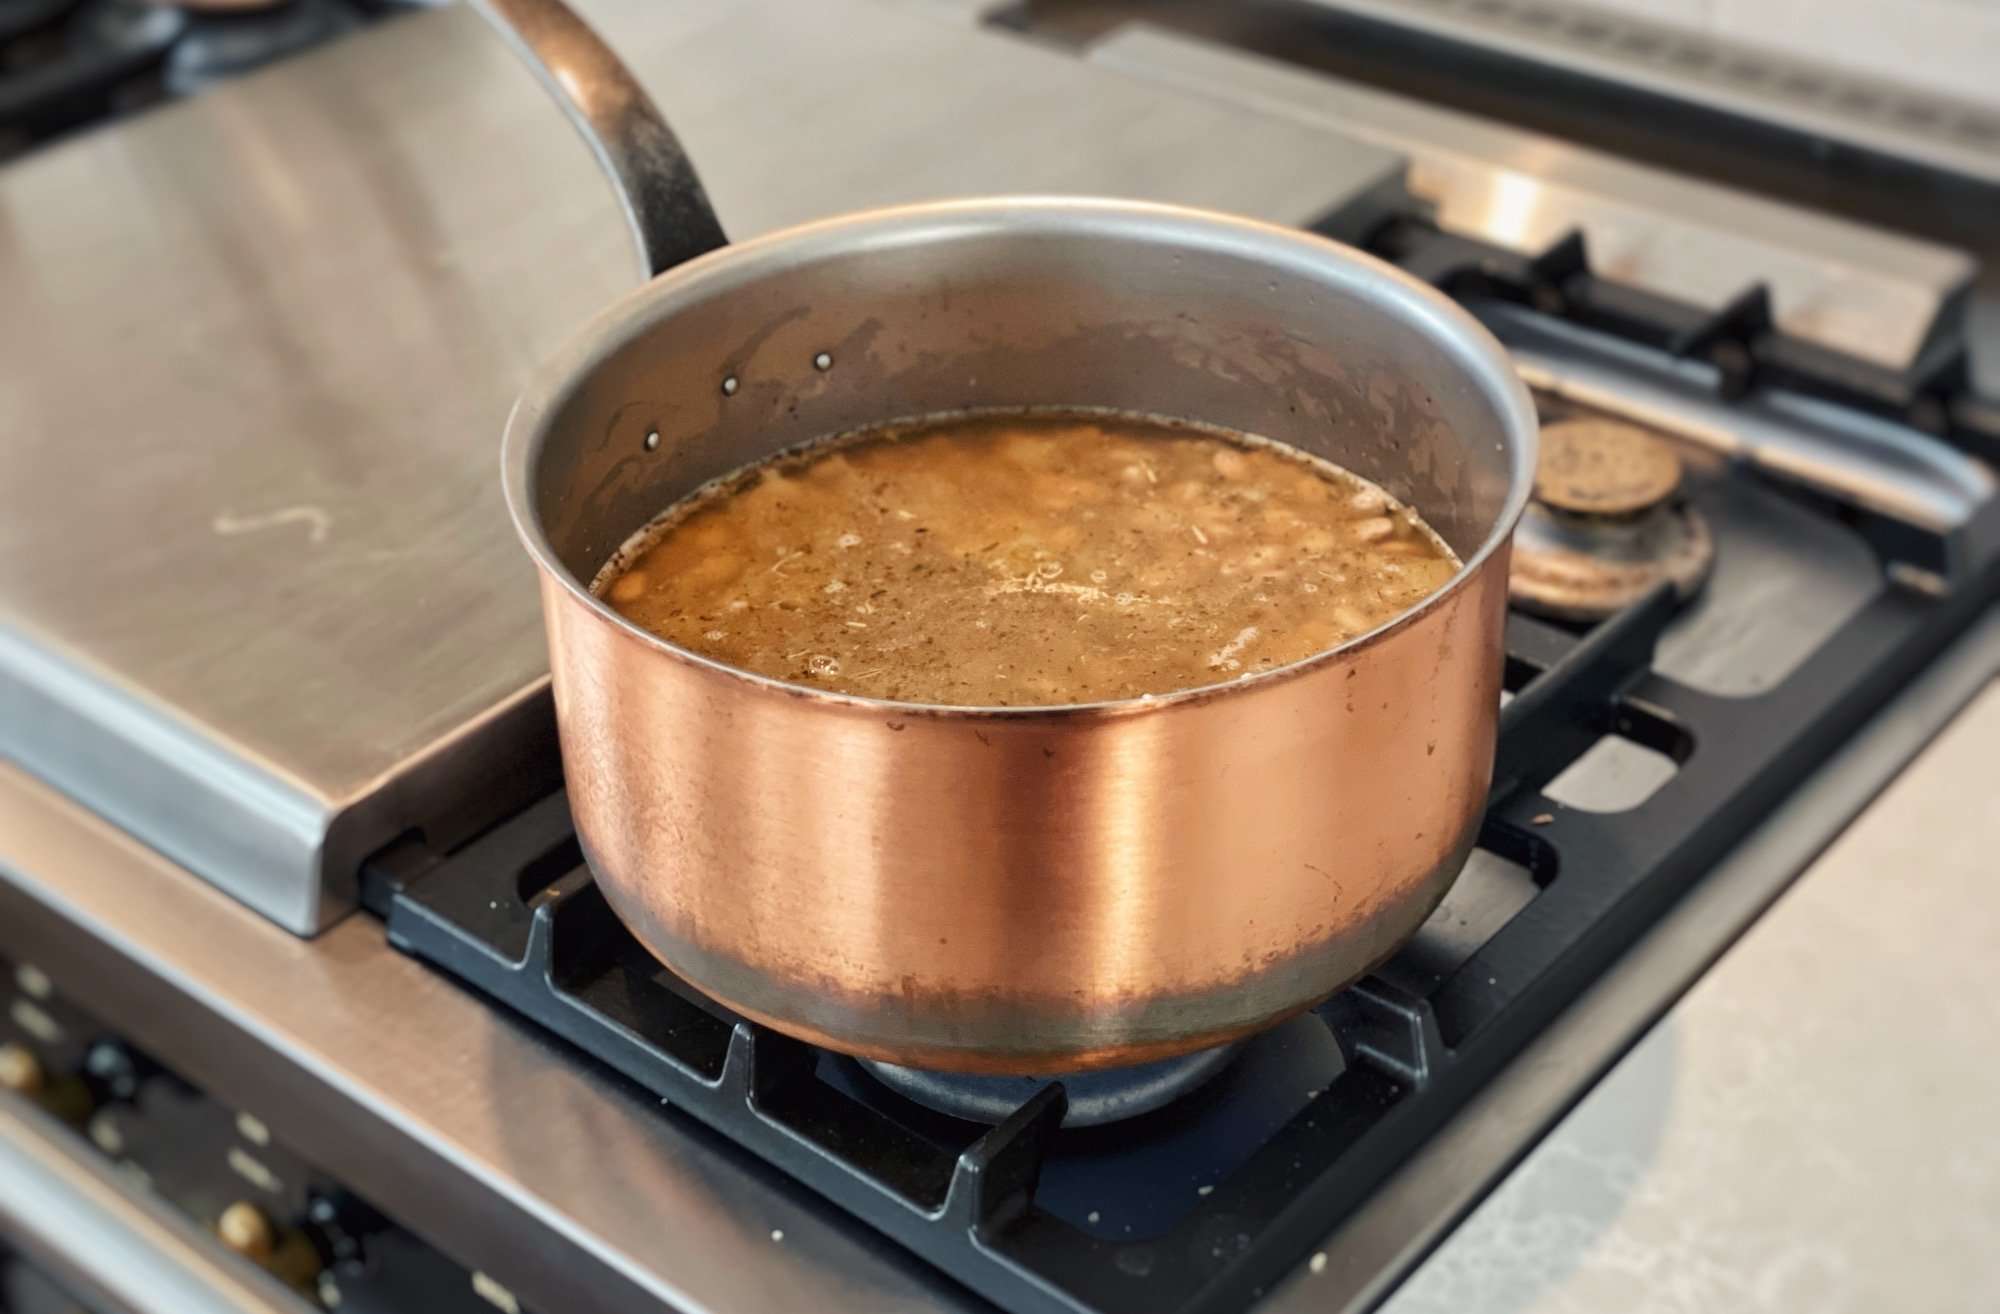
Step 3: Let everything meld together
Cover with a lid and let it simmer for 1.5-2 hours until the beans are soft, checking the water level occasionally. Once soft, mash the beans up slightly with a potato masher, add the reserved chopped bacon, and stir in ½ cup of salsa. Top with shredded cheddar cheese and enjoy! 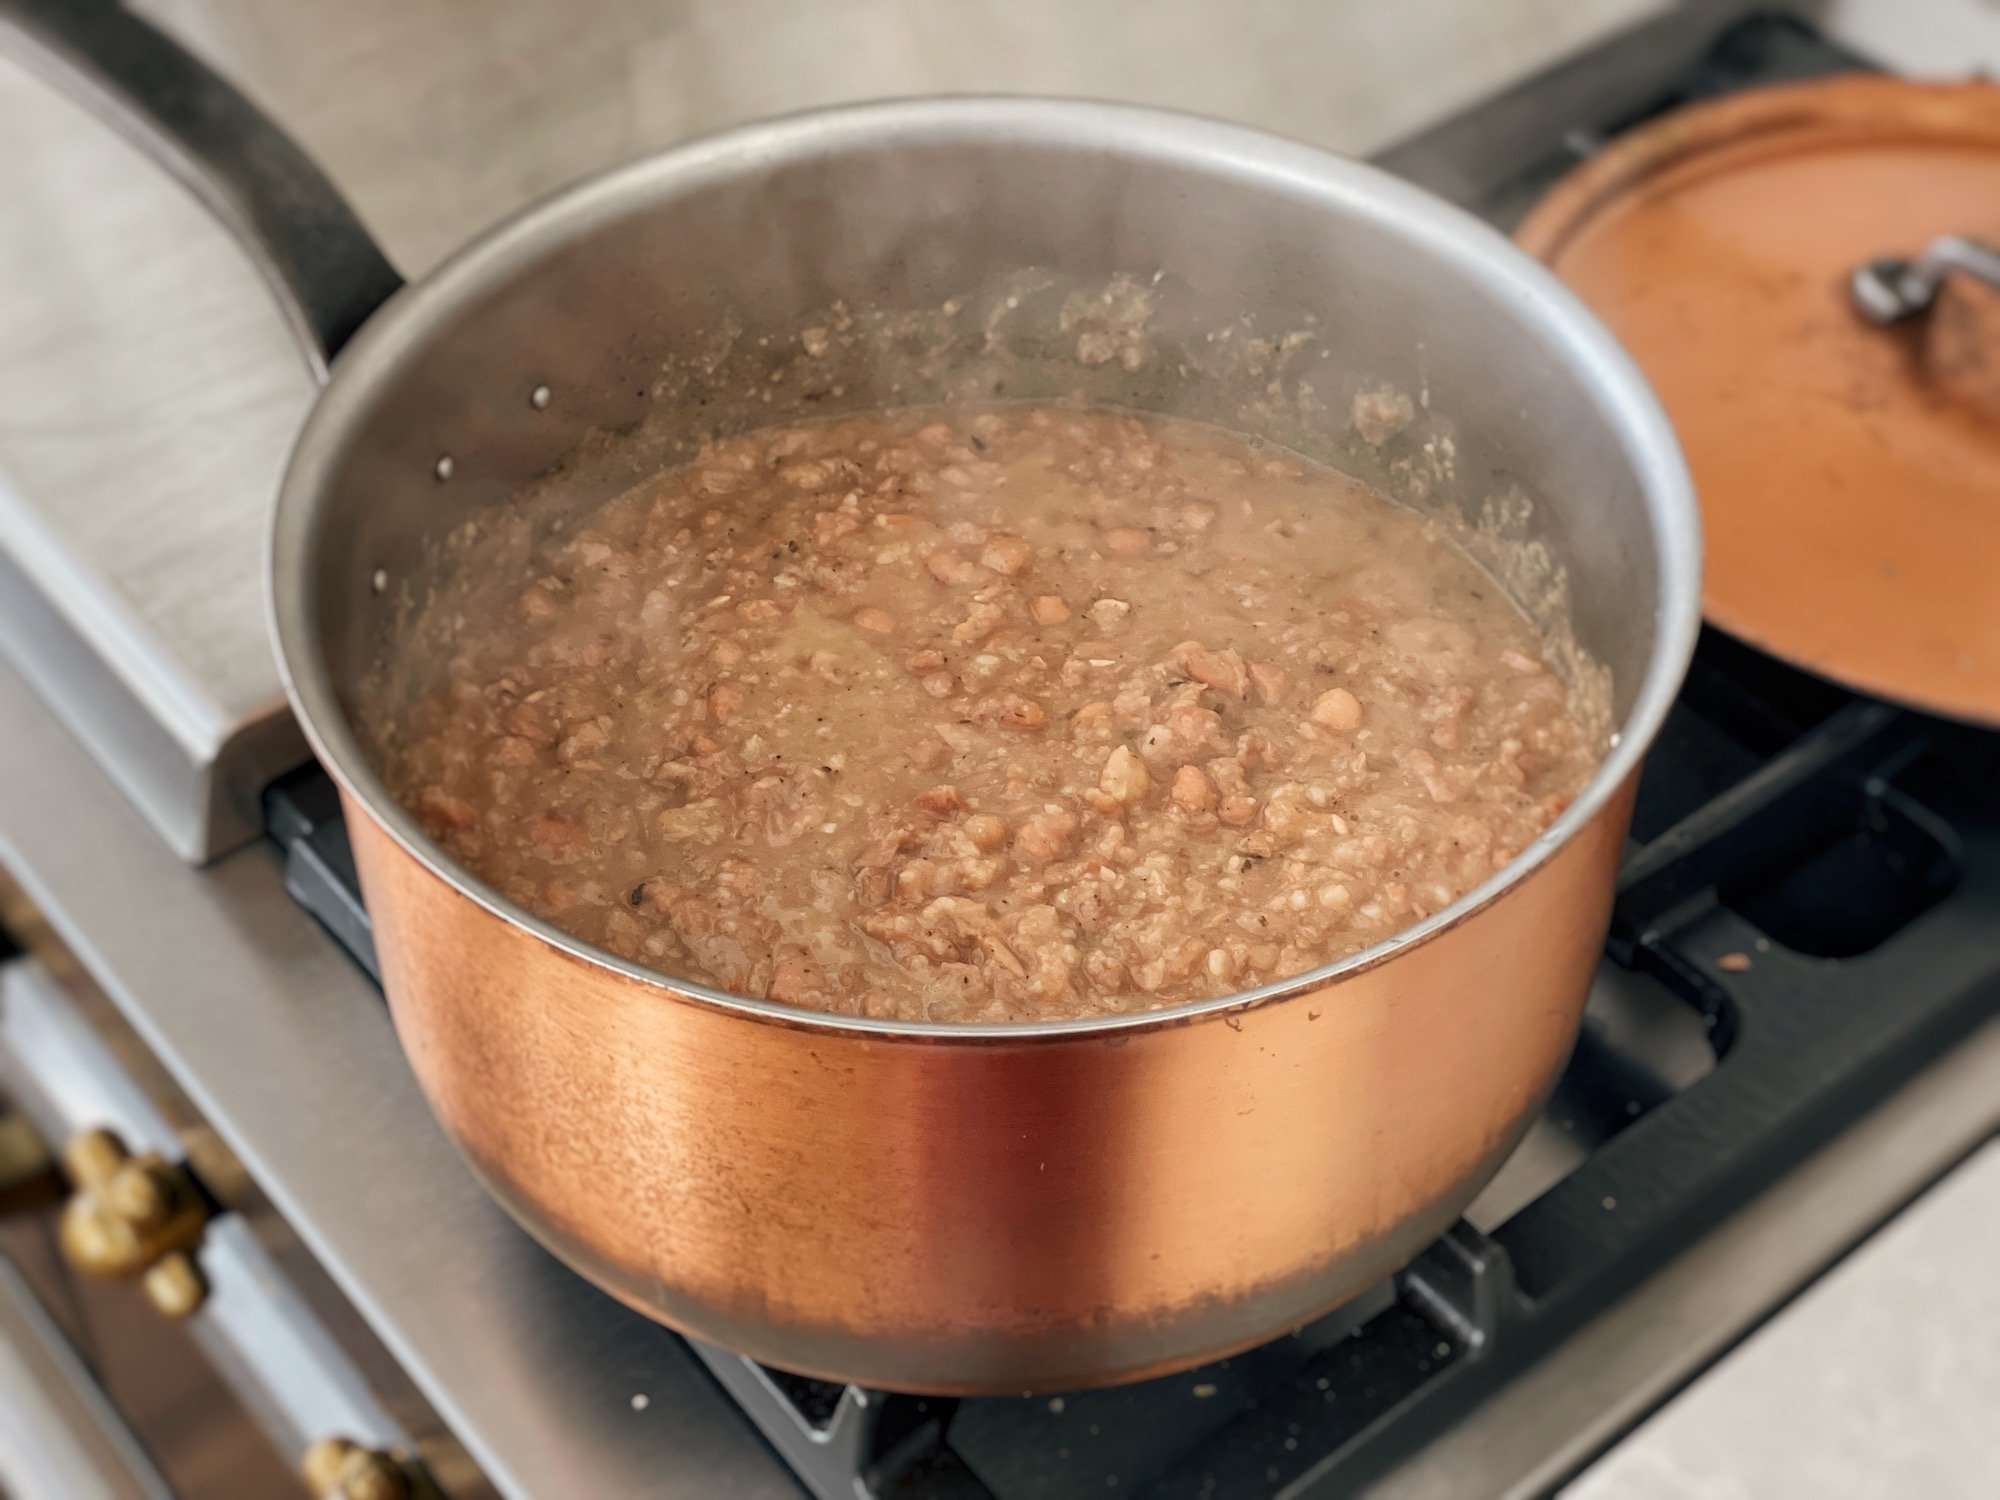
Canning Homestead Refried Beans
Can it be done safely?
I wish I could tell you that you can simply pressure can my homestead refried beans as a finished product, but I cannot. It’s NOT safe to can very thick foods because the heat will have a hard time penetrating the mixture effectively. Botulism isn’t something that you want to mess around with!
However, you can safely pressure can whole pinto beans, and then it’s really easy to transform that into my homestead refried beans later on when you need an easy side dish to whip together. I’ll give you tips on how to do that in a moment.
But first, I want to reiterate that dried beans absolutely need to be pressure canned. They are a low-acid food, so please do not attempt to water bath can these. If you aren’t familiar with the difference between the two, check out my guide, Water Bath Canning vs Pressure Canning vs Steam Canning, and if you’re a first-timer, Pressure Canning: A Step-By-Step Guide will help you out as well.
If you don’t own a pressure canner yet or prefer to preserve the finished product, you still have options! You can absolutely freeze the homestead refried beans in mason jars or in vacuum-seal bags. Just be sure to avoid the 7 common mistakes when freezing in mason jars!
How to pressure can whole beans
Start by soaking the beans for 12 hours (with 1 Tbsp of apple cider vinegar), then drain and rinse the beans as outlined in the refried beans recipe above. Next, add ONLY the drained beans to a pot (don’t add the other refried bean ingredients), cover with water, and boil for 30 minutes. Now you’re ready to pressure can!
Fill jars (pint or quart) with the hot beans and cooking water, leaving 1″ of headspace. Secure jars with a fresh canning lid and ring, and process in a pressure canner at 10 pounds of pressure for 75 minutes for pints and 90 minutes for quarts (Source: NCHFP). *Remember to adjust if you’re at altitude!
When you want to make a batch of homestead refried beans, start at the step where you fry up the bacon. Once you reach the point of adding the beans to the mixture, simply open a can of your canned beans, drain out the liquid, and add it to the pot! Since the pressure canned beans will be softer than the beans used in the original recipe, you can shorten the cooking time from 1.5-2 hours to just 1 hour.
Variations
Prefer black beans?
No problem! They require the same soaking and cooking times as pinto beans.
Want a bigger kick?
Add chopped poblanos and/or jalapenos while cooking the onion and garlic. Yum!
Don’t want to add salsa?
Totally fine! In fact, my recipe is the only one that I know of that adds this. I learned the salsa trick from my mom and I think it adds a nice balance of flavor and acidity.
FAQ
Can I double this recipe?
Absolutely, and please do! I’ve found that once I’m already making a mess, it’s well worth the effort to double or even triple what I’m making.
How long does it last?
- 3-4 days in the fridge
- 6-12 months once pressure-canned and properly stored
- 6 months if frozen
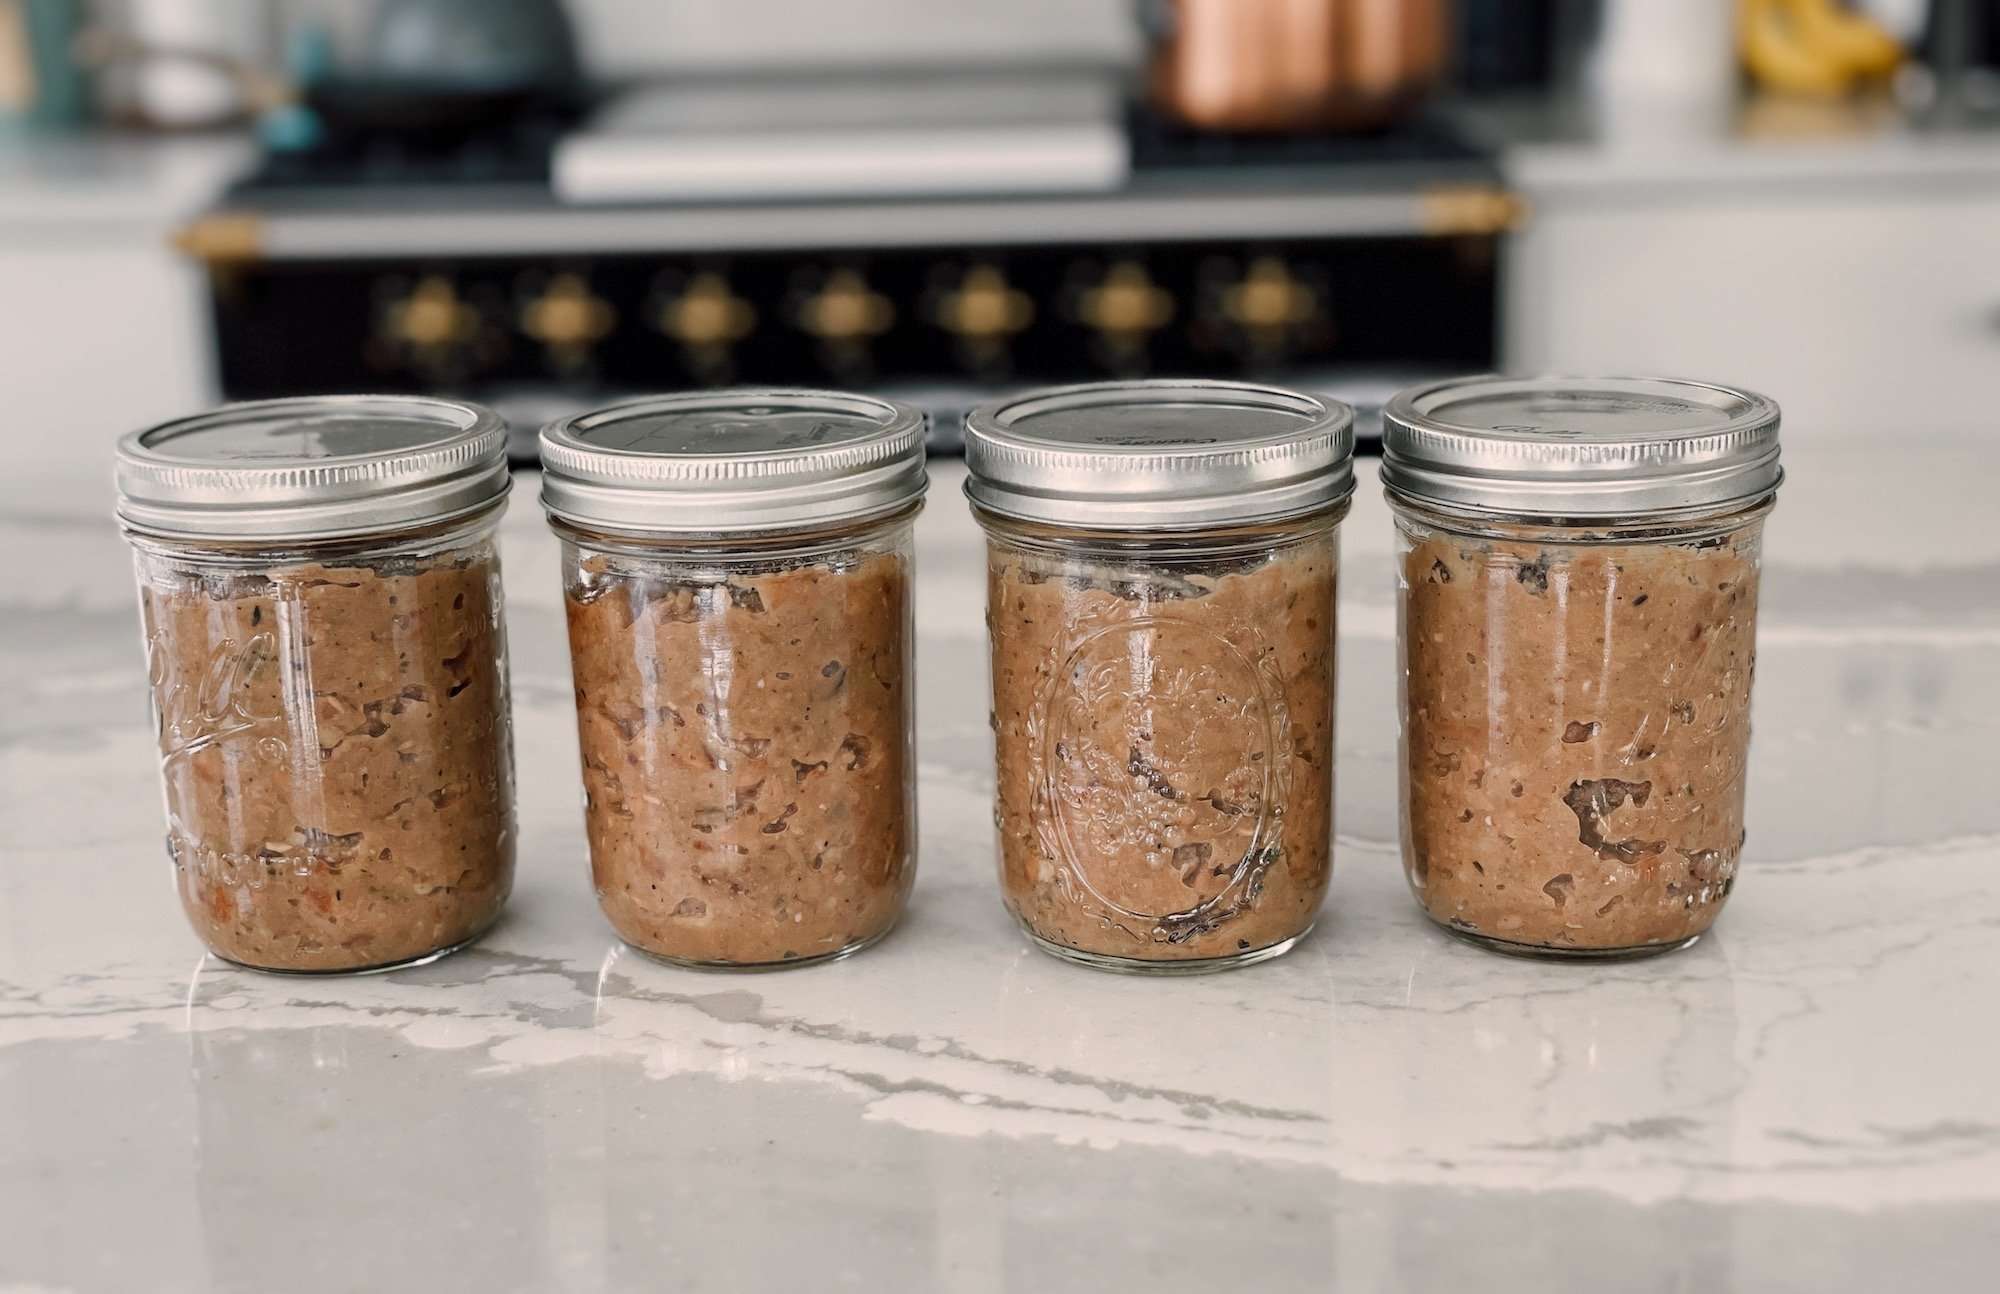
How many pint-sized canning jars does this recipe fill?
For me, this recipe fills 4 pint-size canning jars, plus a little extra for a tasty snack!
Are homemade refried beans better than canned ones?
Heck yes! I didn’t think that I was a big refried beans fan until I had made my own from scratch. Now I’m completely addicted!
What is your favorite pressure canner?
The Homesteading RD's Product Picks | |
|
Best Choice | The best pressure canner on the market and the one that I personally use on our homestead! Only All American pressure canners feature an exclusive, precision-machined, metal-to-metal sealing system. Positive action clamping locks form a steam-tight seal without any costly-to-replace gaskets. |
The Homesteading RD's Product Picks | |
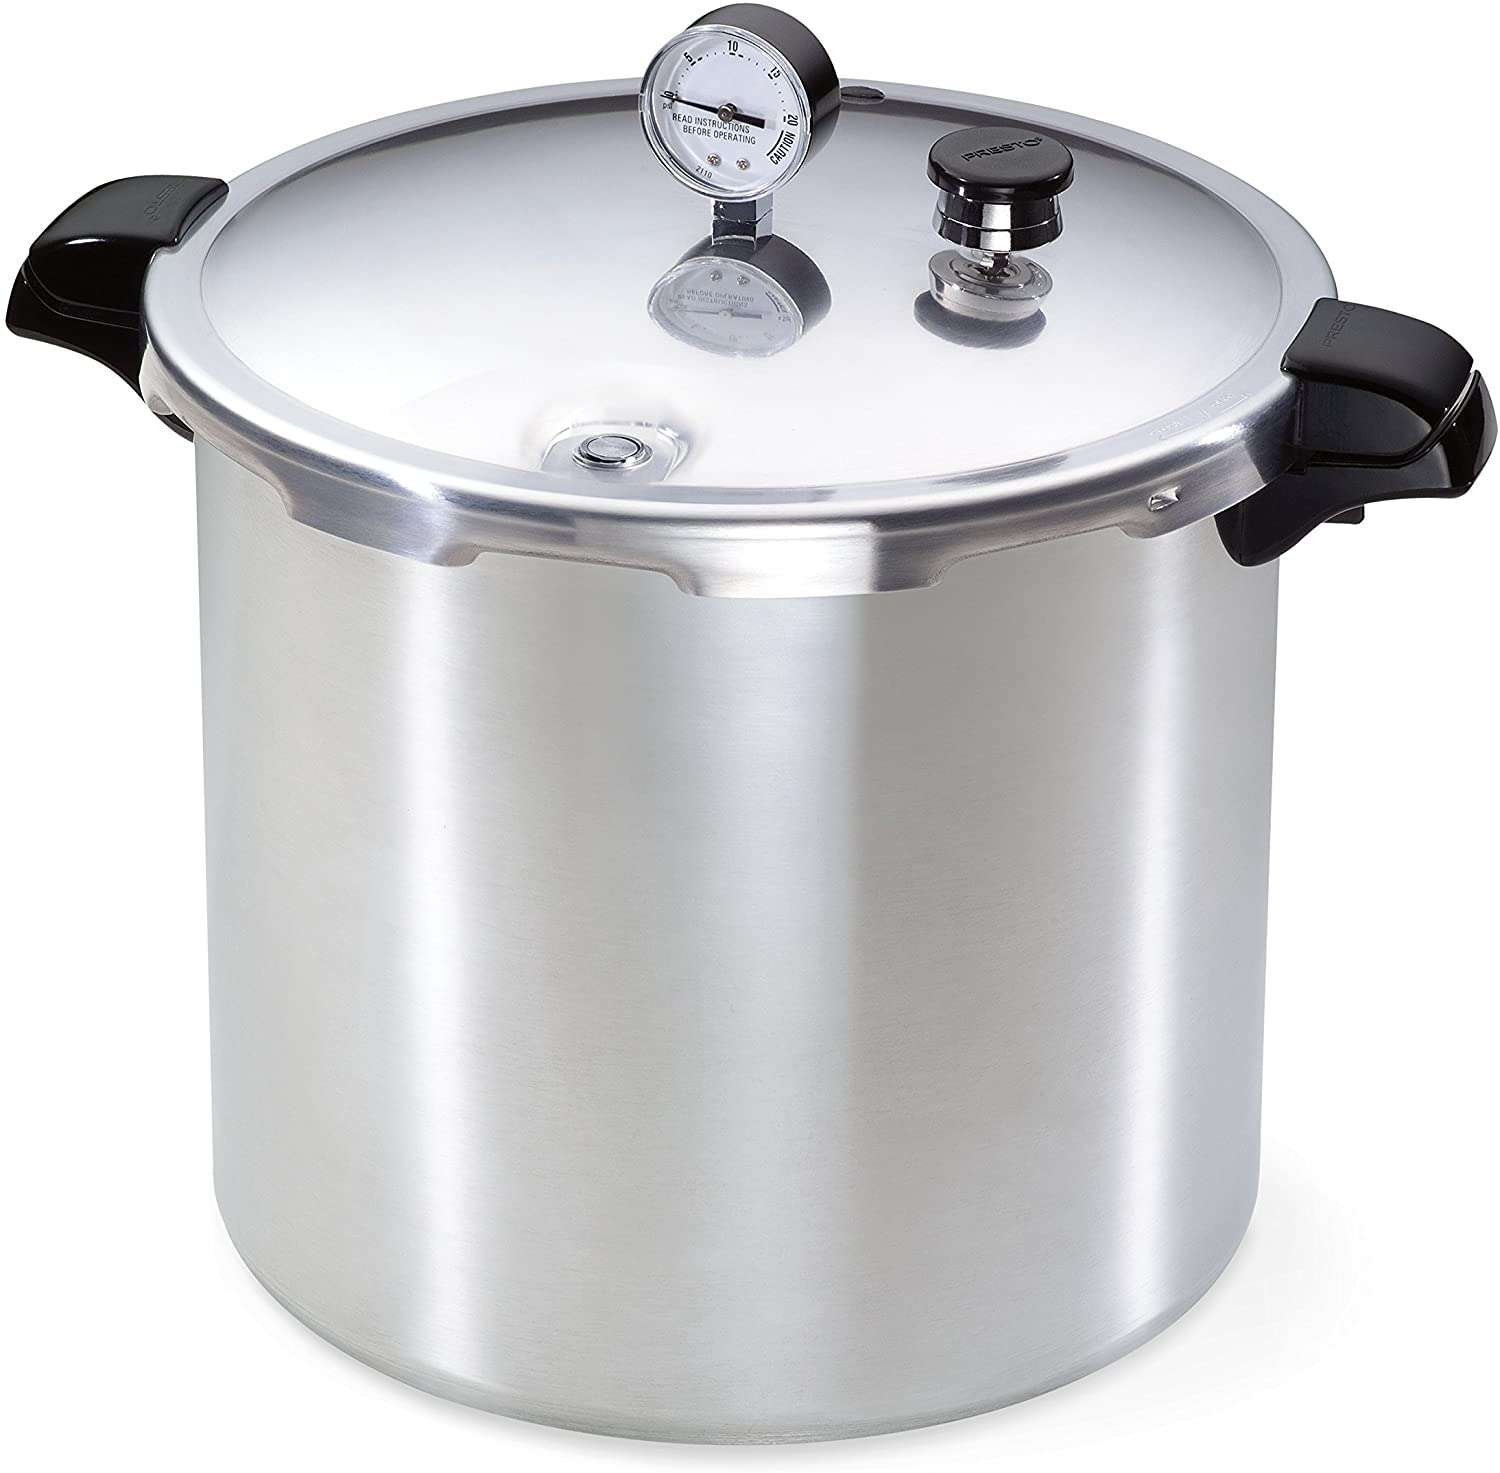
Budget Choice | If you're on a tight budget, this Presto Pressure Canner will do the trick! Constructed of warp-resistant heavy-gauge aluminum for fast, even heating; Works on regular and smooth-top ranges; Extended 12-year limited warranty |
Other Recipes You’ll Love
- Gluten Free Quiche With Garden Veggies
- Wild Rice Rooster Soup with Roasted Mushrooms
- Garden Fresh Rhubarb Crumble (Gluten-Free!)
- Pressure Canning: A Step-By-Step Guide
Homestead Refried Beans Recipe Card

Homestead Refried Beans (Plus, Canning Tips!)
Equipment
- 1 Bowl for soaking beans
- 1 Strainer for straining the soaked beans
- 1 Large Pot for cooking the homestead refried beans
- 1 Potato masher
- 4 Pint Canning Jars OPTIONAL - if canning
- 4 Sets of Canning Lids/Rings OPTIONAL - if canning
- 1 Pressure Canner with Rack OPTIONAL - if canning
- 1 Canning Funnel OPTIONAL - if canning
- 1 Tongs OPTIONAL - if canning
Ingredients
- 1 lb dried pinto beans organic
- 1 tbsp apple cider vinegar
- 4 strips bacon organic, pasture-raised
- 2 onions chopped
- 4 cloves garlic minced
- 2 tsp italian seasoning blend
- 2 tsp cumin
- 2 tsp sea salt
- ½ tsp pepper
- 2 cups beef stock organic, grass-fed
- ½ cup salsa
- 1 cup shredded cheese (for topping) from organic, grass-fed cows
Instructions
Pre-Soaking Dried Beans
- Rinse the dried beans, then add to a large bowl. Add enough water to cover the beans by 2" and then add 1 Tbsp of apple cider vinegar.
- Let soak at room temperature for 12 hours, or overnight.
- Drain and rinse beans well. Set aside.
Cooking Homestead Refried Beans
- Cook bacon in a cast-iron skillet on medium heat until crisp. Remove bacon to a plate lined with a paper towel or tea cloth. Once cooled, chop bacon and set aside.
- Transfer bacon grease from the skillet to a large pot and heat over medium. Add chopped onions and cook until golden (~5 minutes).
- Add the minced garlic and spices. Cook for 1 more minute until aromatic.
- Add the soaked and rinsed beans into the pot along with 2 cups of beef stock
- Add enough water to cover the beans by 1-2” (~2 cups of water is ideal for the pot I use)
- Cover and let simmer for 1.5-2 hours until the beans are soft, checking the water level occasionally.
- Once soft, mash the beans slightly with a potato masher, add the reserved chopped bacon and stir in ½ cup of salsa.
- Top with cheddar cheese and enjoy!
Pressure Canning Beans
- Start by soaking the beans for 12 hours (with 1 Tbsp of apple cider vinegar), and then drain and rinse the beans as outlined in the refried beans recipe above.
- Add ONLY the drained beans to a pot (don't add the other refried bean ingredients), cover with water, and boil for 30 minutes.
- Fill jars (pint or quart) with the hot beans and cooking water, leaving 1" of headspace.
- Secure jars with a fresh canning lid and ring, and process in a pressure canner at 10 pounds of pressure for 75 minutes for pints and 90 minutes for quarts (Source: NCHFP). *Remember to adjust if you're at altitude!
- When you want to make a batch of homestead refried beans, start at the step where you fry up the bacon. Once you reach the point of adding the beans to the mixture, simply open a can of your canned beans, drain out the liquid, and add it to the pot! Since the pressure canned beans will be softer than the beans used in the original recipe, you can shorten the cooking time from 1.5-2 hours to just 1 hour.
Notes
Nutrition


You have inspired me to can my own refried beans. I took your recipe as inspiration and then did my own thing but I plan to try your recipe too :). The ACV is genius! The beans plumped up a lot during the soak.
So excited to try canning my own refried beans! I’m not a big fan of salsa though, is it possible to leave out?
Of course! You can definitely leave it out.
Great post. We’ve retired to the country of Panama and I want to set up my pantry, but I did order the Presto Pressure Cooker. Can I pressure can in this or do I need to make the expensive investment ( ordering from Amazon is crazy shipping cost) and purchase a canner?
Thank you.
Hi Mary, a pressure cooker is different than a pressure canner. Take a look at your use manual and see if it’s designed for pressure canning. You might want to take a look at my article to learn a bit more about it: https://thehomesteadingrd.com/pressure-canning/
I’m getting ready to make this now but was wondering if I could add in some chorizo and still pressure can it?
Absolutely! (as long as it is pressure-canned)
Can I water bath if not using bacon since it has tomatoes? Water bath for 3 hrs? Thank you!
No, even if you leave the bacon out, it will still need to be pressure canned.
How long do they keep for?
Fresh: 3-4 days in the fridge
Pressure canned: 6-12 months
My hubby and I are empty nesters so I would like to can half pints. Do they still process at 10 lbs of pressure for 75 minutes?
I should try this. We go through a lot of refried beans in my house. Taco Tuesday!
You’re going to love it! Definitely a great addition to Taco Tuesday 🙂
Looks delicious. Saving this recipe to try!
This looks so good!!
Looks good, will give it a try
Yay! Enjoy 🙂
This is on our list of canning recipes to try! We love refried beans, and your recipe sounds amazing! Thank you! 🙂
This sounds amazing. Love beans. Going to make this.
They are the best beans I’ve ever had, that’s for sure! Enjoy! 🙂
This looks amazing. We are always buying canned refried beans and I never thought of making my own. I will be now! Thank you for this recipe.
You’re welcome! They are sooooo much better than store-bought. Once you try them, you’ll never be able to go back 🙂 Enjoy!
Nice recipe
Thank you!
This looks delicious!
The sure are! Yummmmm