
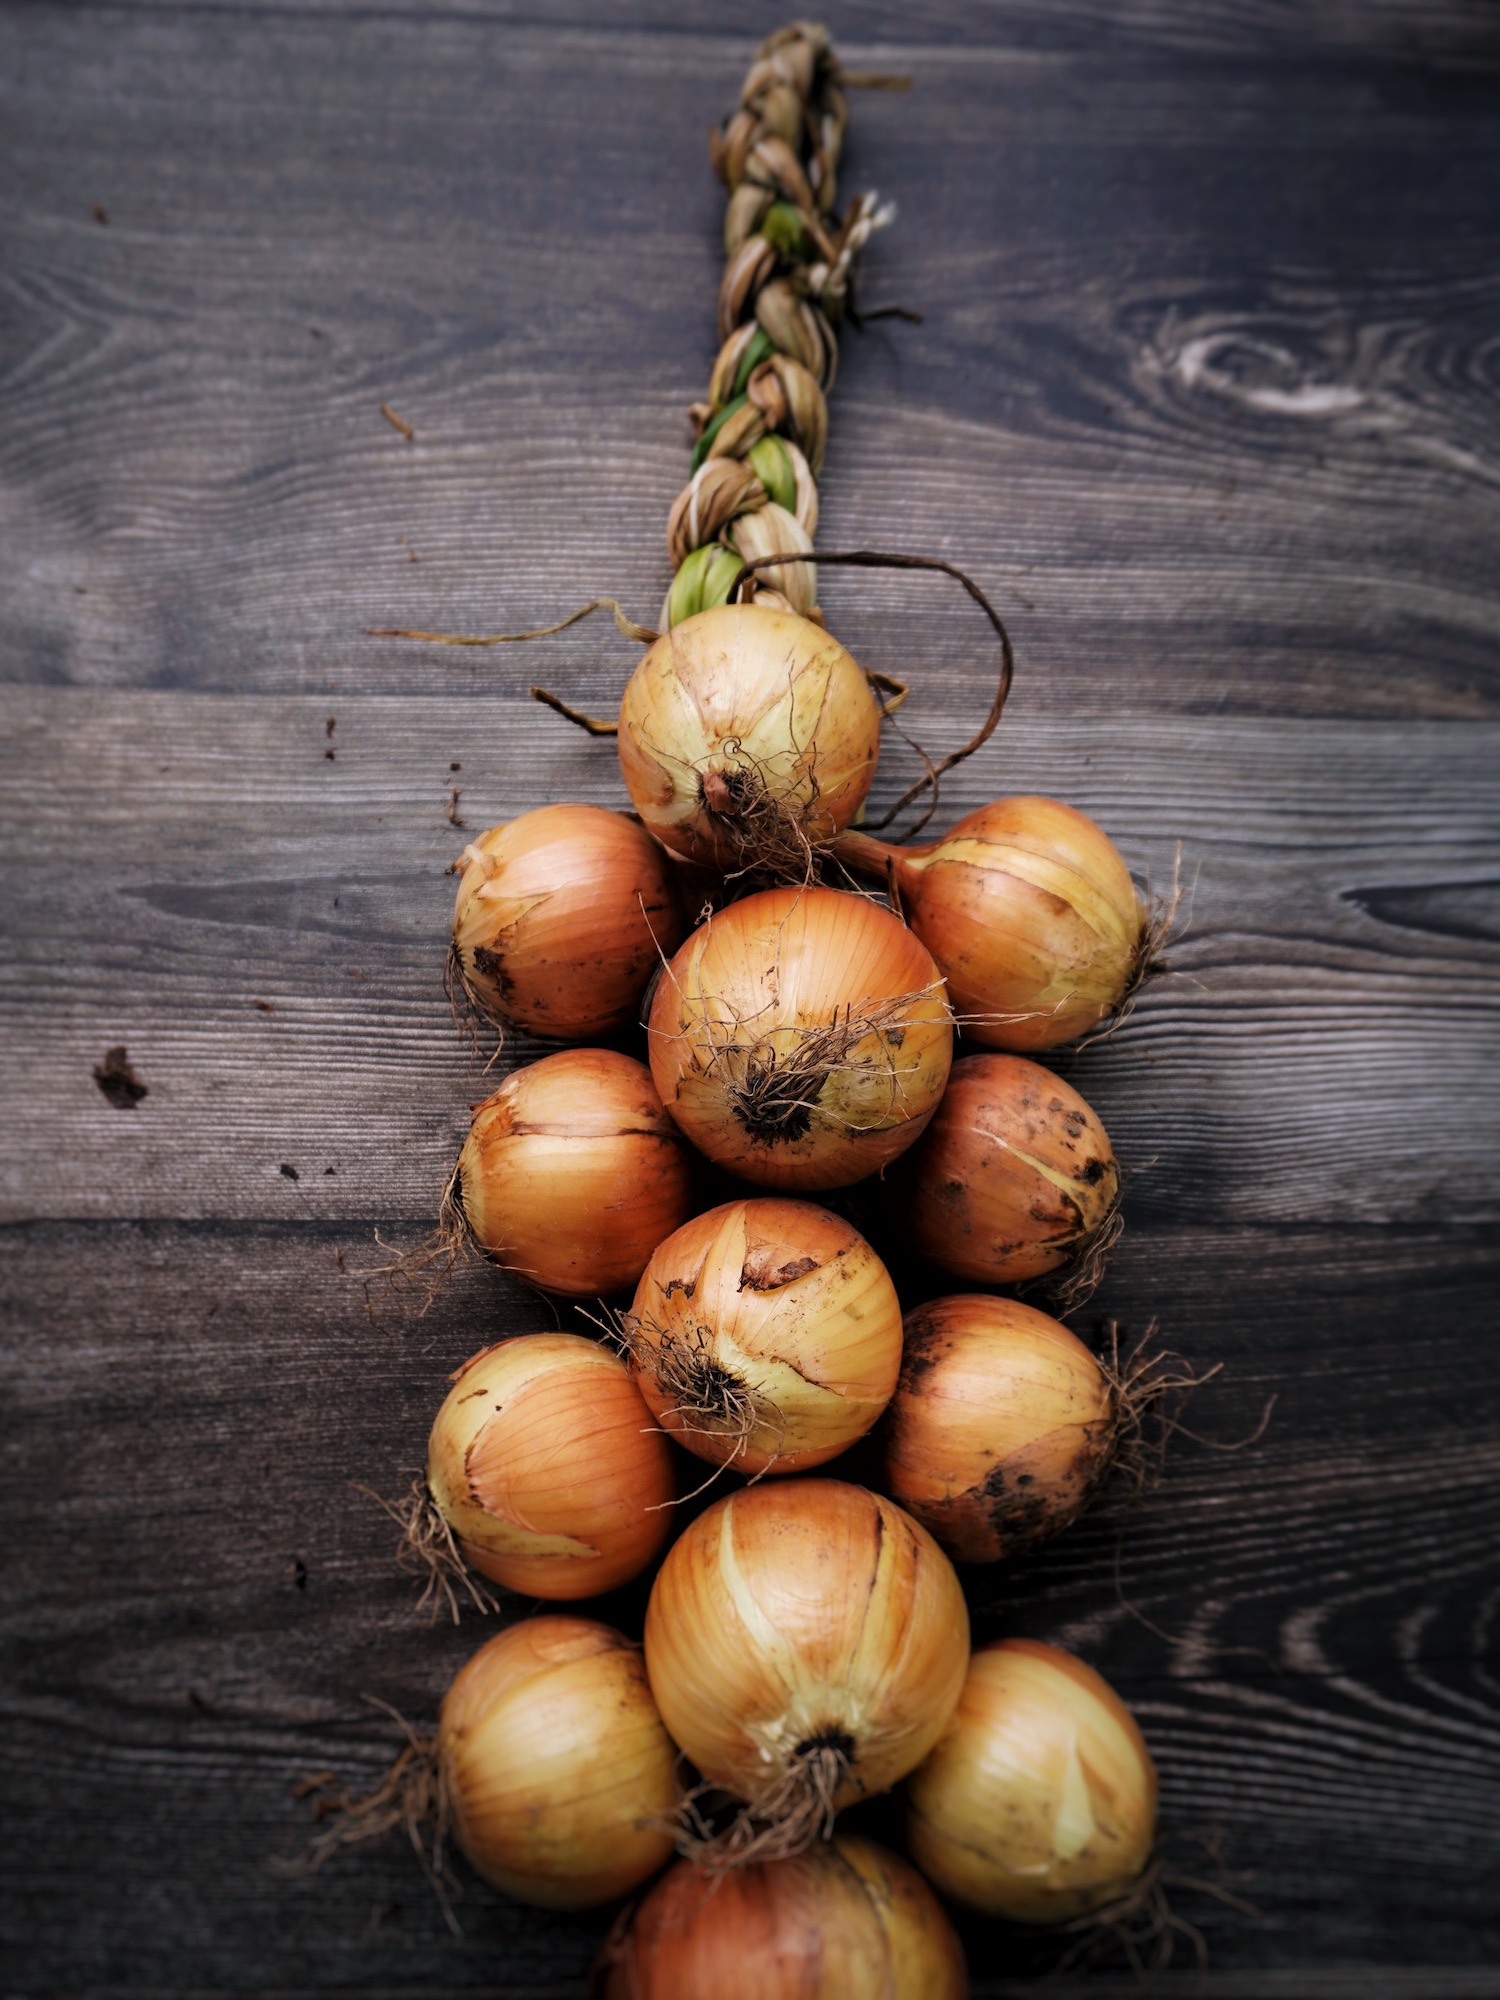
Learning how to braid onions is fun, easy and very functional! Braiding them allows for great airflow (reducing the risk of them rotting or getting moldy) and they are easy to hang for long-term storage. No need for storage bins!
I always feel like I’m tapping into the old frontier days when I’m sitting on the porch braiding away. Plus, they look so beautiful, don’t they?
The best part is that you don’t need much to braid onions. Just some kitchen twine, some scissors and a willing attitude – let’s do this!
*Disclosure: This post may contain affiliate links to products (including Amazon). I’ll earn a small commission if you make a purchase through my link, at no additional cost to you! Regardless, I only link to products that I personally use on our homestead or believe in.
Why Braid Onions?
Braiding onions isn’t absolutely necessary for long-term storage, but it does have a lot of benefits over storing them in sacks or crates:
- Great for small spaces
- Easy to hang
- A way to utilize unique spaces (I hang mine off of the corners of shelves with these hooks)
- Quick to snip off an onion when you need one (no more digging around in boxes or bags)
- They are so beautiful!
Preparing Onions for Braiding
Before you braid onions though, there are a few things you want to do first to be sure that your onions are ready for this step! You definitely don’t want to get this far and have them not store well.
When to harvest
Be patient! Onions are one of the slowest vegetables to grow. They are my first seeds to start in late winter (February) and I usually don’t harvest until late August or early September!
You can harvest onions anytime you want for fresh eating, but if you want them to store well you have to get the timing just right.
It’s time to harvest onions when the green tops kink and flop over. However, there are some slight differences depending on where you live:
- Hot climates: Harvest when ¼-⅓ of the tops fall over
- Cool, dry climates: Harvest when half the tops fall over
- Cool, humid climates: Almost all the tops fall over
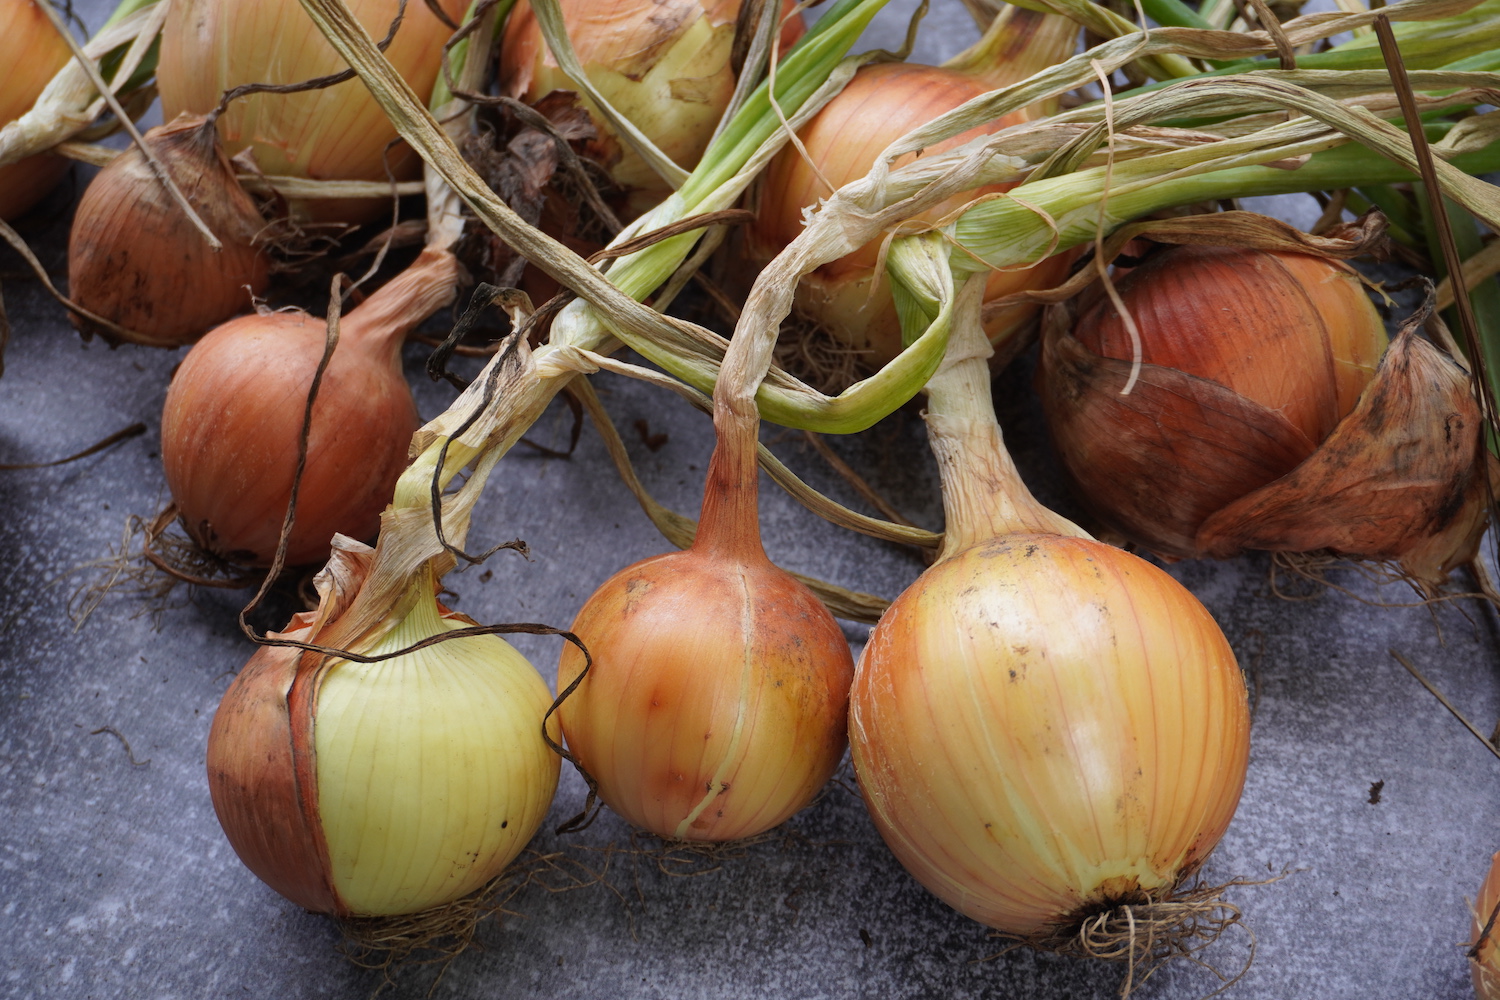
Curing
Once you harvest your onions, the work isn’t done yet! It’s important to cure them properly so that they create a protective shell and store well in the months to come.
Onion curing is a matter of debate in the gardening world. Some people swear by curing in the sun, while others say it should only be done indoors with a fan. The curing timeframe is 1-2 weeks long, depending on your environment.
I personally like to cure in the sun, but I also live in Minnesota where the sun isn’t too intense. My favorite method is just to pile them all in a wagon – it’s easy, has good airflow, and I can wheel it indoors anytime it rains. Check out my method here!
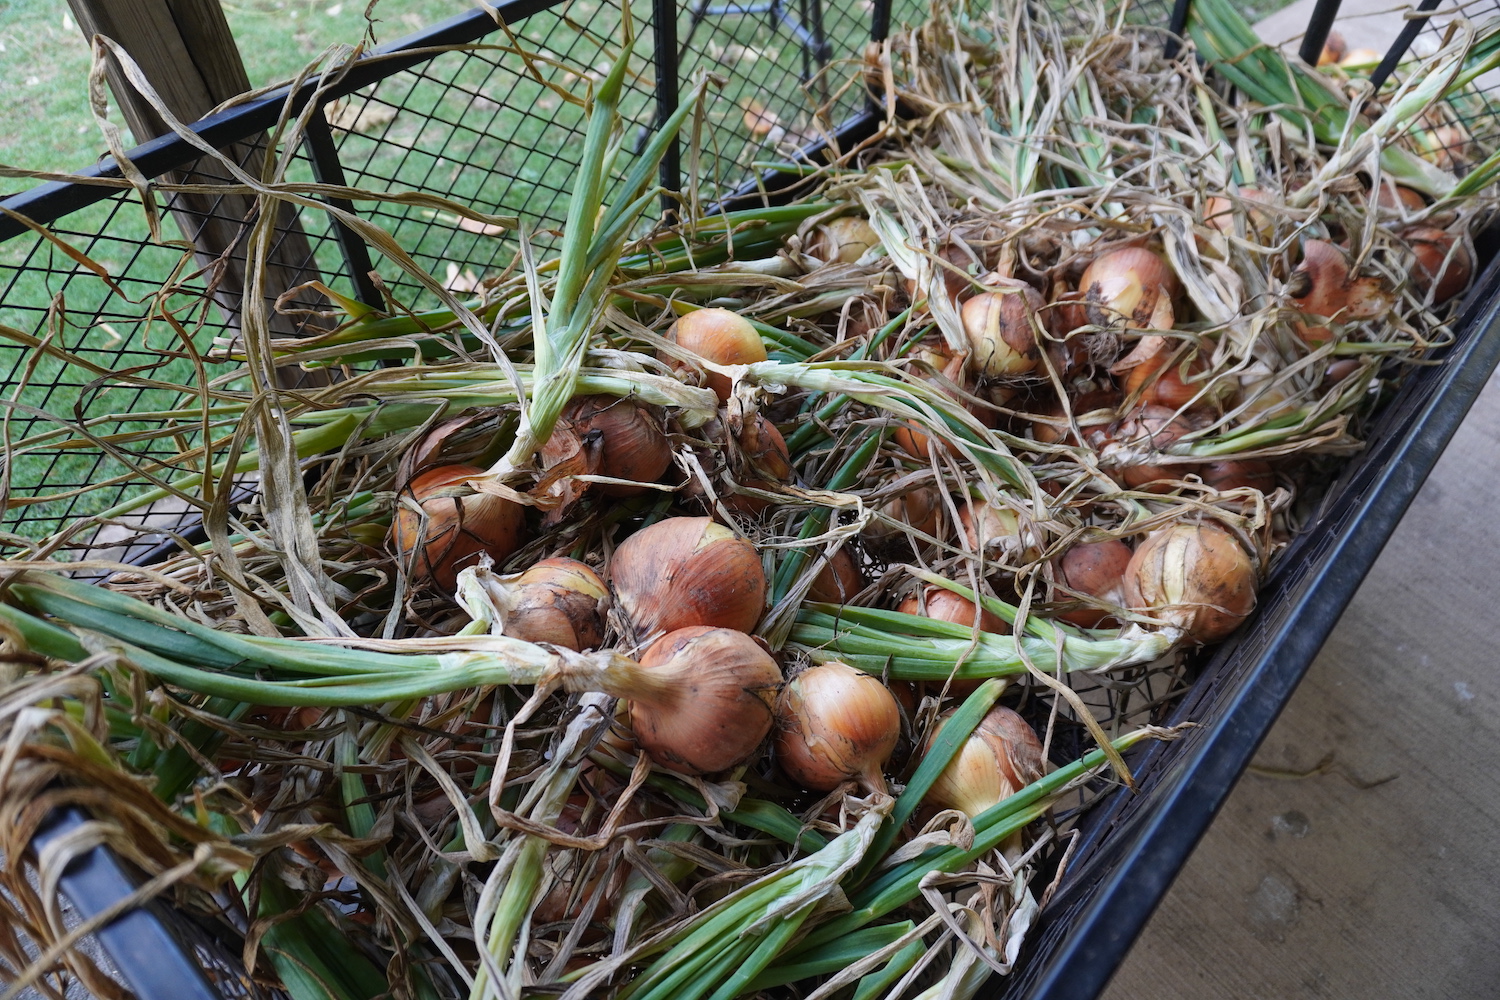
*If you live in a hot climate, it probably is best to cure in a barn or porch (just make sure that there’s a fan present for good airflow!).
You know they are just right for braiding when the green stems have dried out about 50%, but they aren’t completely brown. If you wait too long, the stems will crumble and fall apart when braiding.
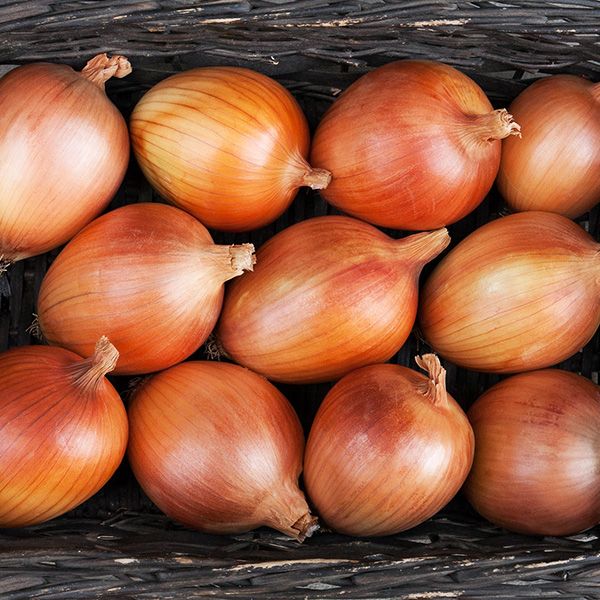
Variety
If you’re hoping for good storage onions, the variety matters. Some varieties store very well (6-12 months), while others should be consumed within a few weeks. My favorite is Sedona F1 – I’ve been growing it for years and it’s AMAZING!
The Homesteading RD's Product Picks | |
| I absolutely LOVE growing these onions and I've been using them for years! They are hardy, easy to grown, and delicious. Plus, they store super well! |
Lastly, growing onions from seed will store a lot better than those from sets. It’s definitely worth the extra work to grow them from seed!
If all of this seems overwhelming, check out my course How to Plan a Garden: Step-By-Step where I guide you through all of these big decisions. I’d love to have you 🙂
How to Braid Onions
There’s a simple pattern to onion braiding. Once you get the hang of it, you’ll fly through this!
Step 1: Gather your supplies
Thankfully, you don’t need much to braid onions and you likely already have these things on hand!
- Onions – 13 of them, cured and arranged from biggest to smallest
- Kitchen twine – 3 lengths cut to 5 feet long
- Scissors
Step 2: Prepare the string
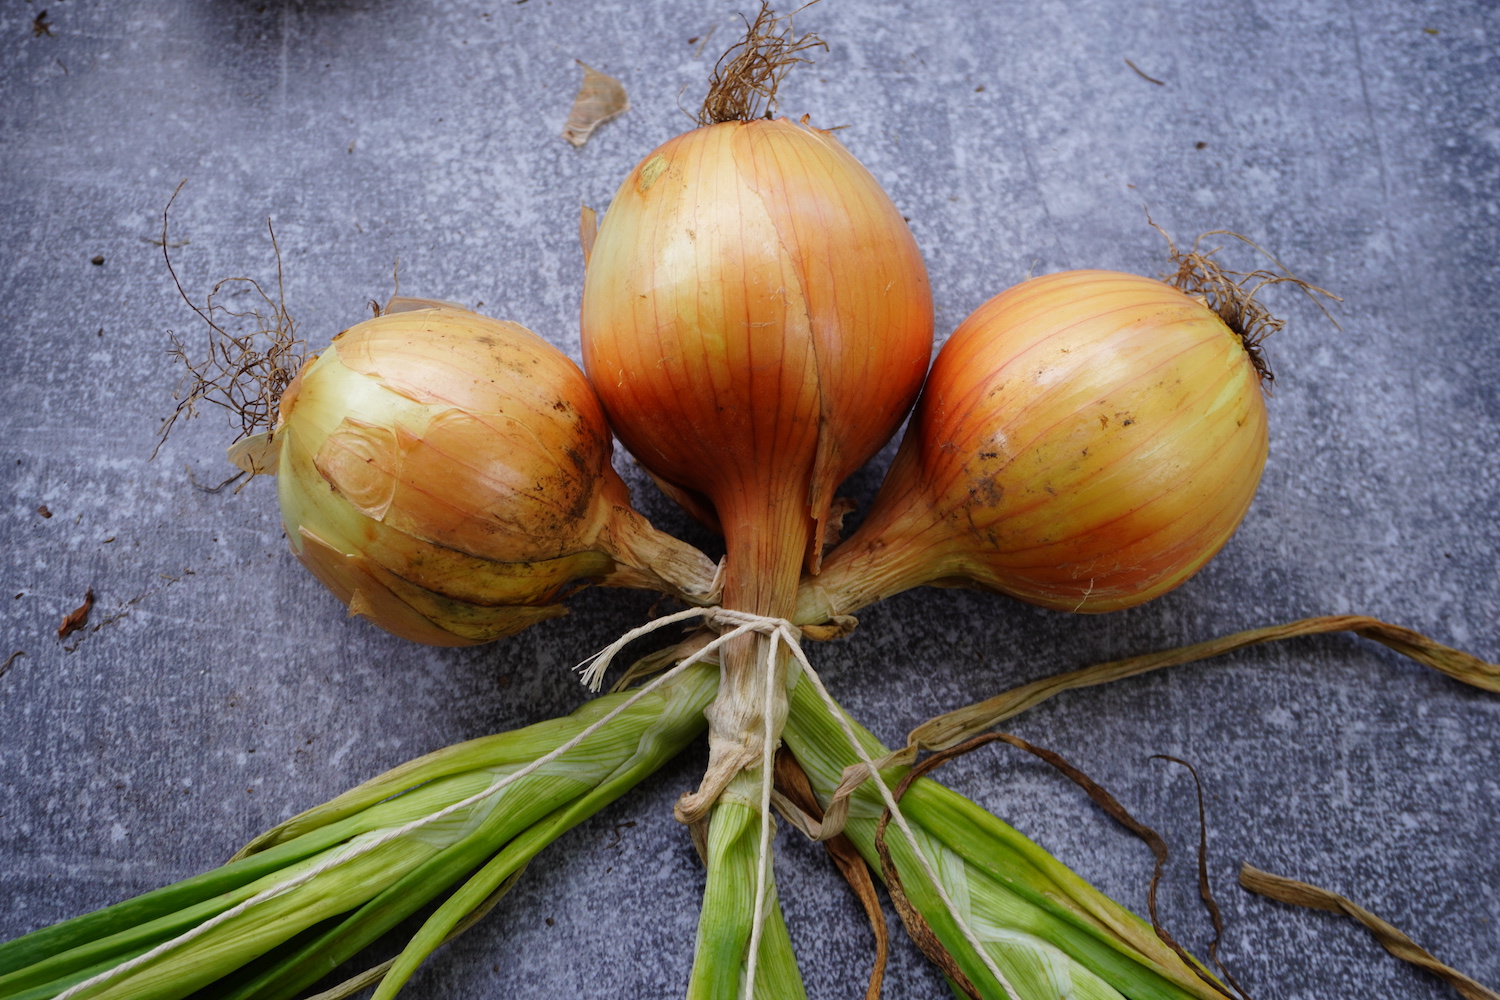
Cut 3 lengths of string to 5 feet long and tie them all together at one end. Then, arrange the biggest 3 onions in front of you with two of them crossing underneath the middle onion. Tie the string around all three onions.
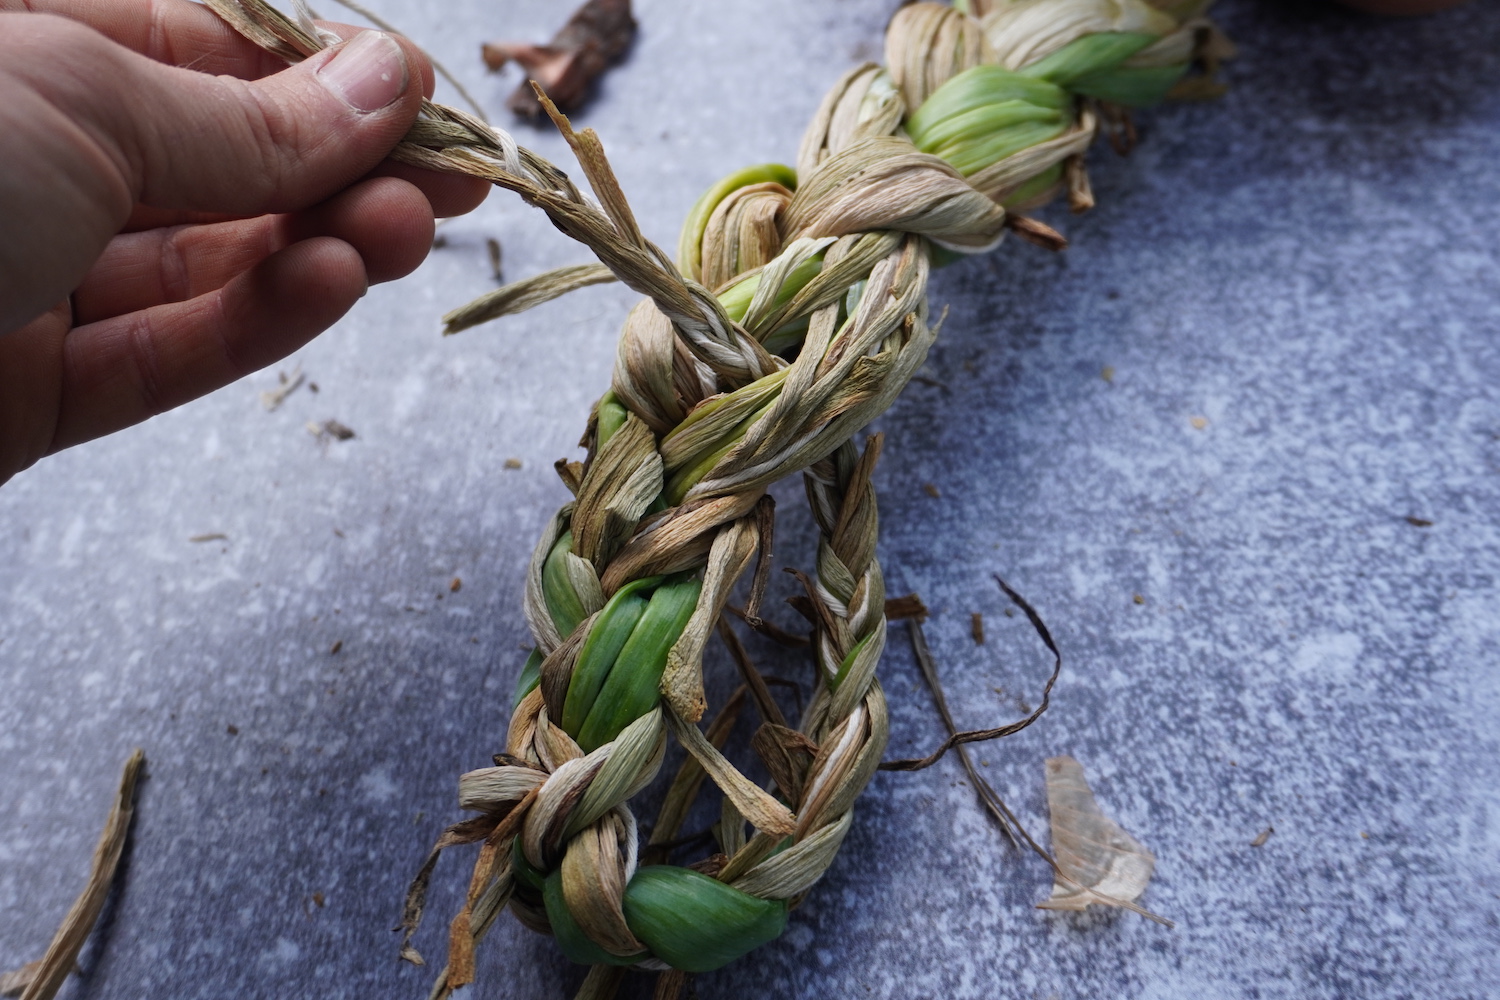
Step 3: Start braiding
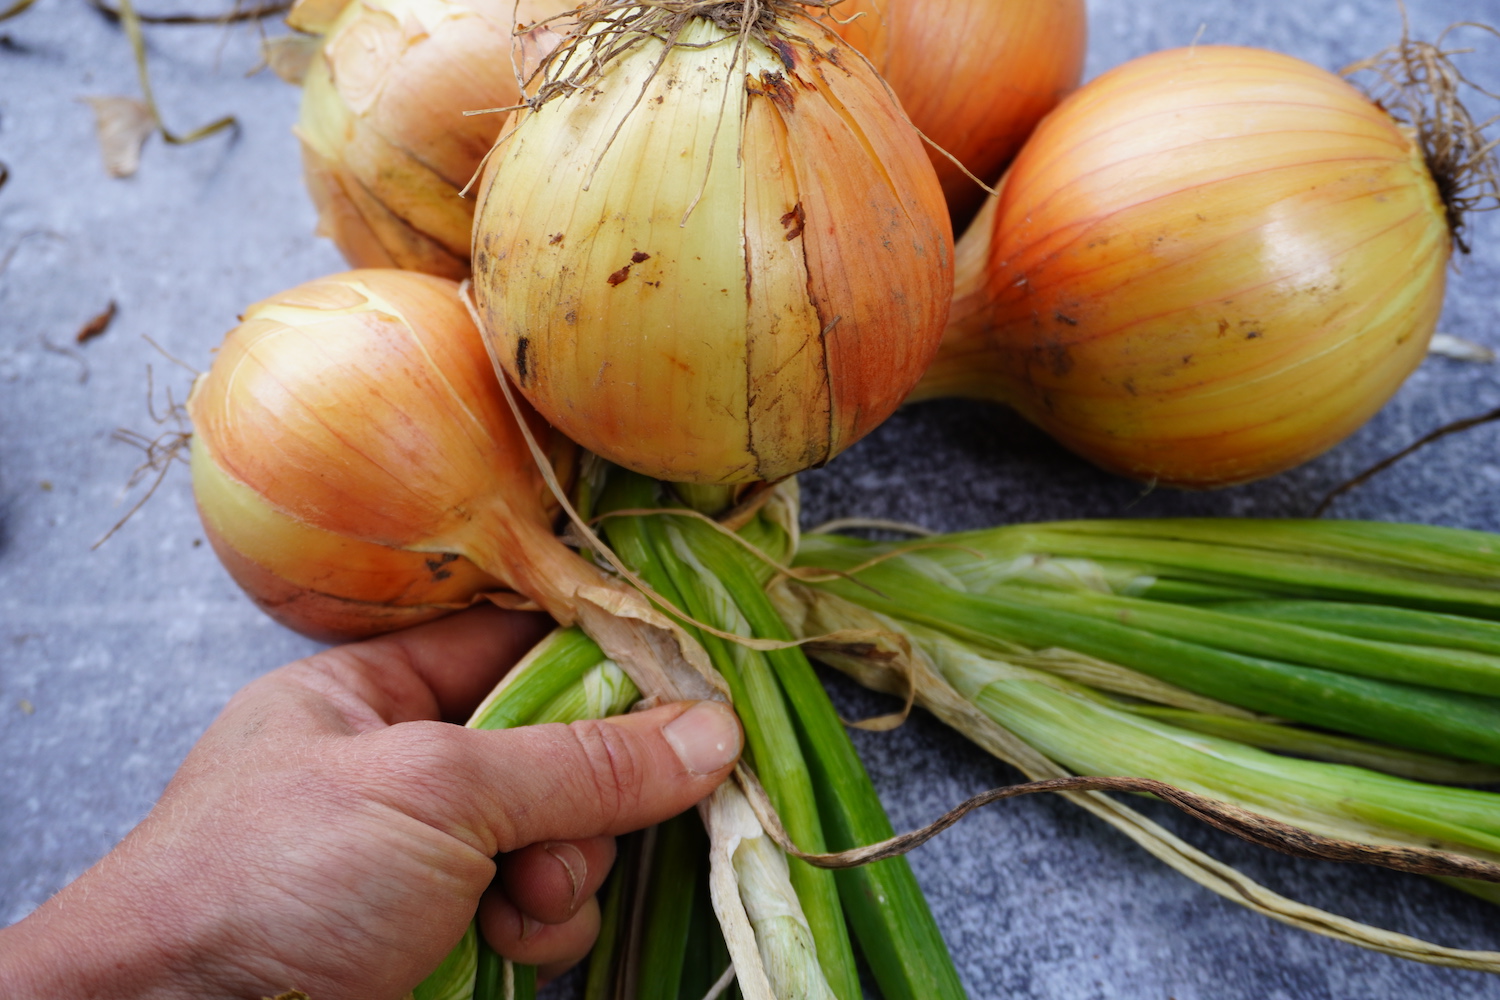
Now, we begin the braiding process! Start with 2 crosses over the large center onion. This will secure everything together.

Add another large onion in the center, followed by 2 more crosses. The two crosses will create a bit of space for the next 2 onions. If it still feels a bit tight, you can do 3 or even 4 crosses before moving on to the next step.

Place a medium onion to the side opposite of the next cross. For me, I placed the onion on the left side so that it gets tucked in by the crossing stems from the right side.
Then, add the second medium onion to the other side (for me: on the right) and cross over (for me: using the strand on the left).
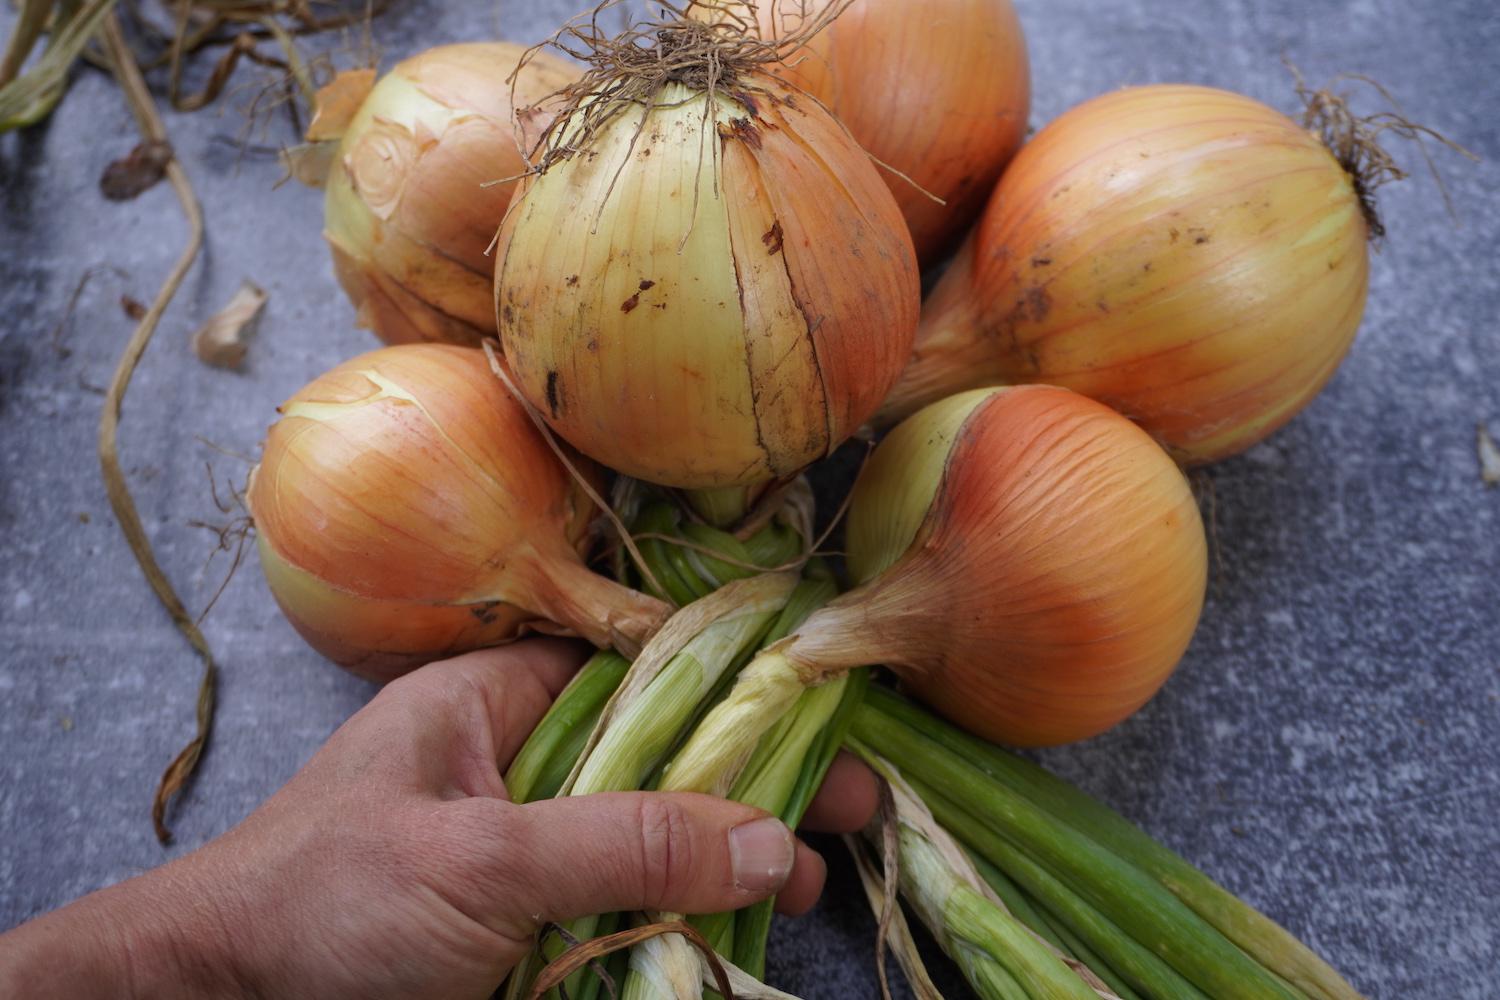
To make space for the middle onion, cross twice, then add a medium onion to the middle. Follow with two more crosses.
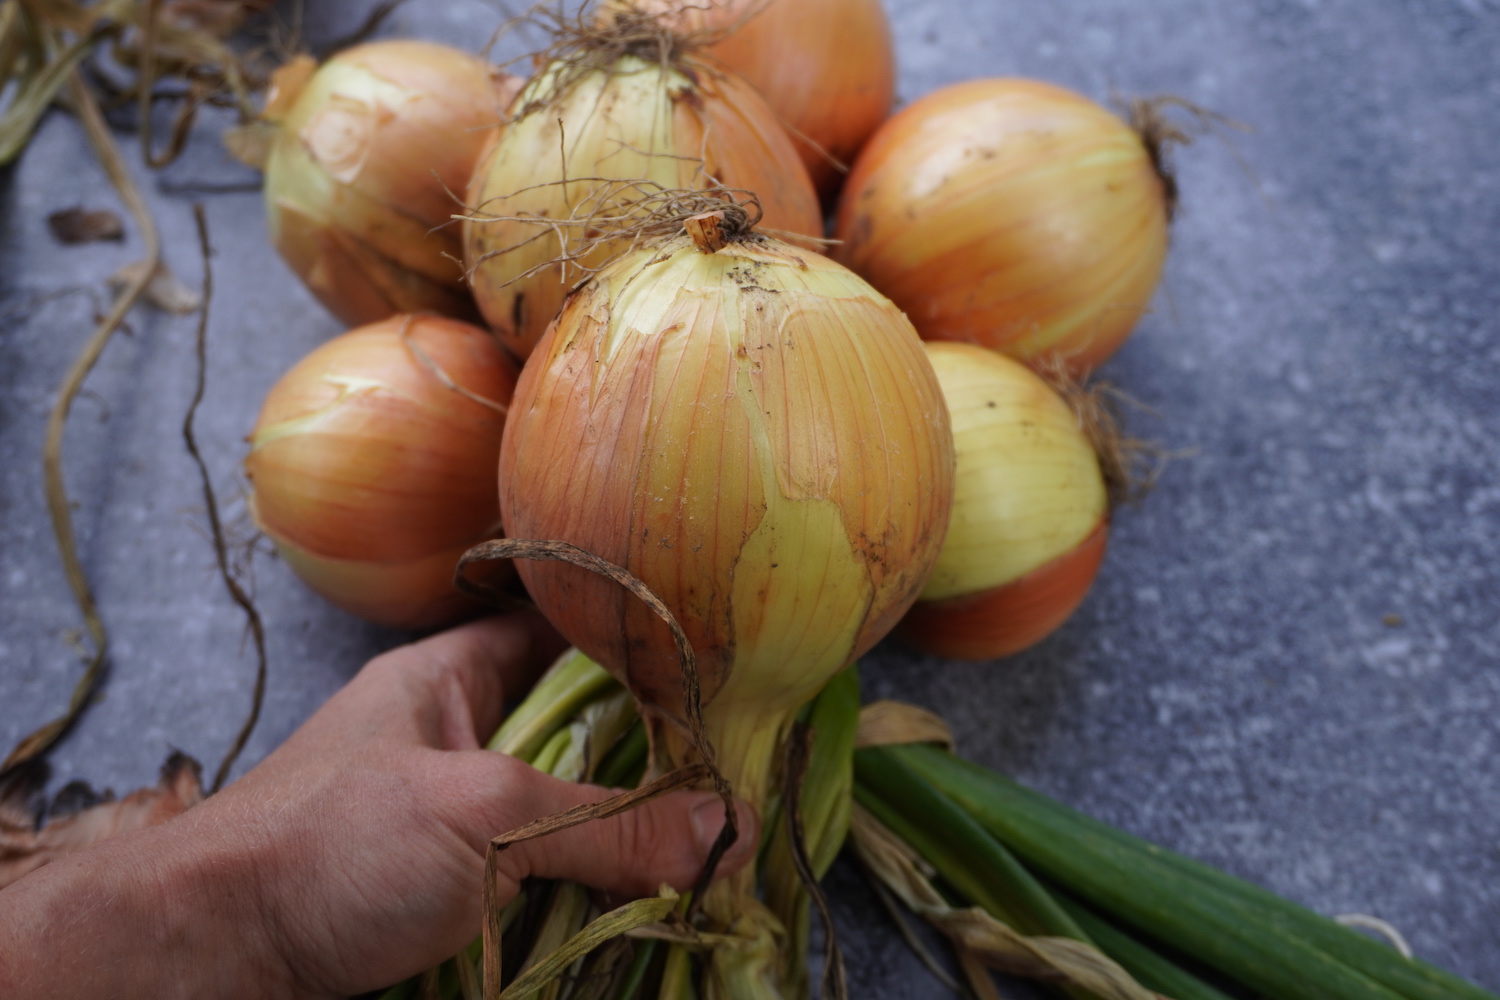
Keep repeating the pattern until you reach the 13th onion in the center. Then, continue braiding until you run out of onion stems and braid a bit further just using the string.
Pro Tips:
- Use up the largest onions at the base of the braid and transition to the small onions toward the top.
- The strings and onion tops love to get tangled, so take your time and try to keep it straight as you work
- Keep track of your strings along the way, they sometimes get left behind or join a different one.
- If your strands get super uneven (one is thick/long and the other is thin/short), you can “borrow” from one strand to the other to keep the braid even
- Your first braid will probably be a bit wonky, don’t worry! You’ll keep getting better.
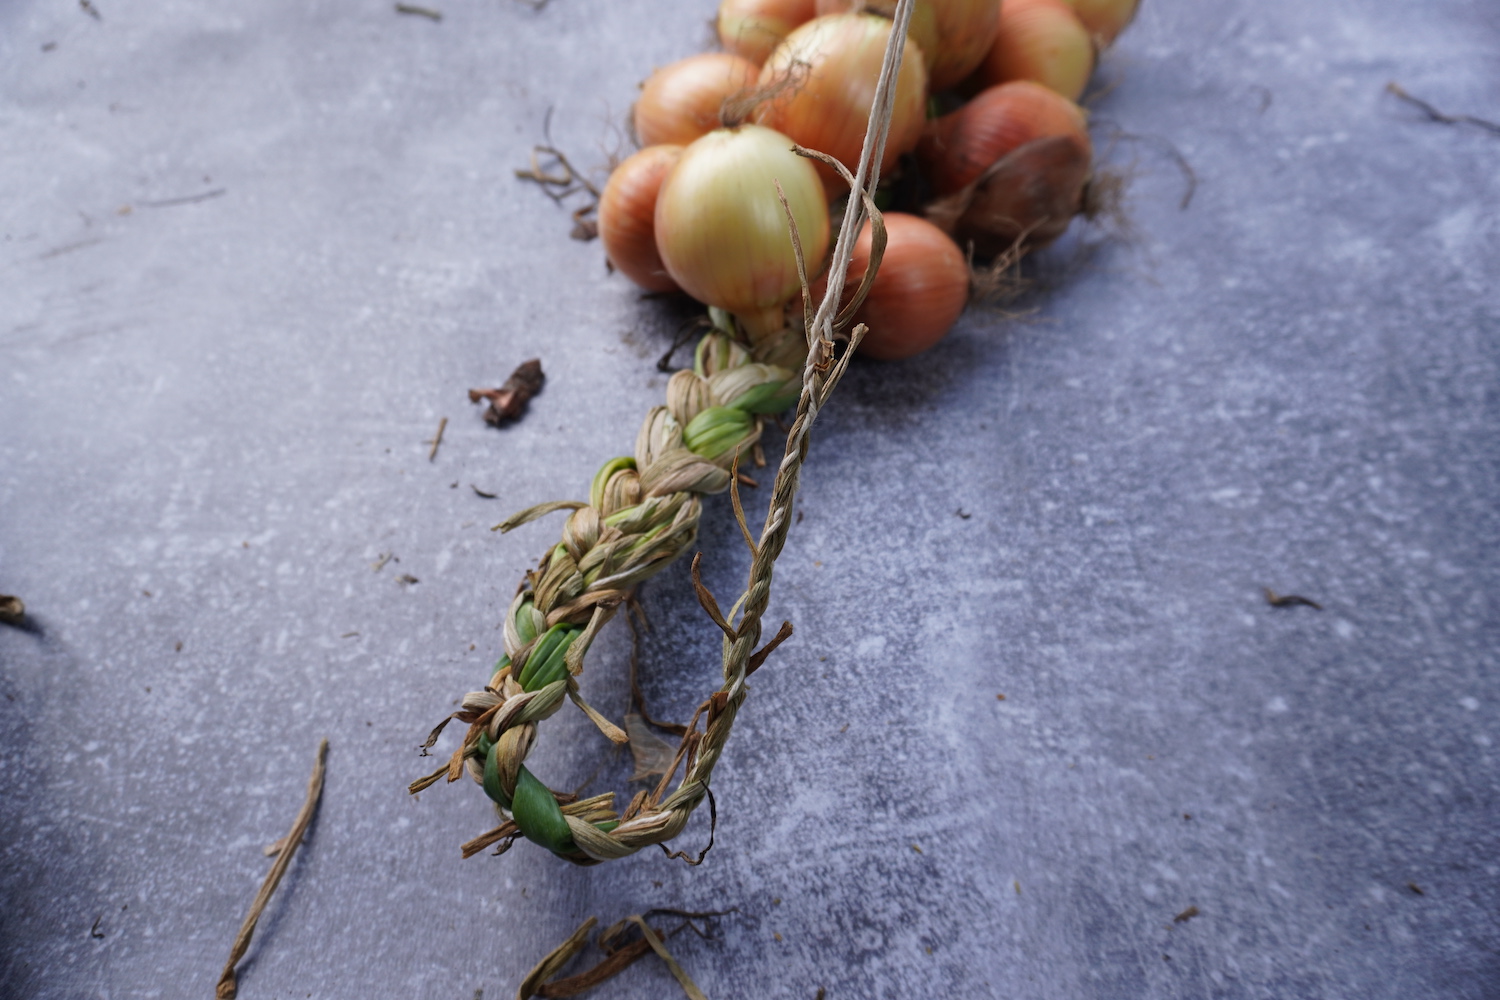
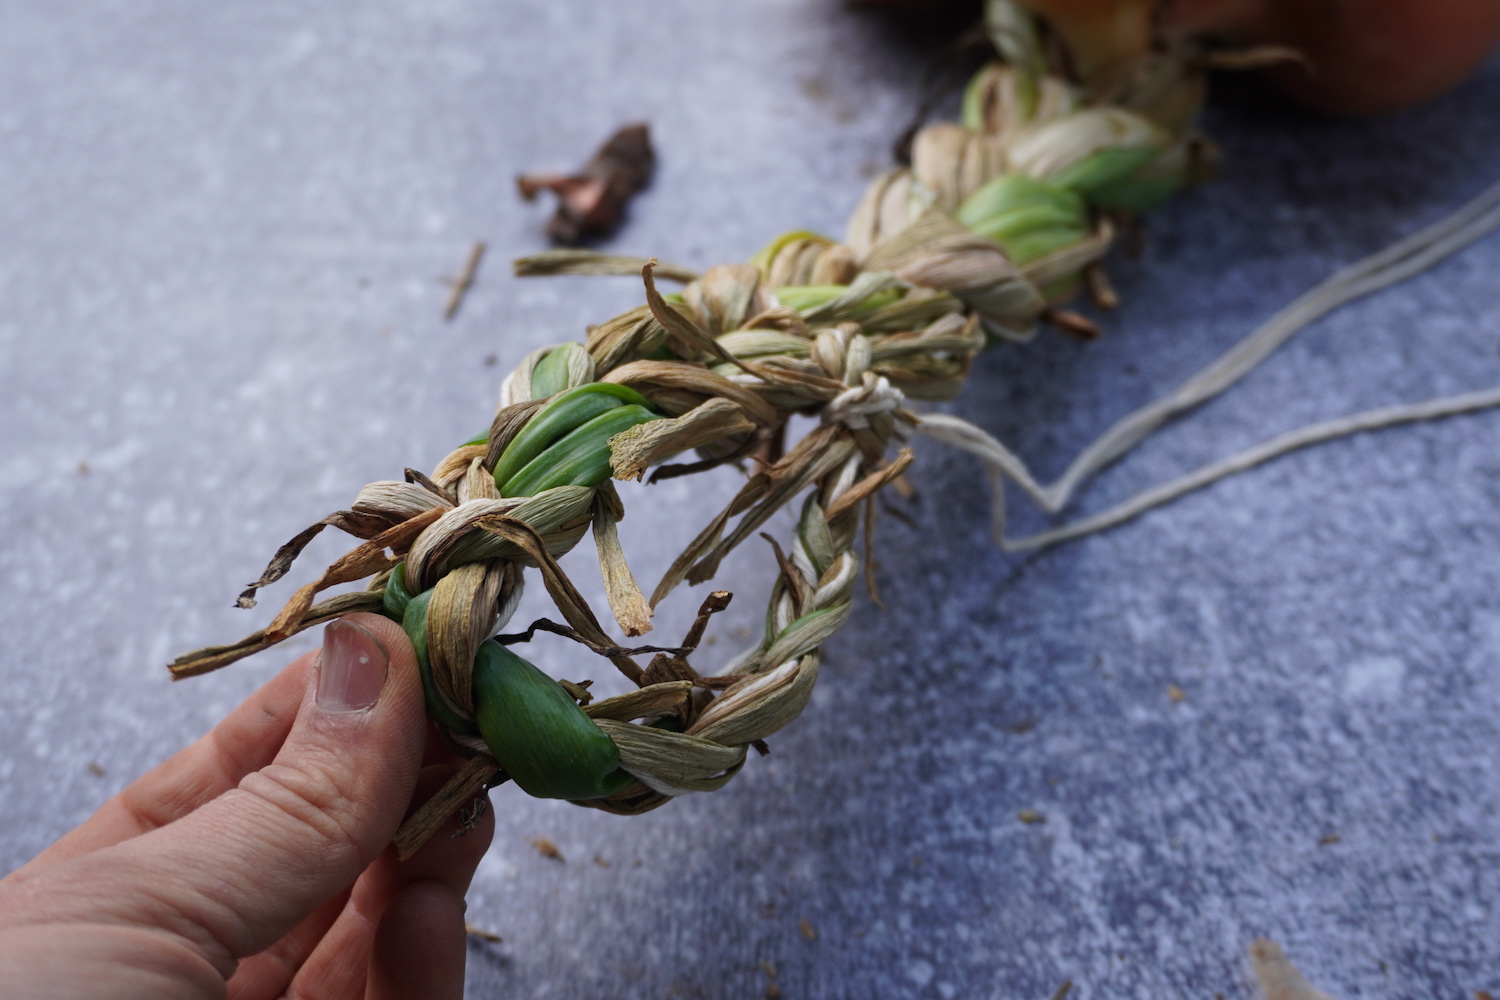
Step 4: Create a hanging loop
I love to take the added step of making a built-in loop. It makes hanging a breeze!
Simply, find a spot lower down in the braid (where it’s fairly strong) and pry your finger in there to create a hole to pull the end of the string through.
Finally, make a couple of knots and snip off the extra strings. Done!
Step 5: Place in storage
You did it!!! Now it’s important to tuck them away in a good storage location so that they store as long as possible. It’s best to store them in a cool, dark location like a root cellar, if you have one.
I love to use my heated garage set at 45 degrees. My onions last well into the spring this way. If you don’t have an ideal location, don’t panic. You can store them inside your home as well, they just might not store quite as long.
Lastly, make sure to not store them next to apples or tomatoes. They put off ethylene gas, which can trigger your onions to sprout – no thanks!
Watch Me Braid Onions on Video!
FAQ About Braiding Onions:
How long will onions last in storage?
It totally depends on the variety that you grew, how well you cured them, and your storage conditions (see above sections for details on this). If you do it all right, you can expect them to last 6-12 months.
The Homesteading RD's Product Picks | |
|
| I absolutely LOVE growing these onions and I've been using them for years! They are hardy, easy to grown, and delicious. Plus, they store super well! |
How do I remove onions when they are braided?
It’s super easy! Just grab your scissors and snip a bulb right off of the braid.
Do I have to braid onions with 13 of them?
Not at all. You can do more or less, but I would caution against doing more than 13 if your onions are decent in size. If you do, the bundle might get too heavy and eventually snap the braid. However, if your onions are small, go ahead and do more!
Other Articles You’ll Love:
- When to Harvest Garlic Scapes (& How to Do It!)
- Dried Radishes for Winter Storage
- Delicious Soaked & Dehydrated Pumpkin Seeds
- How to Make Dehydrated Carrots (EASY!)
Final Thoughts
Learning how to braid onions is such a fun and valuable skill to have. You’ll certainly impress all of your friends with those gorgeous braids strung up. Take your time, do your best to manage the tangles, and you’ll do great!
*Are you interested in starting a garden, but you’re overwhelmed with where to start? Or maybe you’ve tried a garden in the past, but it flopped? Definitely check out my course How to Plan a Garden: Step-By-Step! Don’t forget my discount code “GARDEN” for 10% off!

*Information in this article was referenced from personal experience and/or from my favorite gardening book: The Vegetable Gardener’s Bible, unless otherwise noted.
The Homesteading RD's Product Picks: This is THE gardening book to have! I've had my copy for over 10 years and it's the one that I keep going back to time after time. It provides design ideas for raised beds, compost bins, you name it! Plus helpful tables for pH ranges, companion plants and more.


This works, although my first set were a little wonky!😊 I didn’t do the top braid; just use the string. My twine was a little heavier than it should have been, and my onions were big as they came from Plant City Florida. Thank you for these instructions!
It takes a bit to master it – great job!