
If you are growing radishes in your garden this year, don’t miss this opportunity to preserve some dried radishes to enjoy during the cold days of winter!
Growing food during the summer is great, but being able to preserve some of your harvest for winter storage is a HUGE step in becoming self-sufficient. The good news is that making dried radishes is super easy and they are simply delicious.
In this article, I’ll walk you through step-by-step how to make dried radishes, what supplies you’ll need, and my favorite ways to enjoy them. There’s even a use for those radish greens, so don’t throw them out!
Let’s jump in!
*Disclosure: This post may contain affiliate links to products (including Amazon). I’ll earn a small commission if you make a purchase through my link, at no additional cost to you! Regardless, I only link to products that I personally use on our homestead or believe in.
Why You Should Dehydrate Radishes
While radishes certainly are delicious straight from the garden with their characteristic peppery crunch, there are many reasons to put in the effort to dry them.

Build up that pantry!
Anytime you can add another item to your food storage shelf means that you are that much more self-sustainable! With food prices up 11% from 2021 to 2022 and shortages becoming common, it’s a great comfort to have shelves lined with food that you grew yourself, inexpensively.
Healthy chips
Dried radish chips are a satisfying, crunchy snack that everyone will certainly enjoy! Plus, you can omit inflammatory seed oils that are commonly found in traditionally-made chips. A win-win! Try dipping your radish chips in hummus, ranch or salsa! YUM!
Health benefits of radishes
Radishes are packed full of sulfur-rich compounds, antioxidants, fiber, B-vitamins, vitamin C, selenium, iron, potassium and calcium (Kumar, 2022). They are also part of the brassica (cruciferous) family, which are well-known for the following powerful detoxification and cancer-fighting properties:
- Fights Breast Cancer – Consistent intake of cruciferous vegetables has been associated with a 15% reduction in risk of developing breast cancer according to a 2013 meta-analysis of 13 different studies!
- Fights Prostate Cancer – Eating 3+ servings per week of cruciferous vegetables was associated with a 40% reduction in prostate cancer compared to those who ate <1 serving per week (Chohen, 2000)
- Fights Colon Cancer – Eating cruciferous vegetables is also protective against colon cancer! A 2014 meta-analysis found that cruciferous vegetable intake was associated with a 16% reduction in risk of developing colon cancer.
Dried Radishes: Step-By-Step Instructions
We’ve made to the important part – how to actually make dried radishes! You’re going to be surprised by how easy it is!
What You’ll Need
- Fresh Radishes
- Unrefined Salt
- *Spices – (optional) I usually just use salt to let their natural flavor shine!
- Dehydrator – an oven works in a pinch – see FAQ section for details!
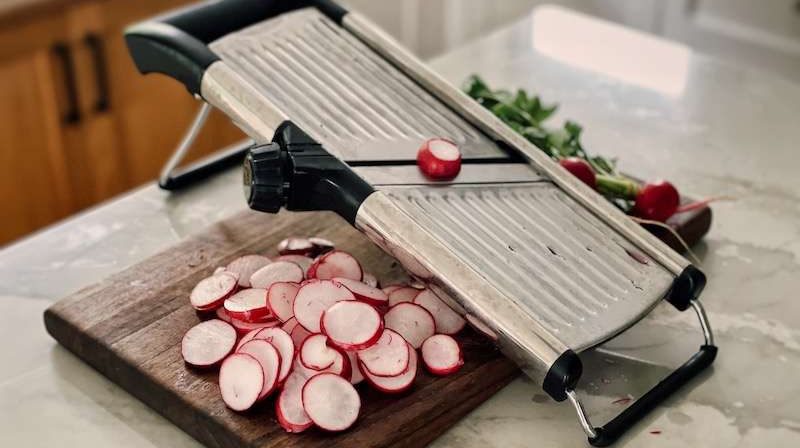
- Mandoline Slicer – or a sharp knife
- Cutting Board – wood is my favorite!
- Mixing Bowl – this is my favorite set that I’ve had for YEARS!
- Glass Jar for Storage
The Homesteading RD's Product Picks | |

| This is THE dehydrator to get! I've been using it for years and have been so impressed. Don't be tempted to cheap out on smaller units. It's dependable, easy to clean and has fine mesh trays so small pieces don't fall through while also drying efficiently. The adjustable thermostat ranges from 105 to 165 degrees. |

| I had to go through multiple madoline slicers before I finally found this one. This french style with one blade is far superior to the common "V" shaped slicers. Slicing is much smoother and you don't get caught up on the V. Learn from my mistake! |
How to Make Dried Radishes
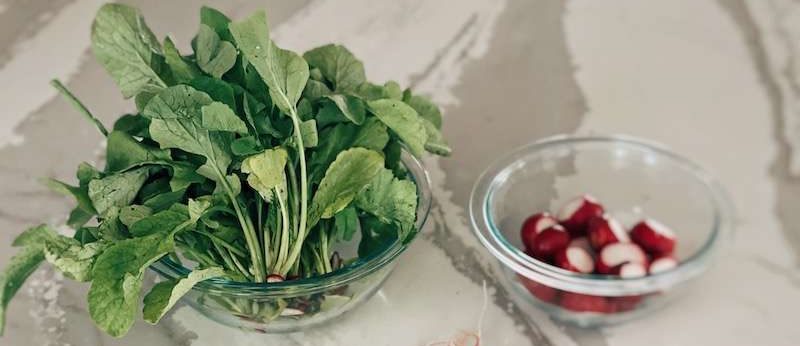
- Step #1: Wash Radishes
- Step #2: Trim off greens and root tip. Save the greens (see following section on how to use these)!
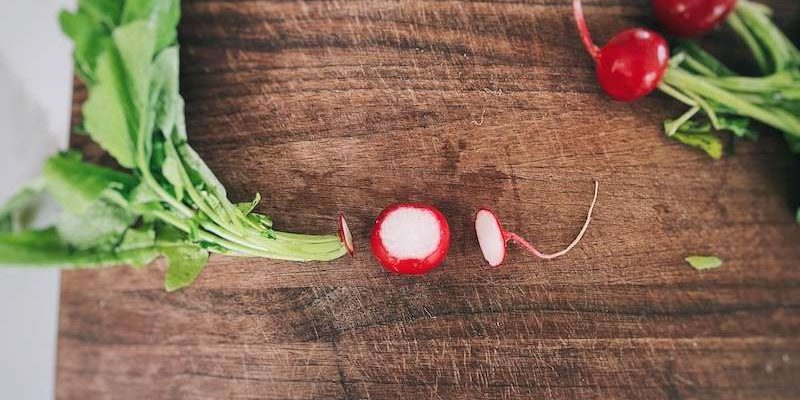
- Step #3: Thinly slice radishes ⅛” thick using mandoline slicer or a sharp knife.
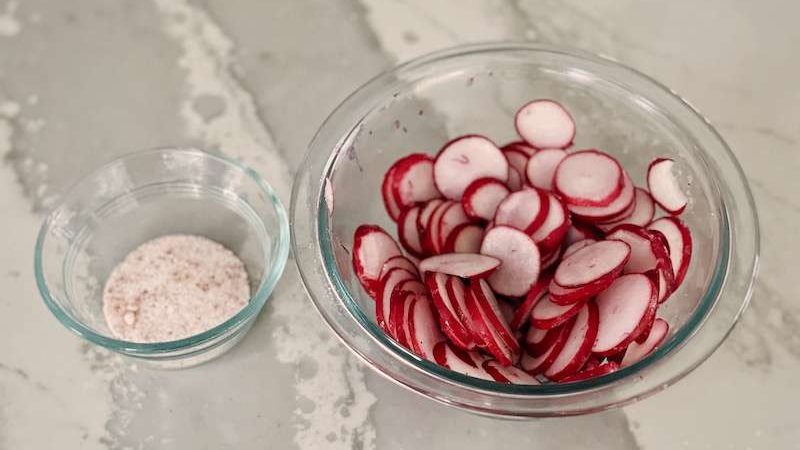
- Step #4: Sprinkle with unrefined salt and toss until well combined. Taste a few slices and adjust salt ratio if needed. If you want to add some spices (think cumin, smoked paprika or ground coriander!), now is the time to add that as well.
- Step #5: Place slices on dehydrator trays in a single layer. Avoid overlapping pieces.
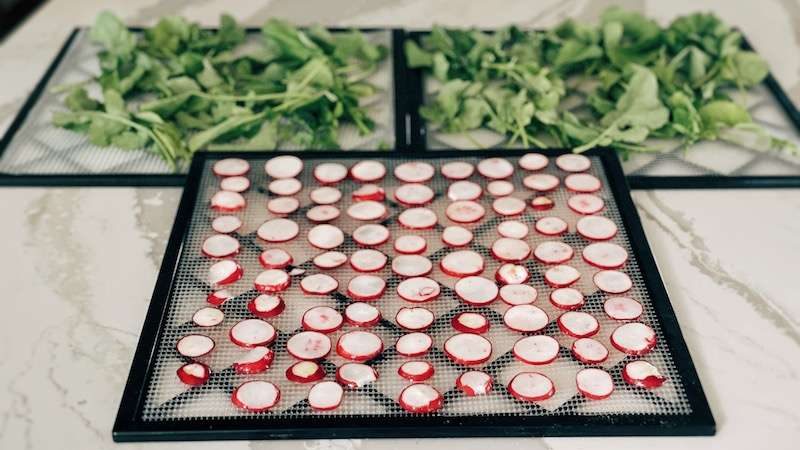
- Step #6: Set the dehydrator at 125 degrees for 6 hours, or until crisp. You know they are fully dried when they feel crisp and break easily. If they are still squishy or pliable, put them back in.
Want to see me make these dehydrated radishes in action? Check out my reel on Instagram!
How to Use Radish Greens
I hope you didn’t throw the radish greens out! They are a highly nutritious component of radishes that are all too often tossed into the compost bin. Radish greens are packed full of fiber, vitamin A (220% of your daily value!), vitamin C, and potassium according to Nutritionix.
Use fresh in a smoothie or salad
Radish greens are tender and a wonderful addition to a green smoothie or a salad. Check out this Zero Waste Radish Greens Smoothie recipe by Fork in the Road!
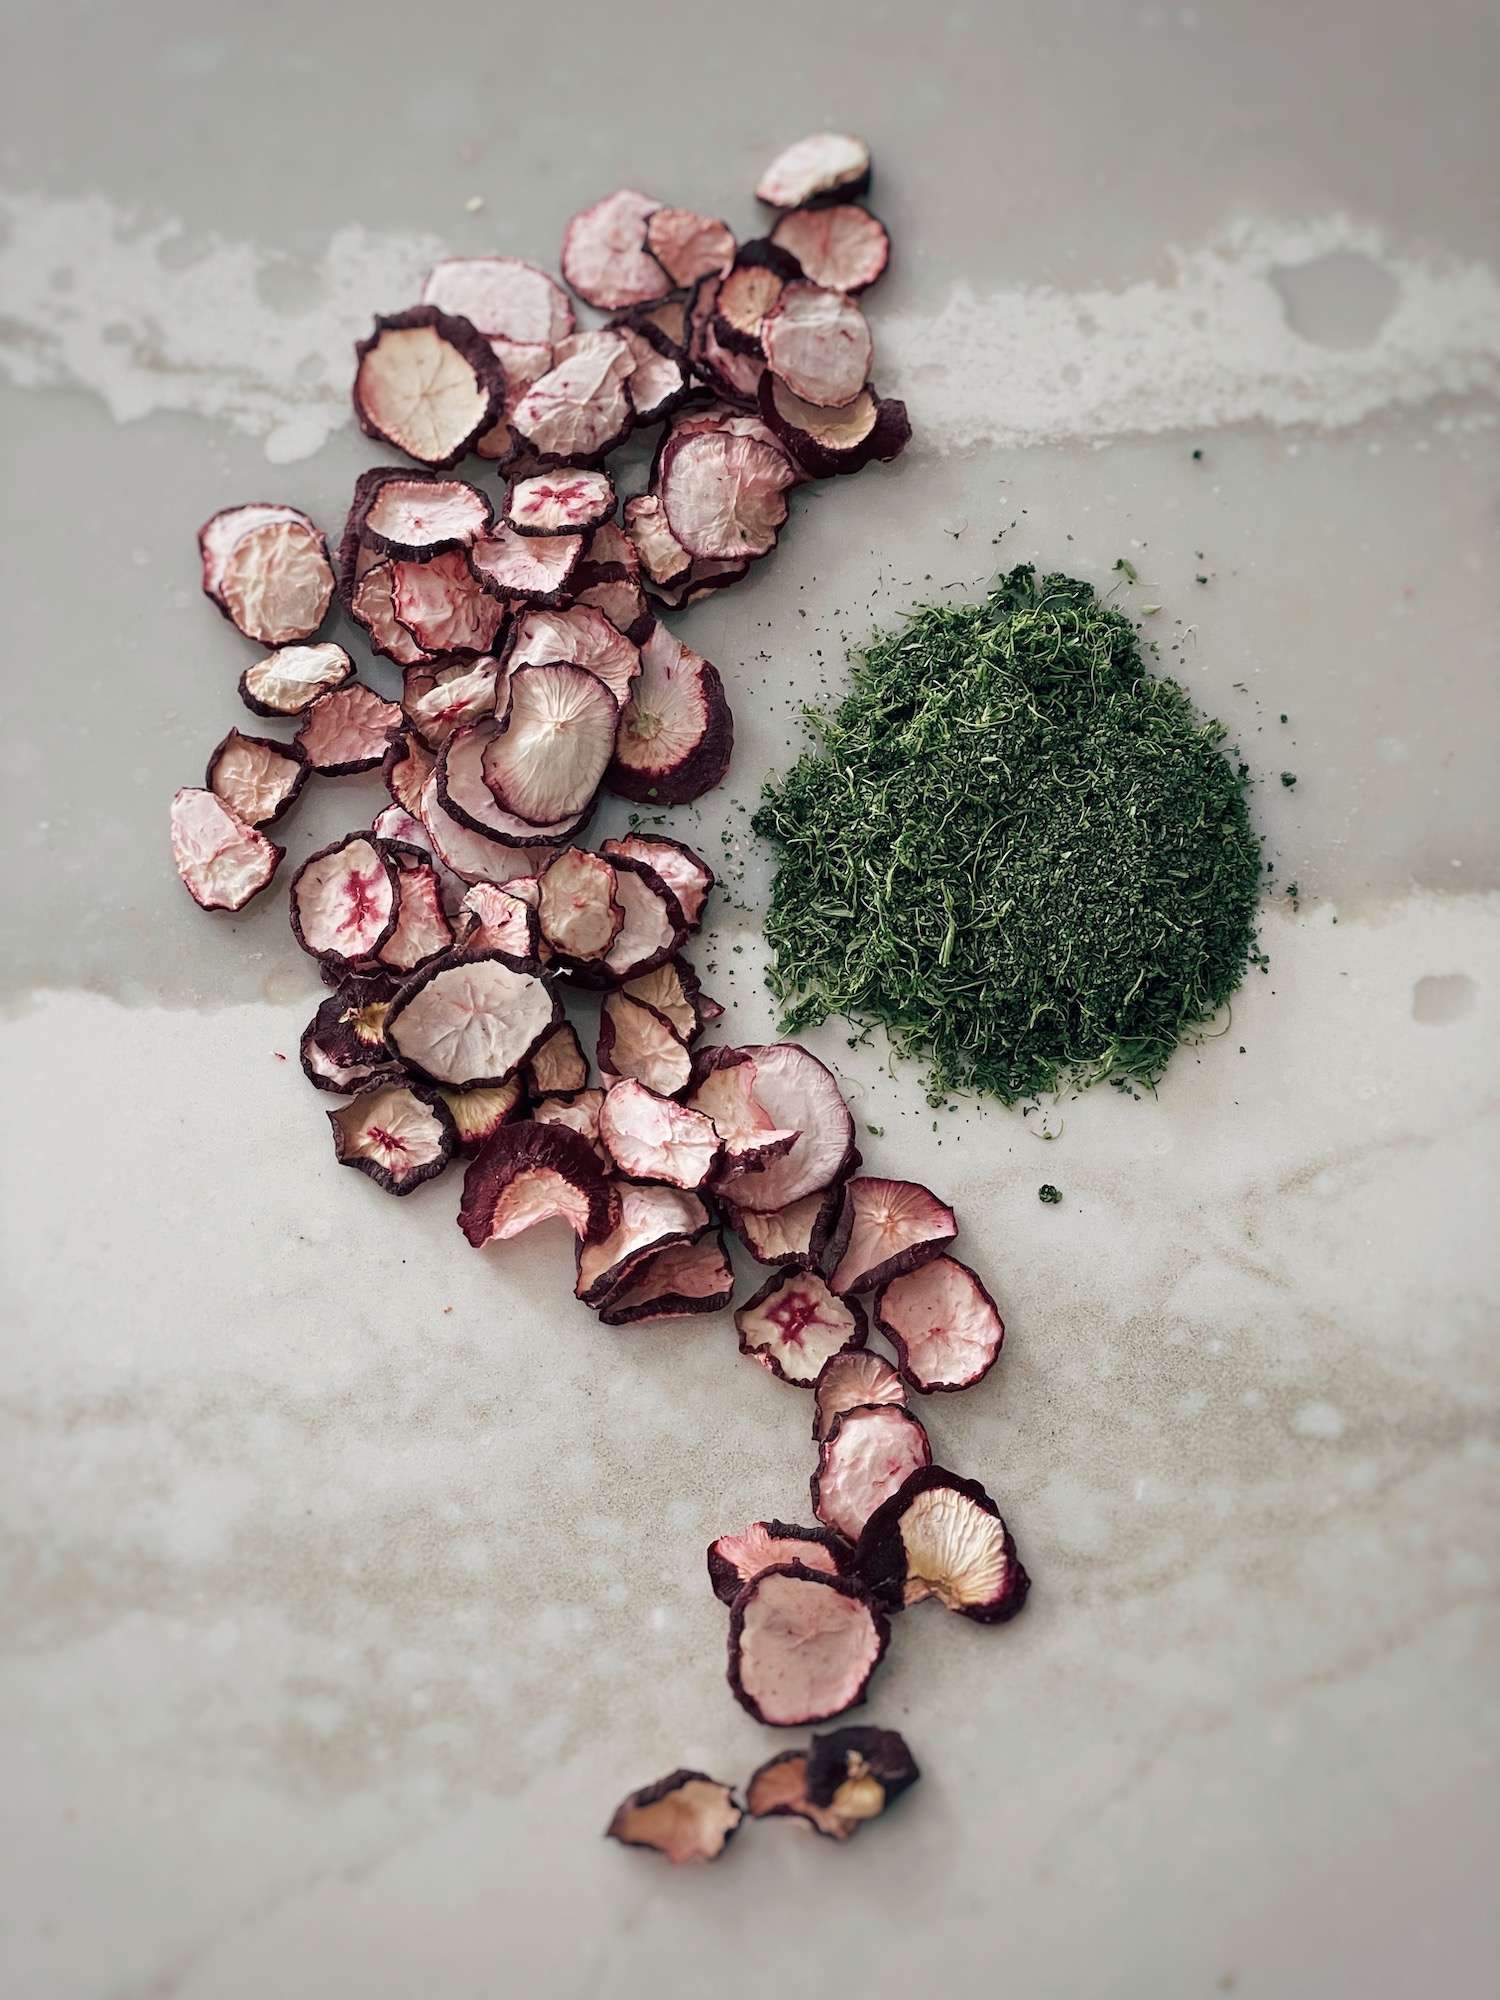
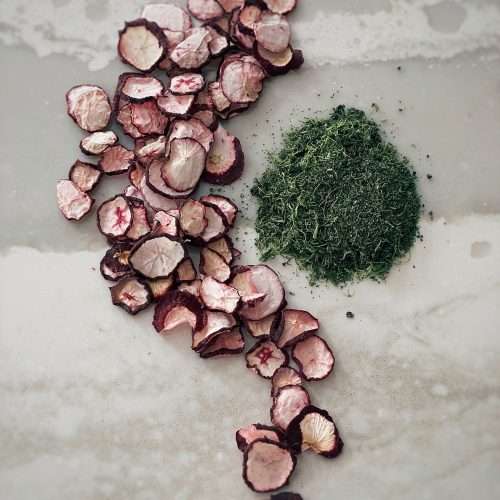
Dehydrate into a powder
You can dehydrate the greens, too! Radish greens powder is a great addition to a green smoothie or soups.
- Start by washing the greens well (they are notorious for clinging onto dirt and sand)
- Then, pat them dry. If you have a salad spinner, definitely give them a whirl to gently remove any extra moisture.
- Lay each leaf individually on the dehydrator trays and set at the lowest setting (105 degrees) for 2-6 hours.
- You’ll know they are done when the leaves crumble when touched.
- Blend into a fine powder and store in an airtight container.
The Homesteading RD's Product Picks | |
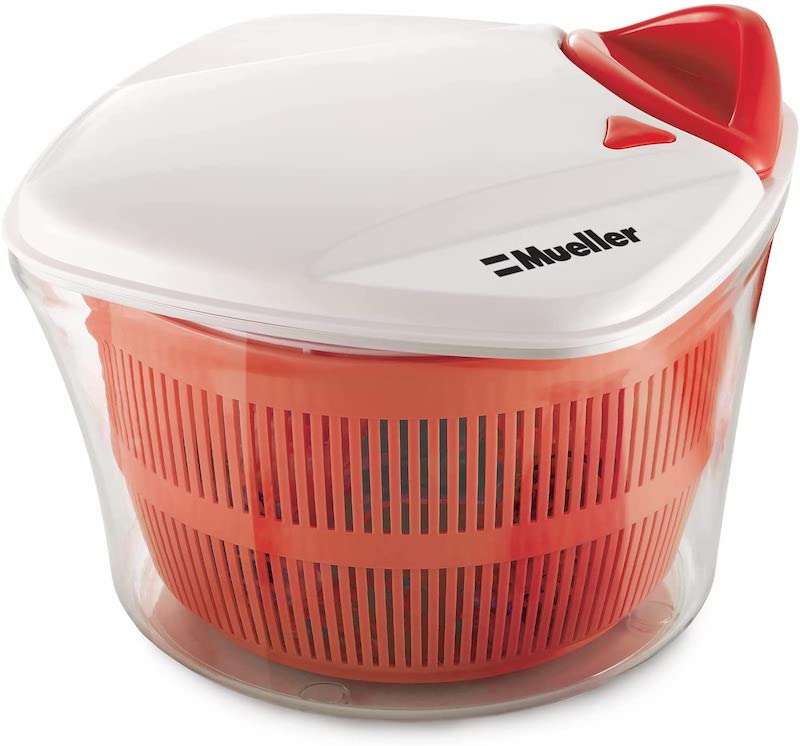
| I've been using this salad spinner for years and it works like a dream! Use it for radish greens, salad greens, kale, you name it! It's easy to clean and has a large 5L bowl so you can whip up a salad for a crowd in no time. |
How to Store Dried Radishes
The last thing you want is your hard work going to waste by not storing your dried radishes properly!
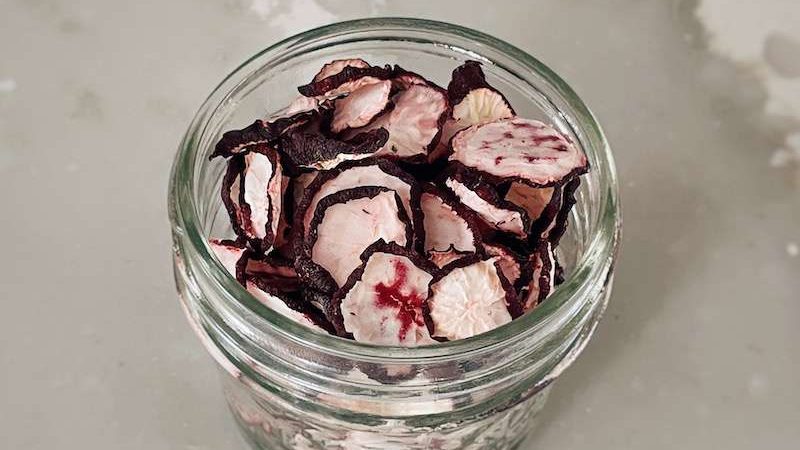
First, ensure that your radish chips have fully cooled before packaging them up. If they are warm, they will continue to put off moisture, which could spoil the batch if sealed up in a container.
Next, make sure to store your dried produce in an airtight container that is placed in a cool, dark location. High temperatures and light exposure can make your dried radishes spoil quickly. I know it’s tempting to keep your pretty jars of dehydrated goods on display, but don’t do it!
The Homesteading RD's Product Picks | |

| The perfect size for your dehydrated goods and see-through glass makes it easy to identify what's in there. Made in America soda-lime glass, USDA approved and toxin-free ensuring food grade quality. Heat-tempered durability for water bath canning, microwave and dishwasher safe; clear glass jars for easy visibility; wide mouth canning jars for easy filling and washing. |
How to Use Dried Radishes
Dried radishes are a tasty snack that you can enjoy all winter long. Radishes have that characteristic peppery taste that goes along with fun dips like hummus, or sprinkled on a salad!
- Chips: Dip in hummus, ranch or salsa – YUM!
- Sprinkled on a salad: Think of them like crunchy, zippy, croutons!
- Add to soups and broths for a boost in flavor and nutrition
FAQ About Dried Radishes
1) I don’t have a dehydrator, can I use my oven?
You can dry radishes in your oven as long as you have a fairly low setting. The lowest temperature that my oven will go is 140 degrees, which isn’t too far off from the recommended 125 degrees. Keep an eye on them so they don’t burn and you’ll likely need to shorten the time by an hour or two.
2) Are nutrients lost in dried radishes vs fresh?
Yes and no. Vitamin C is a highly unstable vitamin that rapidly denatures when exposed to heat and light, so fresh is best when it comes to vitamin C. Thankfully, we are using fairly low temperatures when drying (125 degrees), so the loss will be much less than if using other high-heat methods like canning.
Some nutrients are actually increased when drying radishes! A 2017 study investigated the nutritional effects of dying radishes and found that there were actually increased levels of free fatty acids, branched chain fatty acids and secondary metabolites, such as polyphenols (beneficial compounds).
3) How long are dried radishes good for?
Produce that is dehydrated can be used for up to 5 years if stored properly!
Other Articles You’ll Love
- Principles for Food Preservation
- Water Glassing Eggs for Storage
- The BEST Kombucha Ratio for a Tasty Brew
Final Thoughts
Yay! We’ve made it. I hope you are excited and ready to make some dried radishes from your own garden, CSA or local Farmers Market.
Dried radishes are such a treat in the dark days of winter. You won’t regret packing some of your radishes away; I guarantee it!
Dried Radishes
Equipment
- 1 dehydator optional - you can use your oven in a pinch!
- 1 mandoline slicer optional - a sharp knife works, too!
- 1 Cutting Board
- 1 Mixing Bowl
- 1 glass jar for storage
Ingredients
- Fresh radishes
- Unrefined salt, to taste I like "Real Salt"
- Spices (ex: cumin, smoked paprika or ground coriander) Optional (I prefer to just use salt)
Instructions
- Wash Radishes
- Trim off greens and root tip
- Thinly slice radishes ⅛” thick using mandoline slicer or a sharp knife
- Sprinkle with unrefined salt and toss until well combined. If you want to add some spices, now is the time to add that as well
- Place slices on dehydrator trays in a single layer. Avoid overlapping pieces.
- Set the dehydrator at 125 degrees for 6 hours, or until crisp. If using an oven, set it as low as it will go for 2-6 hours. You know they are fully dried when they feel crisp and break easily. If they are still squishy or pliable, put them back in.
- Let cool completely
- Store your dried produce in an airtight container that is placed in a cool, dark location.
Nutrition


Great idea. Can you rehydrate them after they are dehydrated?
You could try, but they’ll likely be a bit mushy. If you freeze dried them, then you definitely could!
Such a great idea. I love radishes. Thank you for the helpful information!
They are quite tasty! Enjoy 🙂
WOW thanks for the tip – I’m growing radishes for the first time this year and love this idea! And I had no idea they had so many health benefits LOL!
You’re so welcome! Yes, they are quite the power food. Enjoy 🙂
They are good and good for us! I hope you have an amazing harvest!
Yum! Radish chips sound delicious. What a great idea!!
They are so tasty – let me know what you think!
They are super tasty!!
There are SO MANY reasons why storing own-grown food is a good idea these days! I feel like I learned so much about radishes. So thanks so much for sharing this article!
Totally agree and thank you!!! Glad to have you here 🙂
I don’t know why I’ve never thought of dehydrating radishes before! We’ll definitely be trying this. Radish chips as a snack sounds amazing! OOH! You could use the dehydrated greens in a dip for the radish chips! 🙂
OMG great idea about the powdered radish greens being using as a DIP! Brilliant! I’ve just been throwing it in smoothies.
What a great way to preserve radishes! Thanks for another great post.
You’re welcome! I hope you enjoy them 🙂
Great article, thank you! I hadn’t thought to use dried radish as chips but they’d be great for that. The greens are super easy to integrate into smoothies and the radishes themselves are great in soup. I don’t actually like them very much but they grow SO easily that we always have a surplus of them.
I’m in the same boat. I’m not a huge fan, but they are so easy and fast to grow that I just keep growing them!
Wow, I’d never thought of dehydrating radishes before! I usually only grow them for such a brief window in the spring before the temperatures increase. If I get a bumper crop in my fall garden, I’ll definitely try this recipe!
It’s a fairly new concept to me, too, but it works super well! Give it a go 🙂