Making dehydrated carrots is SO EASY and a great step to becoming more self-sufficient! Not only that, but they are super simple to add to your dishes and they last up to a year in the pantry. A win-win!
In this article, I’m going to walk you through step-by-step (with photos!) how to make these dehydrated carrots, how to store them and my favorite ways to use them. Added Bonus: insights into my favorite food preservation tools that make homesteading easy.
Let’s get started!
*Disclosure: This post may contain affiliate links to products (including Amazon). I’ll earn a small commission if you make a purchase through my link, at no additional cost to you! Regardless, I only link to products that I personally use on our homestead or believe in.
Why You Should Make Dehydrated Carrots
There are so many reasons why I love making dehydrated carrots, but here are my top 4 reasons!
Build up that pantry!
Anytime you can add another item to your food storage shelf means that you are that much more self-sustainable! With food prices going up and shortages becoming common, it’s a great comfort to have shelves lined with food that you grew yourself, inexpensively.
Light-weight, space-saving & shelf-stable
Dehydrated food is king when it comes to reliability and practicality in food preservation.
- Don’t have a lot of space? No problem!
- Worried about the power going out? No issue here!
- Don’t have a deep freeze? No need for that, either!
- Don’t have a pressure canner? No worries!
Easy Meals
There’s nothing I love more than EASY meals to throw together. I simply rehydrate and toss a handful of these dehydrated carrots into nearly any dish I’m making without needing to do a lot of prep. If it’s soup or stew, I don’t even need to rehydrate first. Easy peasy!
Backpacking & Emergency Meals
Both my husband and I are avid backpacking hikers and I love making all of our dehydrated meals from scratch. The pre-made ones are too expensive and filled with crap – no thanks! These dehydrated carrots make excellent additions to our meals.
Not a backpacker? Totally fine! These meals can also be stored and saved for emergency meals as well. Simply add boiling water and you have a nourishing meal within minutes. Below is the dehydrated meals cookbook that I use.
The Homesteading RD's Product Picks: | |
I have a few dehydrator cookbooks and this one is by far my favorite! Delicious & easy recipes that are good-for-you as well. Many of them are gluten free, which is awesome. | |
Dehydrated Carrots Recipe
Woo hoo! We’ve come to the fun part. Let’s make some delicious and nourishing dehydrated carrots that we’ll be able to use all year long.
Tools
- Cutting board
- Knife
- Peeler (optional)
- Mandoline slicer (optional)
- Large pot
- Stainless steel spider strainer (or slotted spoon)
- Colander
- Dehydrator
- Airtight container for storing (I like mason jars)
- Oxygen absorber (optional) – 50cc per pint or quart mason jar is perfect
The Homesteading RD's Product Picks | |
This is the exact dehydrator the I use an love! SIZE: 9-trays and 15 square feet of drying space provides extra-large capacity | |
This is the upgraded model of the one above and features a timer! Super nice! SIZE: 9-trays and 15 square feet of drying space provides extra-large capacity | |
I went through multiple mandoline slicers until I found this one. I love that it's a single blade vs the typical V shaped ones - much less likely to fail! Offers a standard blade and julienne slicing. Adjust the thickness with an easy to turn dial. | |
This 5.3" diameter stainless steel spider strainer is a new addition to my kitchen and now I have no idea how I went so long without it! PERFECT for quickly removing blanched vegetables. Great for removing bones from bone broth as well! | |
Ingredients
- Fresh carrots
- Water (for blanching)
- Ice (for cooling the blanched carrots)
How to make dehydrated carrots
Step 1: Chop up the carrots
If your carrots are fresh out of the garden, wash them with lukewarm water. Next, peel the carrots (if you prefer them peeled) – this is completely optional, but can reduce the bitter taste that often comes with the peels.
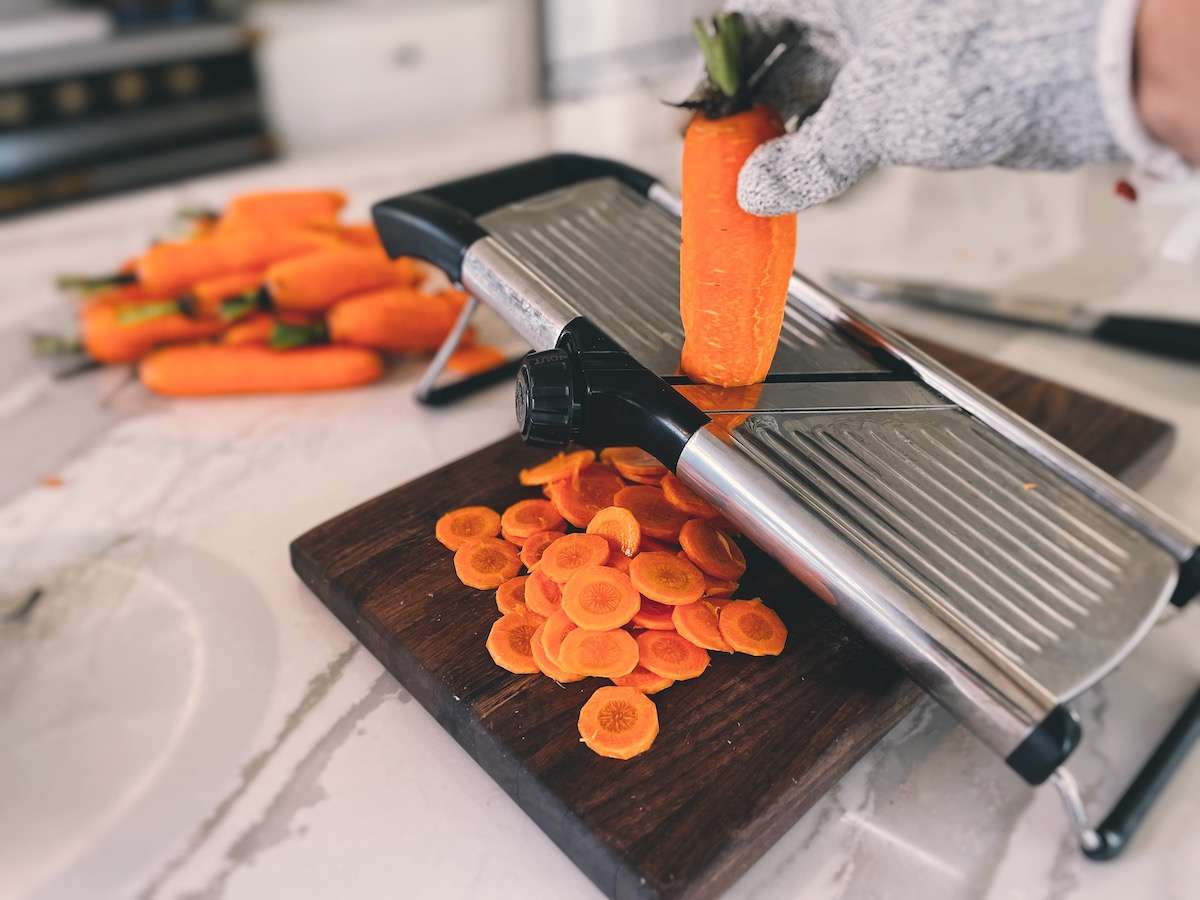
Then, using a knife and cutting board, trim off both carrot ends (add these to your next batch of bone broth or your compost pile). However, if you’re using a handy mandoline slicer, I like to leave the top on the carrots so I have something to hold onto while slicing.
Lastly, chop into equal sized pieces. This can be ⅛ – ¼” cubes or ⅛” coins. A mandoline slicer is super slick if you decide to go the coins route, which is what I like to do.
Step 2: Blanch the carrots
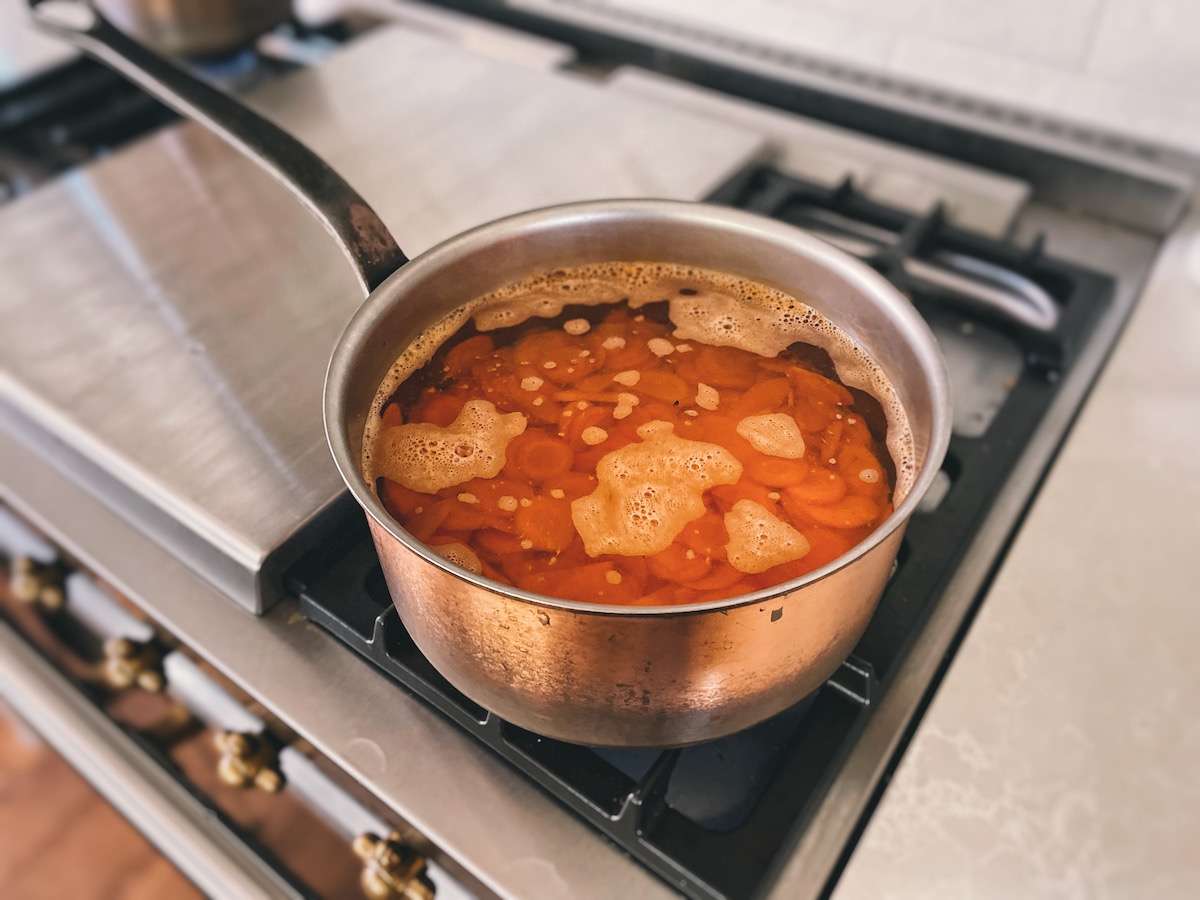
Blanching is the process of gently boiling vegetables for a set amount of time to inactivate the enzymes present. If blanching is skipped, then the remaining enzymes can create loss of flavor, color and texture over time. While some people say you can skip this step (and I do for certain vegetables!), it is necessary when making dehydrated carrots.
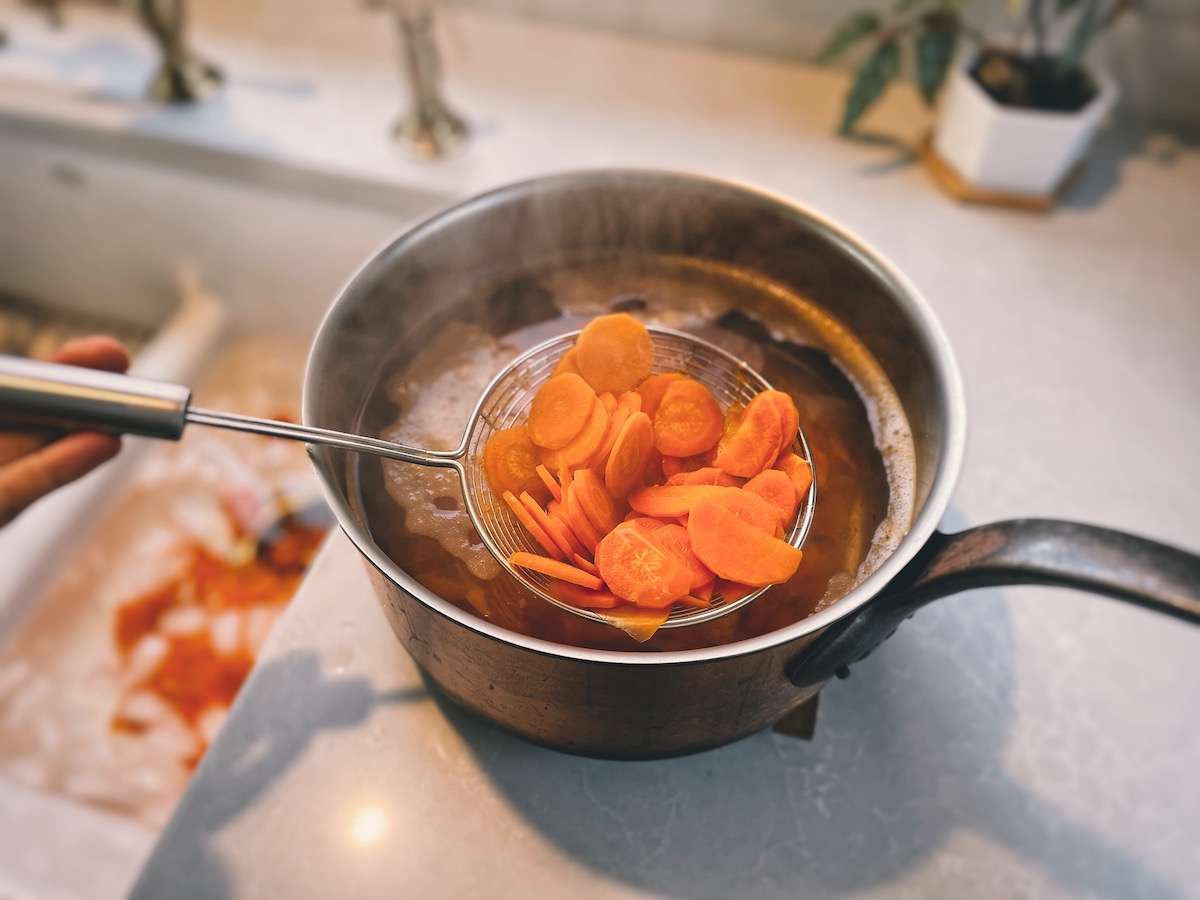
Bring a large pot of water to a boil. Add the chopped carrots. Once the water comes back to a boil, set your timer for 3-4 minutes. While the carrots are blanching, set up an ice bath (I like to use my kitchen sink).
After 3 minutes, start scooping out the carrots (I use a spider strainer) and add them to the prepared ice bath to cool. By the time all of the carrots are out of the pot, it’s been about 4 minutes. Perfect!
Step 3: Drain & dehydrate the carrots
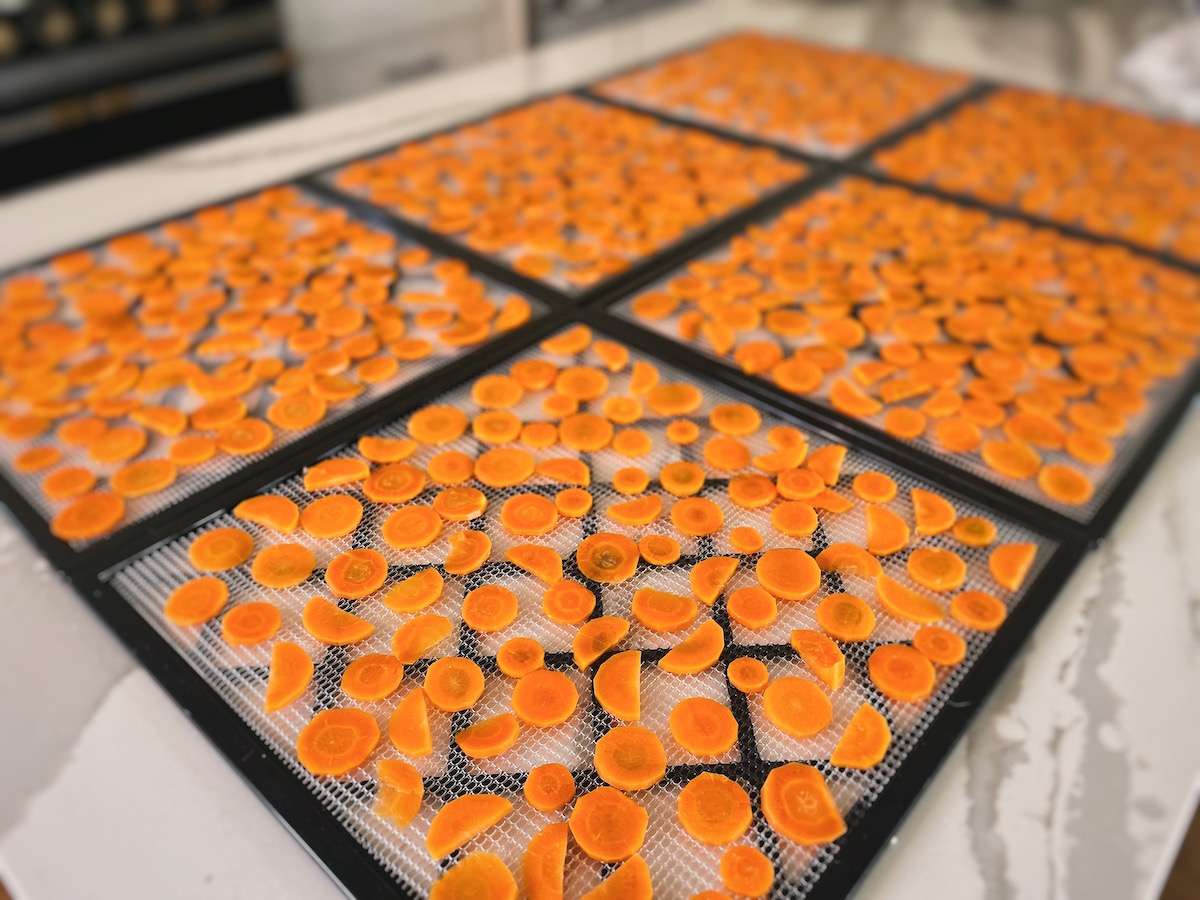
Once the carrots have cooled, drain them using a colander. Then, spread the pieces out on your dehydrator trays, avoiding any overlap. If your dehydrator trays have large holes, you may need a silicone liner or parchment paper. My dehydrator has small holes, so it works great on its own!
Dehydrate at 125 degrees for 6-10 hours; this will vary depending on how thickly you sliced them and the natural humidity level in your home. The more humid your environment is, the longer it will take.
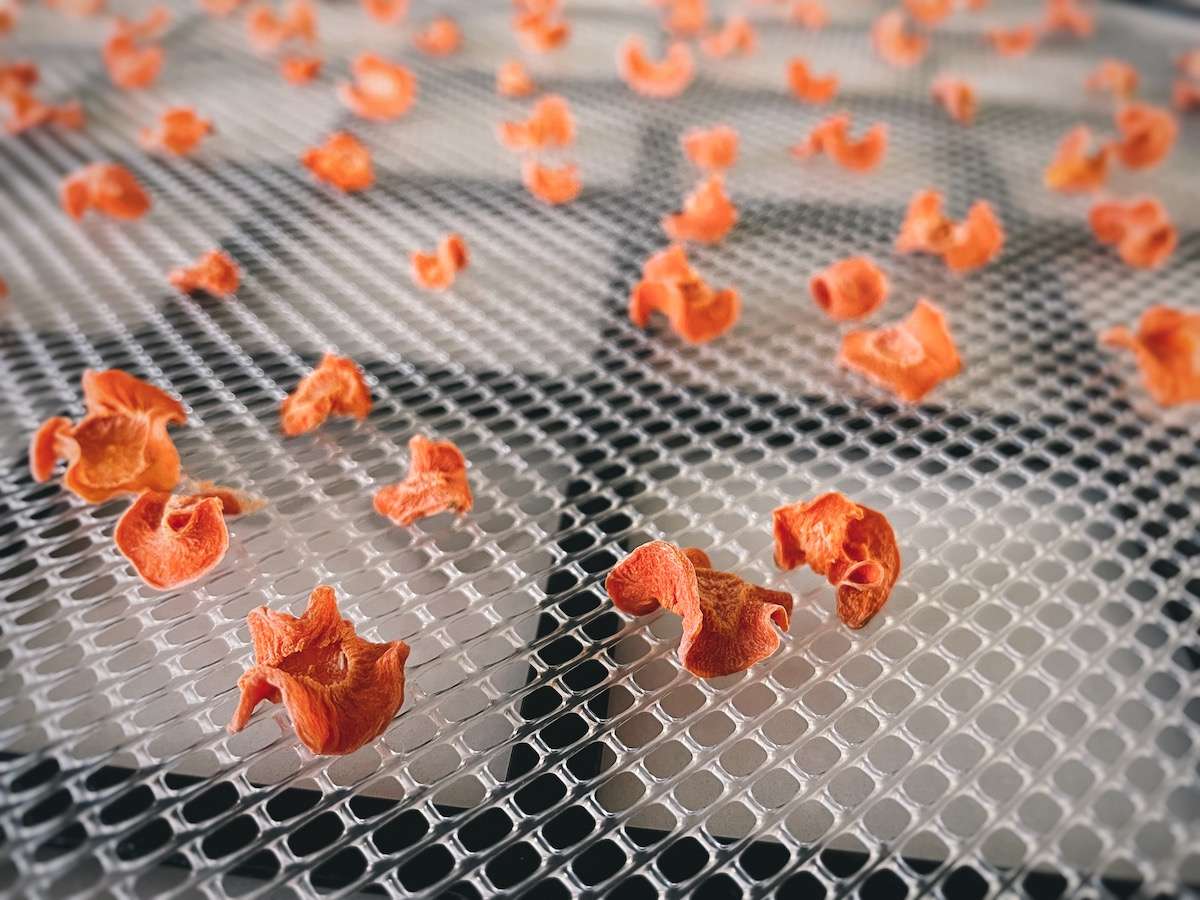
You know they’re done when they are brittle and leathery. The pieces should break, not bend. Let cool completely before storing.
Want to see me making these in action? Check out my reel on Instagram!
How to Store Dehydrated Carrots
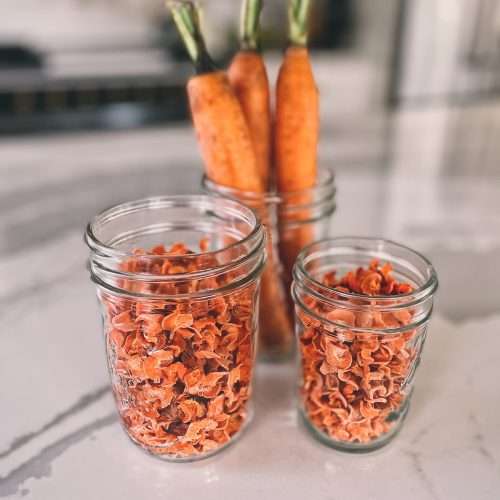
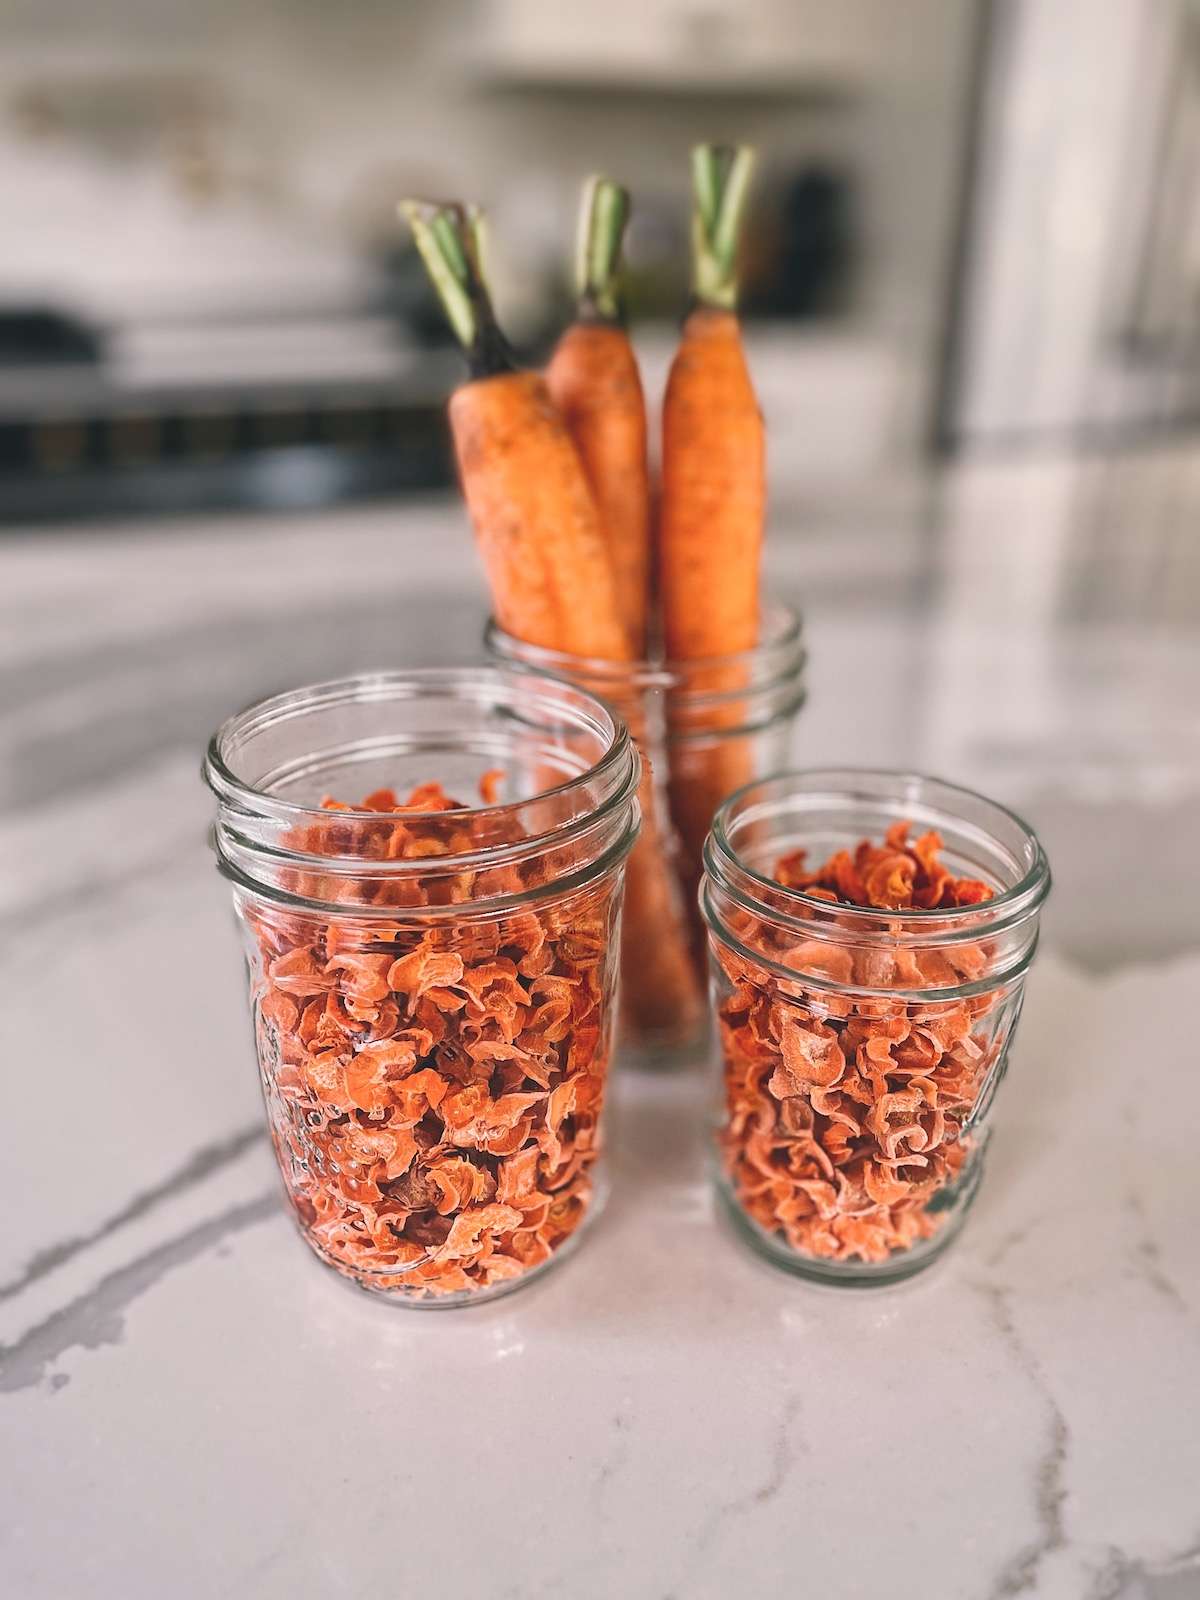
Add the fully dehydrated and cooled carrot pieces to an airtight container with an oxygen absorber. It’s important to let them cool completely first to prevent condensation from building up in the jar. I like to use mason jars since I always have them on hand.
Make sure to place that container in a dark, cool location. I store them in my heated garage, which is set at 45 degrees. Resist the urge to put your jars on display on open shelving! Exposure to light will rapidly degrade the vitamins and quality of the dehydrated carrots.
If stored properly, dehydrated carrots will last up to a year. They’ll last even longer if frozen or vacuum sealed.
How to Use Dehydrated Carrots
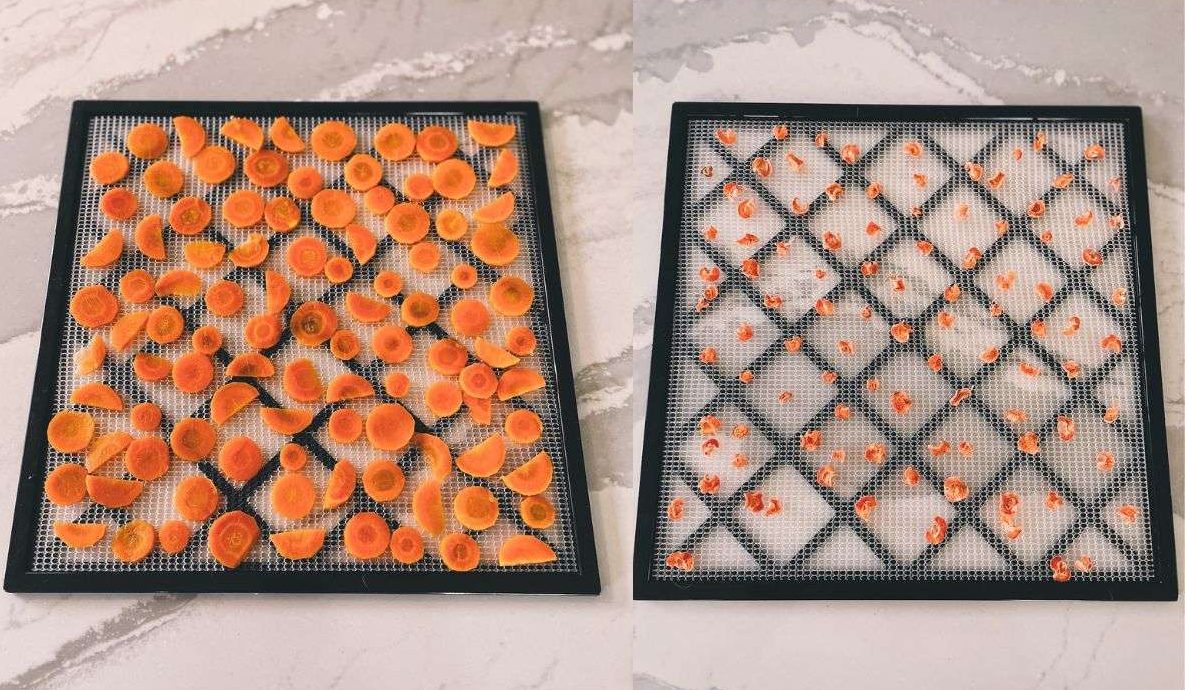
The dehydrated carrots will be about a quarter the size of fully hydrated carrots (see comparison photo below). Therefore, when trying to decide how much to add to your soup or stew recipe, add ~1/4 the amount (ex: recipe calls for 1 cup of chopped carrots, so add ~1/4 cup of dehydrated carrots).
- Soups & Stews: Simply toss them in the pot and they will gradually soak up some of the delicious broth and rehydrate that way. Add a bit of extra broth or water to make up for this.
- Casseroles, stir-fries, fried rice, etc.: I recommend rehydrating the carrots first. Cover the carrots with boiling water and after 30-45 min, they should be fully rehydrated and ready to add to your recipe.
FAQ About Dehydrated Carrots
Can I dehydrate raw carrots?
You can technically dehydrate raw carrots. However, without the blanching step, they will likely degrade more rapidly by losing their bright color and nutrients. I have seen examples of this where the carrots end up bleaching to a white color. That’s definitely not what we want!
If you skip blanching, I would make sure to use them up within a month or two.
Can I dehydrate shredded carrots?
Absolutely! Dehydrated shredded carrots are great to have on hand for making carrot cake, muffins, etc. Simply reduce your blanching time to 2 minutes and dehydration time to 4-8 hours.
How long do dehydrated carrots last?
If blanched and stored properly, dehydrated carrots can last up to a year. If you don’t blanch the carrots before dehydrating, I would consume them within 1-2 months.
Can I use my oven to dehydrate carrots?
You can use your oven to dehydrate carrots. However, most ovens won’t go below 170 degrees, which is much higher than the 125 degrees that I’m recommending in a dehydrator. Plus, it’s not very energy efficient to run your oven for 6-10 hours non-stop.
If you plan to use your oven, I recommend using the lowest setting possible and crack the door slightly so that the temp drops a bit further. Make sure to check on your carrot cubes or coins hourly.
On the fence on whether to buy a dehydrator or not? A dehydrator is one of our most used tools on our homestead! Once you have one, you’ll never be able to go back! Mine is running pretty much non-stop through the growing months. I dehydrate things like herbs, beef jerky, chicken liver & heart dog treats, medicinal herbs, pumpkin seeds, entire emergency meals, and much more! You won’t regret it.
The Homesteading RD's Product Picks | |
This is the exact dehydrator the I use an love! SIZE: 9-trays and 15 square feet of drying space provides extra-large capacity | |
This is the upgraded model of the one above and features a timer! Super nice! SIZE: 9-trays and 15 square feet of drying space provides extra-large capacity | |
How do you use dehydrated carrots?
I love this question because there are so many possibilities!
- Cubes & Coins: Add to soups, stews, stir-fries, fried-rice, quiche, etc!
- If adding to soups and stews, simply toss them in and let them hydrate in your delicious broth. They will have amazing flavor this way!
- If adding to stir-fries, fried-rice or quiche, soak them in hot water to let them hydrate before adding them to the dish.
- Shredded: Add to muffins, carrot cake, bars, quiche, etc! Just make sure to soak them in hot water first before adding to your recipes.
Other Food Preservation Recipes You’ll Love
- Dried Radishes for Winter Storage
- Delicious Soaked & Dehydrated Pumpkin Seeds
- How to Dry Lemon Balm (3 EASY Methods)
Final Thoughts
With food shortages always around the corner, food preservation is more important than ever. Dehydrated carrots are such an easy way to add shelf-stable, nourishing food to your pantry. Enjoy!
How to Make Dehydrated Carrots
Equipment
- Peeler optional
- mandoline slicer optional
- Large Pot
- Stainless steel spider strainer or slotted spoon
- Airtight container for storing I like mason jars
- Oxygen absorber optional
Ingredients
- Fresh carrots
- Water for blanching
- Ice for cooling the carrots once blanched
Instructions
- If your carrots are fresh out of the garden, wash them with lukewarm water.
- Peel the carrots (if you prefer them peeled) and trim off both carrot ends.
- Chop into equal sized pieces. This can be ⅛ - ¼” cubes or ⅛” coins. A mandoline slicer is super slick if you decide to go the coins route, which is what I like to do.
- Bring a large pot of water to a boil. Add the chopped carrots. Once the water comes back to a boil, set your timer for 3-4 minutes.
- After 3 minutes, start scooping out the carrots (I use a spider strainer) and add them to the prepared ice bath to cool. By the time all of the carrots are out of the pot, it’s been about 4 minutes. Perfect!
- Once the carrots have cooled, drain them using a colander.
- Then, spread the pieces out on your dehydrator trays, avoiding any overlap. Dehydrate at 125 degrees for 6-10 hours; this will vary depending on how thickly you sliced them and the natural humidity level in your home.
- You know they’re done when they are brittle and leathery. The pieces should break, not bend. Let cool completely before storing in an airtight container with an oxygen absorber for up to 1 year.




LOVE this blog and have just started using a very small dehydrator. I’m curious, once they are dehydrated, how do you use them in soups? Can they be eaten dehydrated? Also, when shredded, can they overlap in the dehydrator?
Once dehydrated, just toss them in the soup and they’ll rehydrate! They are probably too chewy to eat straight in their dehydrated form.
Yum, carrots! We dehydrate fresh raw carrot tops, then powder them in the blender and store in spice jars. Sprinkle into soups, sandwiches, baked goods, dressings. We also dehydrate and powder raw kale, broccoli, peppers, chives, and foraged greens such as nettle and dandelions. Yummy & easy to use!
I love all of those things that you are doing! Thanks for sharing!
I dehydrate food all the time for my backpacking trips. I will add carrots to the list 😉 Thank you!
I love that and we are avid backpackers as well! 🙂
I’m a pretty avid canner, but I’m slowly but surely drifting over to dehydrating. It’s a great way to use up extra garden harvest without having to haul out all the heavy pots and pans
I totally agree and have been the same way! The dehydrator is growing on me 🙂
Very informative. Didn’t know I could do this until I came across this post.
Awesome! I’m so glad you found it helpful
We really need to dehydrate more stuff, especially “soup veggies” like carrots!
Totally! It makes cooking SO fast and easy to just throw them in there
Such a great guide! I appreciate the guidance about boiling the carrots first. Really helpful!
I’m so glad to hear it! Blanching can seem like an annoying step, but it really does help.
We much prefer dehydrating the harvest to any other preservation method. Thanks for the great information.
Awesome! So glad to hear it. Thanks for sharing.
I am tempted to get your dehydrator. Love that we can dehydrate shredded carrots as well. They will rehydrate and make some good carrot muffins. Thanks for sharing.
I love this so much! Having a dehydrator on hand really opens up the door to so many possibilities (beef jerky, soaked & dried grains/nuts/seeds, etc.)
I’ve tried other dehydrate veggies, but not carrots.
Sounds delicious and very practical.
Had no idea it can last so long. A whole year!
They really are the way to go!
Whoa! This is so cool! I have never heard of dehydrating carrots but what a great idea! I used to do a lot of canning so I understand the satisfaction of having a pantry full of food you grew for cheap!! Thanks for the idea and great blog!
I feel like dehydrating often gets forgotten about, but it’s such a great tool!