
Chicken math is a real thing. You start off with a flock of 5 hens, and before long, you’re bringing chicks home from the feed store, and then the following week you’re on Facebook Marketplace looking for another cool breed you’ve been reading about… oh! And some fertile hatching eggs, too!
We’ve all been there. I know I certainly have, and it’s all fun and games until you hit that realization of “Wait, how can I safely introduce these new chickens to my flock?”
You definitely don’t want to just throw everyone together and hope for the best.
If chickens aren’t properly introduced, the newcomers can face injury or even death. At a minimum, they’ll be bullied and blocked from the feeders and waterers by the existing flock. Diseases may also be transmitted to your existing flock if the new chickens aren’t 100% healthy.
All that to say, do not skip this step. While it’s a little bit of a headache up front, it will save you from an even bigger heartache later and make the transition much less stressful for your flock.
*Disclosure: This post may contain affiliate links to products (including Amazon). I’ll earn a small commission if you make a purchase through my link, at no additional cost to you! Regardless, I only link to products that I personally use on our homestead or believe in.
4 Steps to Introduce New Chickens Safely
I’ve introduced many, many new chickens to my existing flock over the past 12+ years, and my method truly does work. Doing it the right way and not rushing the process is worth the effort. Let’s dive in!
#1: Separated with a view
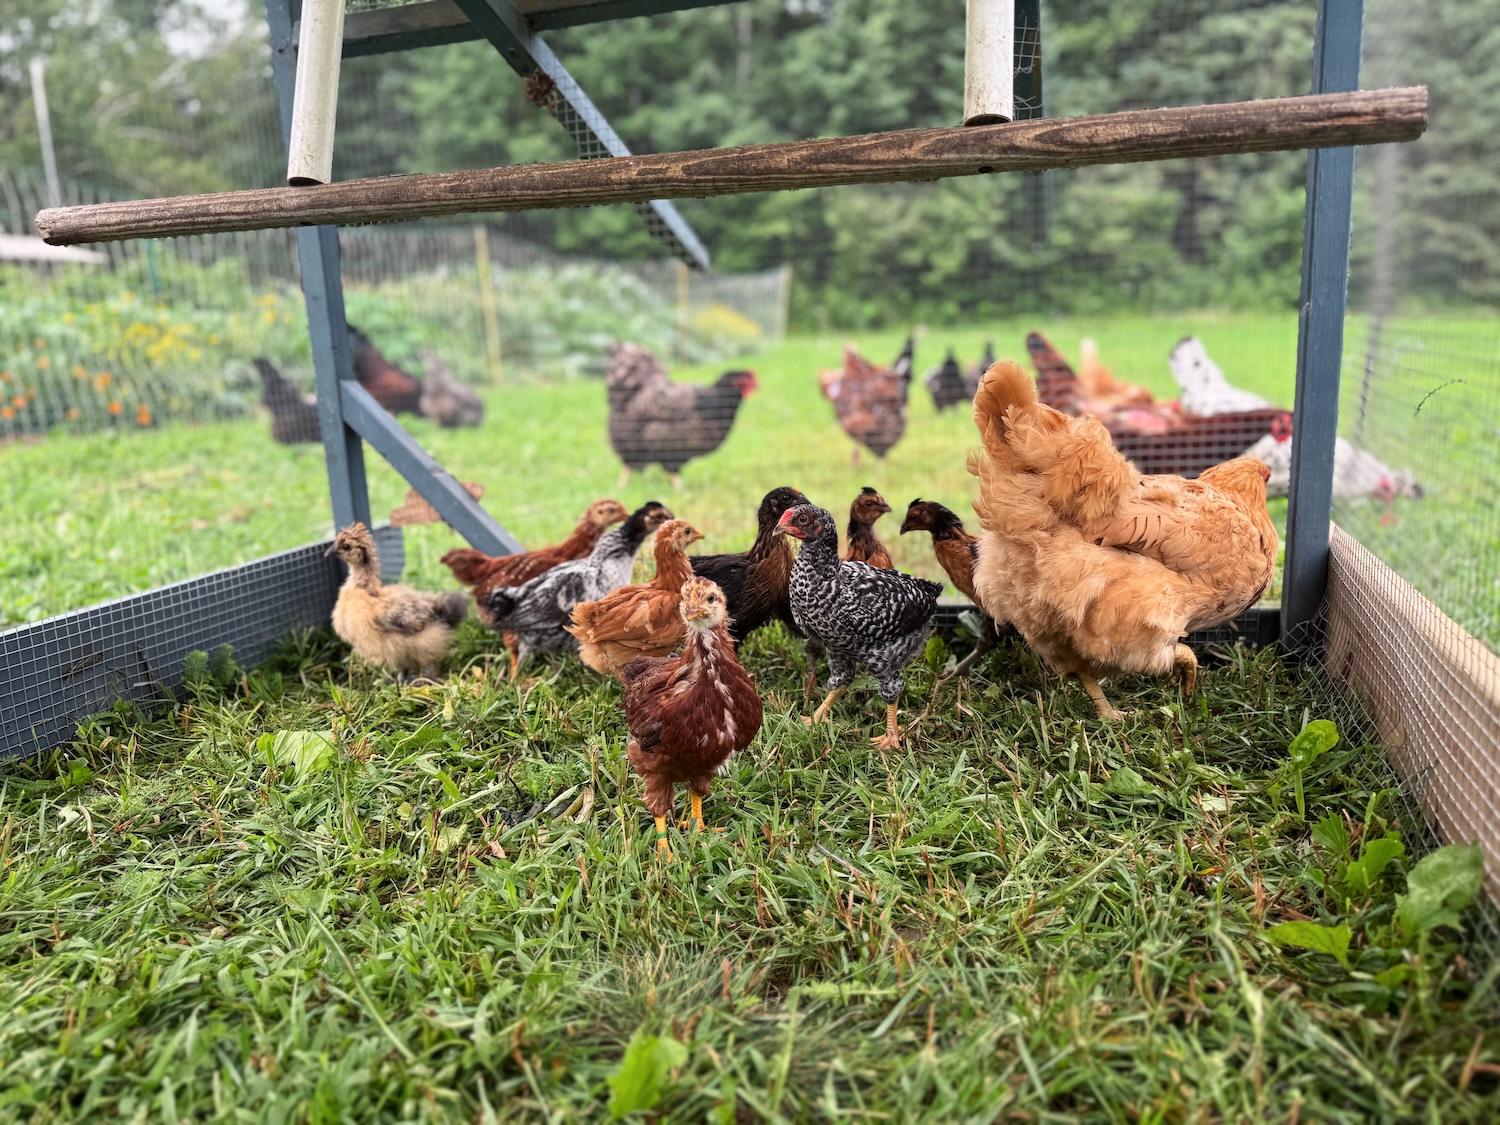
The first step is to allow the chickens to see and get acquainted with each other, but without any physical interaction to keep the newcomers safe. The best way to accomplish this is to have a secondary space that is nearby (the closer, the better). This could be anything from a divided coop/run, a chicken tractor, or a built-in brooder pen.
- Divided coop/run: This is my favorite option and what we had at our old poultry palace (I miss it so much!). It was so easy to push my existing flock over to one side and put the new chickens on the other, and voila! However, this method requires specific infrastructure, and most coops likely aren’t set up like this. If you’re planning to build a coop, definitely keep this in mind!
- Chicken tractor: This is the most common option and what I currently use since I have a smaller, singular coop space at our new homestead. I like to park the chicken tractor close to the main coop and put the new birds in there. Then, when I let the flock out to free-range, they’ll come right up to the chicken tractor to inspect the new chickens.
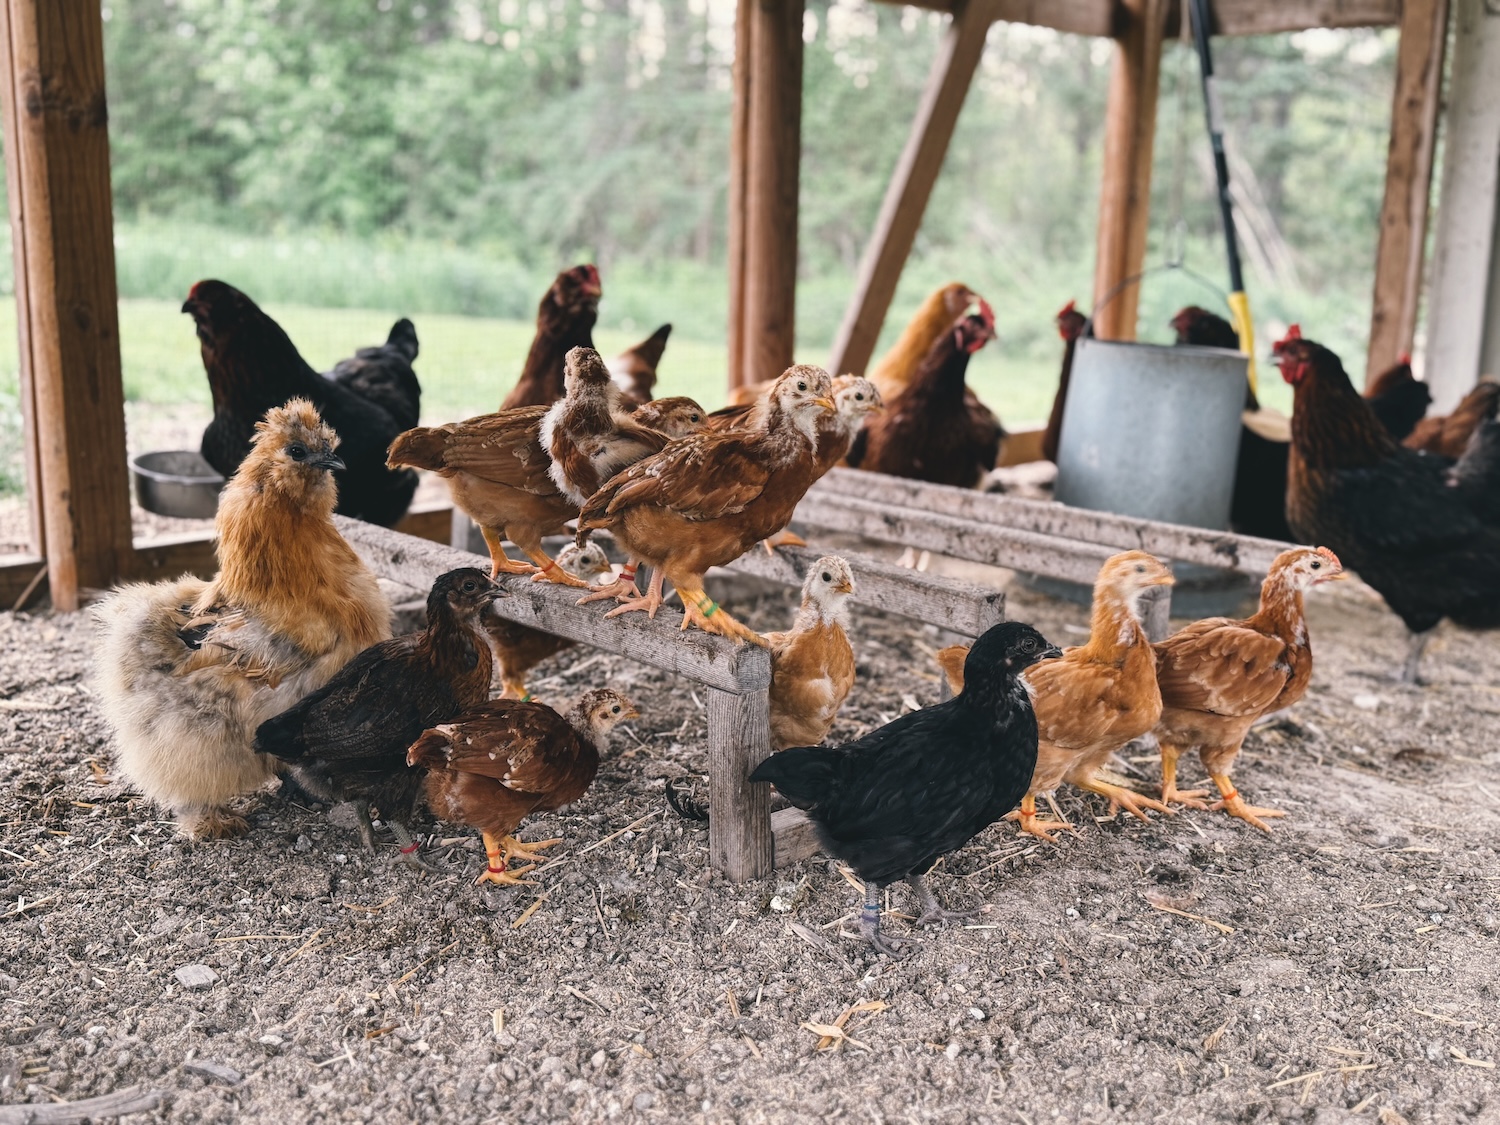
- Built-in brooder pen: If you plan on introducing chicks (highly recommended over adult birds!), using a brooder pen that’s built right inside of your coop is absolutely fantastic. The chicks will build up a strong immune system from being in the coop, and everyone will get used to each other safely and quickly – it’s pretty much a slam dunk option.
- Dog kennel: The first 3 take a bit more planning and resources to accomplish, so I also wanted to provide the dog kennel method if you’re in a pinch. It’s not as great since kennels tend to be small and/or have large gaps that will need to be covered to prevent escapees, but it’s worth a try. Place it inside the coop just like you would the built-in brooder pen.
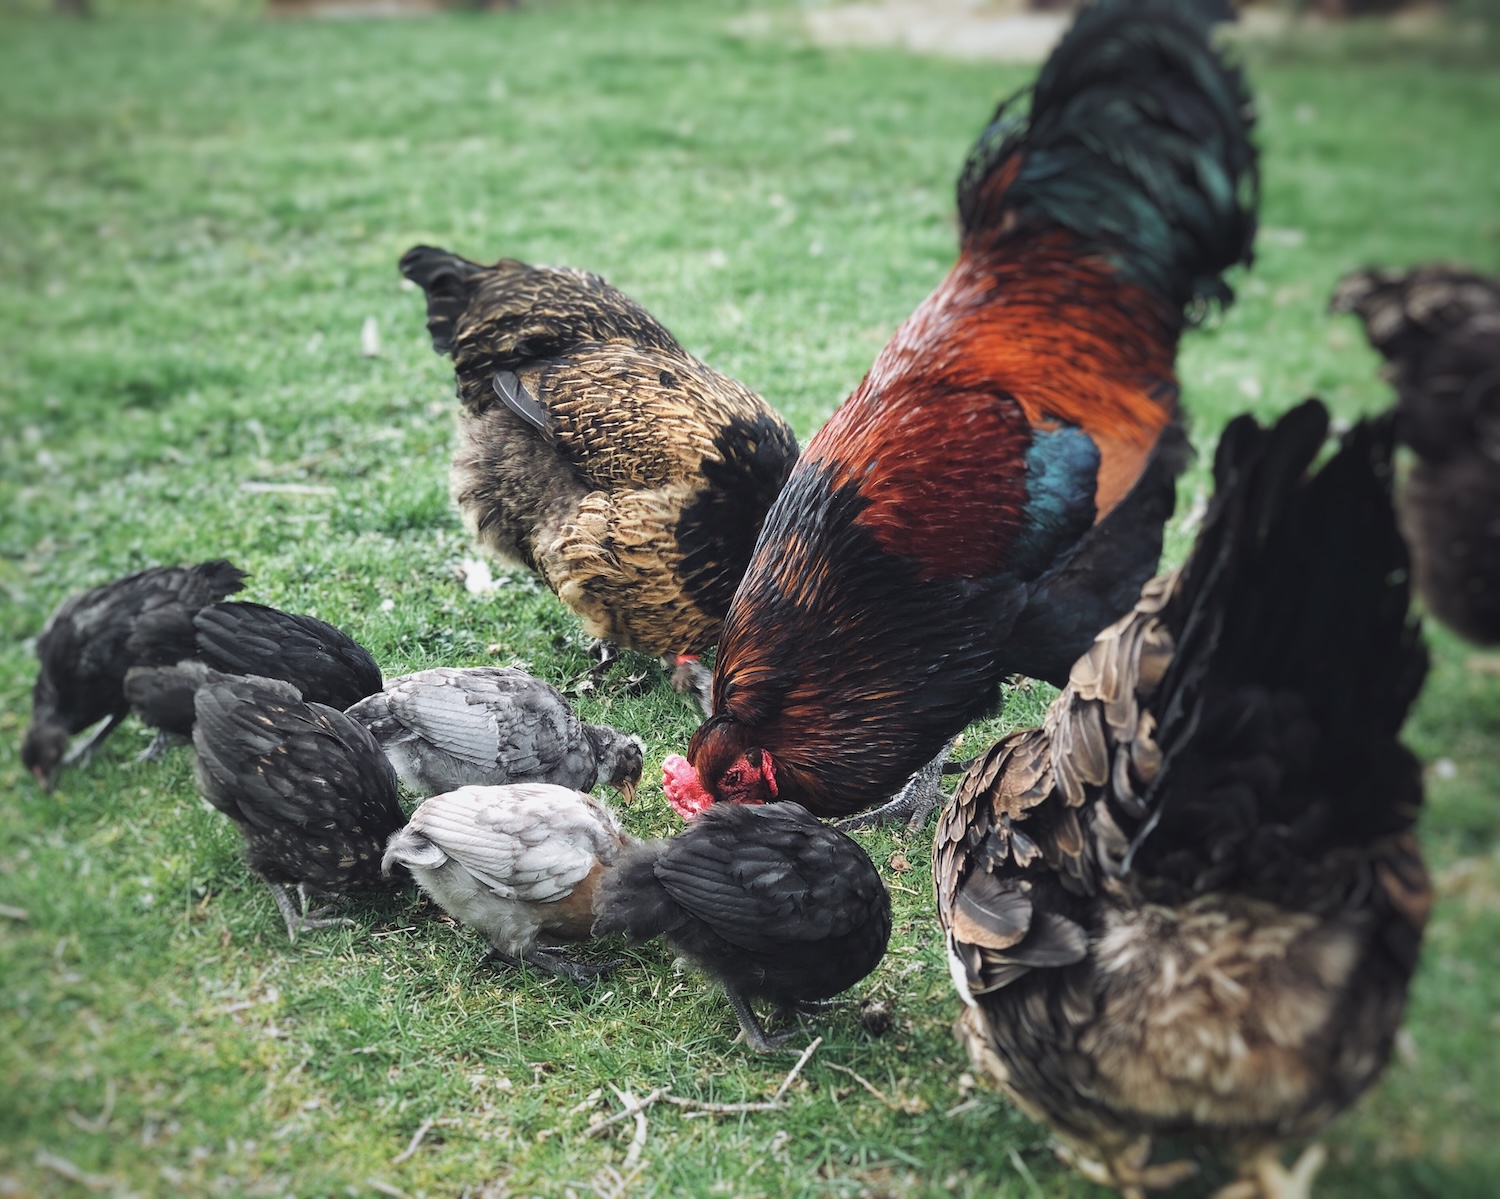
At first, your flock will be VERY interested in inspecting and possibly trying to intimidate the new chickens , but your existing flock will start to lose interest over time. This could take anywhere from a few days to up to a month (or even longer if you decide to introduce a chicken that’s on the naughty list below), but generally, 2 weeks is enough time for step 1.
*If you’d like to learn more about how we built our chicken tractor and built-in brooders, you can see it all in my YouTube video below!
#2: Independent free-ranging
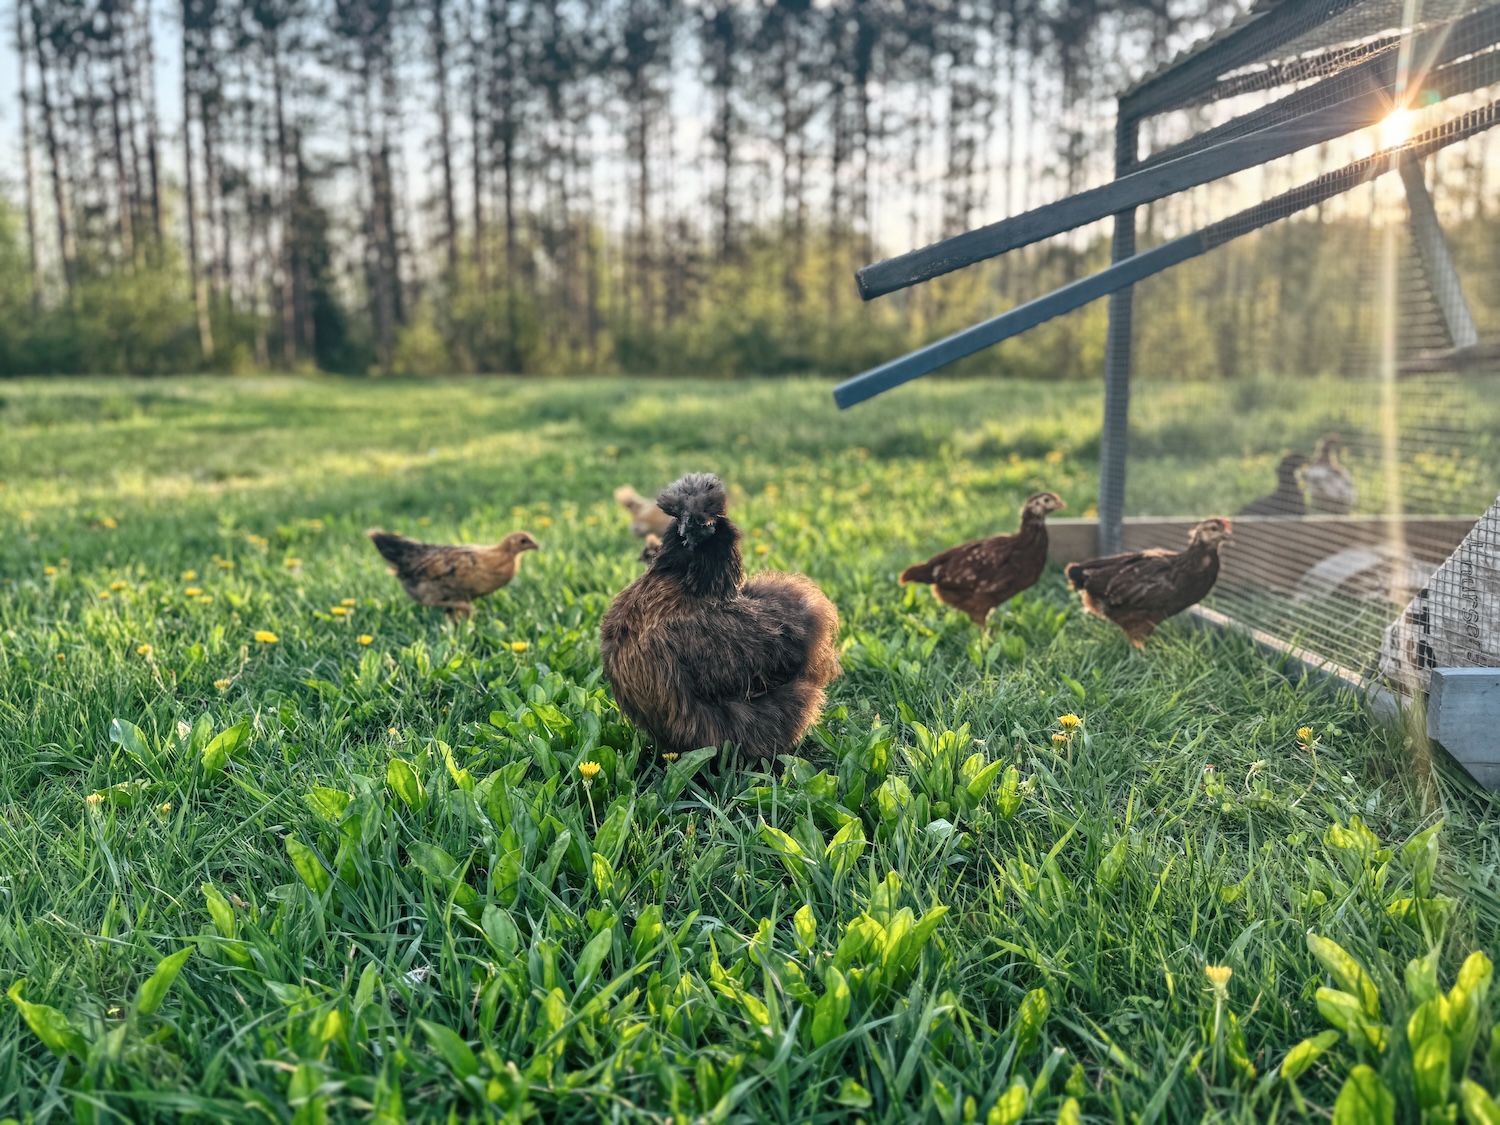
Once you feel like your flock is ready to move on (you know your flock best!), it’s time to let the new chickens free-range independently. Up until now, they should have been locked into their secondary space. This next step allows them to safely familiarize themselves with their outdoor environment – where to find shade, where to dust bathe, which branches to fly to if chased, etc.
Plus, you’ll want to make sure that they know this is home and come back at night. If their first time free-ranging is alongside the existing flock and they get chased out of the yard, they may not come back (can you blame them?). Do this for a few days to let them get comfortable before moving on.
#3: Supervised free-ranging
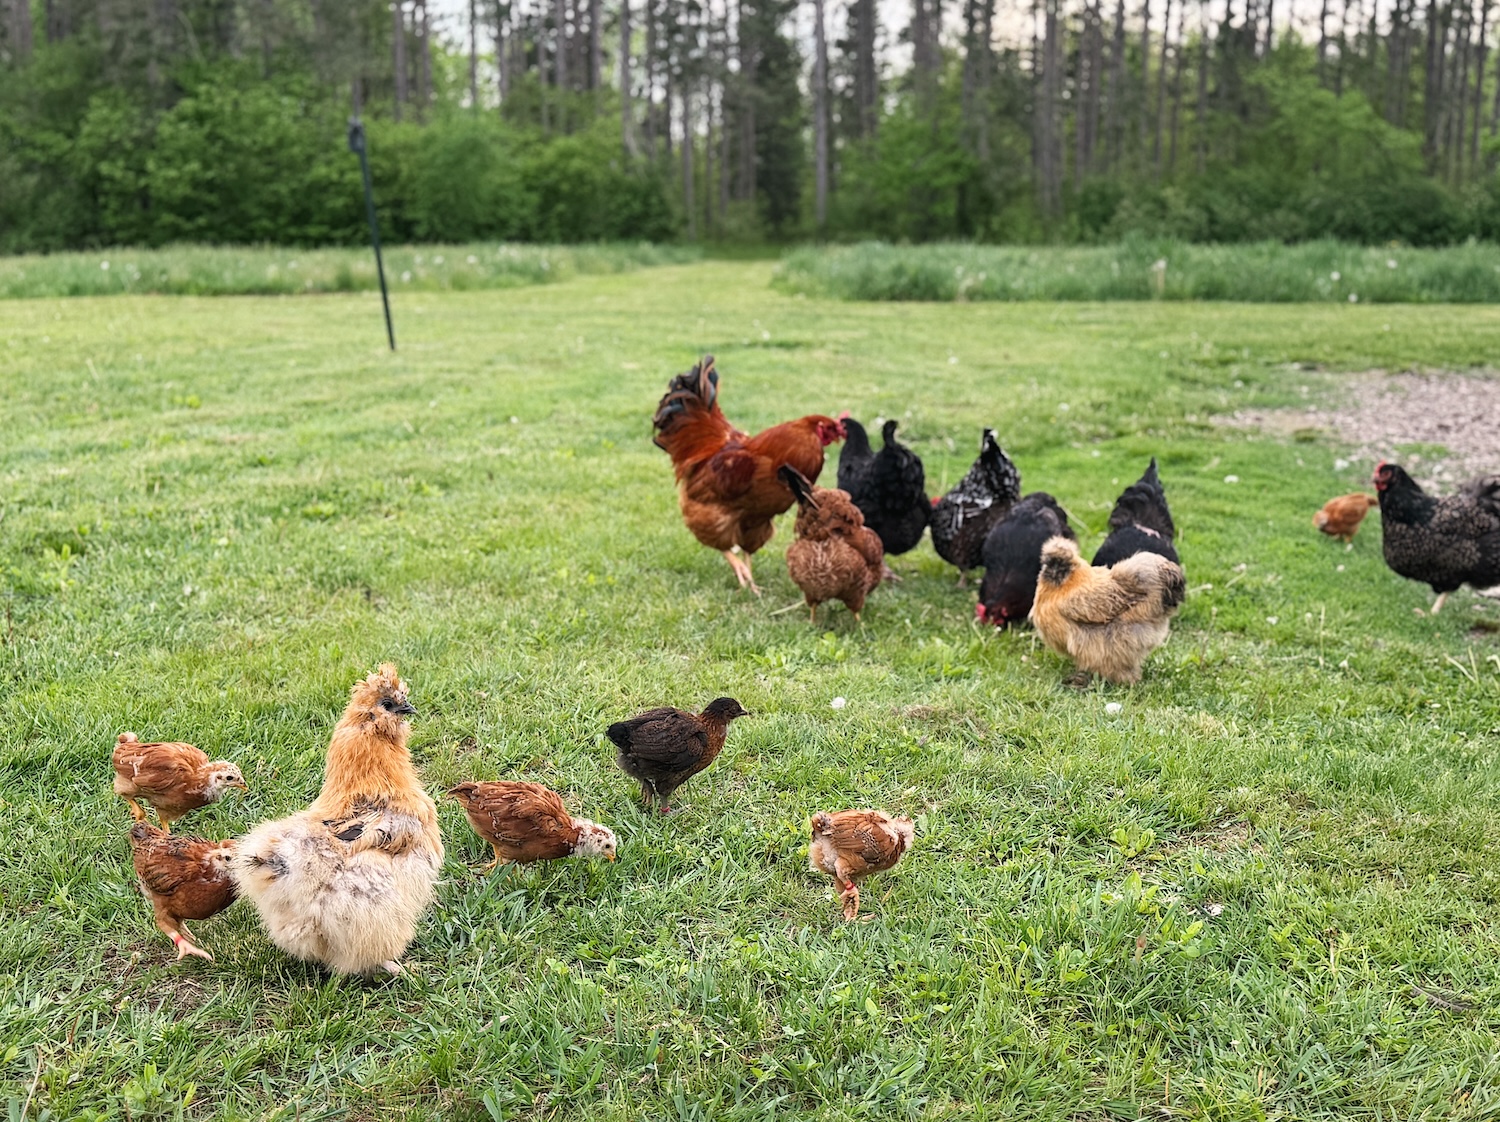
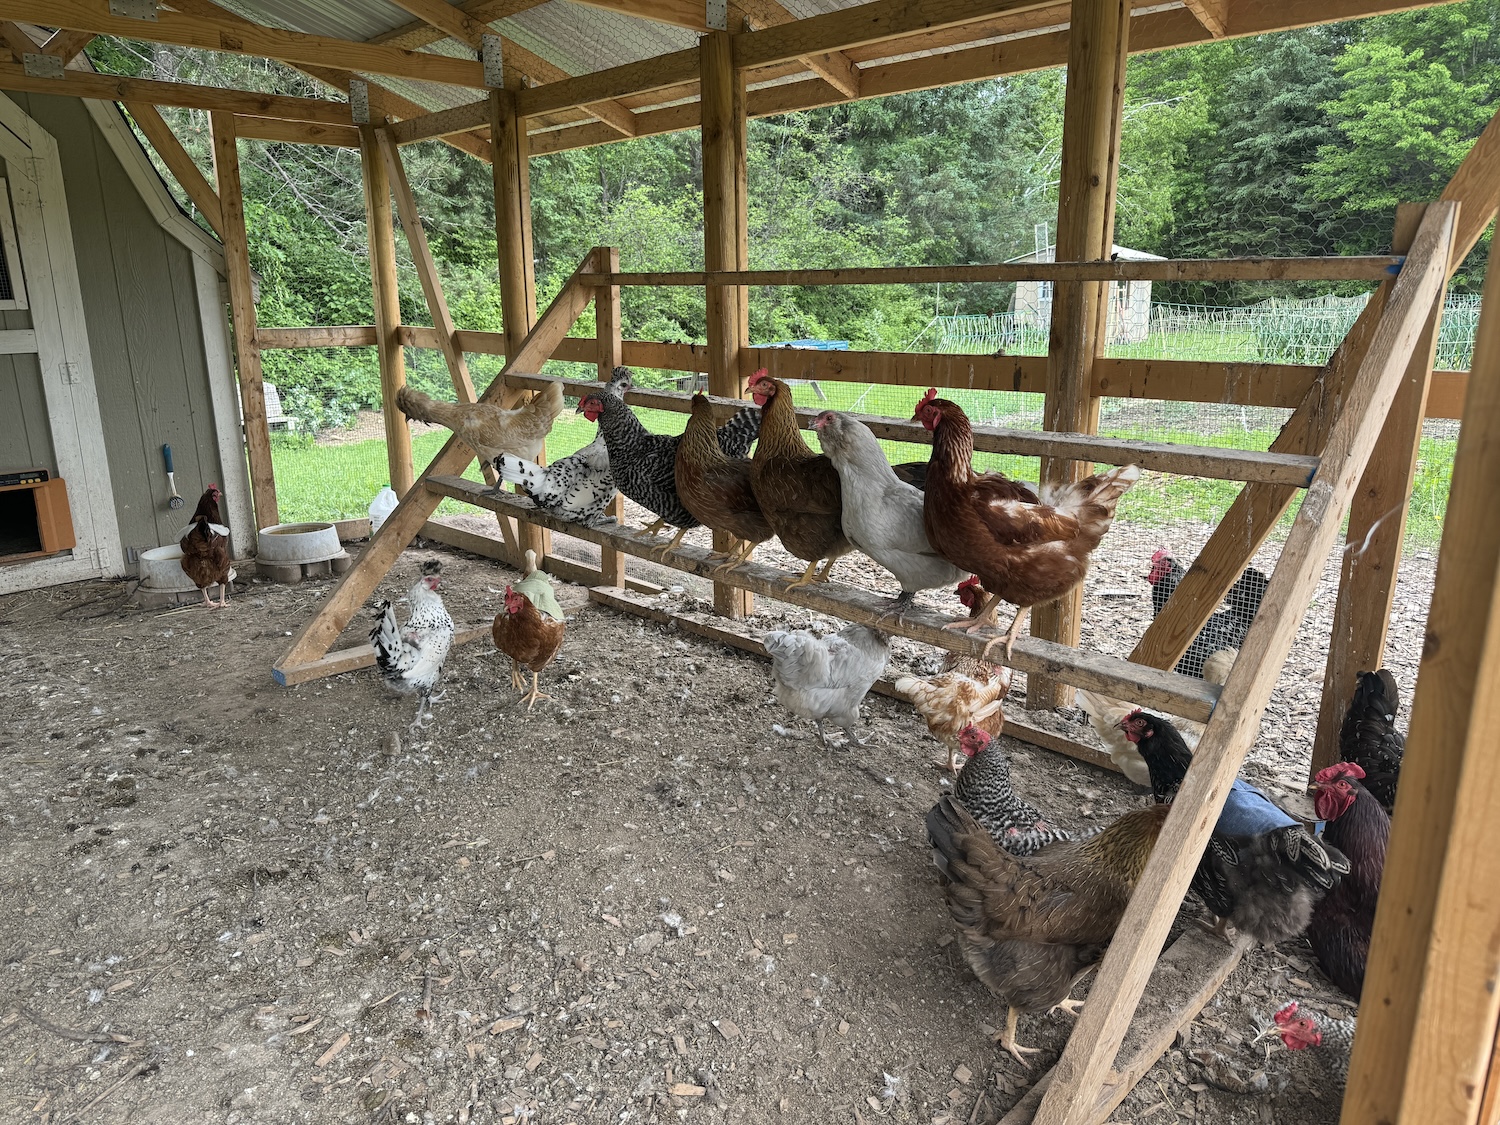
Now, it’s time to let everyone out free together. This step might feel a little scary, and there is bound to be some scuffling, but it should go okay as long as you’ve taken your time with the first 2 steps and have selected the right types of chickens to incorporate (keep reading to see what I recommend).
Start SLOW. The best way to do this is to let both flocks out in the evening so they have a chance to mingle for a short amount of time before they head back to their respective coops for the night.
This step is ideal because it allows both flocks to interact in an open space with lots of room to run and hide if things go south. They also get some time away from each other to cool down at night. If you can’t let your flock free-range, that’s okay. You can cautiously move straight to step 4 – I’ve done it that way many times.
My view on this next point might be controversial, but I honestly think it’s the best way to move forward and settle things up front.
I know you’re going to want to jump in there as soon as any bullying happens, but it’s honestly best NOT to intervene. The word “pecking order” is a real thing, and it needs to happen to re-establish ranks in the chicken yard. If they don’t settle things right out of the gate, they’ll keep going at it in future days until it’s finally settled.
However, please intervene if a serious injury seems imminent. I will say, though, I’ve been raising chickens since 2014, and I’ve only ever had a chicken fight end in injury one time (and it was between two roosters). While chicken squabbles may seem intense, they rarely lead to injury. It’s best to let them work it out on their own as long as they’ve been introduced properly and enough space has been allowed.
#4: Combine flocks at night
If you don’t want to keep two flocks going indefinitely, it’s time to move to the final step, which is combining the flocks together into the main coop. Before you do that, make sure the main coop is ready. Provide additional feeders and waterers (as many as you can possibly manage), so that everyone has access to those essential resources at any time.
Another thing that can help is providing hiding spaces (add some tree branches) and extra roosting space. I love adding roosting bars to the covered run – the new flock loves having a separate space to roost at night, and it’s a great place for them to escape to if things get heated.
Once the coop is ready, bring the new chickens in at night. Chickens have poor eyesight, and not much will happen overnight, so that’s a safe way for them to spend their first chunk of hours together.
Then, head out at first light to see how it’s going. There will certainly be squabbling, but it should get better over time. If things are really, really bad, you can go back to step 3 for another week or so. There’s no reason to rush it!
The essential thing to remember is to leave everyone locked in. You’ll be tempted to let them out to free-range, and your chickens will be begging to be let out so they can get away from these new chickens. Don’t do it.
Your new chickens need time to learn that this new coop (filled with mean birds who bully them) is their home. It will take some time to convince them. Otherwise, they’ll just go back to their old coop at night, and you’ll have to start step 4 all over again. Leave them locked in for 1-2 weeks, then you can consider letting everyone out to free-range. That’s it! Congratulations, you’ve made it!
Things to Avoid When Introducing New Chickens
Single chickens
Introducing a single chicken to an existing flock is never recommended. Not only will the new hen or rooster be heavily bullied and cast out (or worse), but it will do so alone. Chickens are social animals and do best in a flock (even if it’s just a friend or two).
Always, always introduce at least 2 or 3 chickens together. There is power in numbers. They’ll be better able to hold their own against the resident flock, who will do their best to intimidate them. Plus, they’ll be content to hang out together in their own corner, rather than the singular chicken trying to find some companionship desperately. 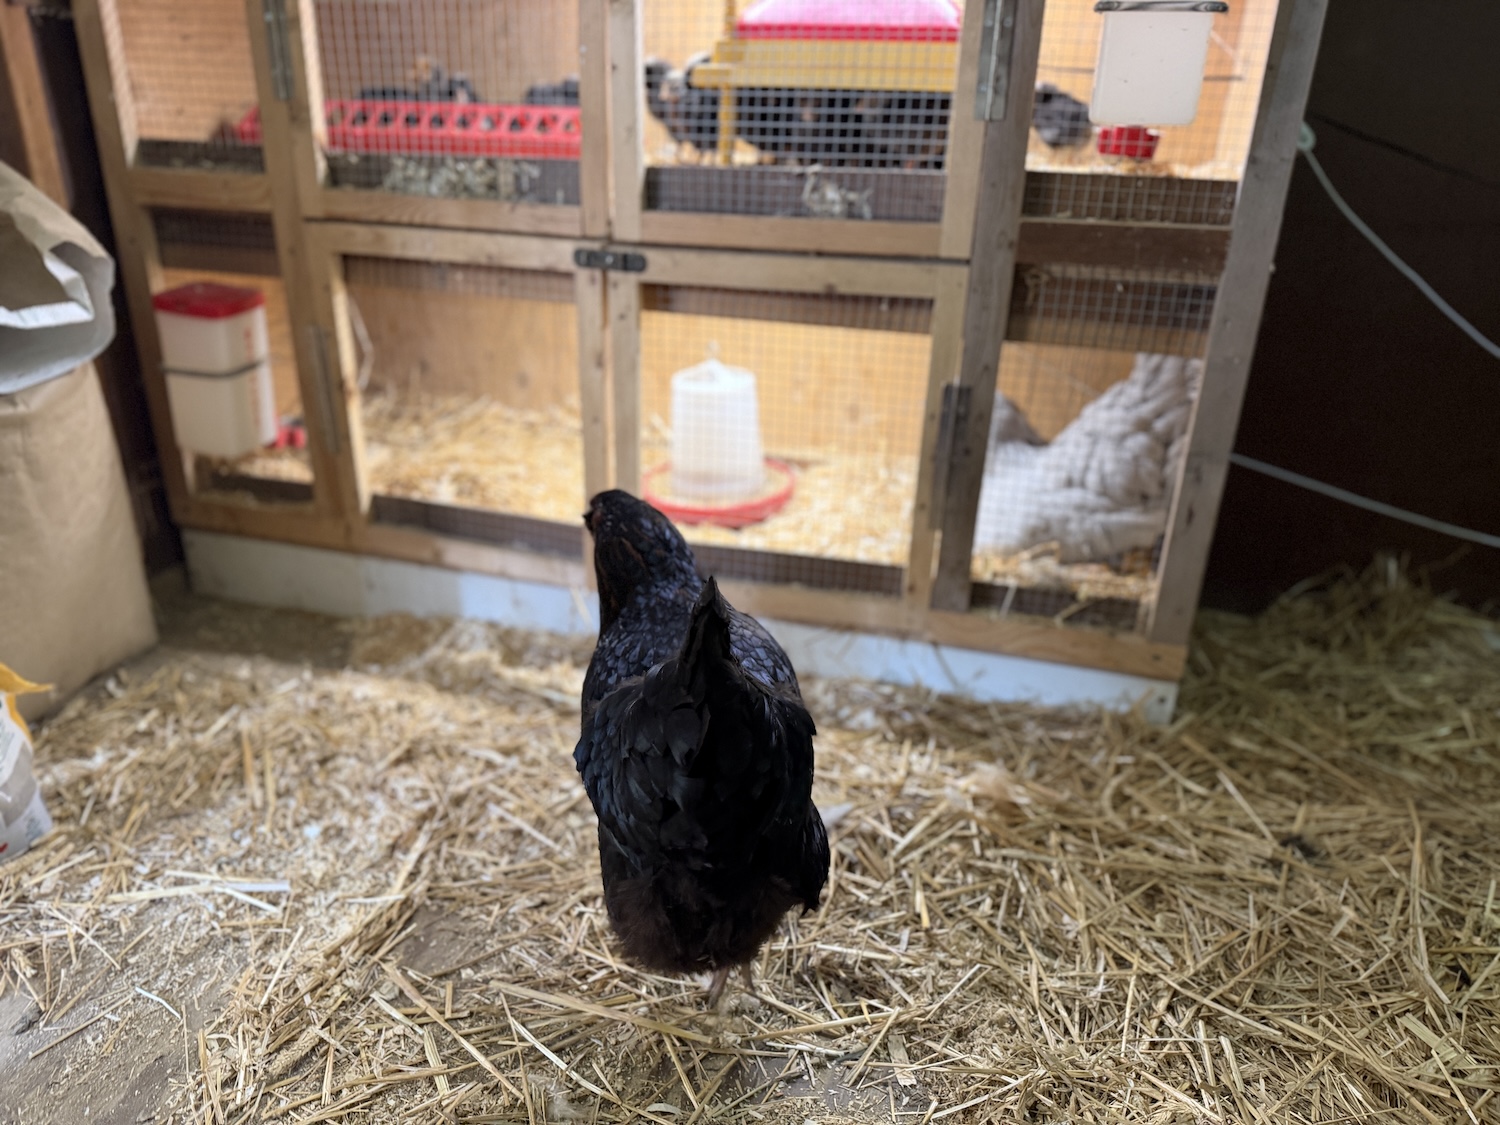
If you live in a location where there are limits on how many chickens you can have, ask for a couple of roosters to come along with your desired new hen! Most people selling chickens have a few roosters to spare, and they’ll do a good job of protecting their lady friend. If you’re technically not allowed to keep roosters, you can make some rooster soup after a few weeks of integration. Nothing wrong with that!
Adult chickens
While it’s not impossible to integrate adult chickens into an existing adult flock, it’s certainly harder. Teenager chicks (about 6 weeks old) are the ideal choice because they are big enough to where they can hold their own, but they aren’t so big that the adult flock sees them as a threat. If you do decide to integrate adult chickens, just know that the process will likely take much longer.
Baby chicks
Definitely don’t throw baby chicks in with an adult flock, unless they are bonded to a broody mama hen who can protect them. Even in those cases, it can be quite risky, so it’s best not to let them all out with the flock until the chicks are at least 2-3 weeks old.
If you plan on integrating chicks (with no mama to protect them), wait until they are about 6 weeks old to do so.

Roosters
Oh, roosters. They sure do have a soft spot in my heart, but they can be a little trickier to manage successfully.
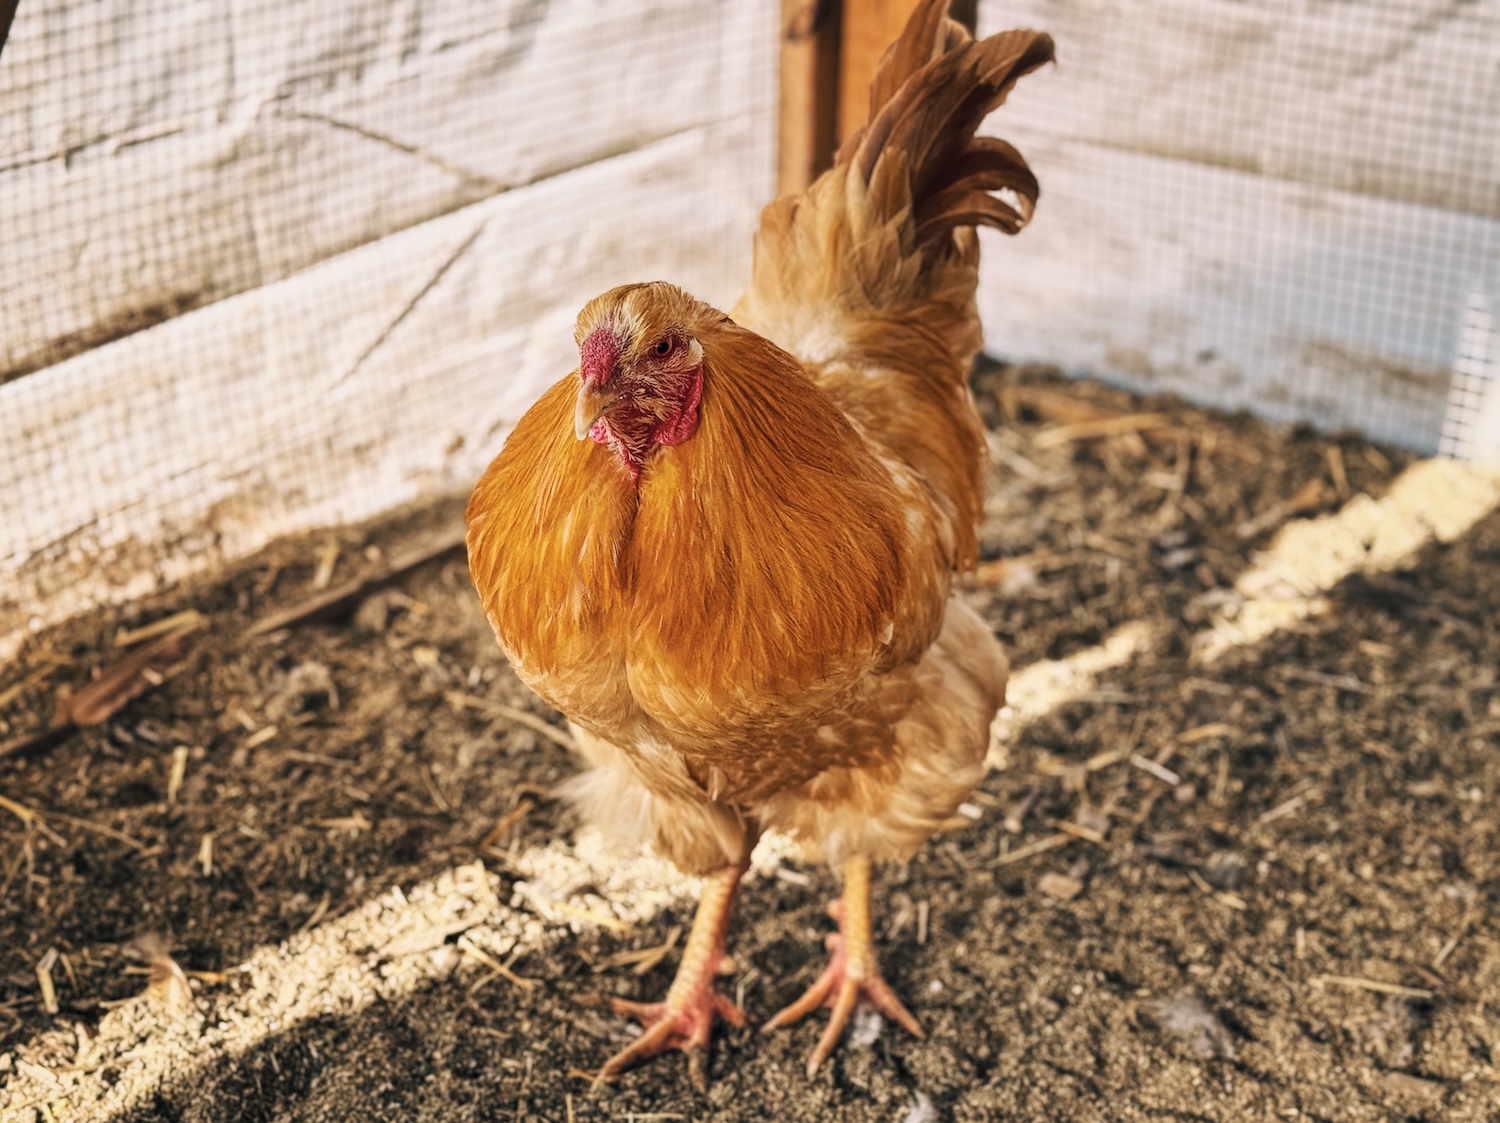
If you currently only have a flock of adult hens and you’re looking to introduce a rooster, this is certainly doable. However, keep in mind that one of your hens has likely taken on the role of the rooster, and it’ll take a bit of time for her to hand over her crown. Take it slow with the steps that I provided above, and make sure to introduce him along with a few lady friends. Don’t introduce him alone!
If you already have an existing rooster in your flock, introducing another adult rooster is not recommended and will likely end in a blood bath. Roosters are very territorial, protective of their hens, and will chase off any threat that they sense. If you want to add another rooster, your best bet is to bring him in as a chick and slowly introduce him that way.
Sick birds
If you decide to rescue some chickens from a bad situation (or if they just seem a little sickly), you’ll need to take some extra steps. While it’s wonderful that you’re taking this on, you could be putting your flock at risk if they are sick or have a disease.
I highly recommend completely isolating them from your flock for at least 2 weeks to monitor and treat them. Do not start on the 4 integration steps outlined above until after this time has passed. Honestly, this is just a good practice for any new chickens that you bring home – better safe than sorry!
*If you’re not familiar with chicken illnesses, I highly recommend The Chicken Health Handbook! It has helped me learn so much over the years.
The Homesteading RD's Product Picks: | |
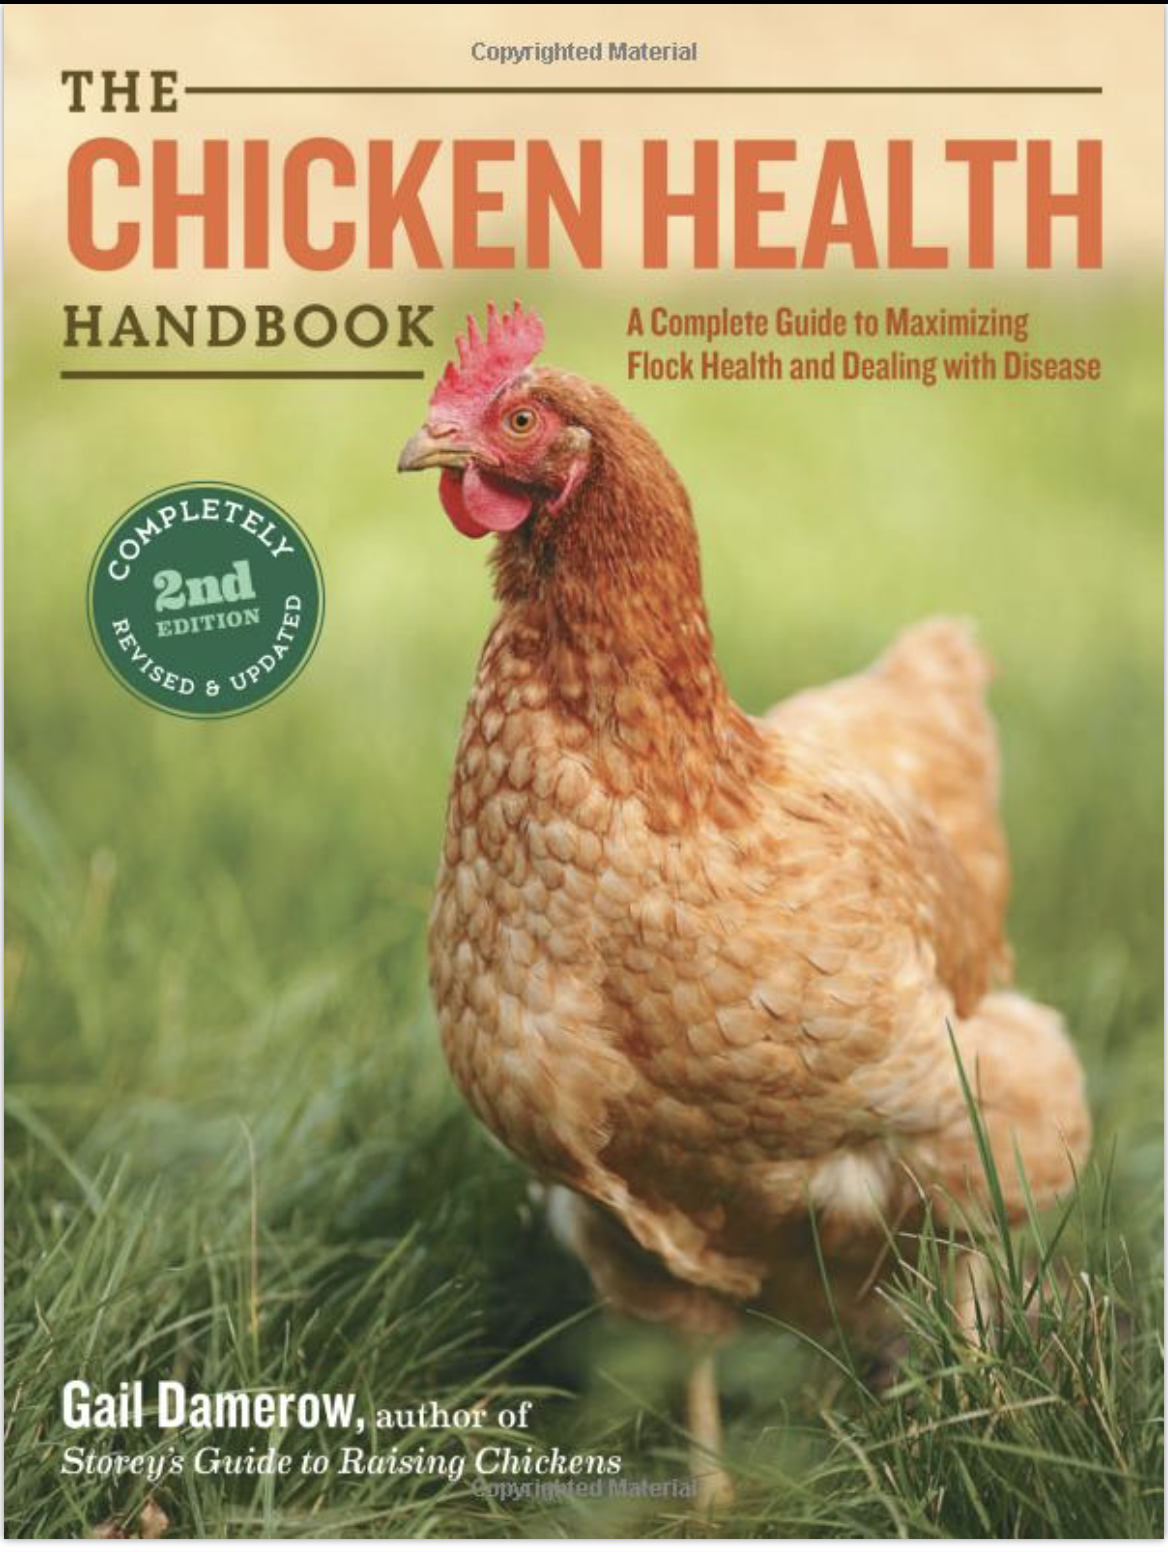
| After a few health scares in my flock, I quickly purchased this book and it has been a lifesaver! Anything that could potentially come up in your flock is addressed in this book with practical solutions. Worth every penny! |
Other Chicken Articles You’ll Love:
- Inside a Chicken Coop: 5 Required Items (and 3 to AVOID!)
- How to Keep Your Chickens from Eating Their Eggs
- How Much Space Do Chickens REALLY Need?
- How Long Do Chickens Live (and Lay Eggs)?
*Information in this article was referenced from personal experience and/or from my favorite chicken book Storey’s Guide to Raising Chickens unless otherwise noted.
The Homesteading RD's Product Picks: | |
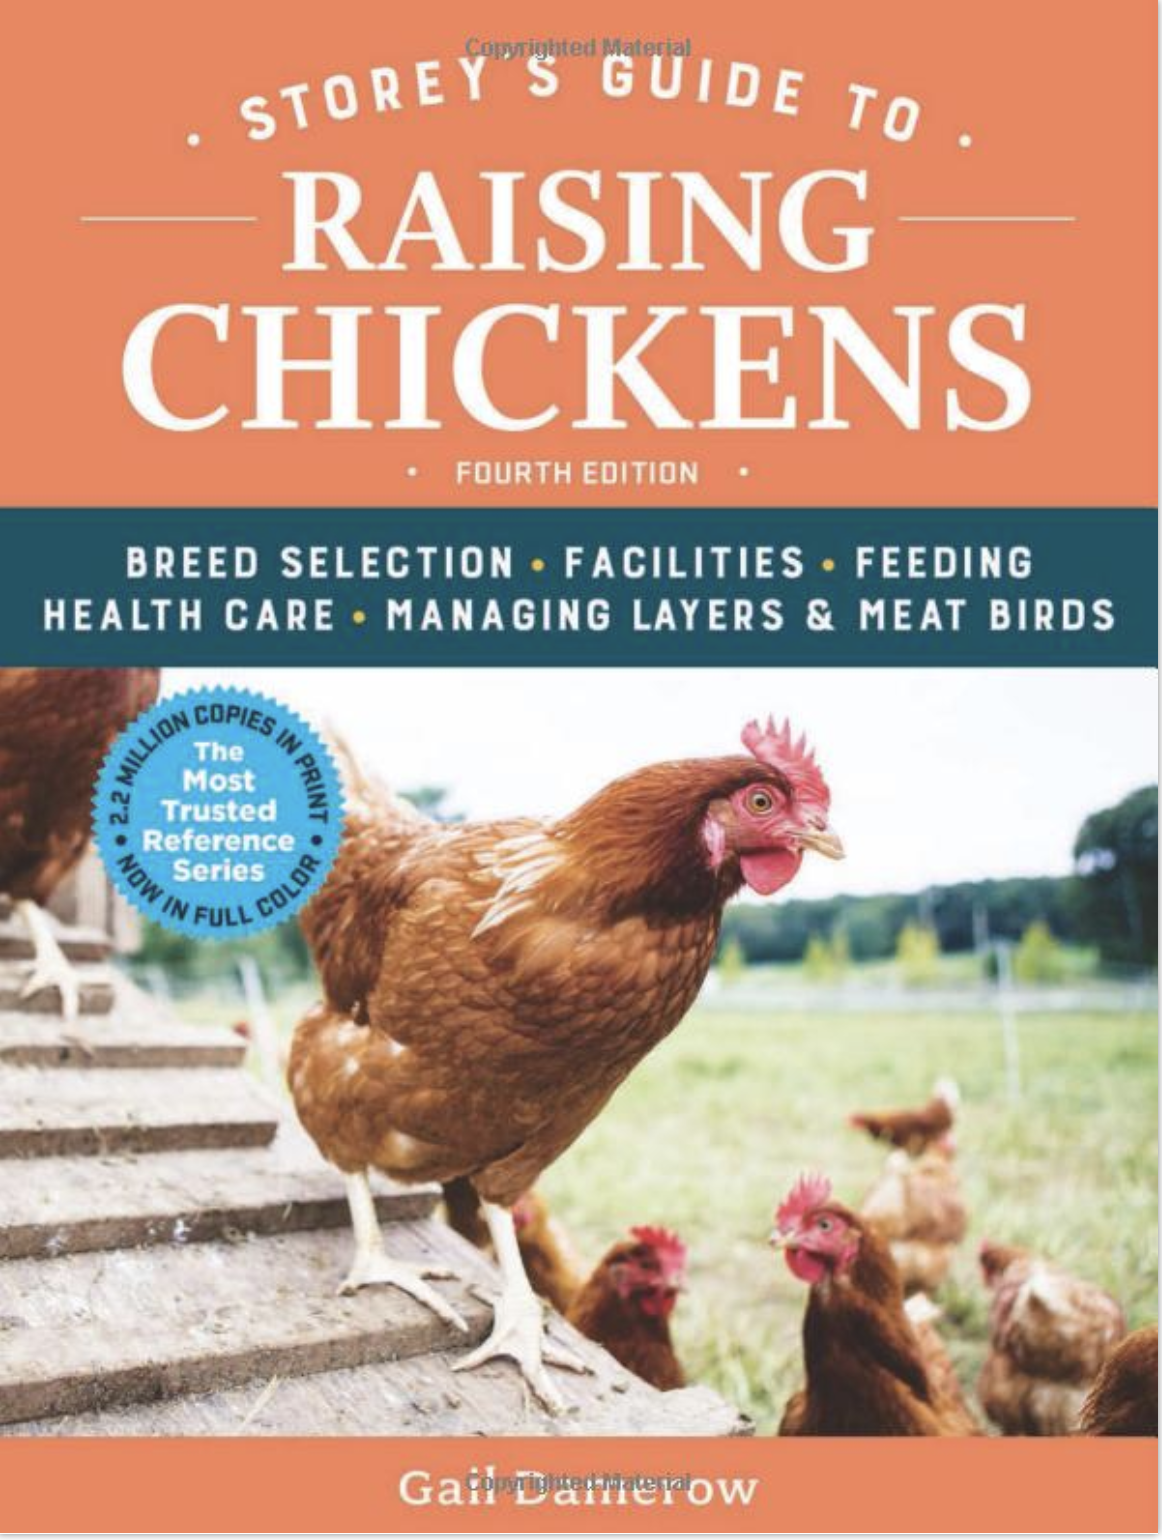
| This is THE chicken book to have! I've had my copy since the beginning and it's the one that I keep going back to time after time. It provides everything you need to know from coop design, hatching chicks, layer nutrition, and much more! |

