Fermented turnips (sauerruben) are super easy to make and have many health benefits! They are teaming with gut-loving probiotics, plus turnips are full of fiber, vitamins, minerals, and have powerful detoxification and cancer-fighting properties.
Unfortunately, turnips are often forgotten about and overshadowed by the popular fermented cabbage (sauerkraut). However, turnips are easier to grow than cabbage, and provide a nice, zesty flavor with a crunch similar to radishes. It’s time to let turnips shine!
With my simple recipe, you’ll be enjoying fermented turnips within a week, or you can tuck them into storage to enjoy all winter long.
*Disclosure: This post may contain affiliate links to products (including Amazon). I’ll earn a small commission if you make a purchase through my link, at no additional cost to you! Regardless, I only link to products that I personally use on our homestead or believe in.
The Benefits of Fermented Turnips (Sauerruben)
There are so many reasons why you should be whipping up a batch of (and enjoying!) fermented turnips. Let’s jump into a few of them!
Expand your food storage
Anytime you can add another food preservation item to your fridge, deep freeze or pantry, it’s such a blessing! With food prices up 11% from 2021 to 2022 and shortages becoming common, now is more important than ever to invest in this. It’s a great comfort to have preserved food available in the winter that you grew yourself, inexpensively.
Provide a healthy snack
If you have a craving for a salty snack, grab a few forkfuls of your homemade fermented turnips instead of that bag of chips! Not only are fermented foods great for our health, but the best kind of snack is one you’ve made yourself; you know exactly how it was grown and what ingredients are included.
Enjoy a rare treat
Fermented cabbage (sauerkraut) is a popular option, but not many people have tried fermented turnips. Which is shocking, because it’s quite delicious! I certainly have never seen it at the store to buy. Get ahead of the curve and be the first of your friends to give this a try!
Boost your health
As a dietitian who specializes in gut health, I LOVE fermentation! Not only is it super easy to do and requires minimal equipment (just a jar and some salt!), but it’s teaming with those lovely probiotics that promote gut & overall health.
The following strains are commonly found in fermented vegetables:
- Lactobacillus plantarum
- Lactobacillus pentosus
- Lactobacillus brevis
- Lactobacillus fermentum
- Lactobacillus casei
- Lactobacillus kimchi
- Lactobacillus fallax
- Leuconostoc mesenteroides
- Pediococcus pentosaceus
- Weissella confusa
- Weissella koreenis
- Weisella cibaria
As you can see, lactobacillus is the major player in lactic acid fermentation. It’s also one of the most prominent strains in our gut and is associated with a lot of health benefits.
Health benefits of lactobacillus
- Anti-fungal
- Anti-tumor
- Anti-viral
- Antioxidant
- Control IBS & IBD
- Lower cholesterol
- Maintain the intestinal barrier
- Regulate the immune system
- Suppress pathogen-associated diarrhea
Benefits of fermentation
It’s true that when canning, freezing, blanching or drying, the trade off for preservation is a slight loss in nutritional value. However, in fermentation, it actually results in an increase in nutritional value!
- Lactic acid bacteria actually have the ability to synthesize b-vitamins.
- The existing vitamins and minerals are more absorbable than if you ate the produce raw. That’s because the tough cellular walls of the vegetables are broken down during the fermentation process.
- Lastly, there’s those lovely probiotics that we’ve been talking about.
If you want to learn more and see a side-by-side comparison of different preservation methods, check out my article Principles for Food Preservation.
Health Benefits of turnips
Turnips are a good source of fiber, calcium, potassium, magnesium and vitamin C. They are also part of the nutritional-powerhouse group called brassicas, which are known for their powerful detoxification and cancer-fighting properties:
- Fights Breast Cancer – Consistent intake of cruciferous vegetables has been associated with a 15% reduction in risk of developing breast cancer according to a 2013 meta-analysis of 13 different studies
- Fights Prostate Cancer – Eating 3+ servings per week of cruciferous vegetables was associated with a 40% reduction in prostate cancer compared to those who ate <1 serving per week (Chohen, 2000)
- Fights Colon Cancer – Eating cruciferous vegetables is also protective against colon cancer! A 2014 meta-analysis found that cruciferous vegetable intake was associated with a 16% reduction in risk of developing colon cancer.
Fermented Turnips (Sauerruben) Recipe
Alright, we’ve made it to the good part – actually making the delicious, nutritious, fermented turnips! Grab your supplies and let’s jump right into it.
Tools
- Knife
- Cutting board
- Peeler – if using large/rugged turnips
- Food processor or box grater
- Large glass bowl
- Food grade container or fermentation crock with lid – the 1/2 gallon mason jar size should work well for 5 lbs of turnips. If you have extra, start filling pint or quart size mason jars!
- Fermentation weight
- Air-tight lid – I like these ones because they “burp” the expelled gasses for you, and they are silicone. Traditional metal bands and lids will corrode overtime from the acid.
The Homesteading RD's Product Picks | |
Using fermentation weights has been a GAME CHANGER for me! When placed on top of your fermented vegetables, it keeps the tidbits from touching the surface. If this occurs, mold will grow and the entire batch will be ruined. I've lost several precious jars to mold before I started using weights. This is money well-spent! | |
Includes 1 Metal Lid and 1 Metal Band Clear Glass. This half gallon glass mason jar is a classic size for ferments, pickles, raw milk, dry bulk storage, you name it! I never feel like I have enough of these | |
If you're getting serious about fermentation or have a large garden, this 5-Gallon picking crock really is the way to go! That way, you can make large batches at a time and then transer the finished product into mason jars for storage. | |
These silicone lids are excellent for sealing your ferments in the fridge. They are self-burping ferment caps with a one-way waterless valve to vent gas automatically! No need to burp them manually. Plus, they are silicone, so no rusting! Dishwasher safe and easy to clean. | |
Ingredients
*If you have more or less than 5 lbs of turnips, adjust the salt ratio accordingly
- Fresh Turnips: 5 pounds
- Salt: 1.5-2 Tablespoons – Choose a finely-ground, mineral-rich option like Redmond Real Salt
- Spices (optional) – If you like a kick of flavor, consider adding any of the following to taste: smashed garlic cloves, whole black peppercorns, bay leaf, red pepper flakes, dill, mustard seeds, etc.!
How to make fermented turnips (sauerruben)
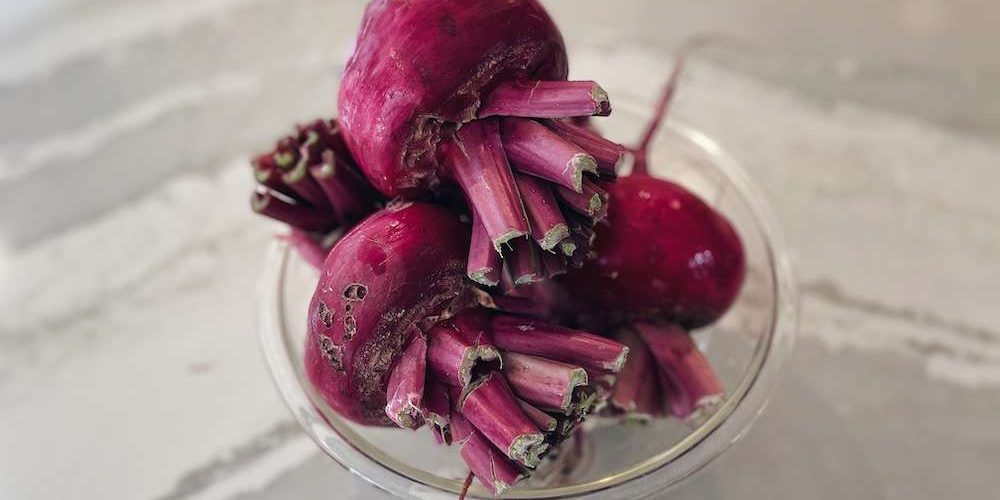
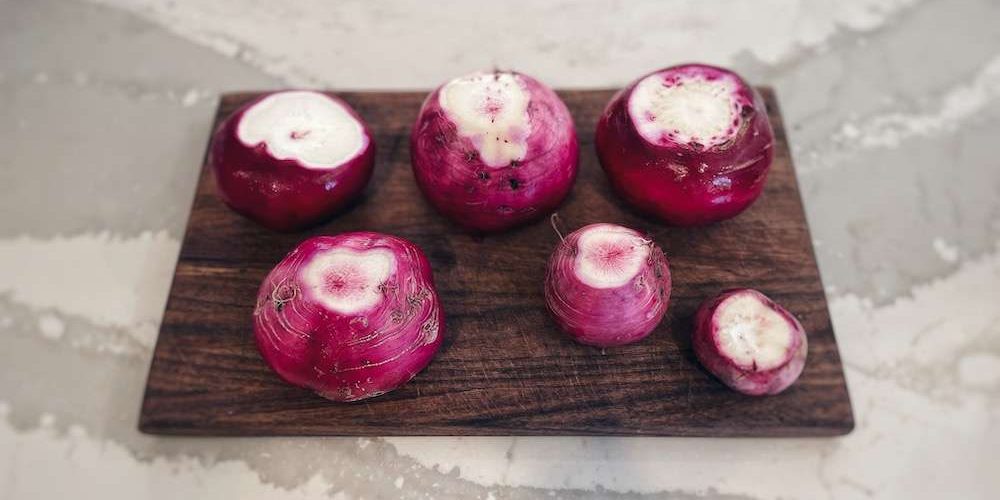
- Step #1: Wash turnips and trim off the root tips and greens. Save the greens for later!
- Step #2: If the turnips are mature and have coarse skin, peel them. If the turnips are young and tender, you don’t need to peel them.
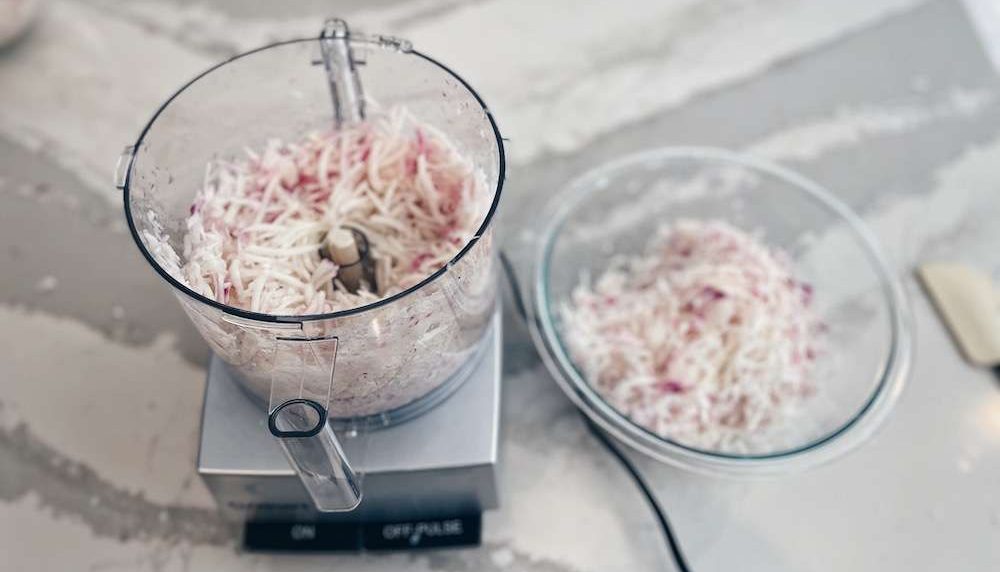
- Step #3: Working in batches, shred turnips using a food processor or a box grater. If using a food processor, coarsely chop turnips into chunks first with a sharp knife. I love my food processor – it gets the job done in a matter of minutes!
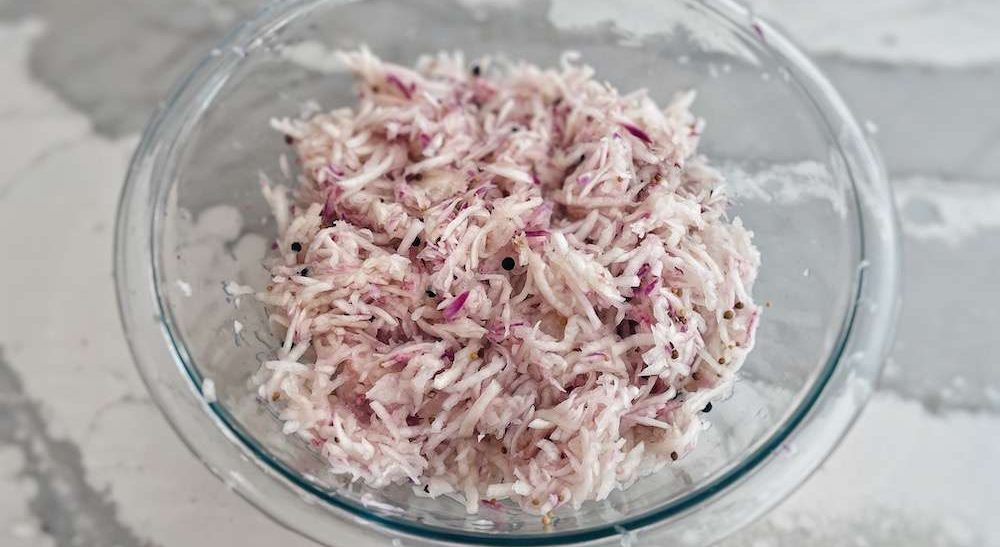
- Step #4: Add shredded turnips to a large glass bowl and massage in 1 ½ Tbsp sea salt. Really work in the salt well, squeezing firmly. Then, give it a taste. If you feel like it needs a bit more salt, add the extra ½ Tbsp of salt. Also, add your spices, if desired. My favorite combo is coriander seed, mustard seed and black peppercorns.
- Step #5: Assess the moisture level. At this point, the shredded and salted turnips should start to weep liquid and look wilty. If it still seems dry and has room for more salt, add more sea salt. If it’s already decently salty, cover your bowl and give it an hour to weep some more. If that doesn’t work, add a flavorful liquid like a few tablespoons of lemon juice or pickle juice. Don’t add water as this can cause discoloration and/or a mushy texture.
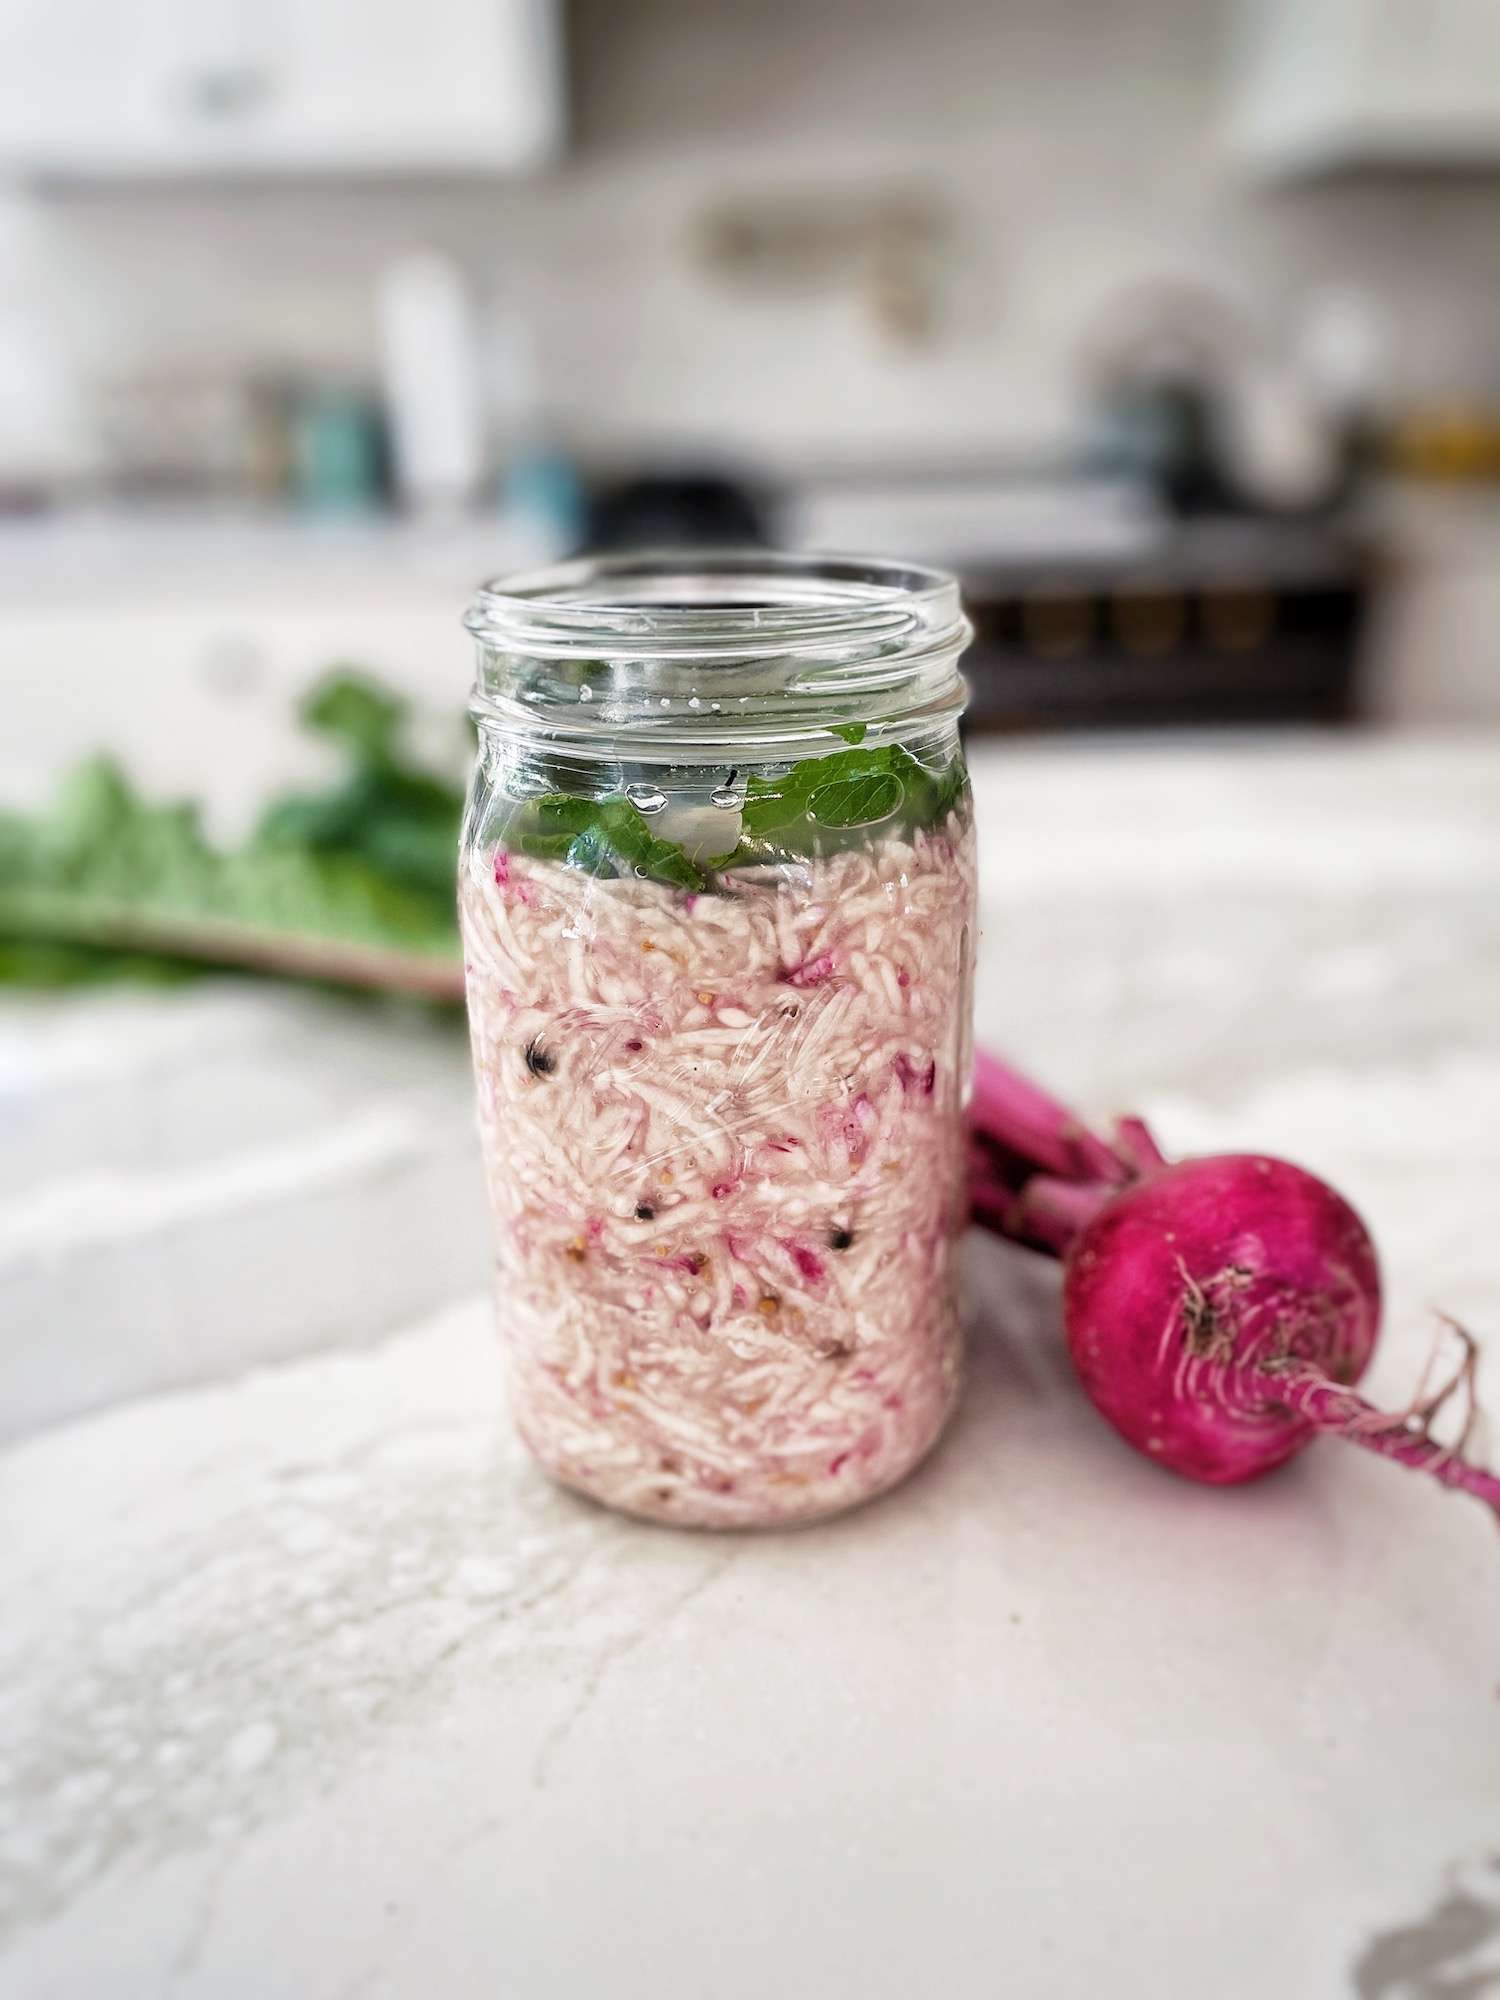
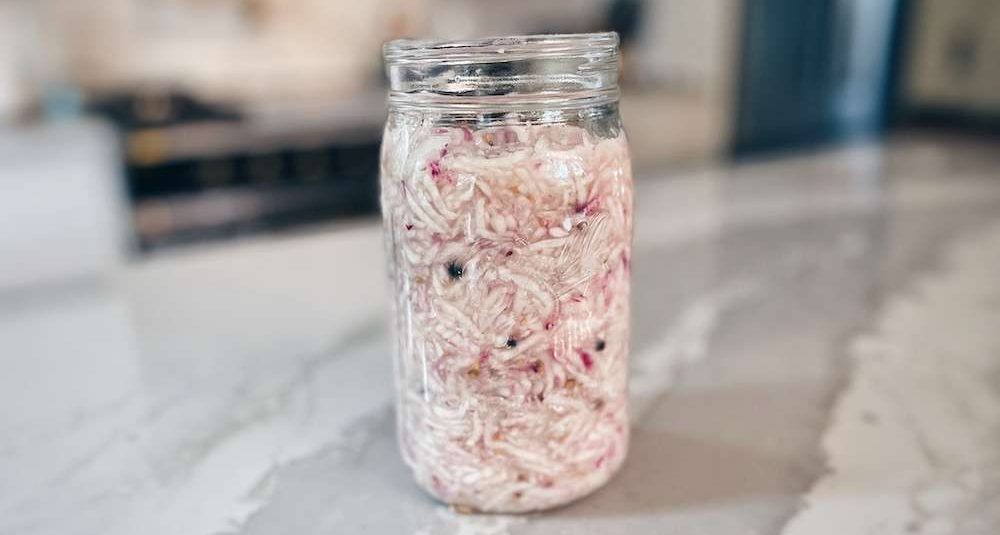
- Step #6: Pull out your food grade container or fermentation crock. Using a clean hand, scoop handfuls of the turnips and place them in your container/crock, pressing each layer down firmly so that the released liquid forms a layer on top and air pockets are removed. Stop filling when you reach 2-3” from the top of the container.
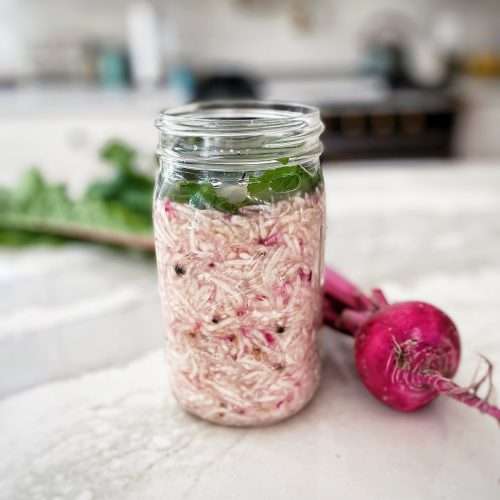
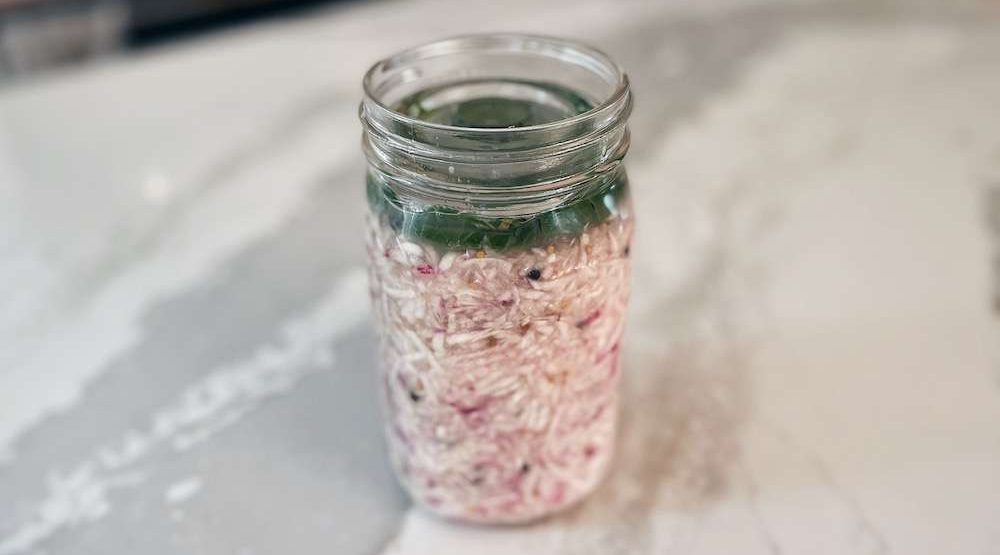
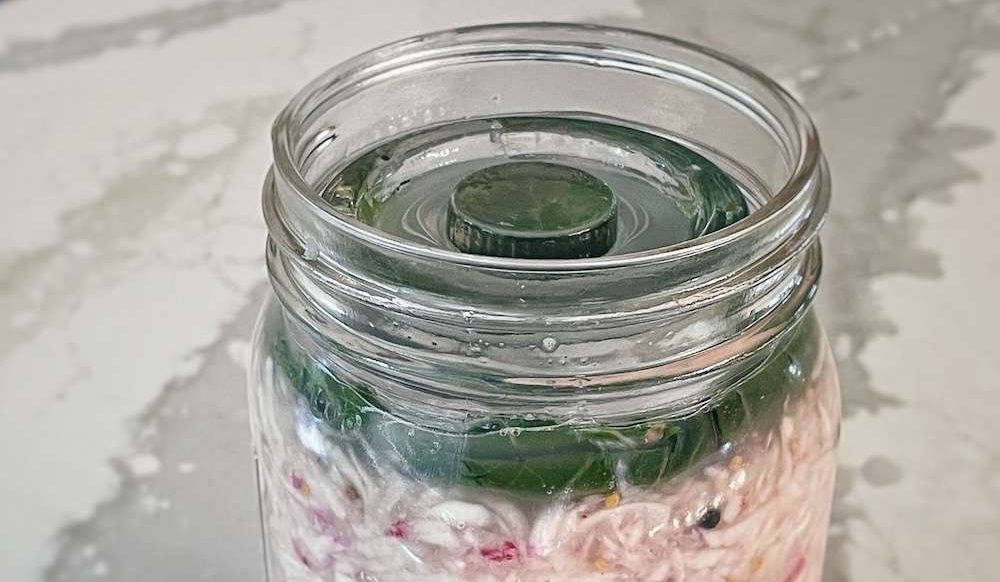
- Step #7: Cover with a layer of a few turnip leaves (this keeps any small turnip bits or spices under the liquid and away from touching air) and add your fermentation weight. Ensure that all of the turnips are well submerged.
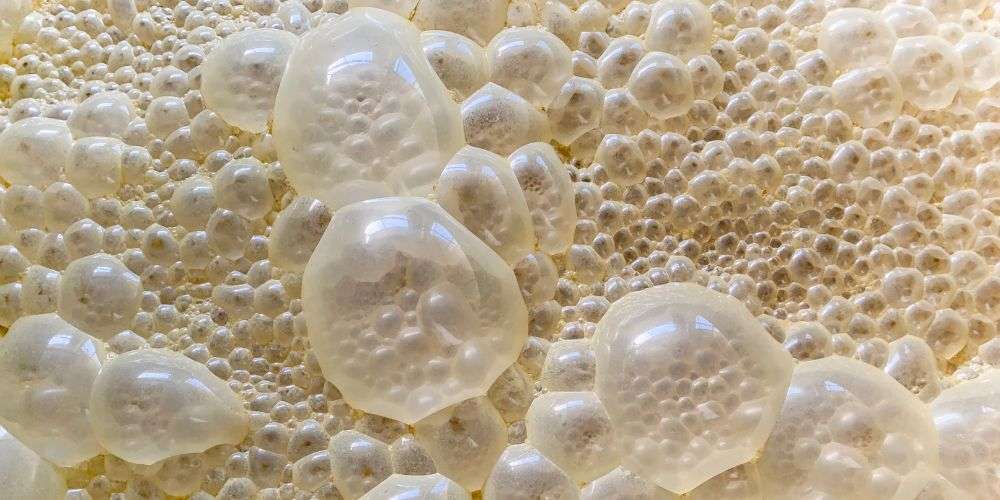
- Step #8: Set on a plate (to catch any bubble over during the fermentation process) in a cool location (55-75 degrees) and out of direct sunlight. I like to cover with a tea towel to keep any curious bugs out.
- Step #9: Monitor daily to make sure that everything remains submerged in the brine. Press down, if needed. After 7 days, taste your fermented turnips. It should be slightly tart and have a soft texture. If you like a strong fermented flavor, you can let it keep going for up to 21 days!
- Step #10: Remove turnip leaves, pack the contents down tightly and secure with an air-tight lid and store in the fridge for up to a year! I prefer to keep the fermentation weight on as well to ensure that the contents stay submerged and mold-free. If you are using a fermentation crock, transfer the fermented turnips to a food safe jar, pack down the contents and secure with an air-tight lid.
Want to see this process in action? Watch me make fermented turnips on Instagram!
How to Store Fermented Turnips (Sauerruben)
Once the fermentation process is complete, your fermented turnips will be well-preserved for up to a year as long as the conditions are right.
Temperature
The fermentation process is greatly affected by temperature. That’s why it’s ideal to keep the mixture at 55-75 degrees during the active fermentation phase the first 7 days. This is the perfect range to promote a steady rate of growth and allow the flavors and texture to develop.
- If the temperature is too low, fermentation with slow or halt.
- If the temperature is too high, fermentation will occur too quickly and the flavors and texture won’t develop fully.
Lastly, putting your perfectly fermented turnips into the fridge is a key step because this low temperature halts further fermentation. Otherwise, it would just keep fermenting and eventually become inedible.
Air Exposure
Oxygen is the enemy when it comes to lacto-fermentation. Lactic acid bacteria need a salty, acidic, and oxygen-free environment in order to grow and thrive.
Therefore, If some of the turnips or spices float up to the surface and are exposed to oxygen, the lactic acid is no longer present to preserve that food particle and it will result in mold growth. Once mold growth occurs, the entire batch should be thrown out.
That’s why it’s important to use a turnip leaf to seal the top layer, then keep it submerged with a fermentation weight, followed by an air-tight lid.
How to Use Fermented Turnips (Sauerruben)
There are so many fun and delicious ways to use fermented turnips (sauerruben)! You spent a lot of time and effort growing those turnips and fermenting them into a nutritious powerhouse; don’t forget about them in the back of your fridge!
My favorite ways to use fermented turnips:
- Piled on a burger or brat
- Tucked into a wrap
- Topped on a sandwich or nachos
- Used as a side dish at any meal
- Grab a spoonful out of the jar for a snack!
Other Articles You’ll Love
- Principles for Food Preservation
- Water Glassing Eggs for Storage
- Fermented Eggs Recipe (EASY!)
- Dried Radishes for Winter Storage
Final Thoughts
I’m not sure why turnips are always forgotten about or viewed as “peasant food.” They are quite delicious, prolific growers and don’t take up very much space! If you haven’t experimented with them much before, definitely give them a try. Of course, fermented turnips is my favorite, but they are great roasted as well!
*Information in this article was referenced from personal experience and/or from my favorite fermentation book Fermented Vegetables unless otherwise noted.
The Homesteading RD's Product Picks | |
This easy-to-follow, comprehensive guide presents more than 120 recipes for fermenting 64 different vegetables and herbs! Learn the basics, and then refine your technique as you expand your repertoire to include curried golden beets, pickled green coriander, and carrot kraut. | |
Fermented Turnips Recipe (Sauerruben)
Equipment
- 1 Knife
- 1 Peeler
- 1 Food Processor or Box Grater
- 1 Large Glass Bowl
- 1 Food Grade Container or Fermentation Crock see above article for links to my favorites
- 1 Fermentation Weight see above article for links to my favorites
Ingredients
- 5 lbs Fresh Turnips If using more or less turnips, adjust the salt ratio accordingly
- 1.5-2 tbsp Salt Redmond Real Salt, Himalayan Crystal Salt or Celtic Sea Salt
- Spices (optional - to taste) smashed garlic cloves, whole black peppercorns, bay leaf, red pepper flakes, dill, mustard seeds, etc.!
Instructions
- Wash turnips and trim off the root tips and greens. Save the greens for later!
- If the turnips are mature and have coarse skin, peel them. If the turnips are young and tender, you don’t need to peel them.
- Shred turnips using a food processor or a box grater. If using a food processor, coarsely chop turnips into chunks first with a sharp knife. I love my food processor - it gets the job done in a matter of minutes!
- Add shredded turnips to a large glass bowl and massage in 1 ½ Tbsp salt. Really work in the salt well, squeezing firmly. Then, give it a taste. If you feel like it needs a bit more salt, add the extra ½ Tbsp of salt. Add your spices, if desired. I find that 1 Tbsp of each spice works well for my taste preferences.
- Assess the moisture level. At this point, the shredded and salted turnips should start to weep liquid and look wilty. If it still seems dry and has room for more salt, add more salt. If it’s already decently salty, cover your bowl and give it an hour to weep some more. If that doesn’t work, add a flavorful liquid like a few tablespoons of lemon juice or pickle juice. Don’t add water as this can cause discoloration and/or a mushy texture.
- Pull out your food grade container or fermentation crock. Using a clean hand, scoop handfuls of the turnips and place them in your container/crock, pressing each layer down firmly so that the released liquid forms a layer on top and air pockets are removed. Stop filling when you reach 3” from the top of the container.
- Cover with a layer of a few turnip leaves (this keeps any small turnip bits or spices under the liquid and away from touching air) and add your fermentation weight.
- Set on a plate (to catch any bubble over during the fermentation process) in a cool location (55-75 degrees) and out of direct sunlight. I like to place a tea towel on top.
- Monitor daily to make sure that everything remains submerged in the brine. Press down, if needed. After 7 days, taste your fermented turnips (sauerruben). It should be slightly tart and have a soft texture. If you like a strong fermented flavor, you can let it keep going for up to 21 days!
- Remove turnip leaves, pack the contents down tightly and secure with an air-tight lid and store in the fridge for up to a year! I prefer to keep the fermentation weight on as well to ensure that the contents stay submerged and mold-free. If you are using a fermentation crock, transfer the fermented turnips to a food safe jar, pack down the contents and secure with an air-tight lid.





I liked turnips as a kid but not the greens and never thought of fermenting them. Which kind of seeds do you prefer or does it matter in the taste of fermented product? Do you have a preferred seed company to purchase your seeds from? Are heirloom seeds best? My patio veggie garden bombed this summer with the high Texas heat and drought. I bought actual plants from Walmart that looked really healthy but no success. I use organic products/practices. Thank you!
Hi Linda – definitely give fermentation a try, it’s so tasty. I like the Scarlet Ohno Revival Turnips from HMS (here is my affiliate link 🙂 https://shareasale.com/r.cfm?b=1849618&u=3069350&m=115344&urllink=&afftrack=) and my 10% of discount code is still valid for a few more days (23HRD10). Have fun!
I want to to thank you for this good read!! I certainly loved every little bit of it. I have you bookmarked to look at new things you postÖ
You’re welcome and I’m so glad that you found it helpful. Glad to have you here 🙂
Amazing way to use up turnips and sneak in some probiotics! Thanks for sharing!
We grow turnips only for the greens for our dragons…. looks like we will actually be letting them grow next time. This sounds delicious!
OOo yes! Don’t miss out on those lovely roots!
One of the few things I’ve never thought about fermenting… and now I must!
It’s new to me, too! We are loving it!
Excellent guide and great way to use up extra turnips from the garden. Great work!
Thank you! I love how easy they are to make!
I never would have thought to ferment turnips. Absolutely delicious!
So fun to learn about sauerruben! I ferment a lot of foods but I’ve never thought to do it with turnips. I can just taste them now!
Sauerruben reminds me of Sauerkraut or fermented cababge. I hope it does not smell as awful. I grew up eating turnips, but only in soups (it’s a soup root vegetable in Jamaica). However, the Food Explora in me sometimes adds it to my “escovitch” pickled vegetables. You are right, turnips are the starchy version of radishes.
In your fermented turnip recipe, you instructed us to add the turnip greens on top. Not sure if I missed it, but do we remove them after the 21 days of fermentation?
Soup sounds delicious! I will need to try to make some the next time I have a harvest of turnips. The turnip leaves should be removed after the 7-21 days of fermentation. I like to leave the fermentation weight on top to keep the contents submerged and mold-free. Great question! I will update my content with this information so it’s more clear 🙂
I bet that soup would taste really good with the saurruben. Sort of like a Korean soup with kimchi.
Absolutely! I love that idea!