
I know, I know. I just want to hibernate by the fire, too, but these tasks are essential to creating a productive garden this spring. Yes, you can just “wing it” by just grabbing whatever baby plants are available at your local nursery this spring and plop them in the ground randomly, but you’ll likely be disappointed.
*Disclosure: This post may contain affiliate links to products (including Amazon). I’ll earn a small commission if you make a purchase through my link, at no additional cost to you! Regardless, I only link to products that I personally use on our homestead or believe in.
Why You Should Make a Garden Plan
- More people are gardening now than ever, which is great, but that means that things get picked over FAST. If you don’t have a plan in place, you may end up with an empty garden.
- With the unstable food supply, you are probably thinking about food preservation. Food preservation requires careful planning in regard to your space and the varieties that you are growing. Some varieties are best for fresh eating only, while others store really well.
- We are becoming more health and environmentally conscious as a society, which means opting out of conventionally grown “food” and investing in high-quality, organic produce grown locally. Read more about the toxic effects of glyphosate and the appalling fact that food travels an average of 1,500 miles before it reaches our plate. Yikes!
5 Must-Do Winter Tasks for Gardeners
These are the 5 tasks that I complete every single winter, and they haven’t failed me yet! They get easier every year, too. Keep your notes and build on them in the years to come.
Task #1: Establish your gardening goals
This is an important step that will help guide you through the rest of the tasks. You need to develop your vision and goals first, then we execute! Take a few minutes to reflect on this and you might come up with something like the following:
- This will be my first year gardening and I want to keep it simple. I’d be happy with just a few plants that are easy to grow in a small raised bed.
- I value community and I would find a lot of fulfillment in starting a community garden in my neighborhood.
- This will be my first year gardening. I want to start my plants from seed, I have lots of space and I’m ready. Go big, or go home.
- I’ve been gardening a few years now. I’m ready to up my game and strive for food preservation.
- I’ve always wanted to start a side business and growing “X” is what I want to focus on.

Be realistic
I know that those gorgeous, productive, large gardens that you see on Instagram and Pinterest are swoon-worthy, but it’s important to be realistic. If you have some big things coming up (wedding, baby, international travel), consider downsizing your plans and then really go for it the following year!
- Buy seedlings instead of starting from seed
- Downsize your garden plan
- Install irrigation to reduce manual watering needs
- Focus on fresh eating instead of preservation
What do you want to grow?
Next, it’s important to consider what you want to grow, especially if you have limited time, space, and resources. There’s no sense in growing swiss chard if you don’t enjoy eating it! Consider the following as you make your list:
- What do you enjoy eating the most?
- What are you currently purchasing most often at the grocery store?
- What costs the most at the grocery store?
- What stores well or preserves well (if you’re focused on food preservation?
- What grows well in your area or soil type?
Consider EWG’s “Dirty Dozen”
Every year, the Environmental Working Group (EWG) releases a list of 12 foods that have the highest detectable levels of pesticides. If you are limited on garden space and/or funds to purchase organic produce, consider focusing on growing some of the foods on the dirty dozen list!
- Kale, collard & mustard greens
- Green beans
- Bell and hot peppers
- Strawberries
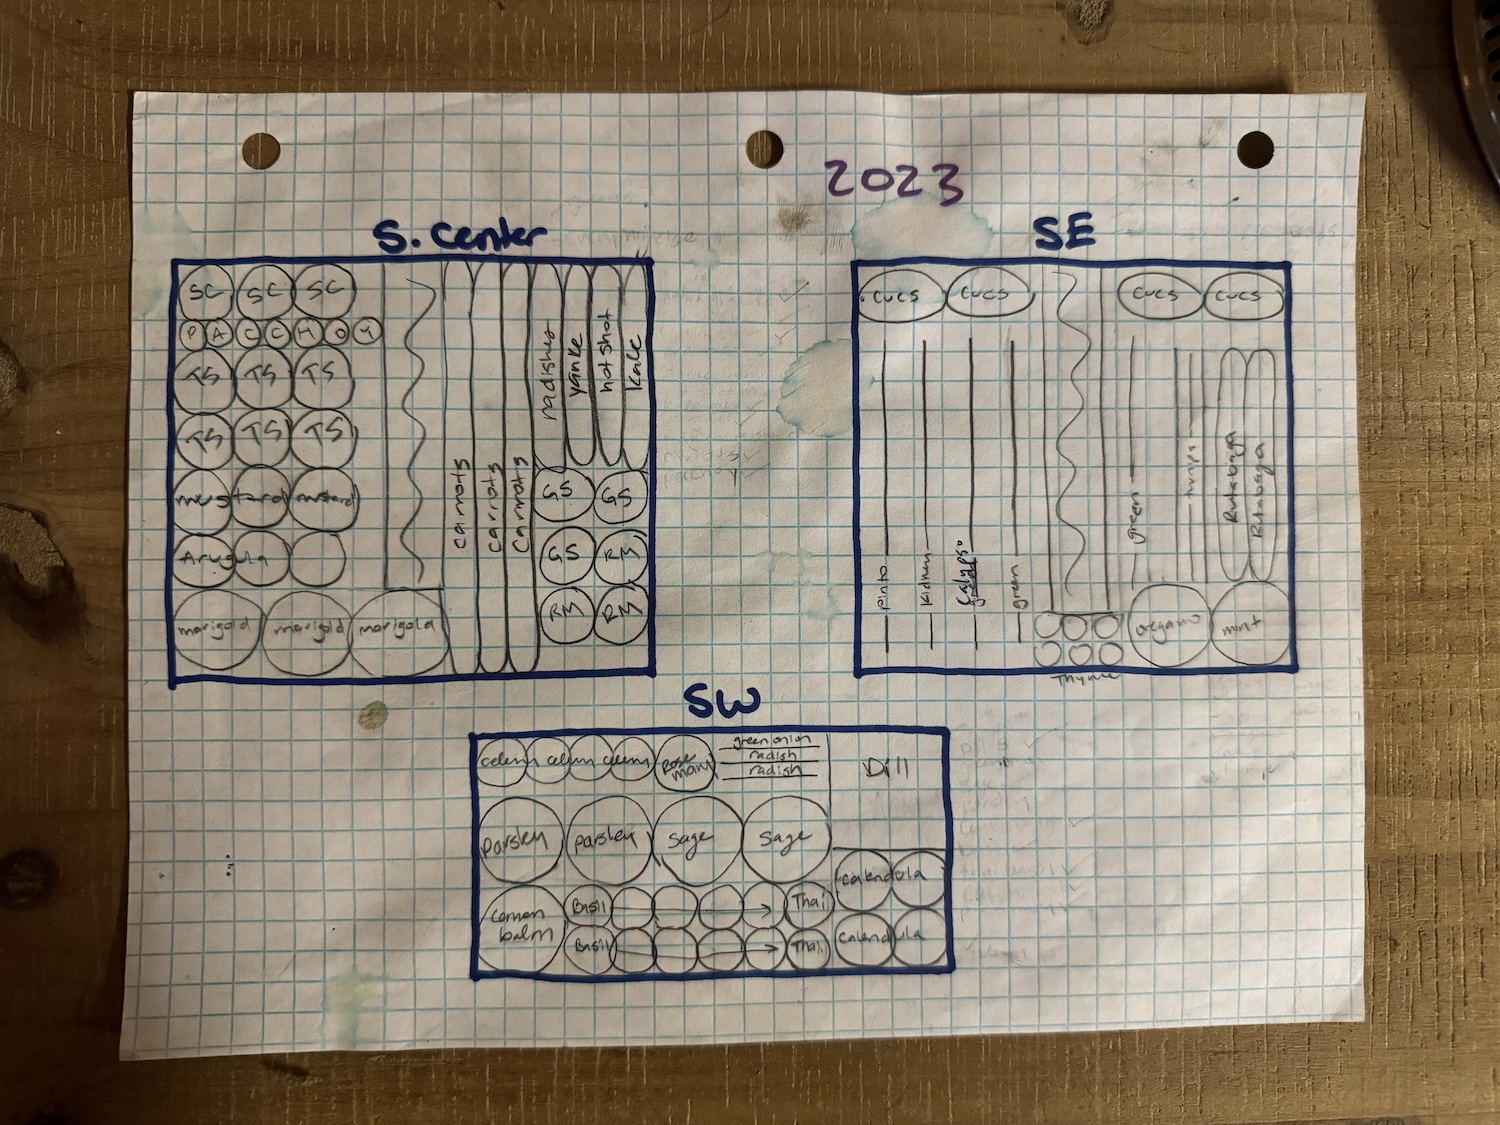
Task #2: Draw up your garden plan
Now that you have an idea of what you want to get out of your garden, you need to make a plan to execute it properly. This is the hardest task, so take your time with this! It usually takes me several passes to get it “just right.”
What to consider:
- How much space do you have? Grab some graph paper and draw out the perimeter of your garden bed(s) with a permanent marker. I like to use 1 square per square foot for my large beds of tilled earth and 1 square per 6″ for my 8’x8′ raised beds. Scale it to what works best for your garden size!
- Write down a list of everything you want to grow. Then, number them in order of importance to you.
- Fill in with your desired vegetable plants in pencil. Start with your favorites and work down from there. If you aren’t sure how much space each type of plant takes, I HIGHLY recommend buying The Vegetable Gardener’s Bible! It has great information on companion plantings and general spacing recommendations.
- Reassess your plan. I often make several modifications along the way. Set it down and come back to it a few times. You might decide that you’d actually like more “X” and less “Y,” or you might decide to just go for it and add another raised bed so you can grow a few more things!
Utilize some tools to draw it out:
If drawing up a garden plan from scratch feels overwhelming, you’re not alone! I’ve been gardening for 16 years and it still requires a lot of mental energy to plan out my yearly garden. Thankfully, there are some awesome tools out there:
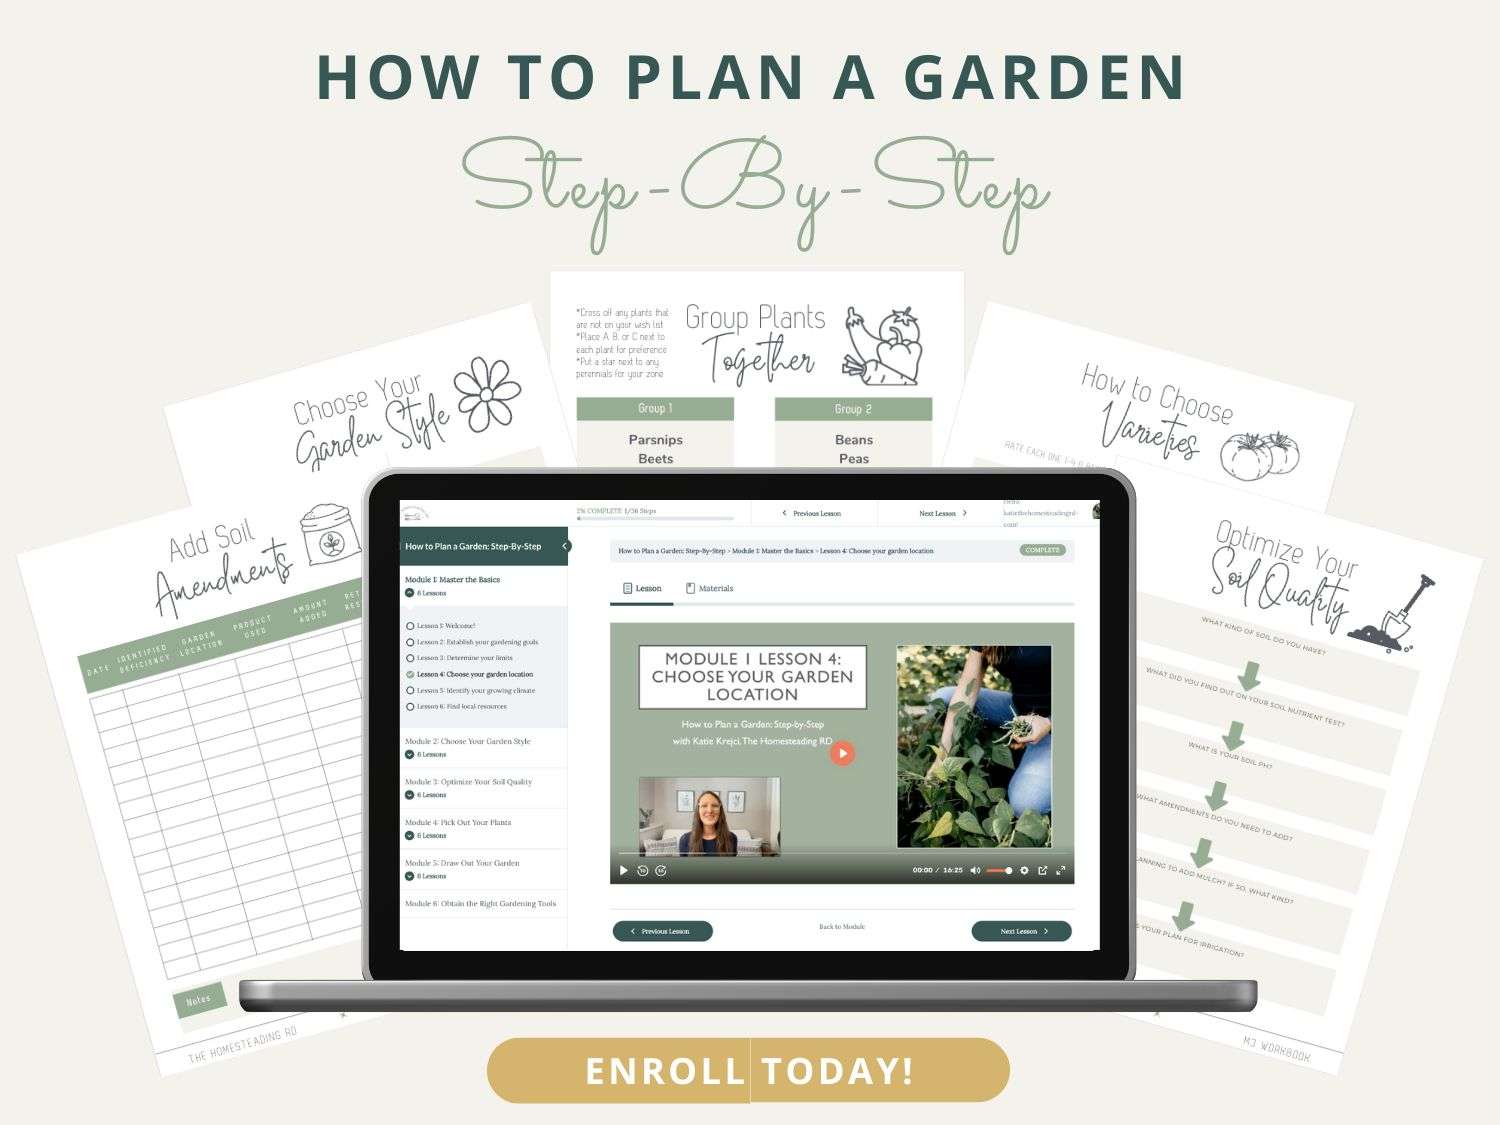
- Enroll in my best-selling course How to Plan a Garden: Step-By-Step! I’ll walk you through the process in an interactive, supportive way so that it feels like a breeze and you can be confident in your garden plan for a successful season!
- Check out Seed Time for an interactive platform to design your garden with some built-in help! It’s super neat!
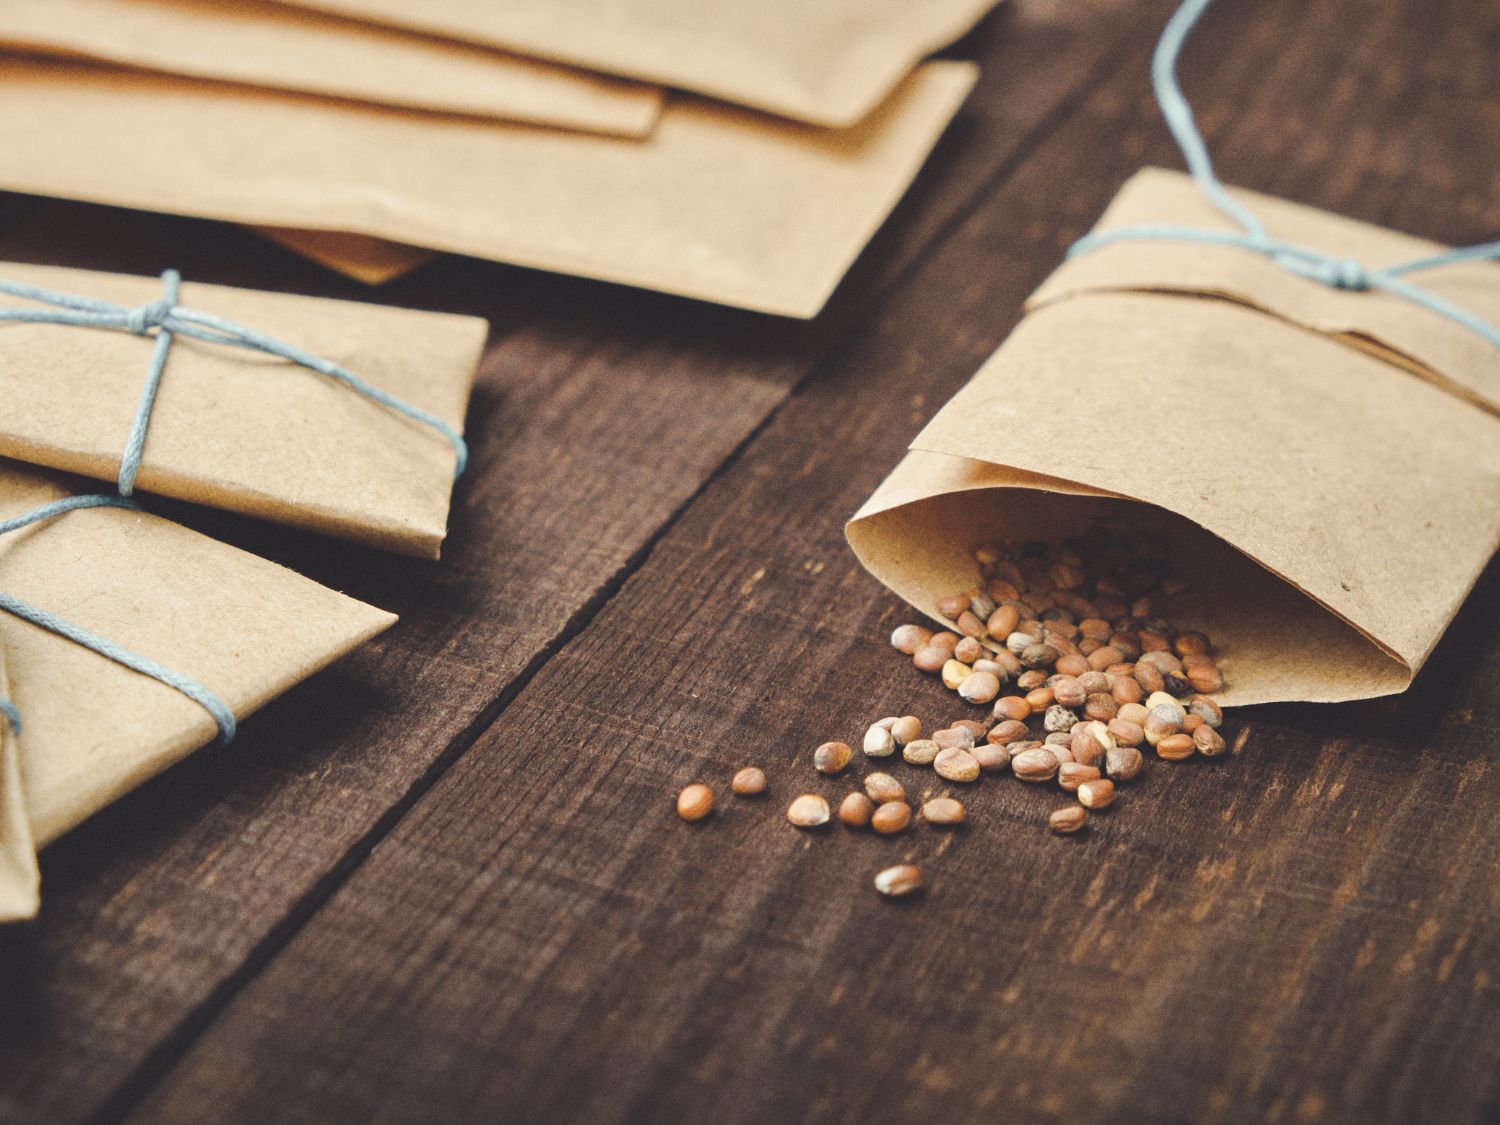
Task #3: Buy your seeds NOW
I know, I know. I used to always buy my seeds in January or February, too. Times are changing and seed companies are selling out FAST. I ordered my seeds in mid-November now and some varieties were sold out already! Don’t wait.
Where should I buy my seeds?
There are so many companies out there; it can be hard to choose! Here are my top 3 seed companies that I rely on year after year.
- High Mowing Seeds – My personal favorite, 95% of what I use in my garden!
- True Leaf Market – My second favorite. I get anything left on my list from here
- Botanical Interests – Another solid option!
Can’t I just buy seedlings at my local nursery?
Yes, you can. I still buy a few things at my nursery, however, it’s a complete gamble. The person in front of you might buy the last one. They might look “rough” and be weak from the start. They likely don’t have the exact variety you want and good luck finding organic! There are too many variables.
…and then there’s COST. You can get an entire packet of seeds for about the same price as 1 plant from the nursery. If you’re looking to expand your garden, you’ll be able to fill it at a fraction of the cost of using nursery seedlings.
Task #4: Gather your supplies
Now that you have your goals set, your garden plan drawn out and your seeds are on their way, it’s time to gather the rest of your supplies. The beauty of gardening is that nearly all of your supplies are reusable. It only requires a one-time purchase and then you’re set for years to come.
Seed starting essentials
- Seedling pods – there are many kinds you can use, but I like the 6-cell trays best. They also hold moisture well so the seedlings are less likely to dry out. Once they develop a set of true leaves, I upgrade them to larger 3.3″ pots.
- Seed Trays – I love using 10×20 trays and I highly recommend going for the 10-pack. They are versatile and have many uses such as growing fodder, microgreens, storing gardening supplies, etc!
- Grow lights – Unless you live in the far south, you’ll need grow lights. This is the one place you absolutely don’t want to skimp on. I’ve seen way too many gardeners try to “make do” with tiny lights or just a window and the seedlings end up leggy and with a poor harvest in the end. It’s a one time investment that will pay off for YEARS.
- Watering pail – Make sure your watering can has small holes to ensure a gentle stream of water. This is very important when your seedlings are delicate and small. You don’t want to smash them!
- Seed starting mix – You’ll want to start with a sterilized, soilless seed-starting mix. This is because seedlings are very susceptible to soilborne diseases. Once the seedlings have grown a few “true leaves,” then it’s time to move them on to a mix of 1 part seed-starting mix, 1 part compost, and 1 part garden soil.
- Fertilizer – you’ll want to start using fertilizer later on once your seedlings are getting large and chewing through available nutrients fast!
- A nice, sunny spot (yes, even if you have grow lights!) – Be creative and willing to improvise. My first few years, I set up camp on the kitchen table and we just chose to eat elsewhere. Was it great? No. Did it work? YES. Now, I take over one of our guest bedrooms, prop the mattress against a wall and utilize the bed frame (it’s solid plywood) as my growing space!
Task #5: Create your garden calendar
Every vegetable and herb is different in regards to when they prefer to be started before planting outdoors. Some vegetables like onion, brussels & eggplant prefer to be started months in advance, whereas others like melon & squash only need a few weeks. Then, there are vegetables like potatoes, corn & garlic that should never be started indoors!

Identify your last frost date
The seed packets and gardening book won’t tell you exactly which day to start them; they will only tell you when to start your seeds in relation to your individual last frost date. The last frost date is the average day that an area typically experiences a frost. This is just an average, and never a guarantee, but it’s a good place to start.
This will range dramatically based on where you’re located. Texas will have a drastically different last frost date (March 12th) than I do here in Minnesota (May 19th). To figure out what your last frost date is check out this resource by Almanac. Once you have that figured out, you just work backward to figure out what day to start your seeds!
Figure out when to start each plant
The best place to look for this information is on your actual seed packets for how many weeks before YOUR last frost date that they should be started. My last frost date is May 19th, so if a vegetable should be started indoors 4 weeks before then, I would start my seeds on April 21st.
Another great place for general information is my very favorite gardening book: The Vegetable Gardener’s Bible. It’s the only one you’ll ever need! Lastly, if you’re feeling overwhelmed with this part, check out my course How to Plan a Garden: Step-By-Step and I would love to help you!
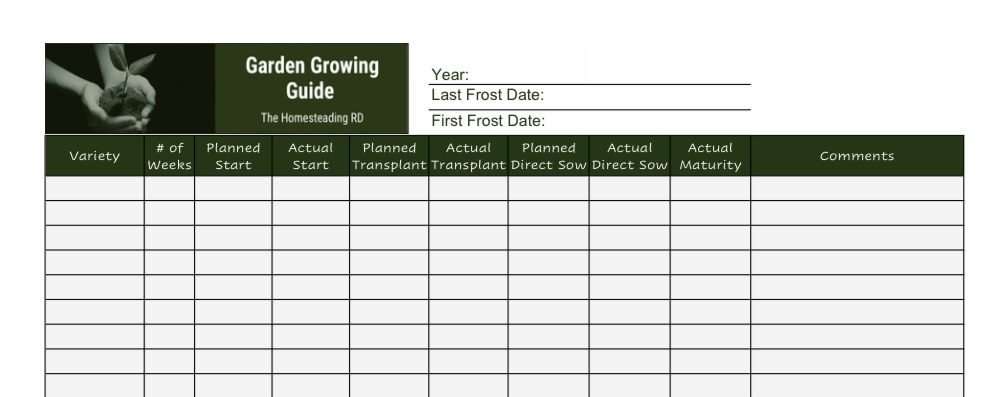
How to stay organized
If you are growing more than 4-5 vegetables, I highly recommend using a garden growing guide so that you can keep track of what to start and when. It also serves as a useful document for keeping notes throughout the growing season, and something to refer back to in the years to come.
I created one that I’ve been using for years and it’s very helpful to refer back to and tweak for future seasons! Ryan helped me make it an editable document so that you can work on it electronically, or, if you’re old fashioned like me – you can still print it out and write it in by hand. You’re definitely going to want one! Join my member’s list and I’ll send it over to you!
Don’t Miss My Garden Planning Course!
I know all of this might feel overwhelming if you’re just starting out, so that’s why I created my comprehensive 30-lesson course How to Plan a Garden: Step-By-Step! Join my community of 300+ students in an interactive, fun way to learn! I’d love to have you!
More Gardening Articles You’ll Love


Your post is very thorough and a great guide for beginner gardeners. I love it when I have access to homegrown food.
Nothing can compare to walking outside the garden, picking your own vegetables, and eating them right away.
It tastes so fresh!
I’m so glad to hear that you enjoyed it! I agree that nothing else compared to fresh veggies that you grow yourself 🙂 I can’t wait for the garden to be overflowing again!