
Making garlic powder is one of the easiest food preservation methods out there; however, a few key steps can really turn the product from drab to fab. Trust me! What really sets my homemade garlic powder recipe apart from the rest is that my method preserves garlic’s potent allyl sulfur compounds, which are often destroyed when making garlic powder in haste.
Garlic is one of the best natural remedies out there, so we may as well capture these amazing properties while preserving that garlicy goodness flavor, right?! You won’t regret it. Let’s dive in!
*Disclosure: This post may contain affiliate links to products (including Amazon). I’ll earn a small commission if you make a purchase through my link, at no additional cost to you! Regardless, I only link to products that I personally use on our homestead or believe in.
Is It Worth It to Make Your Own Garlic Powder?
Heck yes! I feel like garlic is the gift that keeps on giving. First, it provides those amazing garlic scapes, which are DELICIOUS grilled! Then, a month later, we’re harvesting the prized bulbs for fresh eating, making medicinal remedies like Fermented Honey Garlic and Fire Cider, and last but not least, garlic powder, which we’ll be making together today.
What really sets my garlic powder recipe apart from what you’ll find at the store is that we’re not just focusing on flavor, but also on its nutritional and medicinal qualities. Garlic contains potent allyl sulfur compounds, which have antimicrobial, antiviral, antifungal, and anti-cancer properties (Lagunas, 2008).
However, these amazing compounds and associated enzymes are very sensitive to heat, so they are often lost during processing for commercial garlic powder. In my recipe, we’ll be utilizing a low and slow method so that all of the garlic goodness is left intact. It’s worth the extra step, trust me!
Homemade Garlic Powder Recipe
Helpful Tools
- Mandoline slicer (a food processor or knife can also work in a pinch)
- Dehydrator (a freeze-dryer or oven can work as well, more on this later)
- Coffee grinder (a blender or food processor works too)
- Fine mesh sieve (optional)
- Airtight container for storage – I like to use 8 oz mason jars
Ingredients
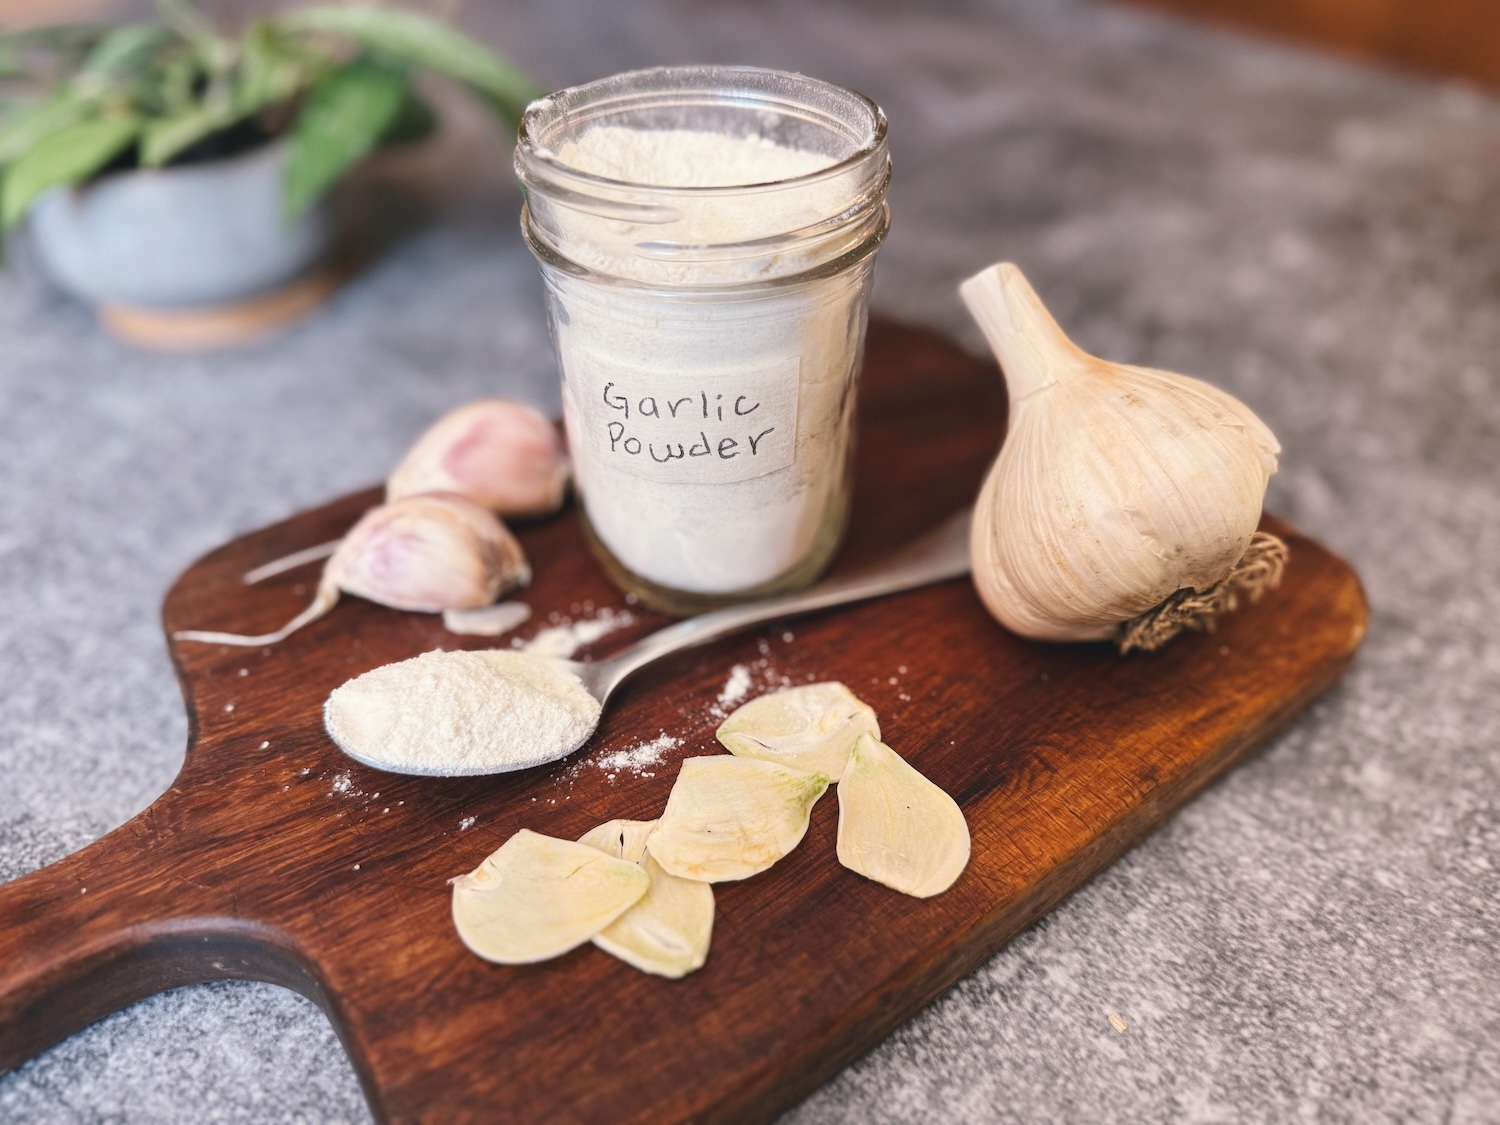
- Fresh garlic – that’s it! (For me, 6 heads of garlic = 19 oz of sliced fresh garlic, which results in 7 oz of garlic powder that nearly fills a pint-sized mason jar)
How to make garlic powder
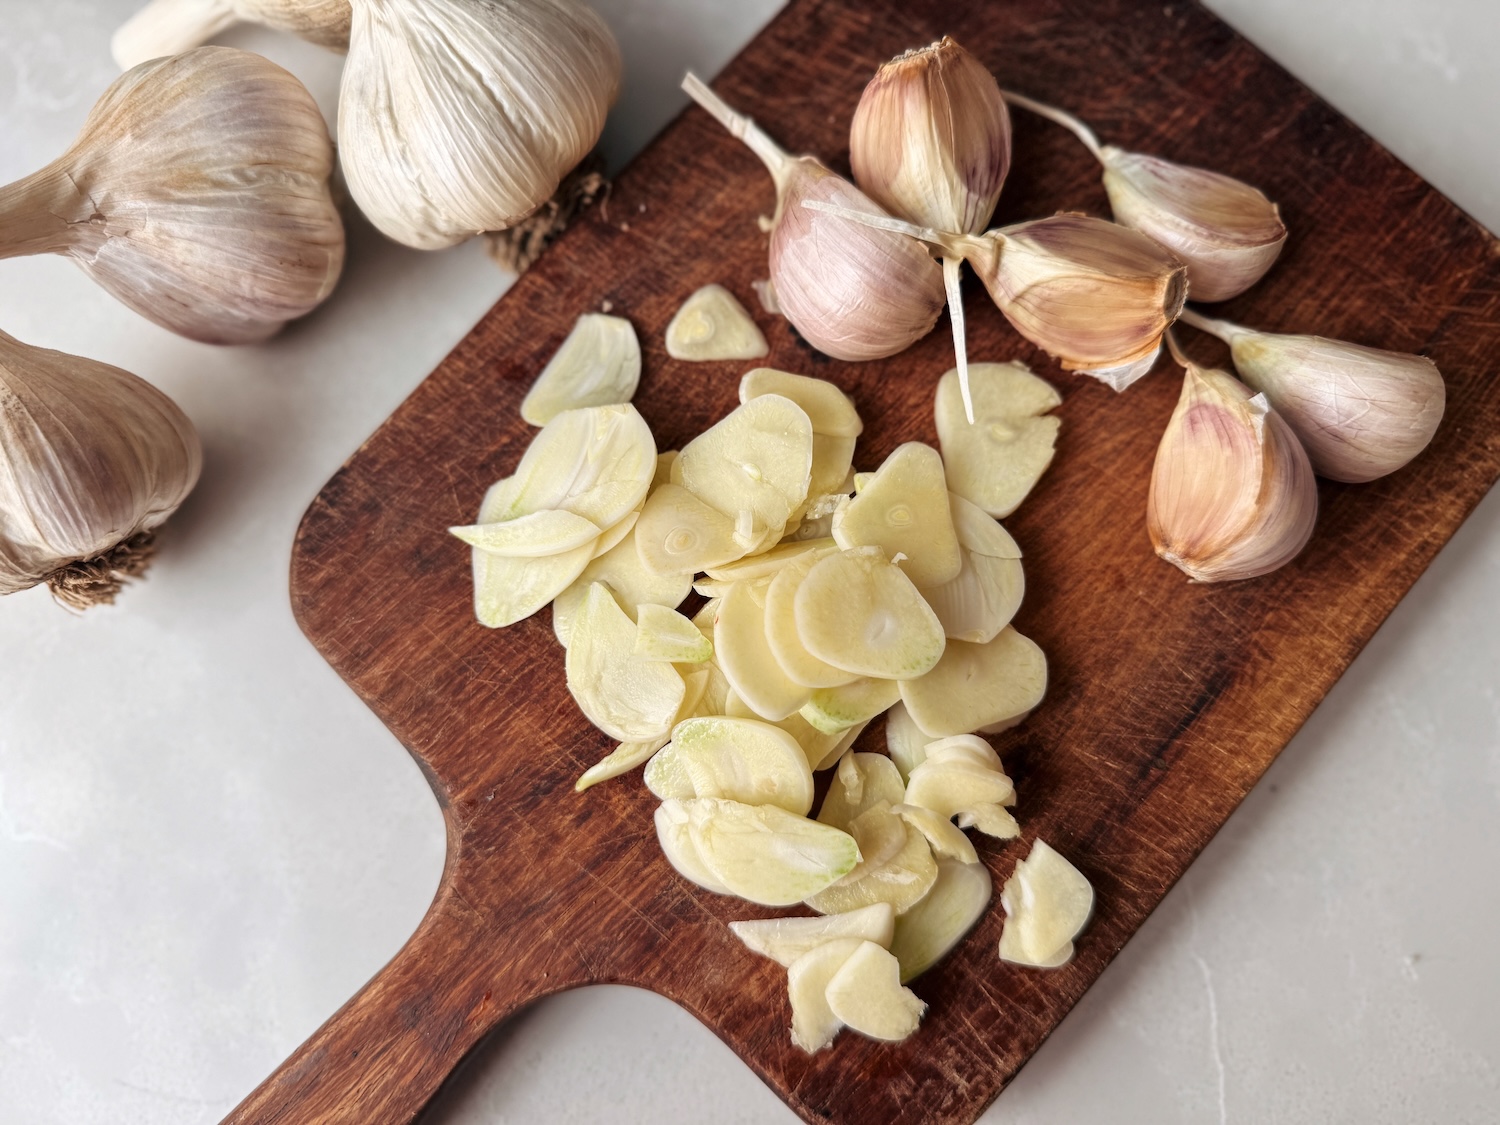
Step 1: Peel the garlic
Out of this whole recipe, I think it’s safe to say that peeling the garlic cloves is the worst part. I know there are a few tricks out there, but my favorite is the tried-and-true knife method. I like to hold the flat side of a large knife on top of a garlic clove and then give it a solid whack with the palm of my hand.
The key is to do this firmly enough so that the skins loosen, but without the clove breaking into multiple pieces. You want the cloves to remain whole for the next step! If a few break, it’s no big deal. Either save them for tonight’s dinner, or you can still give it your best effort when slicing them.
Step 2: Slice the garlic
Slice the peeled garlic cloves to 1/8″ thickness. I like to use a mandoline slicer since it makes this step go super fast, plus all of the pieces will end up a consistent size. This is important for even drying. Having a mandoline on hand is great for other recipes like dried radishes and dried carrots, so if you don’t own one yet, definitely think about it!
Blend (alternate method)
If you don’t own a mandoline slicer yet, you can totally slice the garlic cloves by hand (again, shooting for that 1/8″ thickness), or you can just scrap the slicing altogether and simply blend it all up in a food processor. However, I would only recommend doing this if you already own silicone liners for your dehydrator trays. Otherwise, the garlic paste will drip through the grates.
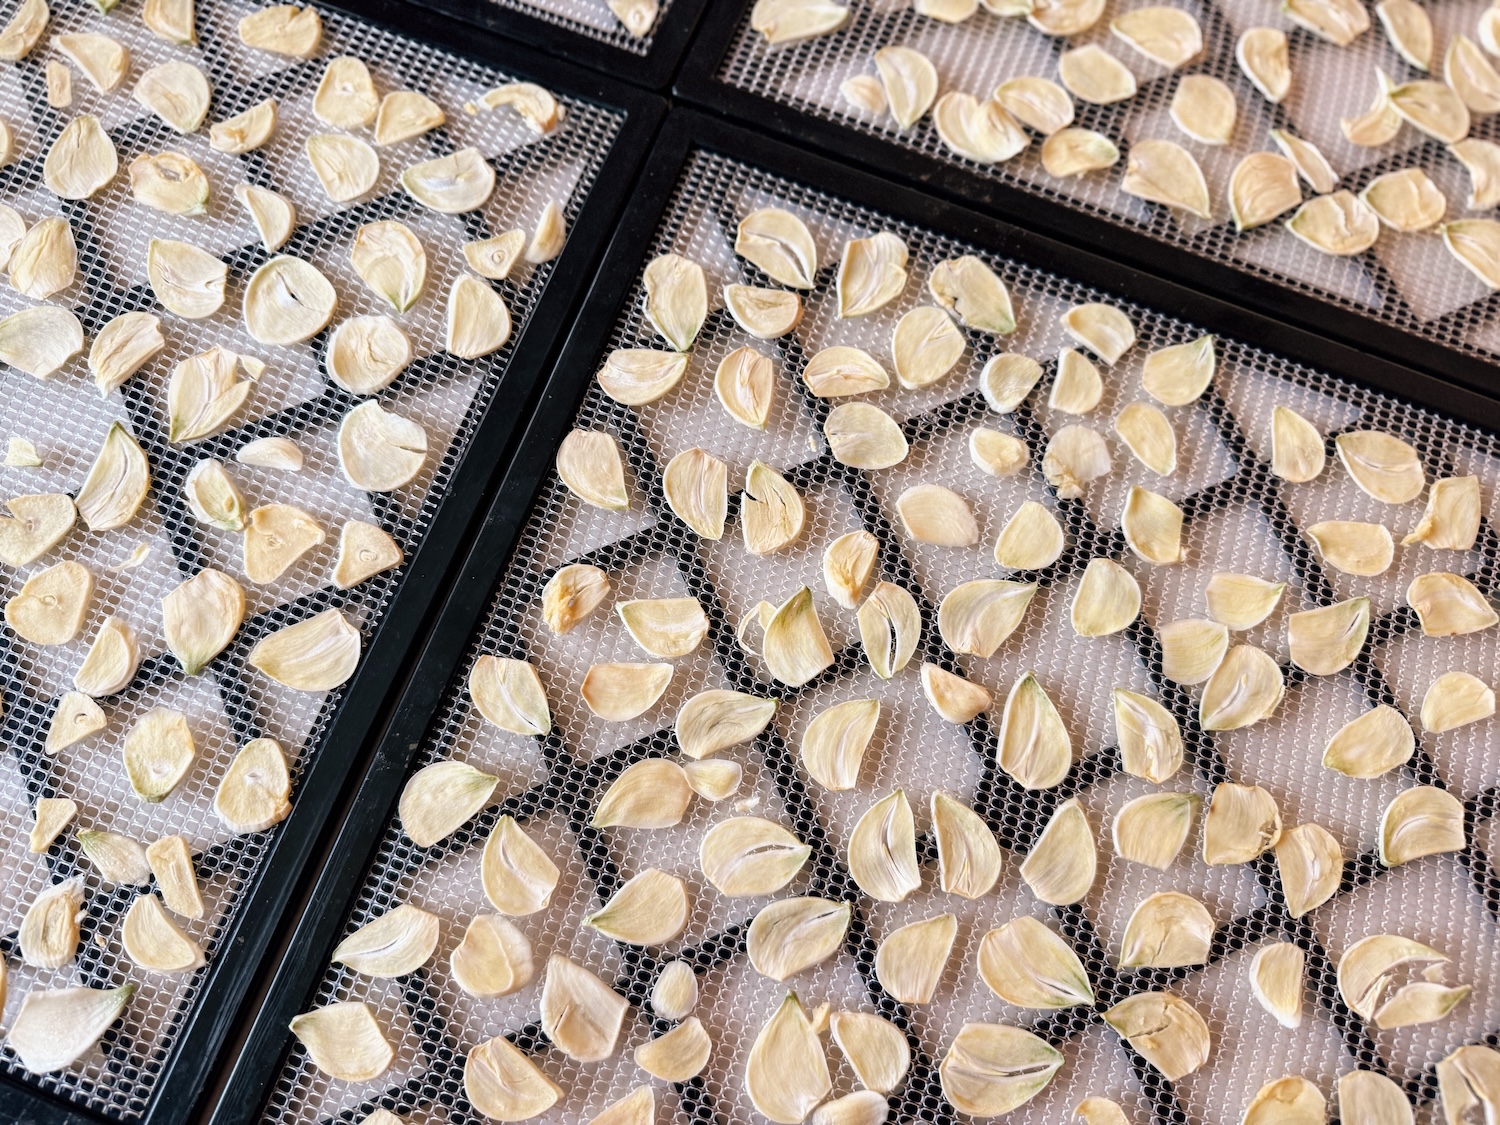
Step 3: Dehydrate the garlic
Lay the garlic slices flat in a single layer on the dehydrator trays, making sure that they aren’t overlapping each other. If you used the food processor method and your garlic has a pulp-like consistency, thinly spread the mixture onto silicone liners and set the liners onto the dehydrator trays.
While it may be tempting to set your dehydrator at a higher temperature to get to the finish line quicker, it’s important to take your time with this. The powerful, health-promoting sulfur compounds and allinase enzymes contained in garlic are sensitive to heat and can easily be destroyed at high temperatures, starting at 140F.
To keep all of the garlic goodness intact, set your dehydrator as low as it will go (mine is 105F). The time it takes to fully dehydrate the garlic will depend on your dehydrator, the humidity in your environment, and how thinly you sliced the garlic.
For me, it takes around 24 hours. If you choose to puree your garlic, it will likely take even longer due to reduced airflow. You’ll know they’re done when the slices snap, not bend.
Freeze-dry (alternate method)
If you own a freeze dryer, you can totally use that, too! I’ve done it before, and while the garlic does have an even longer shelf life compared to dehydrating it (which is awesome!), I’ve found that freeze-dried garlic doesn’t quite have the depth of flavor compared to dehydrated garlic. I’d recommend giving both ways a try and see which one is your favorite. Just be sure to set your dry temp to 105°F to keep the compounds intact.
Bake (alternate method)
If you don’t have a dehydrator or a freeze dryer, you can use an oven in a pinch; however, there’s a good chance that you’ll end up destroying those beneficial compounds that we chatted about above. Set your oven as low as it will possibly go and prop the door open to let some of the heat escape. The garlic slices will dry much faster at these higher temperatures, though, so keep a close eye on them so that they don’t burn!
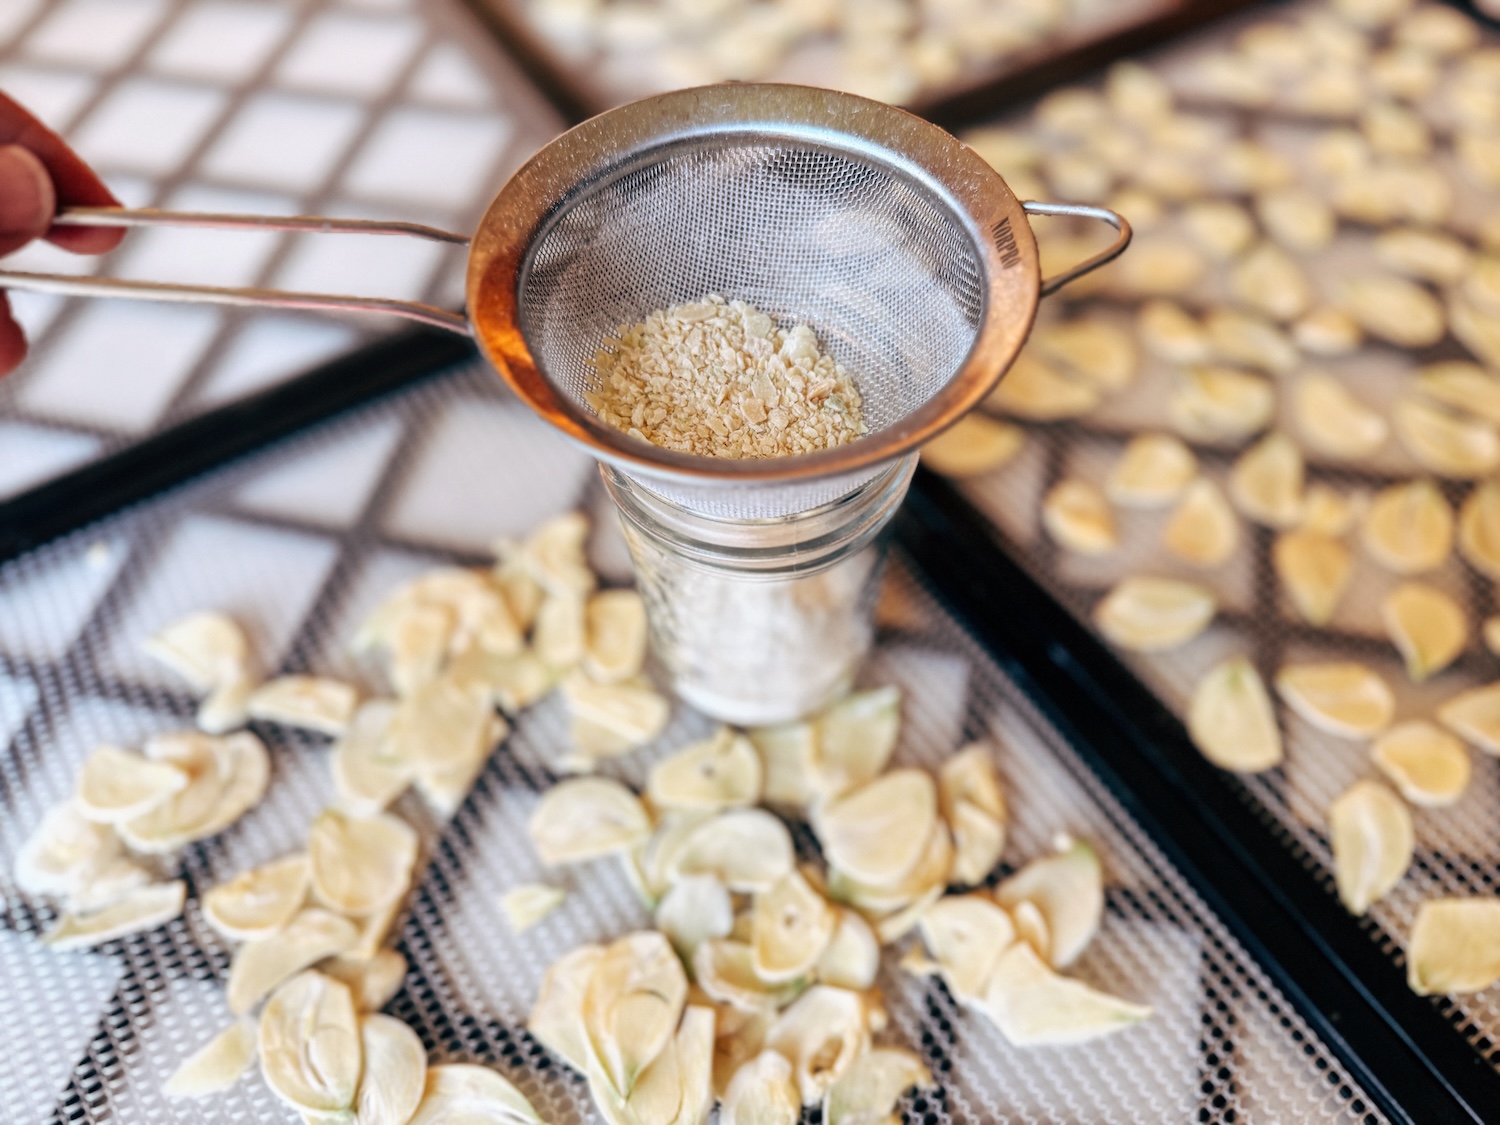
Step 4: Blend the dried garlic
The last step is to blend the fully dehydrated garlic into a smooth powder. I like to use a coffee grinder since they are best designed for these types of foods. If you don’t own a coffee grinder, a food processor or blender works in a pinch, but the results may not be quite as smooth.
Pro tip: If you’re worried about residual coffee flavor getting into your garlic powder, run a small handful of rice through your grinder first and then give it a good wipe down. Do the same when you’re done, so you don’t contaminate your next batch of coffee.
No matter how good a coffee grinder or blender you have, some solid garlic chunks still seem to remain. So, I use a small, fine mesh sieve to sift out any solids as I transfer the powder to my jars for storage. Don’t throw those chunks out, though! Use them for cooking, like you would onion flakes. YUM!
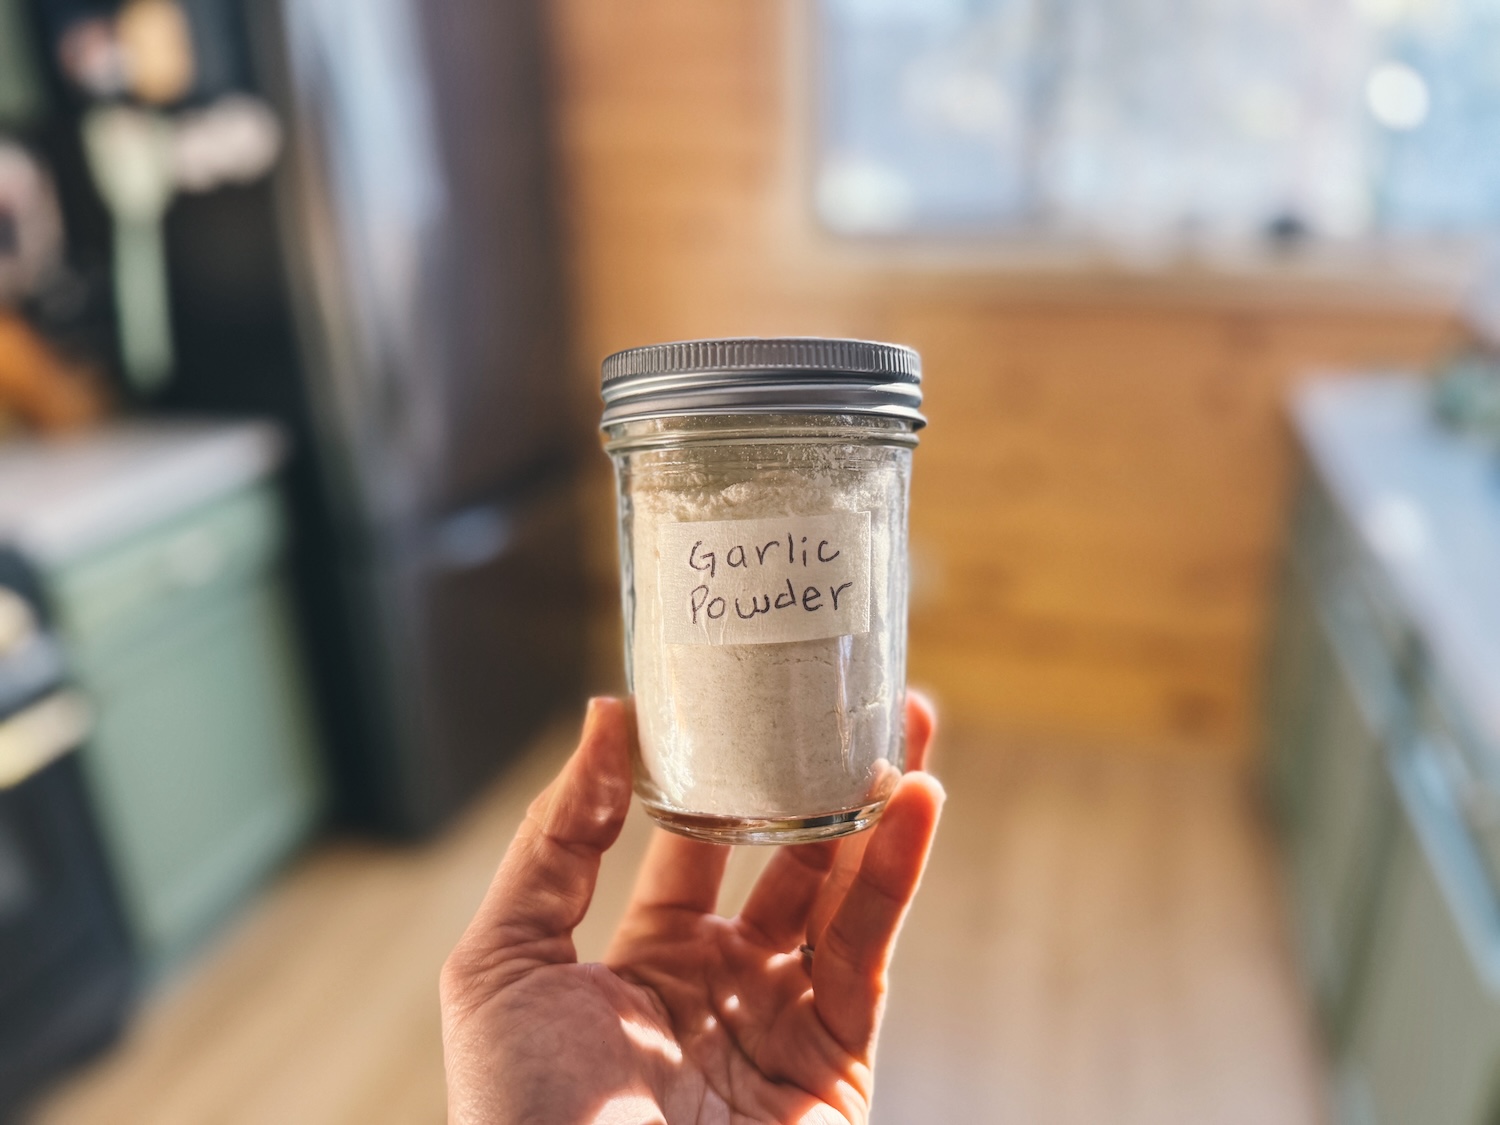
How to Store Garlic Powder
Homemade garlic powder will store for a year (or more!) as long as it is placed in an airtight container and in a cool, dark location. I like to use 8 oz glass mason jars and vacuum seal them to keep that garlic goodness as fresh as possible. Then, I just refill my daily use garlic powder container as needed from the 8 oz storage containers.
Garlic Growing and Harvesting Videos
Other Recipes You’ll Love:
- Fermented Honey Garlic (Plus, Tips to Avoid Botulism)
- Grilled Garlic Scapes – EASY and Delicious!
- How to Make Dehydrated Carrots (EASY!)
- Delicious Soaked & Dehydrated Pumpkin Seeds
- How to Dry Lemon Balm (3 EASY Methods!)
- Dried Radishes for Winter Storage


Homemade Garlic Powder
Equipment
- Madoline Slicer a food processor or knife can also work in a pinch
- Dehydrator a freeze-dryer or oven can work as well, more on this later
- Coffee grinder a blender or food processor works too
- Fine mesh sieve (small) optional
- Airtight container for storage (I like 8 oz glass mason jars)
Ingredients
- 20 oz Fresh garlic This is about 6 heads of garlic for me (but I grow HUGE garlic!)
Instructions
- Peel the garlic cloves.
- Slice the peeled cloves to 1/8" thickness. I like to use a mandoline slicer since it makes this step go super fast, plus all of the pieces will end up a consistent size.
- Lay the garlic slices flat in a single layer on the dehydrator trays, making sure that they aren’t overlapping each other.
- Set the dehydrator on its lowest setting (mine is 105F) to keep all of the medicinal properties of the garlic intact
- Let the dehydrator run until the slices are fully dry. You'll know they're done when the slices snap, not bend. For me, it takes about 24 hours.
- Blend the fully dehydrated slices into a smooth powder. I like to use a coffee grinder since they are best designed for these types of foods.
- Optional: pass the garlic powder through a fine mesh sieve to sift out any remianing chunks of garlic (save these for cooking later!).
- Store in an airtight container in a cool, dark location for up to a year (or more!)
Notes
